Cobra SA32E User manual

MODEL: SA32E (LS-S3201)
COBRA SCARIFIER AERATOR
OWNER’S MANUAL
Cobra Garden Machinery
Henton and Chattell Ltd., London Road, Nottingham NG2 3HW UK
www.cobragarden.co.uk

1. Where to use your Electric Scarifier
Intended use
The SA32E is designed for aerating lawns and grass in private domestic gardens. It is not
designed for use in public facilities, parks, sporting grounds, on roadsides, in agriculture or forestry.
Please note
Attention! To prevent injury, the SA32E must not be used for trimming bushes, hedges and shrubs.
In addition, the electric scarifier must not be used for levelling irregularities in the soil.
2. For Your Safety
Please observe the notes on safety on the Electric Lawn Rake.
Warning! Sharp prongs can cause
Read instruction injury!
handbook! Unplug from the mains
before maintenance or
Danger! Risk of injury! if the mains lead is
Keep bystanders damaged.
Away!
Keep mains connection
lead away from the scarifier.
SAFETY INSTRUCTIONS
Warning! Read these instructions carefully before operating this machine.
Make sure that you are familiar with the controls and properly operate the machine. By following
these instructions, you can reduce the risk of fire, electric shock and personal injury.
GENERAL SAFETY INSTRUCTIONS
Read all safety warnings and all instructions. Failure to follow the warnings and instructions may
result in electric shock, fire and/or serious injury! Save all warnings and instructions for future
reference. The term "garden power tool" in the warnings refers to your mains-operated (corded)
garden power tool or battery-operated (cordless) garden power tool!
1.This garden power tool is not intended for use by persons (including children) with reduced
physical, sensory or mental capabilities, or a lack of experience and knowledge. New users should
be given supervision or instruction concerning the use of the garden power tool or given these
instructions.
2.Children should not play with the garden power tool.
3.The garden power tool must be kept out of reach of children.
4.Store the instruction manual in a location accessible to all users of the garden power tool and
always include the instruction manual when passing it on to other users.

5.Instruct inexperienced persons on the safe use of this garden power tool using this instruction
manual.
IMPORTANT READ CAREFULLY BEFORE USE AND KEEP FOR FUTURE REFERENCE
Training
Read the instructions carefully. Be familiar with the controls and the proper use of the machine.
Preparation
1. Never allow people unfamiliar with these instructions or children to use the product. Local
regulations can restrict the age of the operator.
2. Never operate the product while people, especially children, or pets are nearby.
3. Keep in mind that the operator or user is responsible for accidents or hazards involving the
powered garden tool that occur to other people or their property.
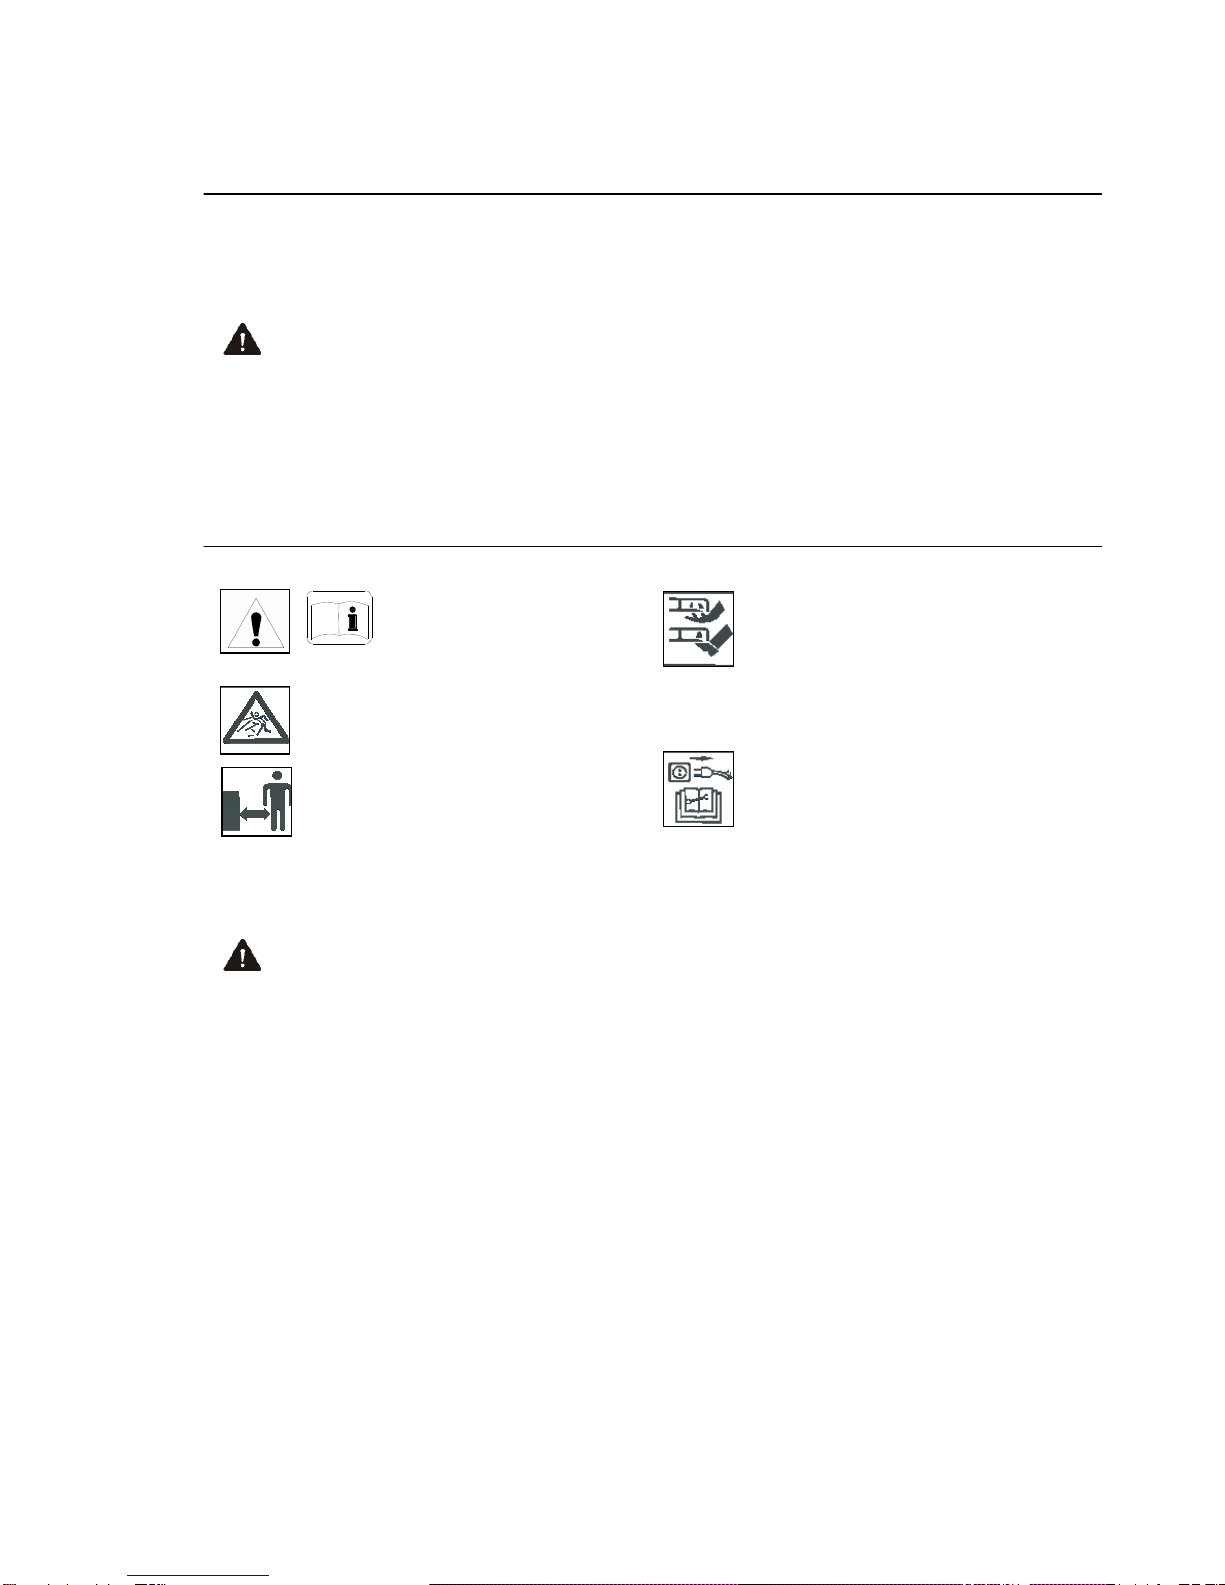
4. Wear ear protection and safety glasses at all times while operating this product.
5. Always wear substantial footwear and long trousers while operating the product. Do not operate
the product when barefoot or wearing open sandals.
Checks before each use:
1. Before using, always visually inspect to see that the tines, screws or bolts are not worn, loose or
damaged. Replace worn or damaged tines and bolts in sets to preserve balance.
2. Thoroughly inspect the area where the product is to be used and remove all stones, sticks,
wires, bones and other foreign objects.
3. Do not use the tool if the safety devices are inoperative or damaged, e.g. starter lever, safety
interlock, rear flap or housing.
4. Keep hands and feet away from the aerator cylinder and the scarifier tines at all times.
5. Only operate the electric garden tool when visibility is good.
6. Whilst the motor is powered do not open the rear discharge flap or tip the machine to expose the
blades or tines.
7. Take extra care when operating on slopes and even ground. When changing direction on slopes
take additional care to avoid slips or falls.
8. Take extra care when walking backwards to avoid stumbling, slipping or falling.
9. Do not operate the scarifier when it is raining or in wet conditions.
10. Avoid using near the edge of pools and garden ponds.
11. Operate the powered garden tool at a walking pace only. Always ensure that you have secure
foothold when working.
12. When leaving the machine unattended for any time, disconnect the mains power supply plug.
Similarly, whilst transporting the powered tool from one work area to another disconnect the power
and put the wear compensation lever in the transport position. See section 5.
13. If the scarifier comes into contact with stones, twigs, branches or other hard surfaces stop
operation immediately. Disconnect the mains power, remove any obstructions and inspect the
machine for damage. Do not operate the powered tool if it is damaged. Repair the machine before
operating again.

Electrical safety:
1. Keep the scarifier and any extension cables away from the aerator cylinder and the scarifier
tines to avoid damage to the cable.
2. Do not allow the machine or its connectors to be become wet. Do not use whilst it is raining.
3. Be considerate to your neighbours when you operate the garden scarifier and abide by the local
regulations regarding designated quiet times.
4. Regularly ensure that cables and connectors are not damaged and check for signs of wear and
tear. Replace as required.
5. Disconnect the mains plug immediately if the cables, switches or connectors are damaged.
6. Only use suitable waterproof type connectors for external extension cables. Extension cables
should meet the requirements of DIN VDE 0620 and have appropriate cable cross-sections for the
application. Your local dealer will be able to recommend suitable outdoor extension cables.
7. Use a residual-current device with a rating of 30mA or less. Ask your local dealer for details.

3.Assembly
1. Insert the two lower sections of the
upright ⑤(with the end with the round
hole) in the mountings in the motor
casing ⑥and secure with the crosshead
screws ⑨.
2. Insert the two locking bolts ①from
outside the through the holes in the two
central sections ②of the upright and
secure to the lower sections of the upright
⑤with two wing nuts ④.
3. Screw the upper part of the upright
with starting handle ③to the central
sections of the upright ②with two more
locking bolts ①and the wing nuts ④.
This completes the assembly of the
handle.
4. Attach connection cable ⑧to the
handle with the two cable clips ⑩.
5. Fit the fully assembled grass box to
the scarifier.
a. Lift the rear deflector safety guard.
b. Make sure the discharge chute is clean and
free from debris
c. Locate fully assembled grass box ⑫,
⑬onto location points at the rear of the
deck as illustrated
d. Locate the safety flap onto the top of
the grass box. Ensure the grass box is
firmly located.
Note: The scarifier may be operated
without the collector, ensure that the rear
safety deflector guard is in the down
position.
Warning fit the upper section of the
upright with starting handle ③in such a
way that the plug ⑦with the power cable
⑧is on the right side (in the direction of
movement) (see fig.)

4.Operation
Connect extension cable:
1. Attach the cable hook to the upper handle (A2)
5.Maintenance
Cleaning the Aerator:
Starting and Stopping:
Make sure the blade completely stops
rotating before switching “on” again.
Do not rapidly switch on and off.
Starting:
1. Press and hold the safety button ①
2. Squeeze the switch lever ②towards
the main handle
3. Release the safety button ①
To Stop:
1. Stopping: Release the switch lever ②
Danger!
The aerator cylinder can cause injuries!
Prior to maintenance unplug from the mains
and wait until the Aerator drum has stopped.
Wear working gloves for performing
maintenance.
The Aerator should be cleaned after each
time it is used. Remove grass and deposits
from wheels, aerator cylinder and hosing.
Risk of injury and physical damage!
Do not clean Aerator under running
water (particularly under high pressure ).
Do not use hard or pointed objects for
cleaning the Aerator.

Adjusting for wear:
The Aerator is subject to wear in use due
to the way in which it works. The more
intensively the Aerator is used, the greater
the wear on the knives.
Hard or very dry ground accelerates wear
as does excessive use of the Aerator.
If the results of your work with the Aerator
become increasingly worse due to knife
wear, the aerator cylinder can be
adjusted by selecting different positions on
the lever.
The aerator cylinder has 4 adjustment
positions:
·Transport position 1
·Aerating position 2
·Aerating position 3
First adjustment position after knife wear
(aerator cylinder lowered by 3 mm)
·Aerating position 4 :
Second adjustment position after knife
Wear
(aerator cylinder lowered by afurther 3mm)
Push wear compensation lever gently
away from the housing and move to the
position required.
Note: Wear adjustment is not used
for height adjustment. Adjustment
of the aerator cylinder without
visible wear can cause damage to
the aerator cylinder or overload the
motor.

6.Trouble-shooting
Replacing aerator cylinder:
Danger!
The aerator cylinder can cause injuries! Prior to rectifying
faults, unplug from the mains and wait until the aerator
cylinder has stopped. Wear working gloves when
rectifying faults.
If the aerator cylinder is in wear adjustment position 3
and is worn, the aerator cylinder must be replaced.
1. Unscrew two screws ⑮on the underside of the
hosing.
2. Lift the Scarifier blades cylinder ⑯at an angle and
pull away the drive shaft.
3. Remove the bearing shell ⑰from the Scarifier
blades cylinder ⑯
4. Push the bearing shell ⑰on to the new Scarifier
blades cylinder ⑯
5. Push the new aerator cylinder ⑯on to the drive
shaft in such a way that the pin ⑲is inserted in the
gap in the drive shaft ⑳
6. Screw the bearing shell ⑰to the underside of the
housing without tightening too much.
7. Replace the aerator cylinder with the scarifier
cylinder ⑱in the same way as above.

7 Using the SA32E
For operating convenience, it may be best to start scarifying at a point close to the power supply
and to work away from the supply. Use the tool at a right angle from the power supply and place
the power cable to side which has already been scarified.
Warning:When scarifying or aerating do
not allow the motor to labour particularly in
heavy conditions. When the motor labours
the speed of the motor drops and you will hear a change
in the motor sound, when this occurs stop operating,
release the switch lever and raise the height of cut.
Failure to do so could damage the machine.
NOTE: the motor is protected by a safety cut out which
is activated when the blade becomes jammed or if the
motor is overloaded. When this occurs, stop the
machine and remove the plug from the power supply.
The safety cut out will only reset when the switch lever
10 is released. Clear any obstruction and wait for a few
minutes for the safety cut out to reset before continuing
to working. At this time do not operate the switch lever 10 as this will prolong the reset time of the
safety cut out. If the mower cuts out again, increase the operating height to reduce the load on the
motor.
8.Technical Data
Electric Scarifier / Aearator SA32E (LS-S3201)
Rated power 1400W
Operating width 32cm
Operating heights +3/-3/-6/-9mm
Collector capacity 40L
Weight 10kg
Protection class /IPX4
Working speed of the aerator cylinder 3900 ±5 %r/min
Sound power level 94dB(A)
Vibration 3.2m/s2

9. Warranty
This product is warranted in accordance with legal regulations for a 24 month period effective from the date of
purchase by the first user.
This product will not be covered if used in a commercial application.
This warranty covers all material or production failures, it does not include: defects from normal wear and tear, parts
such as, bearings, brushes, cables, air cleaning elements, brake pad, clutch disc, tyre, wheel, recoil starter rope,
belts, cutter blades, tines, plugs, lubricant oils and grease or accessories. Damage or defects resulting from abuse,
accidents or alterations, natural fading of painted or plated surfaces, sheet peeling and other natural deterioration.
Any damage that occurs from the use of non-genuine Cobra parts will not be covered.
We reserve the right to reject any claim where the purchase cannot be verified or when it is clear that the product
was not maintained properly. (Clean ventilation slots, carbon brushes and serviced regularly)
Expenses incidental to the warranty claim that are not covered;
-Compensation for loss of time, commercial loss or rental costs of substitute product.
-Costs incurred for transportation to and from the dealership.
Any damage that occurs from the following will not be covered; exposure of the product to smoke and soot,
chemical agents, bird droppings or other animal waste, seawater, sea breeze, salt or other environmental
phenomena.
Any damage resulting from operating methods other than those indicated in the owner’s manual will not be
covered.
Your purchase receipt must be kept as proof for date of purchase. Your un-dismantled product must be returned to
your dealer in an acceptably clean state, accompanied by your proof of purchase.
Please Register Your Cobra
If your dealer did not collect registration information from you, please take a few minutes and register your purchase
with Cobra.
You can register by completing and mailing the registration card that should be in the box or by going online to:
www.cobragarden.co.uk and clicking on Product Registration.
ENVIRONMENT
Should your machine need replacement after an extended use, do not put it in the domestic waste but dispose of it
in an environmentally safe way.

10. EC-Declaration of Conformity
EC Declaration of Conformity
We herewith declare,
Cobra Garden Machinery
Henton & Chattell Ltd, London Road, Nottingham NG2 3HW UK
That the following machine complies with the appropriate basic safety and health requirements of the EC Directive
based on its design and type, as brought into circulation by us.
In case of alteration of the machine, not agreed upon by us, this declaration will lose its validity
Machine Description:
Electric Powered Scarifier / Aerator
Machine Type:
SA32E (LS-S3201)
Power Rating
1400W
Operating Width:
320mm
Measured sound power level:
82dB(A)
Guaranteed sound power level:
94dB(A)
Notified Body for EC Directive 2000/14/EC:0036
Intertek Testing Services Shanghai, Building No 86, 1198 Quinzhou
Road(North), Shanghai 200233 China
Applicable EC Directives:
2006/42/EC 2004/108/EC
2000/14/EC 98/37/EC
Applicable Harmonized Standards:
EN 60335
Authorized Signature/Date/ Place:
Peter J. Chaloner 01-10-2016
Title of Signatory:
Managing Director
Name and address of the person
authorised to compile the technical file
Cobra Garden Machinery
Henton & Chattell Ltd, London Road, Nottingham NG2 3HW UK
This manual suits for next models
1
Table of contents
Other Cobra Tiller manuals