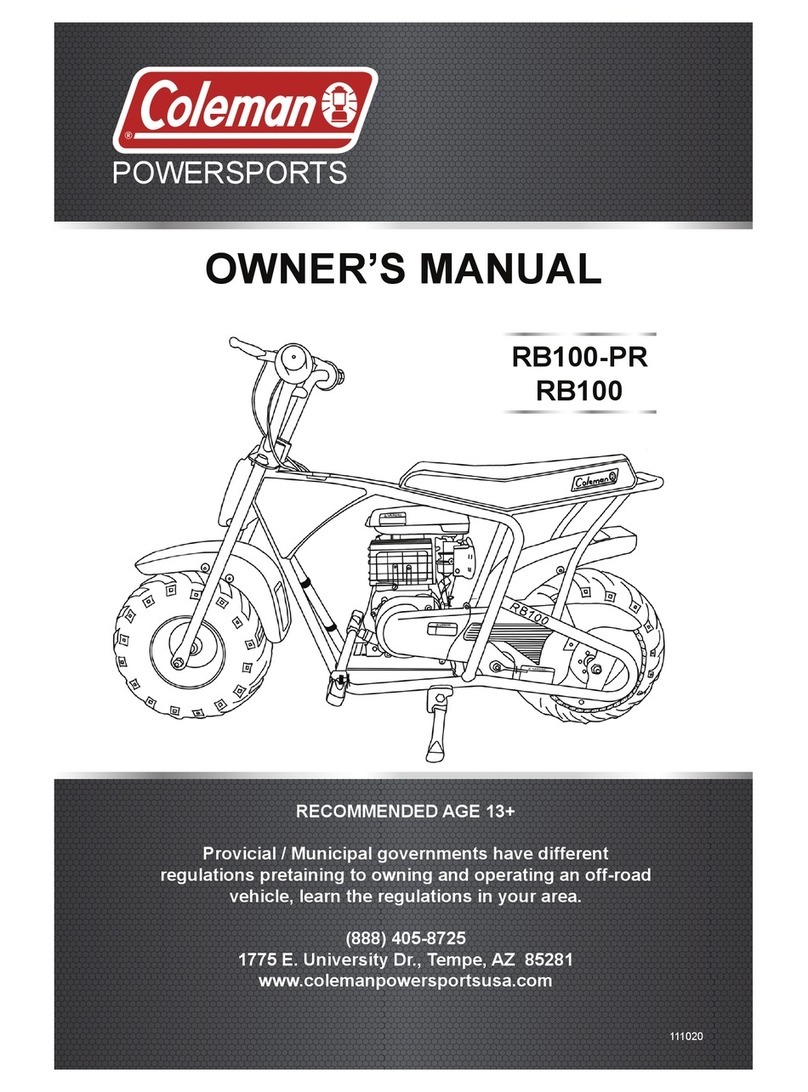
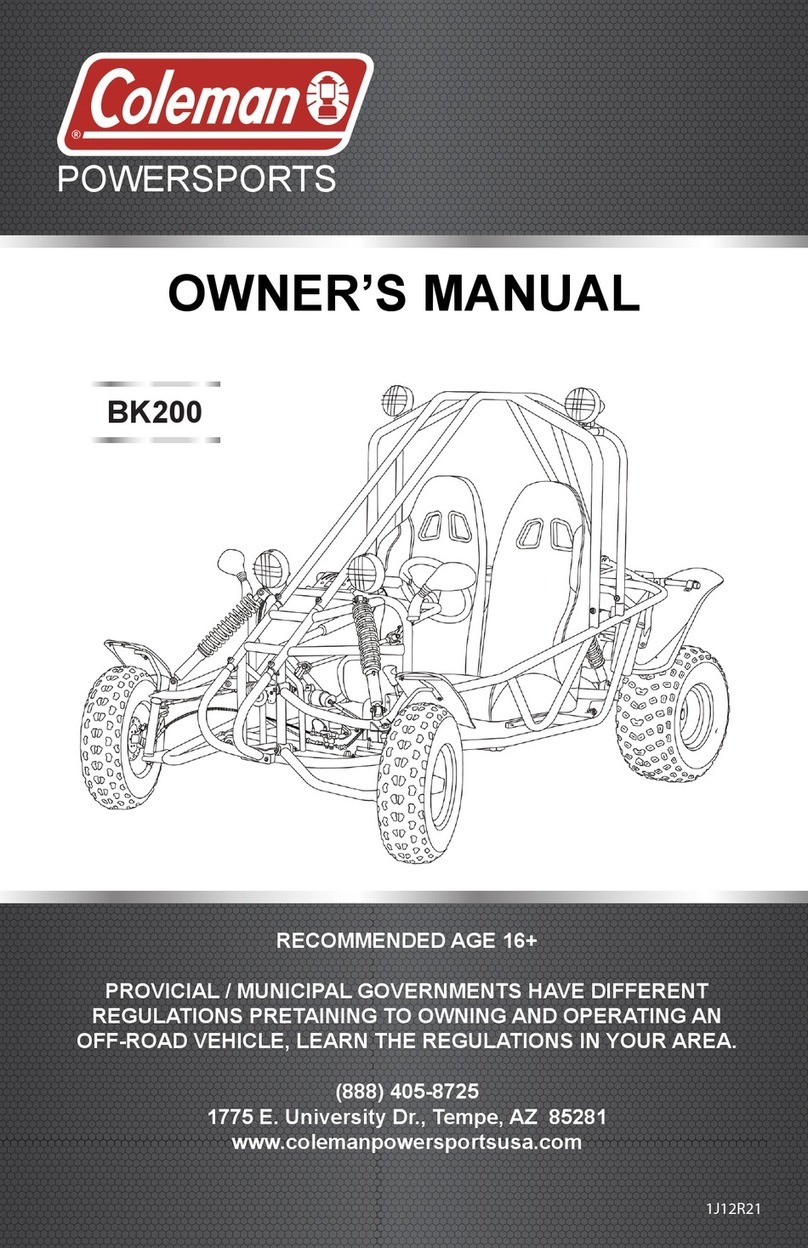
Coleman Powersports RB200 User manual

OWNER’S MANUAL
RB200
Never allow any child under the age of 13 to operate this Mini
Bike. Persons age 13 to 16 should operate this mini bike only
under continual adult supervision.
Provincial / Municipal governments have different regulations
pertaining to owning and operating an off-road vehicle, learn the
regulations in your area.
(888)-405-8725 Coleman Powersports
1775 E. University Dr. 85281
www.colemanpowersportsusa.com
061120
POWERSPORTS

!
Operating, servicing and
maintaining a passenger vehicle or
off-road vehicle can expose you to
chemicals including engine exhaust ,
carbon monoxide, phthalates, and
lead, which are known to the state of
California to cause cancer and birth
defects or other reproductive harm.
To minimize exposure, avoid
breathing exhaust, do not idle the
engine except as necessary, service
your vehicle in a well-ventilated area
and wear gloves or wash your hands
frequently when servicing your
vehicle. For more information go to
www.P65Warnings.ca.gov/-
passenger-vehicle

To the Owner
Congratulations on your purchase of a Coleman Powersports Off-Road Mini Bike. This
Owner’s/Operator’s manual will provide you information regarding safe operation,
operational instructions, maintenance and care. Fully understanding this manual and
following all of the instructions herein will provide the knowledge needed to have safe
and enjoyable operation.
For questions regarding operation and maintenance of this Off-Road mini bike, please
call Coleman Powersports toll free 888-405-8725.
Safety - Notice to parents
Children differ in skills, physical abilities, and judgment. Some children may not be able
to operate this mini bike safely. Parents should supervise their child’s use of the mini
bike at all times. Parents should permit continued use only if they determine that the
child has the ability to operate the mini bike safely.
THIS MINI BIKE IS NOT A TOY AND COULD BE HAZARDOUS TO OPERATE.
Reading the Owner’s/ Operator’s Manual
It is important this manual is read from cover to cover carefully by the owner and all
operators. Parents should review the manual carefully with their children. Never allow
anyone to operate the mini bike without first reading and understanding the Owner’s/
Operator’s manual.
This Owner’s/ Operator’s manual should be a permanent part of the mini bike and should
remain with the vehicle at all times. The manual should also remain with the vehicle if
sold.

To emphasize special important information in the manual, please note the following:
This is the alert symbol. The symbol means ATTENTION!, BECOME
ALERT!, YOUR SAFETY IS INVOLVED.
To emphasize important safety information, the word WARNING, with the alert symbol, has
special meaning.:
Indicates a potential hazard that could result in
SEVERE INJURY or DEATH to the operator, bystander
or person inspecting or repairing the unit.
To emphasize important information, the word CAUTION has special meaning:
Indicates special precautions that must be taken to
avoid damage to the unit.
To emphasize important information, the word NOTE has special meaning.:
Indicates key information to make procedures easier
or clearer to understand.
Coleman Powersports is concerned about the environment and believes in conserving
and protecting all natural resources. For this reason, owners should recycle, trade in,
or dispose as appropriate, oil and tires.
!WARNING or CAUTION
The first part will identify a POTENTIAL HAZARD.
The second part will describe WHAT COULD HAPPEN if the warning or caution is
ignored.
!
!
WARNING
CAUTION:
NOTE:
This manual is based on the latest product information available at the time of
publication. Coleman Powersports has a policy of continually improving its products.
Due to improvements, or other changes, there may be some discrepancies. We reserve
the right to make product changes at any time, without notice and without incurring any
obligation to make the same or similar changes to vehicles previously built or sold.

1
TABLE OF CONTENTS
COLEMAN POWERSPORTS WARRANTY.. 2
IMPORTANT SAFETY LABELS. .............. 4
LOCATION ..................................... 4
LABELS......................................... 5
SAFETY ............................................. 6
DESCRIPTION AND PART LOCATIONS... 7
DESCRIPTION AND PART FUNCTIONS.. 8
RIGHT HAND THROTTLE GRIP............
8
ENGINE STOP SWITCH. ................... 8
LEFT HAND BRAKE LEVER. .............. 8
CHOKE OPERATION........................ 9
FUEL VALVE OPERATION .................. 9
FUEL CAP....................................... 9
STARTER RECOIL CORD................... 9
OIL FILL PLUG................................. 9
FUEL AND OIL.................................... 10
FUEL............................................. 10
ENGINE OIL. .................................. 10
PRE RIDE INSPECTION ....................... 11
RIDING MINI BIKE.............................. 12
HELMET, EYE PROTECTION AND
PROTECTIVE CLOTHING................... 12
STARTING THE ENGINE. .................. 13
STARTING OFF ............................... 14
LOAD GUIDELINES. ........................ 15
MAINTENANCE. ................................. 16
MAINTENANCE CHART.................... 17
AIR FILTER......................................18
SPARK PLUG. .................................19
ENGINE OIL ....................................20
CHECKING...........................20
CHANGING. .........................20
THROTTLE CABLE ADJUSTMENT ......21
FUEL HOSE INSPECTION..................21
VALVE CLEARANCE. ............................21
CHAIN AND SPROCKET....................... 23
INSPECTION........................... 23
TENSION AND ADJUSTMENT .... 23
CLEANING AND LUBRICATION..............24
CLEANING AND INSPECTING CENTRIFUGAL
CLUTCH. ..........................................
24
TIRES. .............................................. 25
REPLACING......................... 25
STORAGE. ......................................... 26
RETURNING TO SERVICE..................... 26
WASHING THE MINI BIKE. ................... 27
TRANSPORTING................................. 27
TROUBLE SHOOTING. ......................... 28
SPECIFICATIONS. .............................. 29
FRAME AND ENGINE NUMBER
LOCATION ........................................
30
EMISSION CONTROL SYSTEM
WARRANTY....................................... 31
BRAKES ............................................22
2
COLEMAN POWERSPORTS LIMITED WARRANTY
This Warranty is NOT the Emissions Control Warranty
Please note this is a general Limited Warranty for this product. It IS NOT an Emissions Control
Warranty. Please see the Emissions Control Warranty in this manual for warranties covering
Emission components. The Emissions Control Warranty can be found on page 31.
The Warranty
Coleman Powersports offers the following warranty to the initial purchaser of this new
Coleman Powersports product. The initial purchaser is defined as the first person to
purchase a new Coleman Powersports product from an Authorized Retailer.
The limited warranty period for this product is 90 days from the date of purchase shown
on the original sales receipt.
What is a Defect?
The Product is warranted to be free from manufacturing defects in material and
workmanship for a period of 90 days from the date of purchase shown on the sales
receipt. During this period of time Coleman Powersports will, at its option, either repair,
refund purchase amount, or replace any original Coleman Powersports unit/part which
is covered by this warranty and is proven to be defective in workmanship or material.
To qualify for this warranty the part:
1. Must have been purchase from Coleman Powersports or from an authorized
Coleman Powersports Retailer.
2. Must have been used in a manner consistent with the intended use for the vehicle.
This warranty does not apply to any vehicle which is used in competition or used in
a manner not consistent with the intended use for the vehicle which would also
include rental or commercial use.
Who Can Perform Repairs Under this Warranty?
Repairs under this warranty should be performed by an authorized Coleman Powersports
retailer or comparable servicing dealer.
How to get service under this warranty
To get warranty service call Coleman Powersports at 888-405-8725 for the location of
your local servicing retailer / dealer. Please do not return the product to the retailer
where the product was purchased unless instructed to do so by Coleman Powersports.
The retailer of this product does not make any warranty of its own and has no authority
to implement this warranty on behalf of Coleman Powersports without the approval of
Coleman Powersports. A COPY OF YOUR SALES RECEIPT IS REQUIRED FOR WARRANTY
SERVICE.

3
What this Warranty Does Not Cover
This warranty does not cover the following
1. Damage due to lack or improper maintenance as describe in this manual.
2. Damage which is caused by normal use and not cause by a defect in materials or
workmanship.
3. Use of the product which is not consistent with the intended use as described in the
operating instructions.
4. Any expendable maintenance items which needs replacement or service as normal
maintenance requires unless these normal maintenance items become defective prior to
their normal life due to a material defect or a defect in workmanship.
5. Any product which has been altered or modified in a manner not consistent with the
original design of the product or in a manner not approved by Coleman Powersports.
6. Tires
7. Damage or failures due to abuse, neglect, or misuse of the product.
Limitations of this Warranty
This warranty does not cover and Coleman Powersports disclaims any responsibility for:
1. Loss of time or loss of use of the product.
2. Transportation costs to and from the authorized center.
3. Other loss or damage to other equipment or personal items.
Length of Implied Warranties
Any implied warranties are limited to the duration set forth in this warranty. Coleman
Powersports does not make any claim as to the merchantability or fitness for a particular
purpose which would extend longer than the duration of this written warranty.
Check your State Laws as some State Laws do not allow limitations as to the duration of
an implied warranty. Some States may also not allow limitation or exclusions based on
incidental or consequential damages.

LOCATION
IMPORTANT LABELS
1 2
4
5
3
6
7
4

5
1
Warning Labels 3
!WARNING
THIS VEHICLE IS AN OFF-
ROAD VEHICLE AND IS
NOT INTENDED FOR USE ON
PUBLIC ROADS/HIGHWAYS
2
!
WARNING
Check the following before
operating.
1.
Engine oil level.
2.
Lubricate and adjust drive
chain if necessary.
3.
Clean and Lubricate clutch.
4.
Insure all Guards are in place.
4
DO NOT RETURN TO STORE!
FOR SERVICE AND REPAIR, PLEASE
CALL COLEMAN POWERSPORTS
TOLL FREE 888-405-8725
5
!WARNING
Check the tires before operating to insure the
proper tire pressure. Improperly inflated tires
can lead to loss of control which could
result in injury or death.
Cold tire pressure:
Front: 10psi ± .5psi (69 ± 3.5kpa)
Rear: 10psi ± .5psi (69 ± 3.5kpa)
Maximum weight capacity is 200 LBS. (91 kg)
7
!
WARNING
This Mini Bike can cause serious injury or death
if the warnings and instructions in the owner’s
manual and on warning labels are not followed.
Never Operate this Mini Bike:
• at speeds too fast for your skills or the conditions.
• on public roads, a collision can occur with another
vehicle.
• carrying a passenger, a passenger can affect balance
and control.
• while under the influence of alcohol or drugs
• with long hair or loose clothing unconstrained. Long
hair and loose clothing can get caught in moving parts
of the mini bike and cause serious injury or death.
• operate this mini bike in an unsafe manner by
attempting stunts, jumps or wheelies. This could
lead to severe injury or death.
Always:
• wear a DOT certified helmet, eye protection, gloves,
over the ankle boots, long sleeve shirt and long pants.
• avoid paved surfaces, paved surfaces can adversely
affect handling and control.
• keep hands and feet away from all moving parts.
• Check the throttle to ensure it works properly and
"snaps back" prior to starting the mini bike.
• be seated before attempting to start the mini bike.
• continually supervise children
Recommended age 13 +
6
!
W
ARNING
Keep hands and
finge
rs away
from chains and sprockets.
Make sure guards are securely
in
place before
operation.
!
W
ARNING
HOT
SURFACES
A
llow to
c
ool
before
refueling

6
This Mini Bike is recommend-
ed for riders 13 and older.
Always wear a certified DOT
motorcycle type helmet that
fits properly, over the ankle
boots, eye protection, gloves,
long sleeve shirt and long
pants while operating this
mini bike.
Never allow a passenger on
this mini bike. This mini bike
is designed for one operator
and no passengers.
Never operate this mini bike
on paved surfaces and/or
public roads. Pavement may
cause the mini bike to
become unstable. The tires
on the mini bike are for
off-road use only.
Always go slowly and pay
attention to unfamiliar terrain.
Be alert to changing terrain
conditions when operating the
Mini bike.
Never operate with long hair
or loose clothing uncon-
strained. Long hair and loose
clothing can get caught in
moving parts of the mini bike
Never take drugs or alcohol
before or during operation of
this mini bike.
Never traverse, climb or go
down a hill that is too steep.
Avoid hills with loose or
slippery terrain.
Never attempt wheelies,
jumps or any other type of
stunts on this mini bike.
Always follow the pre-ride
inspection procedures and
maintenance procedures
located in this manual before
use.
Always go slow on terrain that
is not familiar, be alert, an
obstacle could come up
unexpectedly.
Always keep both hands on
the handlebars and both feet
on the foot pegs, doing so will
help the operator be ready for
unexpected situations.
Do not operate in fast flowing
water. Water can affect the
braking performance of the
mini bike. Check braking
performance after exposure
to water, it may be necessary
to apply the brakes allowing
friction to dry out the pads.
Always Check the throttle to
ensure it works properly and
“snaps back” to idle prior to
starting the mini bike.
SAFETY

7
DESCRIPTIONS AND PART LOCATIONS
1.1. Rear Fender
2.2. Seat
3.3. Air filter assembly
4.4. Fuel Tank and Cap
5.5. Front Fender
6.6. Front Wheel
7.7. Starter Recoil Cord
8.8. Fuel Valve
9.9. Choke Lever
10.10.10. Carburetor
11.11.11. Rear Wheel
12.12.12. Muffler
13.13.13. Chain Guard
14.14.14. Chain adjustment bolts
15.15.15. Chain
16.16.16. Kick Stand
17.17.17. Foot Pegs
18.18.18. Clutch Cover
19.19.19. Front Shock Absorption
20.20.20. Rear Brake Lever
21.21.21. Headlight
22.22.22. Throttle Cable
23.23.23. Left Hand Brake Grip
24.24.24. Headlight switch
25.25.25. Engine Stop Switch
26.26.26. Throttle Grip
1
8
3
2 5
4
6
9 7
13
12
11
14
10
17 16 15
19 18
21 22
20
25
23 26
24

8
DESCRIPTION AND PART FUNCTIONS
Throttle Grip(1): The engine speed is
regulated by the position of the right
throttle grip. Throttle is increased by
turning the throttle grip toward the
operator. Engine speed is decreased by
turning the throttle grip away from the
operator.
Engine Stop Switch (2): Mini Bike engine
can start when the Engine stop switch is
placed in the (on) position. Engine
will shut off and the engine will not start
when the switch is placed in the (off)
position.
Left hand brake lever (3): The rear brake
is applied when the left hand brake lever
is pulled toward the hand grip.
1
2
3

9
1
DESCRIPTION AND PART FUNCTIONS
3
4
Choke operation
Choke Lever (1): If the engine is cold, the
choke can help start the engine by placing
the choke lever to the “ON” (left) position.
Once engine has warmed up, place choke
lever to the “OFF” (right) position.
Fuel Valve operation
Fuel Valve (2): To start the engine and run
the mini bike, the fuel valve needs to be
placed in the “ON” (right) position. This
allows fuel to flow to the carburetor. When
finished riding, and while transporting,
place fuel valve in the “OFF” (left) position.
Fuel Cap
Fuel Tank Cap
To open the fuel tank cap (3), Turn the cap
counter clockwise to remove. To re-install
the cap, turn the cap clockwise until snug.
Starter Recoil Cord
Starter Recoil Cord (4)
To start the engine, place the on/off switch
locate on the handlebars to the “ON”
position and pull the Starter Recoil Cord
2
5 Oil Fill plug
Oil Fill Plug (5)
To check or add oil, open the oil fill plug/
dipstick by turning counter clockwise. To
tighten, turn clockwise.

10
el
Filling
FUEL
FUEL AND OIL
Never use leaded gasoline in this
product. It could affect the engine’s
emissions and damage the engine.
Mini Bike requires clean unleaded
regular gasoline with a minimum
octane rating of 86 or higher.
Gasoline/ Ethanol blends
A blend of unleaded gasoline with
Ethanol, also known as GASOHOL,
at or below 10% (E10 ) can be used
in your Mini Bike. Ethanol greater
than 10% can damage your engine
and will void your warranty.
Gasoline/Methanol
Blends
A blend of gasoline with Methanol
of 5% or less can be used in your
Mini Bike. Do not use gasoline,
under any circumstances, contain-
ing more than 5% Methanol, doing
so will damage your engine and will
void the warranty.
Fu
!WARNING
Fuel and fuel vapor are highly
flammable and toxic. You can
be burned or poisoned while
refueling.
Before refueling make sure to
follow the procedures listed:
1 Shut off engine, Make sure
there are no flames, sparks
or heat sources close by.
2 Refuel only outdoors in a well
ventilated area.
3 Do not smoke while
refueling.
4 Wipe up any spills
immediately.
5 Avoid breathing any fuel
vapors.
6 Keep children and pets
away.
ENGINE OIL
The recommended oil for this Mini
Bike is SAE10W-30 motor oil, if this
oil is not available, any of the oils on
the chart below will work. Note the
temperature requirements for each
of the oils.
Quantity of oil - .63qt. (.6L).
!W
ARNING
Over
filling
the fuel tank can
cause
the
fuel
t
o
e
xpand
which can cause ov
erflo
w
due t
o
the heat
from
the
engine or sun. Spilled fuel
can catch fire.
Never
fill
the fuel tank above
the bottom of the
filler
neck.

11
PRE-RIDE INSPECTION
Inspecting and checking the condition of
the Mini Bike before each ride is
important. Following the pre-ride check
list will help insure the you do not have
mechanical problems which could result in
injury or becoming stranded. Make sure
the Mini Bike is in good operating
condition before each ride.
!WARNING
Failing to inspect and maintain
your Mini Bike could be
hazardous.
Not following the pre-ride
inspection procedures could
result in loosing control of the
Mini Bike resulting in an
accident or damage to the Mini
Bike
Always perform a pre-ride
inspection before each ride.
!WARNING
Performing maintenance and
checks while the engine is
running could be hazardous.
You could be severely injured by
moving parts or hot surfaces.
Never perform maintenance or
check procedures while the
engine is running with the
exception of checking the engine
stop switch or throttle.
WHAT
T
O
CHECK
CHECK FOR
St
eering
• Smoothness
•
No restriction of
mo
vement
Brak
es •
Brak
e
pad wear.
•
Proper brak
e lev
er
play
Tires •
Proper tire pressure
•
•
Proper tread
depth
Rubber has no
crac
ks
Fuel
T
ank
•
Enough fuel for
the
ride
•
Fuel cap
secure
• Hoses
ha
ve
no
signs of crac
ks
or
leaks
Thro
ttle
grip
• Thr
o
ttle
grip snaps
bac
k t
o idle when
released
•
Operat
es freely
•
Has correct
free
play
Engine
St
op
Switch
• Switch shuts
off
engine when
activated.
Engine
Oil
•
Correct oil
level
Driv
e
Chain
•
Proper
t
ension
•
Lubricated
•
No
excessive
wear
or damage
General
Condi-
tion
•
All nuts and bolts
tight
•
No
rattles
from
engine or frame
while running

RIDING THE MINI BIKE
HELMET, EYE PROTECTION,
PROTECTIVE CLOTHING
Always wear a DOT or SNELL certified
motorcycle helmet (1). A helmet helps
protect against serious head injuries in the
event of an accident. A helmet is the most
important safety gear item you can wear.
Consult with a motorcycle dealer for the
correct size and type of motorcycle helmet
that is right for you.
Always wear eye protection when riding a
Mini Bike such as a face shield or goggles
(2). While riding a Mini Bike you can be hit
in the eyes by any of the following: dust,
branches, rocks, debris from other riders,
bugs, etc. Good eye protection as well as
a helmet and protective riding gear should
be mandatory when riding a Mini Bike.
Wear protective clothing: Long sleeve shirt
(3), Gloves (4), Long pants (5), over the
ankle boots (6).
Riding a Mini Bike exposes the rider to
many hazards, wearing protective clothing
can help protect the rider from injury.
1
2
4
5
6
!W
ARNING
Riding
the
Mini
Bike
without a
helme
t,
e
y
e
pro
t
ection, and
pro
tective
clothing can
be
hazardous
Riding a Mini
Bike
without a
helmet
increases
the
chance of
severe
head injury or
death
in
the
event
of an accident.
Riding a Mini
Bike
without
e
y
e
pro
t
ection such as a face shield or
goggles
could result in
severe
injury in
the event
of an accident.
Riding a Mini
Bike
without
pro
tective
clothing; o
v
er
the
ankle
boo
ts,
long pants, glo
ves,
long
sleeve
shir
t
could result in
severe
injury in
the event
of an accident.
Always wear a
Helme
t,
e
y
e
pro
tec
-
tion, long pants, long
sleeve
shirt,
o
v
er
the
ankle boo
ts
and glo
ves
when riding
the
Mini
Bike.
3
6
12

13
RIDING THE MINI BIKE
STARTING ENGINE
To start the engine
1. Place the fuel valve (1) in the
“ON” (right) position.
2. If engine is cold, place the choke
lever (2) in the “ON” (left) position.
3. Place the ON/OFF switch (3),
located on the handlebars, in the
(on)position.
4. Pull the starter recoil cord (4) to
start the engine.
5. Once engine has warmed up for a
few minutes, place the choke lever
(2) back to the “OFF” (right) position.
2
1
3
4
!WARNING
Starting or running the Mini Bike
in an enclosed area such as a
garage or shed where there is no
ventilation is hazardous
Inhaling exhaust fumes from the
Mini Bike can cause severe
injury or death
Never start or run the Mini Bike
in an inclosed environment
where there is no ventilation.
Always start and run outdoors.

14
RIDING THE MINI BIKE
STARTING OFF
1. Start and warm up the engine
according to the instructions in this
manual.
2. Place the side kick stand in the
up position.
3. Apply the throttle gradually to
start riding. Practice riding Mini
Bike on a flat dirt surface that has
plenty of room for turning.
!W
ARNING
T
urning
the
thro
ttle
grip
t
o full
thro
ttle
wh en starting off could
be
hazardous.
The
Mini
Bike
could lurch forward
causing
the
front
wheels t
o lea
ve
the
ground causi ng loss of control.
Always open
the
thro
ttle
gradually
when starting off from a
st
opped
position.
!W
ARNING
Operating
this
Mini
Bike
at
excessive
speeds
could
be
hazardous.
Riding at
excessive speeds
increas
es
your chances of losing control of
the
Mini
Bike,
which could result in
severe
injury or death.
Always go at a
speed that
is proper for
the t
errain, visibility, operating
conditions, operator skill, and operator
e
xperience. Always know
the t
errain
bef
ore riding.
!W
ARNING
Braking while turning could
be
hazardous.
Braking while turning could
cause
the
Mini
Bike t
o slide out of
control which could result in
severe
injury or death.
Bef
ore making a turn, slow down
and
release the
brak
e.
!W
ARNING
R
emo
vin
g
hands from
the
handle-
bar
s
and/or f
eet
fr om
the
foo
trest
whi
le
operatin
g the
Mini
Bike
could
be
ha
z
ardou
s
.
R
emo
vi ng bo
th
or one hand from
the
handlebar
s
and/or f
eet
from
the
foo
trests
could result in loss of
control of
the
Mini
Bike
resulting in
severe
injury or de ath.
Always ride with bo
th
hands on
the
handle bar
s
and bo
th
f
eet
on
the
foo
trests
while operating
the
Mini
Bike.

15
RIDING THE MINI BIKE
Load Guidelines
Load guidelines including accessories:
Never exceed the maximum load capability
of the Mini Bike. This includes the weight
of the rider and any cargo. This Mini Bike
is rated at 200 lbs. (91kg).
Do not add any accessory or cargo to the
handlebars that could impede vision or
make the Mini Bike harder to steer.
Make sure accessories do not get in the
way of any controls of the Mini Bike.
After Market parts
After market parts and accessories may be
available from other manufactures.
Coleman Powersports cannot confirm the
quality, safety or suitability of accessories
available. When purchasing an
accessory, use caution, the handling of the
Mini Bike could become affected. Some
accessories may make the Mini Bike
unsafe to ride. If you have a question
about a modification or accessory, contact
your dealer or call Coleman Powersports.
!W
ARNING
Riding
this
Mini
Bike
with
modifications
or adding
accessories
could
be
hazardous.
Modifications
to the Mini Bike,
including adding accessories,
could adversely aff
ect the
handling of
the
Mini
Bike
causing
an accident which could result
in
severe
injury of death.
Nev
er Modify
this
Mini
Bike
in
anyway, including adding
accessories,
unless the
modification
is a genuine
cer
tified modification
or
accessory
appro
v
ed by
the
manufacture.
Nev
er modify
the
Mini
Bike
with improper
installation. Mak
e
sure
t
o follow
all instructions recom-
mended in
the cer
tified modifica-tion.
Use
only genuine par
ts.
For
questions, contact your dealer.

16
MAINTENANCE
For maintenance, your mini bike
may be maintained by an
authorized Coleman Powersports
service dealer or a repair shop of
your choosing.
Following the proper maintenance
procedures and time table for
maintenance listed in this manual is
important for the safety of the rider
and the life span of the Mini Bike.
When riding in harsh conditions,
such as water, mud and dust, the
maintenance procedures should be
performed more often.
CA
UTION
Failin
g t
o
use
compatible par
ts
with
the
original replac
ement
par
ts
could da
mage
Mini
Bike
Using par
ts that
are of low quality
could result in Mini
Bike
break-
downs and reduce
the
useful lif
e
of
the
Mini
Bike.
Nev
er
use
par
ts that
are no
t
compatible with
the
original par
ts.
.
!W
ARNING
P
erforming maintenance and
inspection while
the
engine is
running could
be
hazardous.
P
erforming maintenance and
inspections while
the
engine is
running could result in
ge
tting body
par
ts
or clothing caught in
mo
ving
par
ts,
or could result in
t
ouching ho
t
it
ems
which could result in
severe
injury.
Shut
off engine when performing
maintenance and inspection
c
hecks,
with
the ex
ception of
c
hec
king
the
engine
st
op switch
and thro
ttle.
!W
ARNING
Failing
t
o perform
the
recommend-
ed maintenance on
this
Mini
Bike
could
be
hazardous.
Failing
t
o perform proper
maintenance on
this
Mini
Bike
could result in an accident
Always perform
the
recommended
maintenance for
the
Mini
Bike
as
no
t
ed in
this
manual.
CA
UTION
Failing
t
o perform recommended
maintenance on
this
Mini
Bike
could damage
the
Mini
Bike
engine
and components
Always perform
the
recommended
maintenance on
this
Mini
Bike
as
listed in
this
manual.
Maintenance will
need t
o
be
performed
more
of
t
en if ridden in
w
e
t, muddy or dusty conditions.
Other manuals for RB200
1
Table of contents
Other Coleman Powersports Offroad Vehicle manuals

Coleman Powersports
Coleman Powersports AT200-B User manual

Coleman Powersports
Coleman Powersports RB100-PR 2017 User manual

Coleman Powersports
Coleman Powersports BK200 User manual

Coleman Powersports
Coleman Powersports SK100 User manual

Coleman Powersports
Coleman Powersports AT125EX User manual

Coleman Powersports
Coleman Powersports AT125EX User manual

Coleman Powersports
Coleman Powersports AT125UT User manual

Coleman Powersports
Coleman Powersports AT125UT User manual

Coleman Powersports
Coleman Powersports AT110 User manual

Coleman Powersports
Coleman Powersports RTK196 User manual