6. Cleaning your water dispenser
It’s easy to keep your high-quality, two temperature water dispenser in clean
condition year round. Just keep several basic cleaning items on hand and
set aside a few minutes to clean your dispenser every 3-6 months
(recommended).
Be sure to have the following items within reach before you begin cleaning
your dispenser:
• lean pair of rubber gloves
• Paper towels
• lean scrub brush or cleaning pad
• Boiling water
0 easy steps:
Note: Always wait until water bottle is empty before starting the cleaning
process.
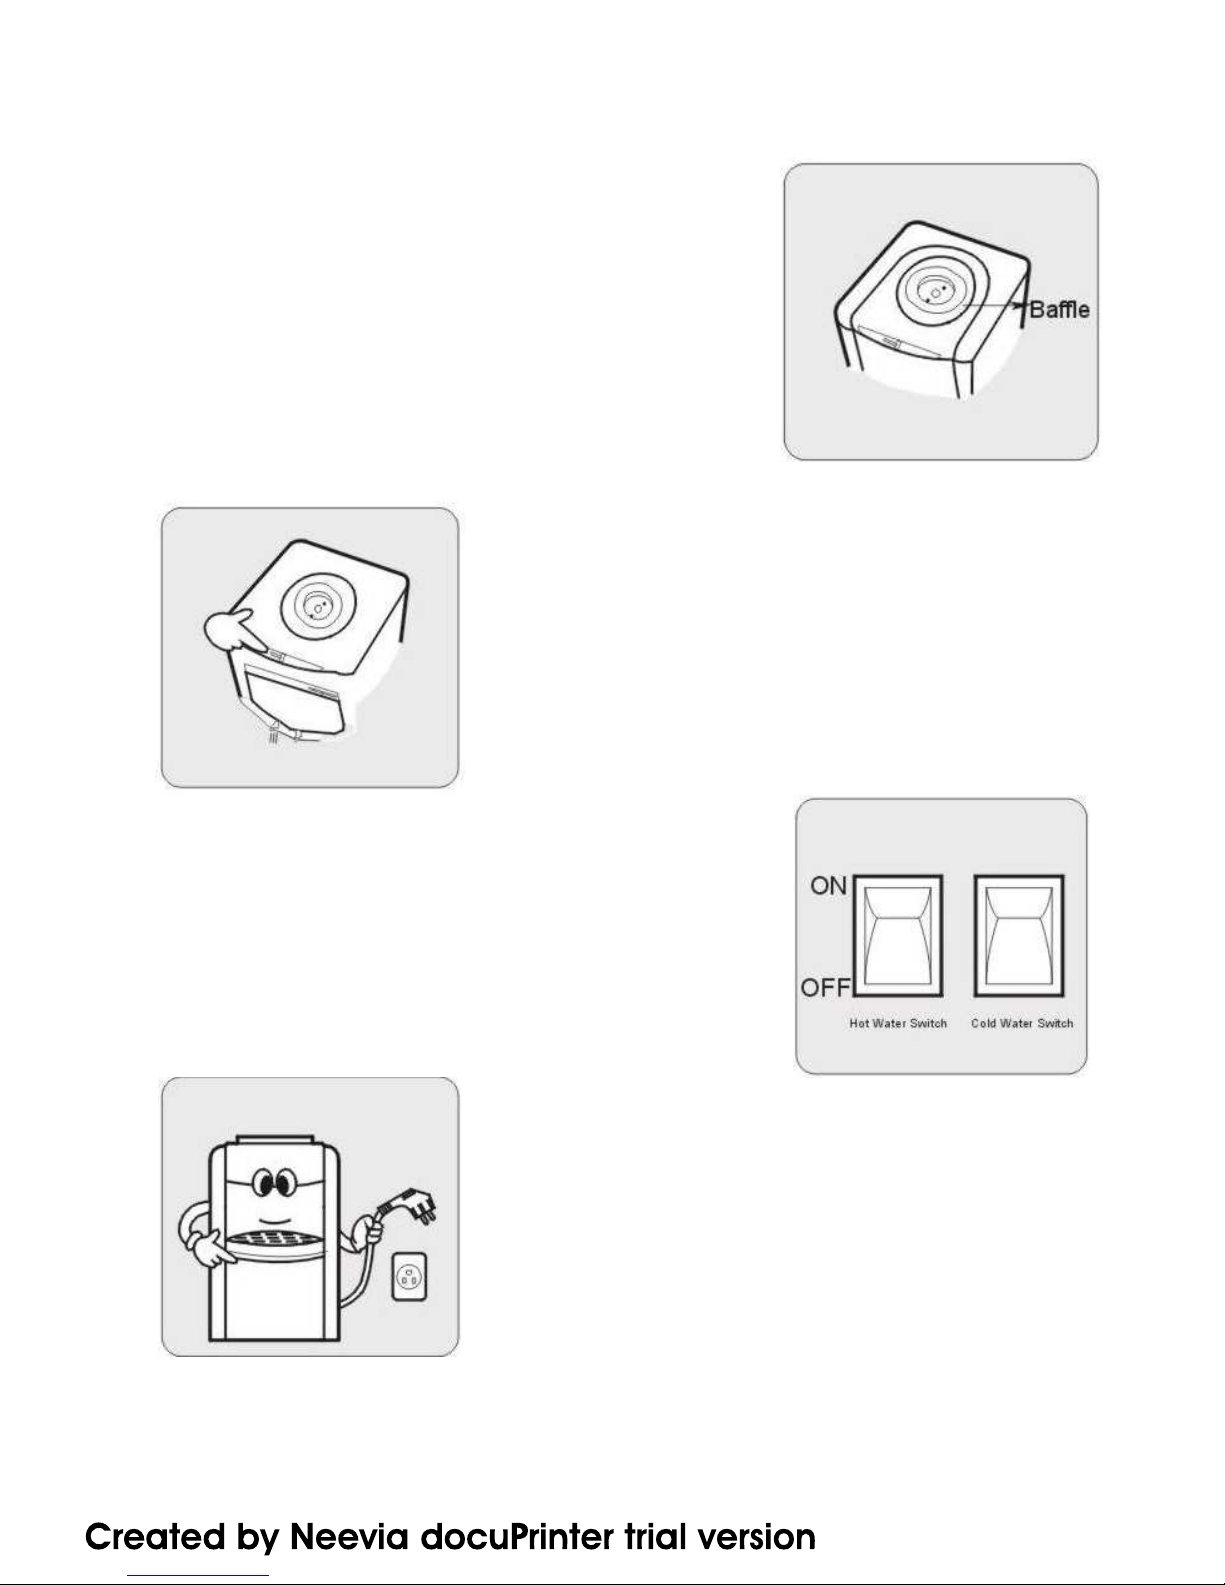
1. Unplug the dispenser’s electrical cord from its outlet. Remove water bottle from
the top of the dispenser’s unit.
2. arefully fill the reservoir with clean, boiled water. Let the water sit for 3 minutes
to partially cool. Always use care around hot water!
3. Wearing rubber gloves use a clean scrub brush or cleaning pad to gently clean
the reservoir and baffle. (NEVER USE SOAP, LEANING FLUID, STEEL WOOL
OR OTHER ABRASIVE MATERIAL TO LEAN THE UNIT).
4. Drain the water in the reservoir completely by pressing the dispenser buttons.
Fill the reservoir again with clean, boiled water. Wait another 3 minutes for the
water to cool and then gently clean the reservoir again with the scrub brush or
cleaning pad. Wipe outside of the dispenser, including the dispenser buttons, body
and handles.
5. Drain the reservoir completely by pressing the dispenser buttons.
6. Place a new, full bottle of water on top if the dispenser unit.
7. Remove the air from the tank by pressing the hot water button until the water
flows freely. To activate, push the safety lever to the left and press button.
8. Plug in the dispenser and wait a few minutes for the water to heat up and cool.
Enjoy your clean dispenser!
Note: Wait until all the air has been removed from your water dispenser before
pluging it back into an electrical outlet. Always use a grounded electrical outlet.