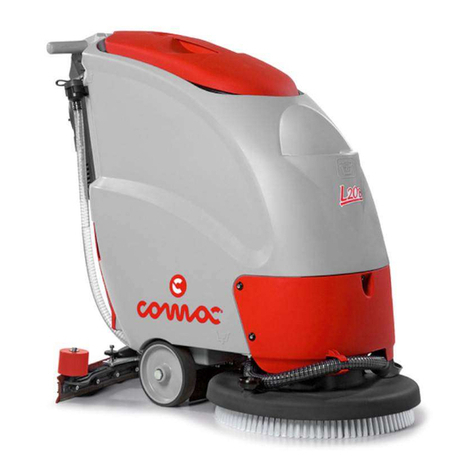
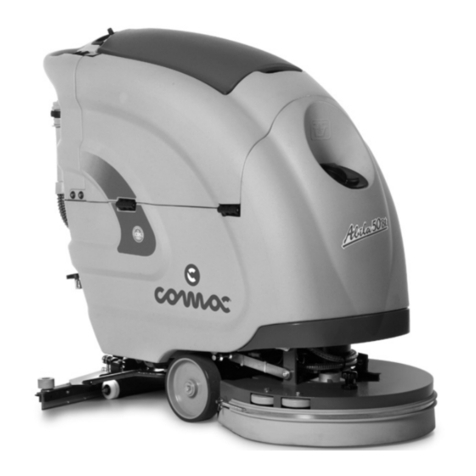
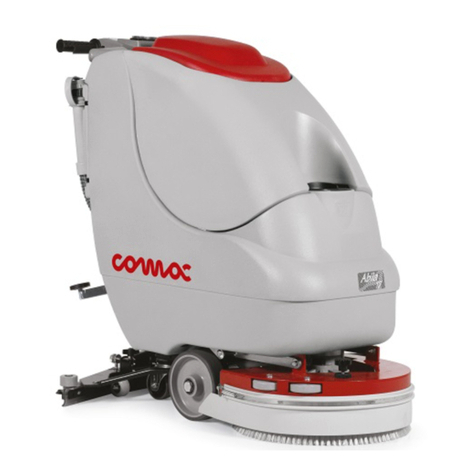
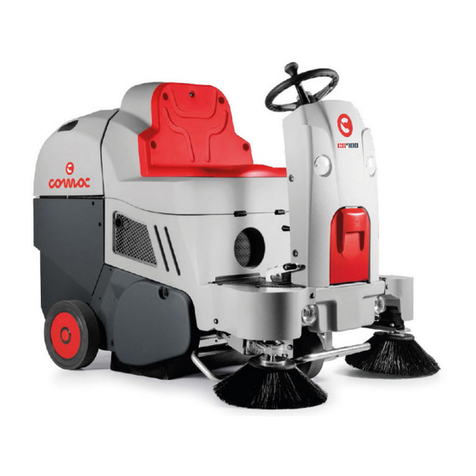
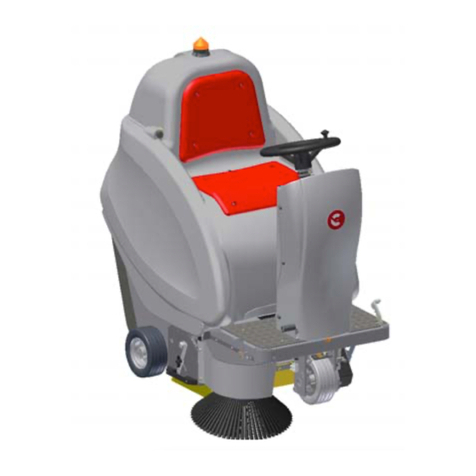
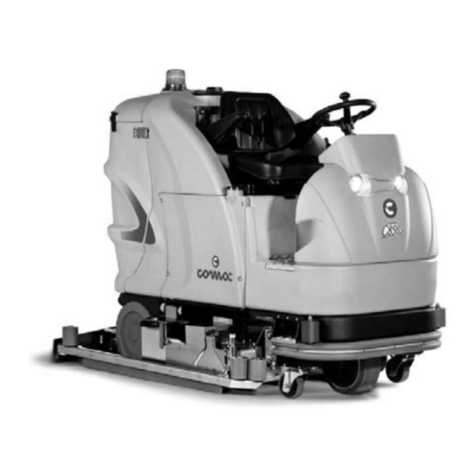
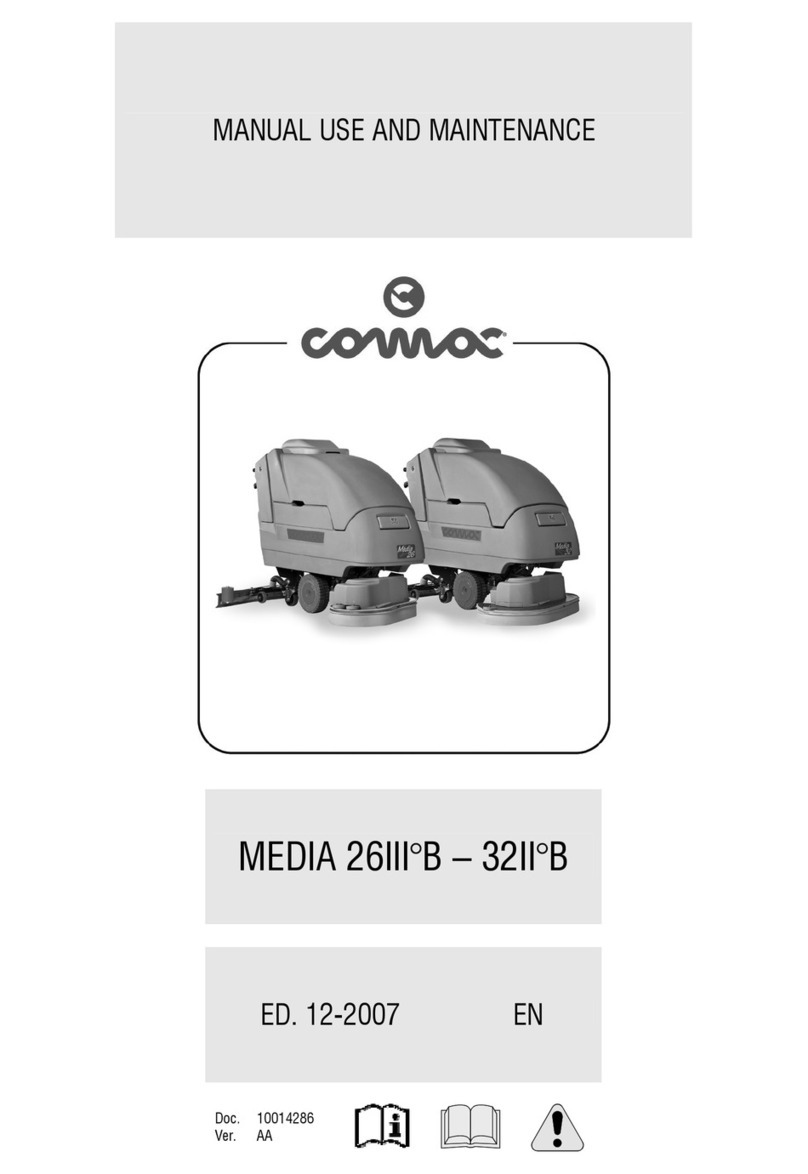
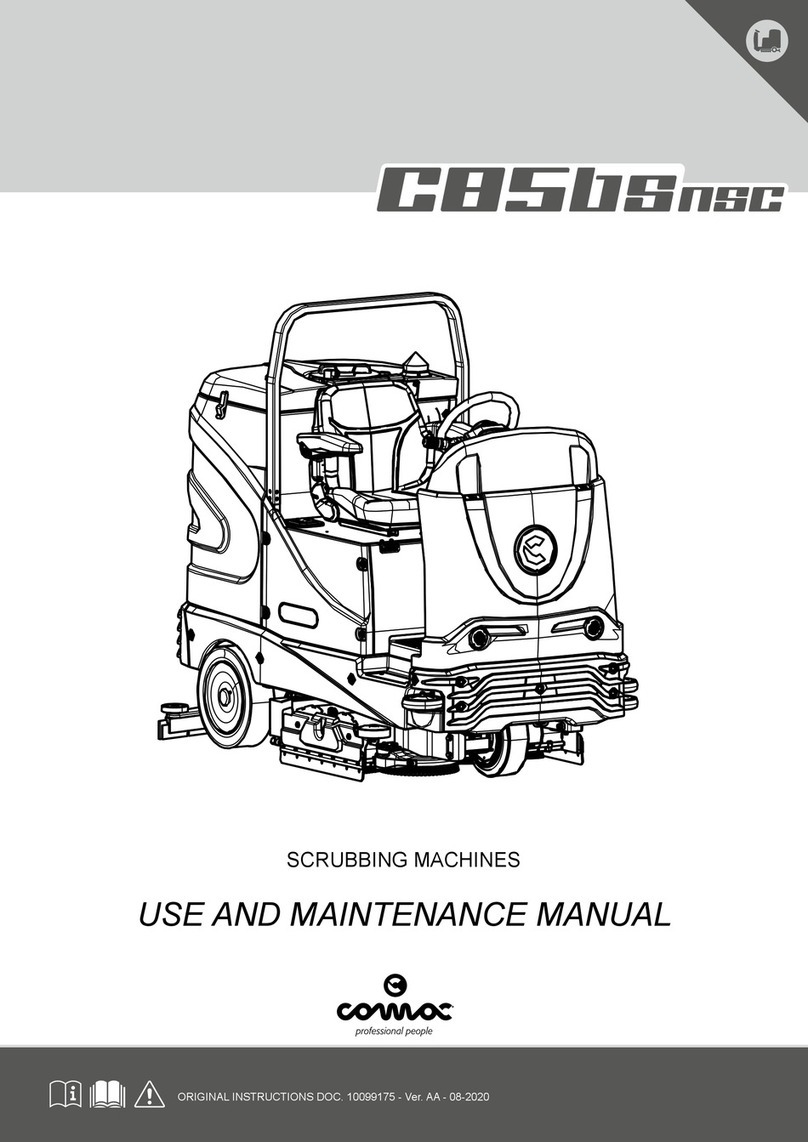
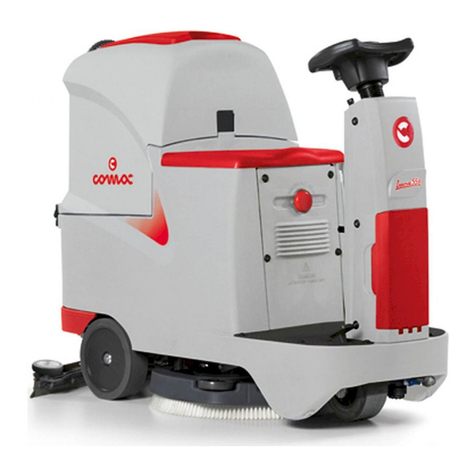
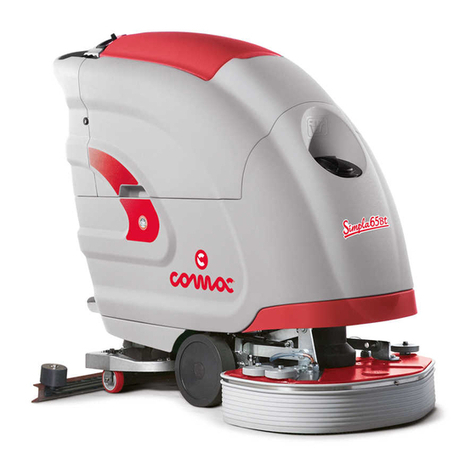
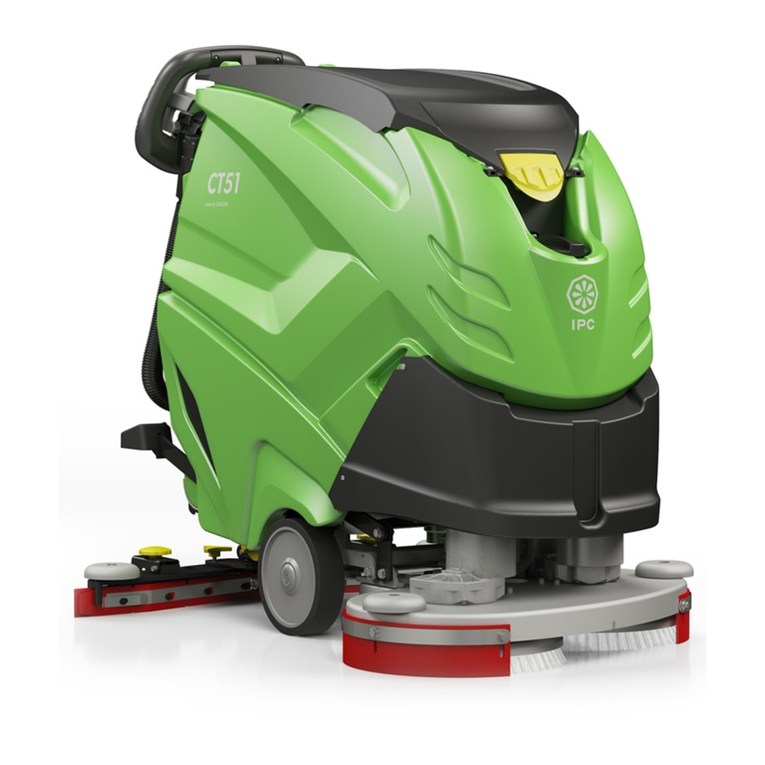
Disassembling the brush (Base with cylindrical brushes)
To remove the brushes:
1. Turn the key anti-clockwise to OFF
2. Stop the machine moving by applying the brake lever (2)
3. Insert the blocking pin (3) in the holes of the brake handle to prevent
the lever slipping.
Attention: Do not leave the machine on slopping or wet floors,
and check the parking brake is correctly applied.
4. Check there are no wires, bits of plastic or anything else at the ends
of the brushes; these objects could stop the brushes from rotating freely.
If the brushes are not clean:
5. Loosen the closure element (1)
6. Release the splash guard (2)
7. Remove the idle hubs (3) that support the brushes (4)
8. Remove the brushes (4), clean them with a jet of water, then reassemble
them. Check the brushes are not worn; in the event of excessive wear, replace
the brushes (the bristles should be at least 10mm long)
9. Reassemble the splash guards (2), inserting first the hubs (3) in the toothed
seat of the brushes and tightening the closure element (1).
Weekly Maintenance
Cleaning the Squeegeee Tube
Every week, or whenever suction seems to be unsatisfactory, check the squeegee tube is not obstructed. To
clean it, proceed as follows:
1. Remove the tube from the sleeve on the squeegee
2. open the recovery tank
3. Remove the other end of the tube (2) from the rubber-holder
connector (3) of the recovery tank
4.
4. Wash the inside of the tube with a jet of water (from the tank side)
5. Reassemble the tube
Checking the Wheel Brake
Every week, check the distance between the work brake pads and the wheels.
If neccessary, adjust them by means of the nut, so they are at a distance of 3mm
when homed.
Cleaning Solution Filter
1. Turn of the cap beneath the symbol (1)
2. Loosen the cap (2) of the solution filter
3. Remove the filter and rinse with a jet of water
4.Reassemble the filter and tighten the cap
5. Turn on the cap beneath the symbol (1)
Attention: These operations must be carried out
using gloves to protect contact wiht dangerous solutions.
Cleaning the Solution Tank
1. Loosen the front of the solution tank
2. Loosen the wing nut of the drainage cap (1), to the left of the tank,
and remove the cap
3. Rinse the inside of the tank with a jet of water
4. Insert the cap in the tank, and retighten the wing nut (1)
Attention: These operations must be carried out using gloves
to protect contact against dangerous solutions.
Industrial Floorcare Machines | Issue 1 | 3rd May 2012
