Comfortaire IR30S User manual

Radiant Infrared Electric Heater
IR30S and IR60S
FOR OUTDOOR COMMERCIAL USE ONLY
IP65 Rated for Wet Conditions
INSTALLATION &
OPERATION MANUAL
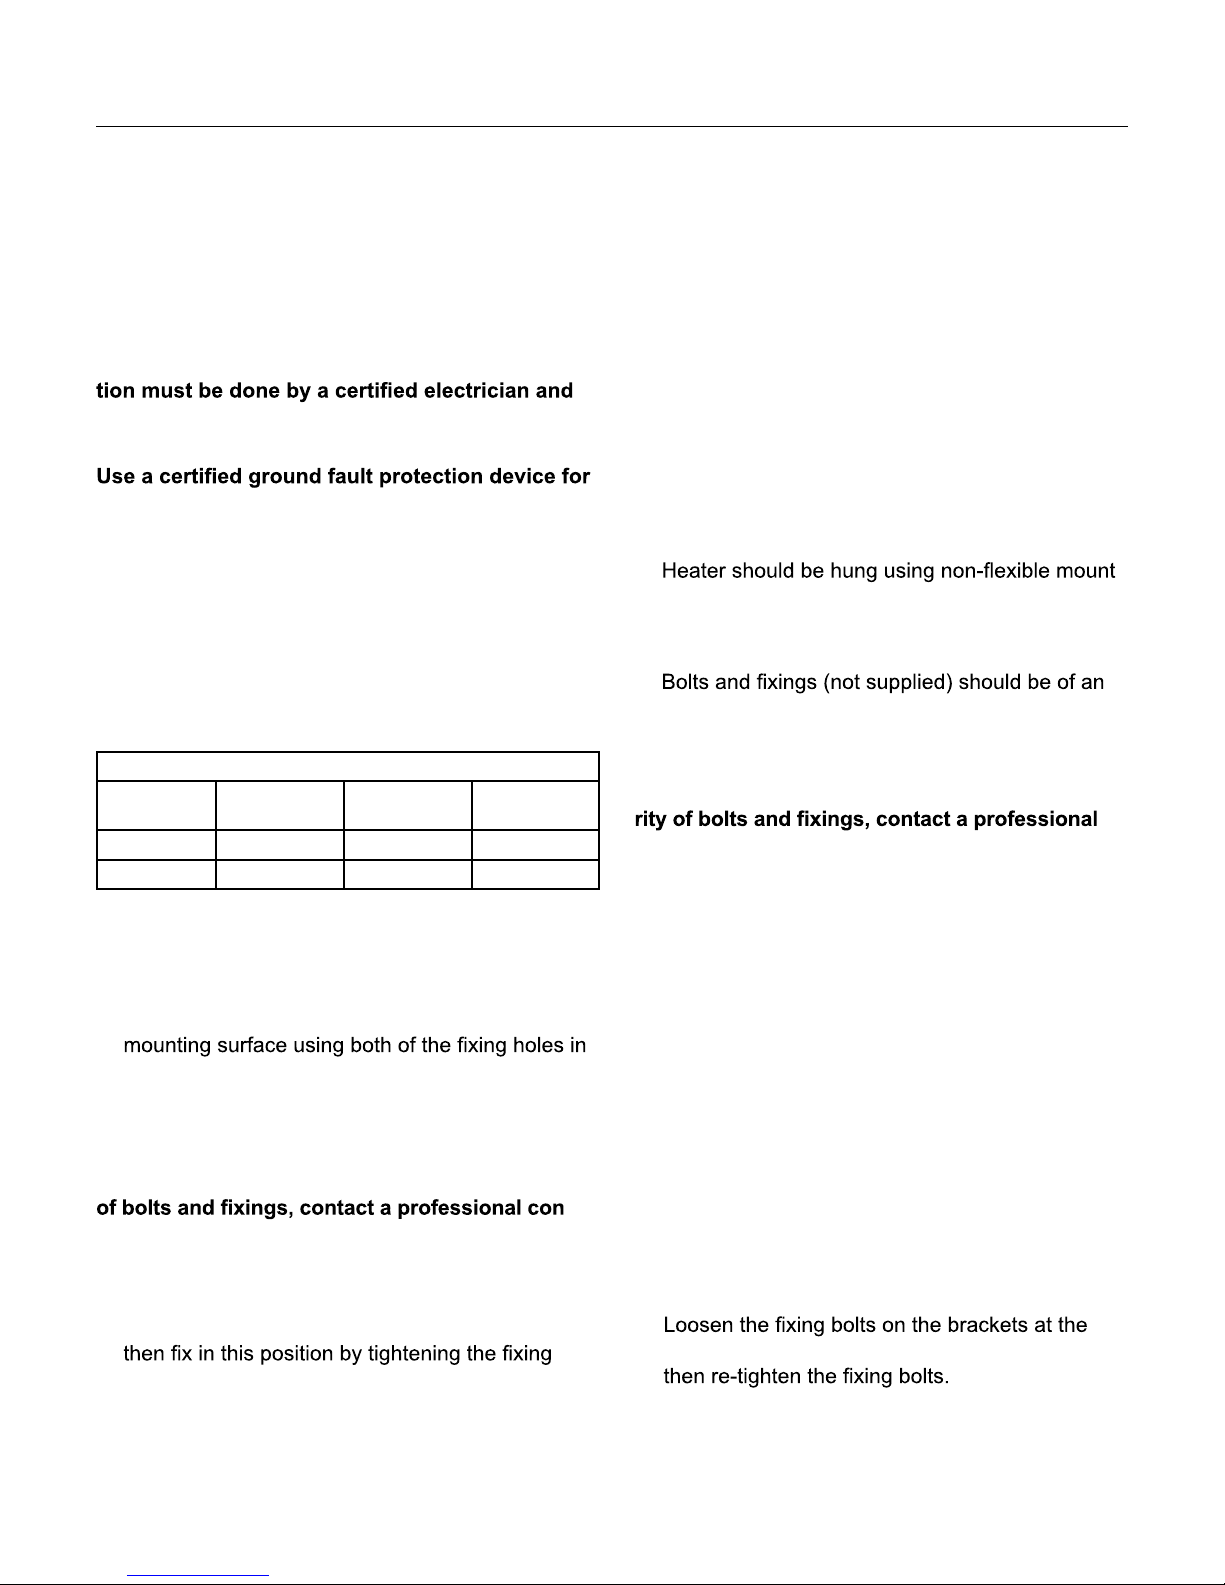
SPECIFICATIONS
MODEL VOLTAGE
TOTAL POWER
(WATTS)
CURRENT
(AMPS)
IR30S 208/240-1-60 2250/3000 10.8 / 12.5
IR60S 208/240-1-60 4500/6000 21.6 / 25.0
1
AITONS EQUIPMENT • Guelph, ON N1H 6H9 •1-888-744-2911 •www.aitons.com

This electric appliance produces infrared heat, and failure to follow
.
This heater is designed for outdoor commercial use only.
READ AND SAVE THESE INSTRUCTIONS!
WARNING
FIRE OR EXPLOSION HAZARD
•Failure to follow safety warnings exactly could
result in serious injury or property damage.
•
or liquids, including aerosol cans, in the vicinity of
this heater while it is operating.
•
materials on or near the heater, or allow them to
come in contact with the unit: rags, fabric, spray
or aerosol cans, cleaning compounds, plastics
or plastic containers, paper products, gasoline,
•Do not install the heater close to furniture, curtains
(1.8 meters) between all sides of the heater and
•Do not cover or otherwise obstruct the heater.
•Do not use heater without wire guard in place.
WARNING
PERSONAL INJURY HAZARD
•Do not touch the heater during operation. Burn
or scald injury could result. The casing and
components are extremely hot during operation.
•Keep children away from the heater. Never leave
an unsupervised child near the heater.
•Because of injury risk, the heater should be
operated only by individuals knowledgeable about
the operation and familiar with the warnings and
cautions listed in this manual.
•Because of injury risk, this heater is not intended
for use by persons with reduced physical, sensory
or mental capabilities.
•Heater is not for use in bathrooms, laundry areas
or other locations where unit could fall into a body
of water.
WARNING
PERSONAL INJURY HAZARD–SERVICE
•To avoid property damage, personal injury or death
due to electrical shock, do not service the unit
the wired circuits from the main power supply.
•Allow adequate time for the unit to cool down completely.
•
service technician.
•Do not use the heater if the power cord is damaged.
electrician to replace the cord prior to use.
•Do not use heater if it has been dropped or dam-
aged in any way, until it has been inspected by an
authorized service facility.
•When cleaning heater or replacing emitter, disconnect
wired circuits from the power supply. Be sure heater
and/or emitter has cooled completely, before handling.
WARNING
INSTALLATION & USE
To avoid property damage, personal injury or death
due to electrical shock, follow all instructions in this
Installation and Operation manual.
•
bottom and back of unit must be met. Failure to
•
and must adhere to all local, state and national
electric codes (NEC).
•Heater must be grounded and hard wired.
•Keep the power cable away from body of heater.
Do not use heater if power cord is damaged.
•Do not insert or allow foreign objects to enter any
of the heater openings. Electrical shock could
result.
•Never leave the heater unattended while it is
operating.
Installation & Operation Radiant Infrared Heater
WARNINGS
2
AITONS EQUIPMENT
ELECTRICAL INSTALLATION
WARNING: To assure safe operation, installa-
must adhere to local, state and national electrical
codes.
wet environment installations.
1. Supply voltage must correspond to the voltage
indicated on unit’s rating plate.
2. The cord from each terminal box must be hard
wired and properly grounded.
WARNING: Each power supply circuit must be
provided with a means of disconnection, and the
disconnecting means must be grouped.
WALL-MOUNTED INSTALLATION
WARNING: Observe minimum clearances shown
in chart above.
1. Securely fasten the L-shaped brackets to the
the short part of the bracket. NOTE: Wall bolts are
not supplied: select an appropriate size to provide
adequate support for the weight of the unit and
taking into consideration any wind load conditions.
CAUTION: If there is any question about security
-
tractor.
2. Mount the heater to the brackets with the terminal
box at the bottom of the heater.
3. Adjust the heater to the desired directional angle,
bolts on the brackets at the rear of the heater.
CAUTION: Do not position the heater at an angle
greater than 50° or less than 30°.
INTRODUCTION
Heat Controller’s infrared heater produces radiant heat that warms people and objects
rather than the air surrounding them. The heater can be mounted on a wall or ceiling,
and adjustable brackets allow the heat to be directed where desired.
This heater is designed for outdoor commercial use only.
MINIMUM CLEARANCE DISTANCES FROM...
MODEL FLOOR CEILING
ADJACENT
WALLS
IR30S 8' (2.44 m) 1' 8" (.51 m) 36" (.91 m)
IR60S 10' (3.05 m) 1' 8" (.51 m) 48" (1.22 m)
Installation & Operation Radiant Infrared Heater
4. Secure the electrical supply cable so it does not
come in contact with the heater body or obstruct
the air vents. Follow local and national electrical
code requirements.
CEILING-MOUNTED INSTALLATION
WARNING: Observe minimum clearances shown
in chart at left.
1. -
ing brackets (not supplied). Select brackets that
will maintain a minimum clearance of 1' 8" (.51
m) from the ceiling.
2.
appropriate size to provide adequate support
for the weight of the unit and any additional load
resulting from wind conditions.
CAUTION: If there is any question about secu-
contractor.
3. Secure the heater to the mounting brackets with
the heater facing directly down.
4. Secure the electrical supply cable so it does not
come in contact with the heater body or obstruct
the air vents. Follow local NEC code require-
ments.
ADJUSTING DIRECTIONAL POSITIONING
WARNING! Never attempt to move heater while
it is operating. Personal injury could result.
1. Power to the heater from the main supply must
be OFF to adjust the position. (Turn off circuit
breaker.)
2. Allow the heater to cool completely, before re-
positioning the angle.
3.
rear of the heater; re-position heater as desired,
CAUTION: Do not position the heater at an angle
greater than 50° or less than 30°.
3
AITONS EQUIPMENT

IMPORTANT: Read through the emitter replacement
procedure below before beginning the replacement.
CAUTION: Do not touch emitter with bare hands.
Wearing soft cotton gloves is highly recommended.
1. Turn OFF power switch and disconnect from
main power supply (circuit breaker).
2. Be sure the heater and emitter are cool com-
pletely,: burns can result from touching hot com-
ponents.
3. Remove the screws from the end of the heater
xture and remove the aluminum end cap.
4. Carefully slide the perforated front grille imme-
diately adjacent to the end cap off the end of the
unit.
5. Carefully slide the protective grille to the end of
the heater to expose the emitter and silicone
sealing connectors.
6. Carefully remove the emitter and silicone wire
connectors from the aluminum emitter clips, free-
ing the wire/connector system.
7. Carefully remove the silicone terminal connectors
from the ends of the emitter. Be careful not to
break the emitter terminal end inside the silicone
wire connector. Discard the used emitter.
8. Holding the new emitter by the ceramic ends OR
wearing clean dry gloves, place the silicone ter-
minal connectors onto the new emitter and re-clip
it into the emitter holder.
9. Carefully slide the protective grille and perforated
end cap into place, and replace screws.
MAINTENANCE
There are only two maintenance procedures which
can be done on location: cleaning the unit and
replacing the emitter. Return the heater to an au-
thorized service faciity for any other electrical or
mechanical adjustment or repair, including replace-
ment of a damaged power cord.
Should the heater be dropped or damaged, or mal-
function at any time, immediately turn off the main
power source and do not use heater until it has been
examined by an authorized service facility.
CLEANING
To remove dust or dirt on the reector, follow these
steps: Always make sure the unit has cooled com-
pletely, before performing any maintenance.
1. Turn the power switch OFF and disconnect heater
from the main power supply.
2. Remove the wire guard and carefully wipe the
reector with a soft, lint-free cloth.
CAUTION: Do not touch the emitter. Finger marks
will burn into the quartz emitter during use and
cause premature heater failture.
If emitter is inadvertently touched, or if it needs to be
cleaned, carefully wipe it using rubbing alcohol or
methylated spirits.
REPLACING EMITTER
Contact your distributor for the correct replacement
emitter, providing the model number and rating from
the rating label. Not using an exact replacement
emiitter can cause the heater to fail.
Installation & Operation Radiant Infrared Heater Heat Controller
4

5
Limited Express Warranty
Comfort-Aire®Infrared Heaters
COMMERCIAL INSTALLATION/USE:
LIMITED ONE (1) YEAR PARTS
EXPRESS WARRANTY
Heat Controller warrants all parts of the Infrared
Heaters to be free from defects in workmanship and
materials for normal commercial use and maintenance
for one (1) year from the date of purchase by the original
consumer.
The Express Limited Warranties described above apply
only when the Infrared Heater is installed and operated
per Heat Controller installation and operating instructions
for normal use.
EXCEPTIONS
The Limited Express Warranty does not cover normal
maintenance—Heat Controller recommends that
regular inspection/maintenance be performed according
to the Installation and Operation Manual. Additionally,
labor charges, diagnostic charges, transportation
charges for replacement parts, or any other service
calls/repairs are not covered by this Limited, and are
the responsibility of the user. It also does not cover any
portion or component of the system that is not supplied
by Heat Controller, regardless of the cause of failure of
such portion or component.
CONDITIONS FOR WARRANTY COVERAGE
•Unit must be operated according to Heat Controller
operating instructions included with the unit and
cannot have been subjected to accident, alteration,
improper repair, neglect or misuse, or an act of God
•Installation must be according to Heat Controller
installation instructions
•Rating plate has not been altered or removed
•Unit is not operated in a corrosive environment
•Performance cannot be impaired by use of any
product not authorized by Heat Controller, or by any
adjustments or adaptations to components
•Damage has not been a result of inadequate wiring or
voltage conditions, use during brown-out conditions,
or circuit interruptions
•Unit was not purchased over the internet.
DURATION OF WARRANTY & REGISTRATION
The warranty begins on the date of purchase by the
orginal consumer. The consumer must register the
product purchase at www.heatcontroller.com within 90
days of purchase. The consumer must retain a receipt
or bill of sale as proof of warranty period. Without this
proof, the express warranty begins on the date of
shipment from the factory.
REMEDY PROVIDED BY THE LIMITED EXPRESS
WARRANTY
The sole remedy under the Limited Warranty is
replacement of the defective part. If replacement
parts are required within the period of this warranty,
Heat Controller replacement parts shall be used; any
warranty on the replacement part(s) shall not affect
the applicable original unit warranty. Labor to diagnose
and replace the defective part is not covered by this
Limited Express, and is the responsibility of the user.
If for any reason the replacement part/product is no
longer available during the warranty period, Heat
Controller shall have the right to allow a credit in the
amount of the currentsuggested retail price of the part/
product instead of providing repair or replacement.
LIMITATION OF LIABILITY
1. There are no other express or implied warranties.
Heat Controller makes no warranty of merchantability.
We do not warrant that the unit is suitable for any
particular purpose or can be used in buildings or
rooms of any particular size or condition except
Operation document. There are no other warranties,
express or implied, which extend beyond the
description in this document.
WARRANTY CONTINUED ON PAGE 6
Warranty Radiant Infrared Heater AITONS EQUIPMENT
6
2. All warranties implied by law are limited in duration
to the one-year term of the Parts Warranty. Your
exclusive remedy is limited to the replacement
of defective parts. We will not be liable for any
consequential or incidental damages caused by any
defect in thisunit.
3.
may also have other rights which vary from state to
state. Some states do not allow limitation on how
long an implied warranty lasts or do not allow the
exclusion or limitation of incidental or consequential
damages, so the above limitations or exclusions may
not apply to you.
4. No warranties are made for units sold outside
the continental United States and Canada. Your
units sold outside these areas.
5. Heat Controller will not be liable for damages if
our performance regarding warranty resolution is
delayed by events beyond our control including
accident, alteration, abuse, war, government
HOW TO OBTAIN WARRANTY SERVICE OR PARTS
If you have a warranty claim or service question, contact
Heat Controller at 517-787-2100. Have the model
number and date of purchase available for this call. Do
not return your unit to the store where it was purchased.
Owner responsibilities are set forth in the
instruction manual—read it carefully.
Warranty Radiant Infrared Heater AITONS EQUIPMENT

7
This page intentionally left blank
Installation & Operation Radiant Infrared Heater AITONS EQUIPMENT

8
change and correction without notice and without incurring obligations. Determining
the application and suitability for use of any product is the responsibility of the installer.
Additionally, the installer is responsible for verifying dimensional data on the actual
product prior to beginning any installation preparations.
11/2014
AITONS EQUIPMENT • Guelph, ON N1H 6H9 •1-888-744-2911 •www.aitons.com
This manual suits for next models
1
Table of contents
Popular Heater manuals by other brands


Space-Ray
Space-Ray CB40-N7 Installation and operation instructions

cecotec
cecotec Ready Warm 9790 Force instruction manual

Thermoscreens
Thermoscreens CS 1000 Installation, operation and maintenance instructions

Supra
Supra LESTO SC02 Instructions for use

Marley
Marley 2500 & C2500 Series Installation, operation & maintenance manual

GSI Group
GSI Group Chi-Town Installation & operation


