Comfty CFTYAT10BG User manual

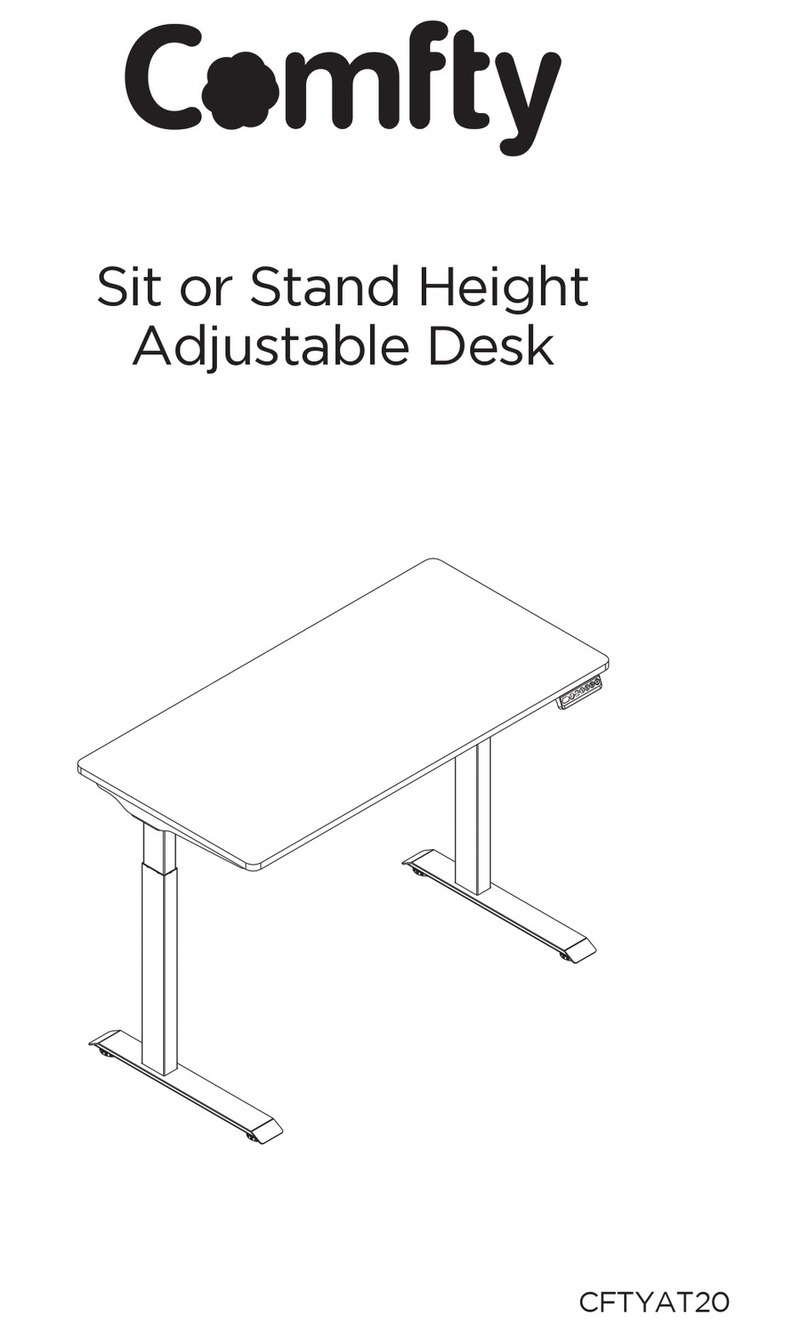
Sit or Stand Height
Adjustable Desk
CFTYAT10BG (Beige)
CFTYAT10BR (Brown)
CFTYAT10BL (Black)

IMPORTANT SAFETY
INSTRUCTIONS.
READ ALL INSTRUCTIONS
BEFORE USING.
DO NOT PLACE UNIT IN AN
AREA WHERE IT CAN FALL
INTO WATER OR NEAR
FLAMMABLE MATERIALS.
DO NOT CLEAN UNIT WITH
WATER OR LIQUID.
SAVE THIS MANUAL FOR
FUTURE REFERENCE.

page 3
CONTENTS
PRODUCT REGISTRATION
Remember to record the model number
of this device located on the base of this
unit.
Staple your receipt to your manual. You
will need it to obtain warranty service.
Model number
Date of purchase
PRODUCT SPECIFICATIONS
SAFETY INFORMATION
Important Safety Instructions.............................................................................................................................................4
SET UP & USE
Accessory Package.................................................................................................................................................6
Parts Included ............................................................................................................................................................6
Diagram of Components......................................................................................................................................6
Installation Steps................................................................................................................................................7-13
CUSTOMER SERVICE
Limited Warranty................................................................................................................................................... 14
Max. Weight Capacity 132 lbs (60 kg)
Max. Speed 1’’/s
Input Voltage 100-240V
Min. Height 28.7” (730 mm)
Max. Height 48.4” (1230 mm)
Desktop Size 48” (1200 mm) in width
24” (600 mm) in depth
Duty Cycle 10% (Working 2 minutes then stop 18 minutes)
Working Temperature 32°F - 104°F

page 4
1. READ ALL INSTRUCTIONS BEFORE USING THE PRODUCT.
2. Power supply: AC 100 - 240V, frequency 50/60HZ;
3. Before cleaning, you have to unplug the power supply cable. Clean with a slightly damp
cloth to wipe away the surface dust. Keep all electrical components away from liquids. Do
not damage the connection line and keep the plug in a safe position.
4. Inside the control box, there are electronic components, metal parts, plastic parts, wires
and other sensitive materials. They cannot be disposed as household waste.
5. Before using the product, please make sure the product has been installed correctly.
6. Before starting use of the product, please read the instructions to fully understand all the
product’s functions and settings.
7. Keep children away from electric height adjustable desks, control units and handsets.
8. Slight noise caused by the multi wedge belt or brake system will not impact the use of this
product.
9. Do not use corrosive or abrasive materials to clean this product and please dispose of
cleaning solutions in an environmentally friendly manner.
10. Understand the risks associated with using this product. Children or those with cognitive
impairment should not use this product without supervision.
11. If the power supply cord is damaged or broken, it must be replaced by the manufacturer
or a relevant specialist to avoid any injuries.
12. Please operate in a clean and safe environment.
13. Always be careful to deal with packaging materials, in order to avoid any kinds of possible
danger. Packaging materials and plastic bags pose a potential choking hazard.
14. If necessary, retain the original packaging for future transportation.
SAFETY INFORMATION
IMPORTANT SAFETY INSTRUCTIONS:
DANGER: Indicates an imminently hazardous situation which, if not avoided, will
result in death or serious injury.
WARNING: Indicates an imminently hazardous situation which, if not avoided, could
result in death or serious injury.
CAUTION: Indicates an imminently hazardous situation which, if not avoided, may
result in minor or moderate injury.
WARNING: When using electrical appliances, basic safety precautions should always
be followed to reduce the risk of fire, electric shock and personal injury:
NOTICE: Indicates a practice not related to personal injury which, if not avoided,
may result in property damage.
WARNING: This product can expose you to certain chemicals, which are known to the
State of California to cause cancer or birth defects or other reproductive
harm. For more information go to: www.P65Warnings.ca.gov
page 5
INSTRUCTIONS
RECYCLING AND DISPOSAL
Height adjusting function
Press the UP button or DOWN button to lift or lower the height
or desk surface.
• Reset
1. At the lowest position, long press the down button for 5 seconds to enter reset mode.
This lifting system will then bottom out and rebound slightly, indicating that the reset is
successful.
2. If the lifting system fails, long press the down button until the lifting system bottoms out
and rebounds slightly to reset the system.
• Troubleshooting
1. If there is no response to pressing the up or down button after a period of continuous
work, please let the desk idle for least 18 minutes before operating it again.
2.During the lifting process, if the desk reverses its movement unexpectedly, please check
whether the desk load is too heavy or if the desk experiences a lot of shaking while in
use.
This product cannot be disposed of as household waste. To prevent damage
to the environment, this product should be recycled. Please use the relevant
recycling systems available to you or contract the distributor or manufacturer
for recycling assistance.

page 6
ACCESSORY PACKAGE
PARTS INCLUDED DIAGRAM OF COMPONENTS
Figures shown are for reference only. Please contact customer service if there are any
accessory or tools missing.
SET UP AND USE

page 7
INSTALLATION STEPS
Attach the desk foot (5) to the lifting columns (3 & 4) using 8 M6 bolts (G) and 5×5 hex
key (F).
STEP 1: INSTALL DESK FEET

page 8
STEP 2: INSTALL TRANSMISSION ROD
To install the transmission rod, first slot it into lifting column (3) and loosen the hex bolt
(Fig. 1). Extend the transmission rod and slot it into the motor on lifting column (4), then
tighten it down with the included 2.5×2.5 hex key (F) (Fig.2).
NOTICE: Please insert the transmission
rod until shaft stopper touches the column
(Fig.1).
WARNING: To ensure both lifting columns
move evenly, do not rotate the transmission
rod more than 1/3 turn when inserting it into
the motor (Fig.2).

page 9
STEP 3: INSTALL CROSSBEAM
Attach the crossbeam (7) to the lifting columns (3 & 4) with the M8 bolts (C) and tighten
them down with the 5×5 hex key (F).

page 10
STEP 4: INSTALL SUPPORT PLATES
Attach the support plates (6) to the lifting columns (3 & 4) using M6 bolts (B). Tighten
with 5×5 hex key (F).

page 11
STEP 5: CONNECT DESKTOPS, INSTALL ADAPTER HOLDER,
DESKTOP, AND KEYPAD
Connect the small desk top (1) with large desk top (2) using wooden pins (H).
Put the frame upside down on the underside of the desktop. Attach the adapter holder (11) to
the crossbeam (7). Attach the frame to the desk top using screws (E), Attach the keypad (13)
to the desk top using screws (D).
NOTICE: The holes in the adaptor holder (11) are not
for screws. The pre-drilled holes in the desktop are just
for your reference.

page 12
STEP 6: INSTALL BAFFLES AND ADAPTER
Attach the bae (9) to the crossbeam using M4 bolts (A) and tighten with 2.5×2.5 hex key
(F). Insert the adapter (10) into the holder (11).

page 13
STEP 7: INSTALL AND SORT OUT POWER CORD
Connect the power cord (12) to the adapter (10) as shown on the picture..

page 14
LIMITED WARRANTY:
Comfty brand is used under license. Any repair, replacement, or warranty service, and all questions about
this product should be directed to W Appliance Co. at 1 (855) 855-0294 from the USA or Puerto Rico.
W Appliance Co. warrants to the original purchaser that the product will be free from defects in material, parts and
workmanship for the period designated for this product. The warranty commences the day the product is purchased and
covers up to a period of 1 year (12 months) for labor /1 year (12 months) for parts (manufacturing defects only)/carry in
service.
W Appliance Co. agrees that it will, at its option, replace the defective product with either a new or remanufactured toaster
oven equivalent to your original purchase during the warranty period.
Exclusions: This warranty does not apply to the below:
1. If the appearance or exterior of the product has been damaged or defaced, altered or modied in design or
construction.
2. If the product original serial number has been altered or removed or cannot be readily determined.
3. If there is damaged due to power line surge, user damage to the power cord or connection to improper voltage
source.
4. If damage is due to general misuse, accidents or acts of God.
5. If repair attempts are done by unauthorized service agents, use of parts other than genuine parts or parts
obtained from persons other than authorized service companies.
6. On toasters that have been transferred from the original owner.
7. On products that have been purchased as refurbished, like new, second-hand, in a “As-Is” or “Final Sale” terms.
8. To products used in a commercial or rental setting.
9. To products used in settings other than ordinary household use or used other than in accordance with the
provided instructions.
10. To damages for service calls for improper installations.
11. To glass parts and other accessory items that are included with the toaster.
12. Transportation and shipping costs associated with the replacement of the toaster.
13. Food loss for loss due to product failure or delay in service, repair or replacement.
14. Service calls to instruct you how to use your toaster oven.
15. Service calls to repair or replace the
house fuse, reset the circuit breaker or correct the wiring in the house.
REPAIR OR REPLACEMENT AS PROVIDED UNDER THIS WARRANTY IS THE EXCLUSIVE REMEDY OF THE CUSTOMER;
W Appliance Co. SHALL NOT BE LIABLE FOR ANY INCIDENTAL OR CONSEQUENTIAL DAMAGES FOR BREACH OF ANY
EXPRESS OR IMPLIED WARRANTY ON THIS PRODUCT, EXCEPT TO THE EXTENT PROHIBITED BY APPLICABLE LAW. ANY
IMPLIED WARRANTY OF MERCHANTABILITY OF FITNESS FOR A PARTICULAR PURPOSE ON THIS PRODUCT IS LIMITED
TO THE DURATION OF THE WARRANTY.
Some states do not allow the exclusion or limitations of incidental or consequential damages, or limitations on how long the
warranty lasts. In these cases the above exclusions or limitations may not apply to you. This warranty gives you specic legal
rights and you may also have other rights which vary from state to state.
Obtaining Service: To obtain service, product literature, supplies or accessories please call 1 (855) 855-0294 to create a ticket
for exchange/repair. Please make sure to provide the date of purchase, model number and a brief description of the problem.
Our customer service representative will contact you or send detailed return instructions.
W Appliance Co. does not warrant that the appliance will work properly in all environmental conditions, and makes no warranty and representation,
either implied or expressed, with respect to the quality, performance, merchantability, or tness for a particular purpose other than the purpose
identied within this user’s manual. W Appliance Co. has made every effort to ensure that this user’s manual is accurate and disclaims liability for any
inaccuracies or omissions that may have occurred. Information in this user’s manual is subject to change without notice and does not represent a
commitment on the part of W Appliance Co.. W Appliance Co. reserves the right to make improvements to this user’s manual and/or to the products
described in this user’s manual at any time without notice. If you nd information in this manual that is incorrect, misleading, or incomplete, please
contact us at 1- 855-855-0294.
W Appliance Co.,
New York, NY 10018


page 16
© 2021 W Appliance Company. All Rights Reserved.
1356 Broadway, New York, NY 10018
July 2021
This manual suits for next models
2
Table of contents
Other Comfty Indoor Furnishing manuals

Comfty
Comfty CFTYAT20 User manual

Comfty
Comfty CFTYRGB002 User manual

Comfty
Comfty CFTYGC166 User manual

Comfty
Comfty CFTYBY017 User manual

Comfty
Comfty CFTYRGB001 User manual

Comfty
Comfty CFTYBF037H User manual

Comfty
Comfty CFTYSC001 User manual

Comfty
Comfty CFTYGC169 Manual

Comfty
Comfty CFTYGC112 User manual

Comfty
Comfty CFTYGC655 User manual