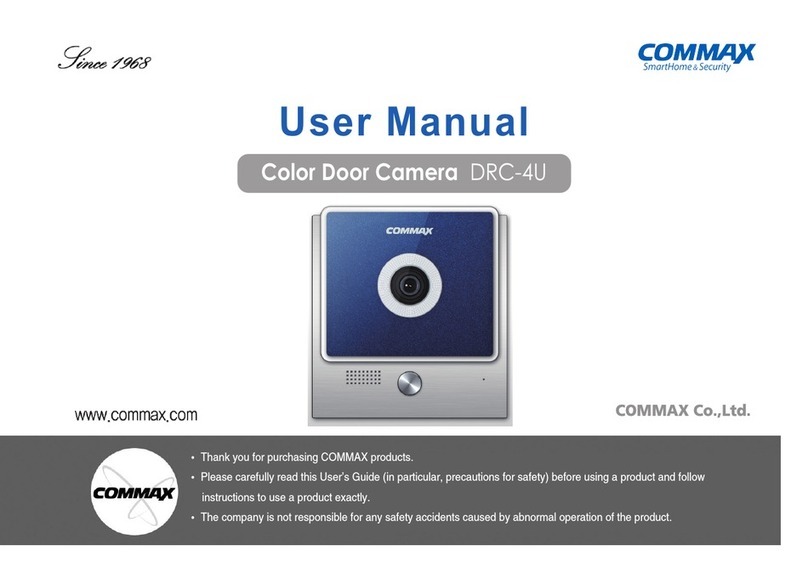
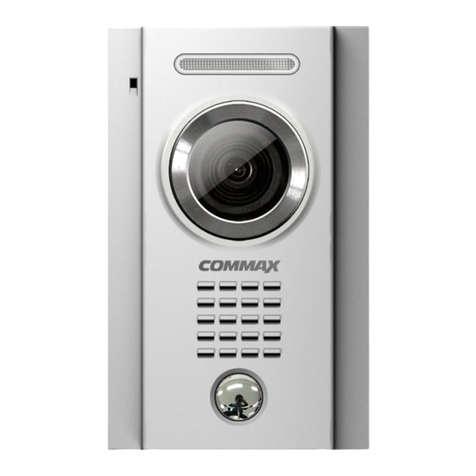
Commax DRC-2AB1(B&W) User manual

OUT DOOR CAMERA DRC-2AB1(B&W)/DRC-2AC1(COLOR)
User Manual
•Thank you for purchasing COMMAX products.
•Please carefully read this User’s Guide (in particular, precautions for safety) before using a product and follow
instructions to use a product exactly.
•The company is not responsible for any safety accidents caused by abnormal operation of the product.

2
Introduction ........................................................3
Important Safeguard ...........................................4
General Features................................................6
Preparation .........................................................7
Location And Function Of Controls....................8
Attaching Consideration....................................10
How To Installation ...........................................11
Notes On Use and Installation ......................... 12
Troubleshooting Guide .....................................13
Specifications....................................................15
COMMAX Limited Warranty .............................16
Table Of Contents

3
Your unit is designed so it can be flush mounted on the or used. When flush mounted on the wall, the stand permils you to the
unit for an gular of unit view. The model number is located on the bottom and record the serial number in the space provided
below(available). Refer to these numbers whenever you call upon your COMMAX dealer regarding this product.
Model No. Serial No.
To prevent fire or shock hazard, do not expose the unit to rain or moisture.
This symbol is intended to alert the use to the presence of uninsulated
“
“dangerous Voltage”
”
within the product’s enclose that
may be of sufficient magnitude to constitute a risk of electric shock to persons.
This symbol is intended to alert the use to the presence of important operating and maintemance(servicing) instructions in the
literature accompanying the appliance
Introdution
CAUTION: To reduce the risk of electrix shick, do not remove cover(or back) no user-serviceable
part sinside refer servicing to quaured service personnel
caution
Rosk of electric shock
do not open

4
Important Safeguard
▲
Damage Requiring Service: This equipment from the power source and source and refer servicing to qualified service personnel under the following
conditions:
ⓐwhen the power is damaged.
ⓑif liquid has been spiled or objects have hallen into the unit
ⓒif the equipment has been exposed to rain or water.
ⓓif the equipment has beem dropped or otherwise damaged.
ⓔwhen the equipment exhibits a distinct change in performance- this indicates a need for service.
▲
Water and Moisture: Do not use this product near water, for example, near a bath tub, wash bowl, kitchen sink, or laundru tub, in a wet basement, or near
a swimming pool, and the like.
▲
Accessories: The product may fall, causing serious injury to a child or adult, and serious damage to the appliance. Any mounting of the manufacture’s
insturctions, and should use a mounting accessory recommended by the manufacturer.
▲
Object and Liquid Entry: Never push objects of any kind into this product through openings as they may touch dangerous voltage points or short-out parts
that could result in a fire or electric shock. Never spill liquid of any kind on the product.
▲
Lightning: For added protection for this product before a lihgtning storm, or when it is left un attached and un used for long periods of time, unplug it from
the wall outlt and disconnect the other system. This will prevent damage to the product due to lightming and power-line surges. If you live in an
ared heavily prone to lightning stoms, it is recommended that you invest in power-line, telephone-line, RFcable and actuator/ polarization surge
protectors to protect your appliance system from possiple damage

Important Safeguard
5
▲
Servicing - Do not attempt to service this product yourself as opening or removing covers may expose you to dangerous volt-
age or other hazards. Refer all servicing to qualified service personnel.
▲
Replacement Parts - When replacement parts are require, be sure the service technician has used replacement parts speci-
fied by the manufacturer or having the same characteristics as the original part. Unauthorized substitu-
tions may result in fire, electric shock or other hazards.
▲
Safety Check - Upon completion of service or repairs to this product, ask the service technician to perform safety checks to
determine that the product is in proper operating condition.
▲
Power Line -The commax door aamera system should not be located near overhead power lines or other electric light or
power circuits, or where it can fall into power lines or circuits. When installing a door camera system, avoid dan-
gerous contact with power lines or circuits.
▲
Attachment - Do not use attachments not recommended by the product manufacturer as they may cause hazards.
▲
Safety Check - Upon completion of service or repairs to this product, ask the service technician to perform safety checks to
determine that the product is in proper operating condition.
▲
Power Sources - This equipment should be operated only from the type of power source indicated on the marking label.
▲
Grounding - This product is equipped with a polarized alternating - current line plug. This plug will fit into the power outlet only
oneway. This is a safety feature. If the plug should fail to fit, contact your electrician to replace your obsolete out-
let.
▲
Power Cord Protection - Power- supply cords should be routed so that they are not likely to be walked on or pinched by items
placed upon or against them; pay particular attention to cords at plugs, convenience receptacles and
the point where cords exit from the equipment.
▲
Overloading - Do not overload power outlets and extension cords as this can result in a risk of fire or electric shock.
General Features
6
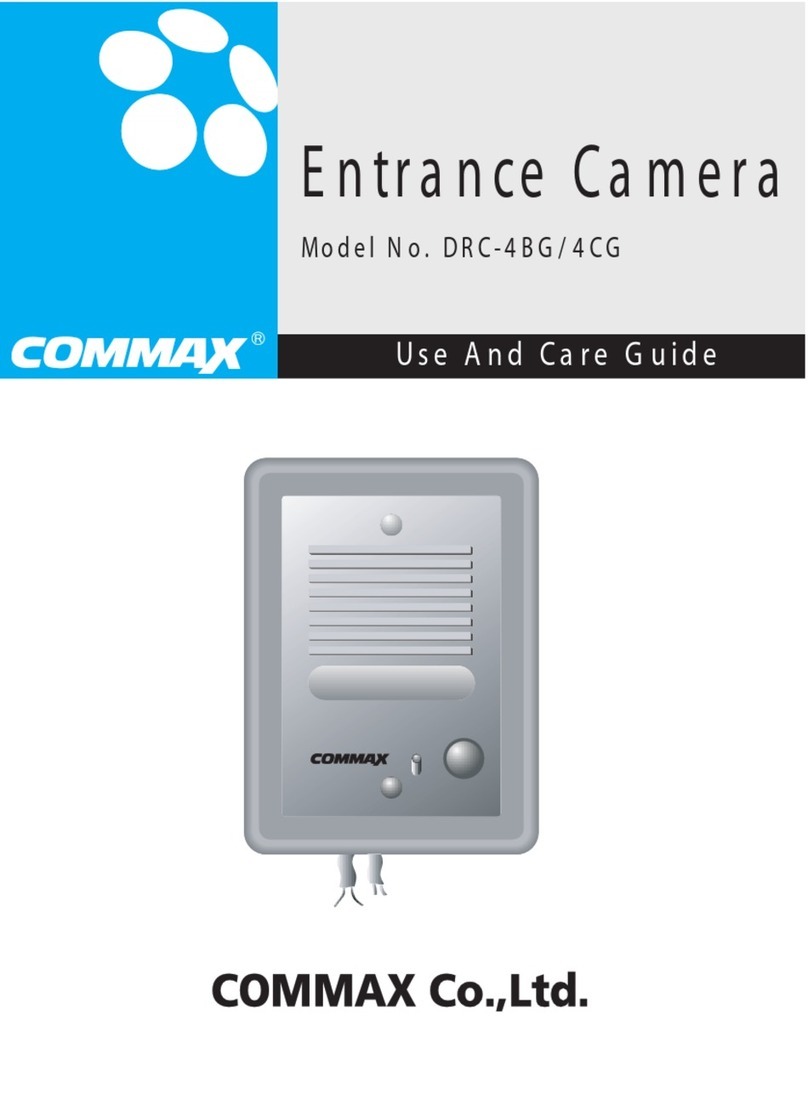
General Characteristics
The system consists of :
- For 12V DC Operation ( power supplied from the monitor).
- Recess-Flushed Box
- Most Easy To Installation
- Rain Protection Housing For Recess
- Operating Temperature : -10°C ~ +40°C
- A Wide Variety Of Door Camera System To Suit Various Applications Are Available.
There is no where better than surveillance home, factory, office to make your house a security home COMMAX sur-
veillance system are here to provide positive visual and convenience life.

7
Preparation
- For DC operation, operate the unit on 12V DC.
- Should any solid object or liquid fall into the cabinet, disconnected the unit and have it checked by quali-
fied personnel before operating it any further.
- The Connector will fit into the power outlet only one way. If you are unable to insert the connector fully
into the outlet, contact your dealer.
- Allow adequate air circulation to prevent internal heat build-up.
- Do not place the unit on surfaces (rugs, blankets,etc) or near materials(curtains, drapereis) that may
block the ventilation slots.
- Do not install the unit near heat sources such as radiators or air ducts or in a place subejct to direct sun-
light, excessive dust, mechanical vibration or shock.
- Keep the unit and glass away from equipment with strong magnets, such as a microwave oven or large
loudspeakers.
- When the unit is not in use, turn off the power to conserve energy and to extend its useful life.
- Clean the cabinet, glass and controls with a drt soft cloth, or a soft cloth lightly moistened with mild deter-
gent solution.
- Do not use any type of solvent, such as alcohol or benzene, which might damage the finish.
If you have any questions about this unit, contact your Commax dealer.
On Safety
On Installation
On Operating
On Cleaning

8
Location and Control of Functions
❶Microphone
When Turn on the [CALL] button on the panel, and conversation with residents.
❷C.C.D. Camera Lens
Built-in Black & White C.C.D. 1/3" lens (for DRC-2AB1) and Color 1/4"
C.C.D lens (for DRC-2AC1).
❸Front Panel
No surface on corrosion material.
❹Name Card
Indicated in resident address.
❺Calling Button
Turn on the [CALL] button if desired calling.
❻Speaker
Aural from the resident.
❼Camera Protection Window
Prevent the scratch from the other matters.
5
6
7
8
9
10
11
Front View

9
Location and Control of Functions
❽Screw Hole
Use the assembly panel. NOTE: Before connection, contact to technical engi-
neer.
❾Angular Field Of View For Camera
Adjust the angular field of the camera for manually.
❿Connection Wire Release
Connection Terminal
Use the connection with your residents.
Note: Do not make any wire connections these terminals
or level the cover off while the unit is plugged into an DC powersup-
plier.
Rear View
5
6
7
8
9
10
11

10
Attaching Consideration
When selecting the location for attaching your unit,
please remember...
- Bottom should be of sufficient strength to permit attach-
ing.
- Allow adequate space on the both side of the unit for
proper ventilation access to cable and unit for viewing
easy.
- For angular field of camera view adjust by manually be
sure there is sufficient space behind the unit to adjust-
ment to angular field of view its position.
- A power cord should be within reach of the DC line cord
with the cord properly extended and secured (For using
adapter is supplied and optional).
- The area directly below the unit should not be used for
cooking radiator or by other appliances generating heat or steam.
- Hold the unit and in various locations while you think through what will be the mos convenient location in
your surveillance place.
Keep in mind your normal work pattern especially the use of other counter top electrical appliances.
- Try your unit in various location in the Hotel Super Convention Department Store Factory Apt to find the
area offering the best possible reception.
5
6
7
8
9
1
0
1
1

11
How To Installation
Connection Wires :
1. Connection wires to inside unit on the side of monitor.
(Notice : Checking to screw dimension : M3 X 30mm
(With washer) :2 pieces - included).
2. Connection Terminal : Check the wire connection termi-
nal level of the side of unit (Refer to wiring diagram).
Notice : Do not make any wire connections to
these terminals while the unit is connection
with standard wires.
Attention : Make sure that check the DC 12V
or other wires.
Notes On Connecting
- Power plugs of connected equipment must be disconnected before installations.
- For details of wiring and operation of equipment to be connected, refer to their operation manuals.
- Coaxial cables for video signals and lenses are not supplied with the camera.
Monitor1
Wiring
Camera 1
Monitor 2
Camera 2

12
Note On Use and Installation
Do Not Aim The Camera At The Sun
Do not aim the camera at the sun or point it at
the sun even if you are not shooting.
Do Not Shoot Intense Light
Framing intense light such as a spotlight may
cause bloom or smear. A vertical stripe may
appear on the screen. However, this is not a
malfunction.
Treat The Camera With Care
Do not drop the camera or subject it strong
shock of vibration. Otherwise, the camera may
malfunction.
Never Touch Internal Parts
Do not touch the internal parts of the camera
other than that parts specified. Otherwise, the
camera may malfunction.
Plug off when you do not intend to use the
camara for a long time.
Do Not Slash Water On The Camera
Install the camera where the camera can be kept dry. If the
camera gets wet, turn off the power and contact you dealer.
Install The Camera Where No Video Noise Appears
If cables are wired near electric lightning wires or a TV set,
noise may appear in images. In this event, relocate cables or
reinstall equipment.
Check The Ambient Temperature And Humidity
Avoid using the camera where the temperature is hotter or
colder than specified. Otherwise, the quality of images may
deteriorate or internal parts may be affected. Special care is
required to use the camera at high temperature and humidity.
Should You Notice Any Trouble
If any trouble occurs while you are using the camera, turn off
the power and contact your dealer. If you continue to use the
camera when there is someting wrong with it, the trouble may
much worse and an unpredictable accident may occur.

13
Troubleshooting Guide
Before You Call
Try the troubleshooting guide on the following pages. If you still can? solve your problem, try one more
thing before you call.
1. Attetion to your unit is operating to the DC receptacle.
2. Do not disassembly before for qualified personnel.
3. Make sure that connector the unit back in and try your procedure again as block diagram.
Getting Help
If you still can? correct an operating problem, contact your dealer. If your dealer is unable to solve your
problem, contaact Commax Customer Service, Please don't open the cabinet and attempt to repair
the unit, as this will void your warranty.
Unplug the unit and refer servicing to qualified service personnel when:
- The power supply or plug damaged.
- The unit has been exposed to rain or water.
- A solid object or liquid has fallen into the unit.
- The unit exhibits a distinct change in performance or will not operate normally.

14
Troubleshooting Guide
Condition Checking Points Solution
- Are the camera and connected
equipment turned on ?
- Is the lens adjusted properly ?
- Are cables connected correctly?
- Are your correct connector?
- Are you checking the monitor?
- Is the monitor adjusted correctly?
(when switched to manual adjustment)?
- Was the white balance of the camera
adjusted
- Is the lighting too weak?
- Is often caused by local interference
(e.g cars, neon signs, and hair dryers etc).
No Image
Noise Picture
Unnatural Color
Dotted Lines or
Strips
Make sure that system unit is plugged.
Make sure that adjusted properly your desired.
Make sure that system cable correct connection
of the unit
Make sure that connector is correct level.
Check connecitons between system, polarizer and relay.
Make sure that CONT, BRT,COLOR as well as desired.
Check that adjusted as well as matching to circumstance.
Make sure that adjusted your monitor or other controls.
Make sure that your unit is stable or not environment.
Make sure that readjustable to Back Focus of lens.

15
Specification
Model No. DRC-2AB1(B&W) / 2AC1(Color)
Input Voltage 12V ,±10% (Power supplied from the monitor)
Connection Wire 4 Wires (Polarity)
Maximum current 200mA
Video input 1Vp-p composited 75
Ω
Operating Ambient Temperature -10°C to 40°C
Weight (g) 800
Dimensions (W/H/D)mm 208/ 123 / 50
External design, features, functions and specifications of the product can be changed without any prior,
for promoting the quality of the product.

16
COMMAX LIMITED WARRANTY
What We Will Do
Commax warrants this product for normal home use within all over world a follows:
- For ninety days from original date of purchase or receipt as a gift and manual, COMMAX will, at its option,
repair or replace a detective product at free charge to you.
- For additional nine months COMMAX will furnish all to defective parts. Labor is not included during this period.
- Parts and/or replacement product supplied under this warranty may be new or rebuilt at commax's option.
How To Obtain Warranty service
Deliver your set prepaid id o ny commax authorized service facility
Where To Get service
To locate your nearest commax authorized service facility, call the COMMAX Service Center 080-902-2222
Customer Information Service, toll free. The customer's sole remedy shall be such repair or replacement as is
expressly provided above, and commax shall in no event be liable for any incidental or consequential damage
arising out of the use or inability o use this product for any purpose whatsoever.
Some countries do not allow the exclusion or limitation of incidental or consequential damages, so the above
limitation or exclusion may not apply to you. This warranty gives you specified legal rights and you may also
have rights which vary from products to consumer.
We bring good things to life - commax

17
Memo

Printed In Korea / 2011.06.105
PM102AB10010
513-11, Sangdaewon-dong, Jungwon-gu, Seongnam-si, Gyeonggi-do, Korea
Int’l Business Dept. : Tel.; +82-31-7393-540~550 Fax.; +82-31-745-2133
Web site : www.commax.com
This manual suits for next models
1
Table of contents
Other Commax Security Camera manuals

Commax
Commax DRC-4MC User manual

Commax
Commax DCP-328R-S User manual

Commax
Commax 388027030 User manual

Commax
Commax DRC-4U User manual

Commax
Commax DRC-4CPN2 User manual

Commax
Commax drc-4g User manual

Commax
Commax DRC-4FC User manual

Commax
Commax DRC-40CS User manual

Commax
Commax DRC-40KPT User manual

Commax
Commax DRC-4U User manual
Popular Security Camera manuals by other brands

Hanwha Vision
Hanwha Vision QNP-6320HS quick guide

Wisenet
Wisenet PNM-9000QB quick guide

FLIR
FLIR PTZ-35x140MS Installation and operation manual

Novus
Novus NVIP-2VE-4231/PIR quick start guide

Larson Electronics
Larson Electronics EXPCMR-ALG-HDSD-1080P-12VDC instruction manual

Vivotek
Vivotek FE8181 user manual