CommScope PowerShift V1 User manual

User Manual
PowerShift® V1
Document #7761739
Version B

1. General
PowerShift - User Manual Version B DRAFT2.docxVersion B Page 2
DISCLAIMER:
This document has been developed by CommScope, and is intended for the use of its
customers and customer support personnel. The information in this document is subject to
change without notice. While every effort has been made to eliminate errors, CommScope
disclaims liability for any difficulties arising from the interpretation of the information contained
herein. The information contained herein does not claim to cover all details or variations in
equipment, nor to provide for every possible incident to be met in connection with installation,
operation, or maintenance. This document describes the performance of the product under
the defined operational conditions and does not cover the performance under adverse or
disturbed conditions. Should further information be desired, or should particular problems
arise which are not covered sufficiently for the purchaser’s purposes, contact CommScope.
CommScope reserves the right to change all hardware and software characteristics without
notice.
COPYRIGHT:
© Copyright 2018 CommScope Inc. All Rights Reserved.
This document is protected by copyright. No part of this document may be reproduced,
stored in a retrieval system, or transmitted, in any form or by any means, electronic,
mechanical photocopying, recording, or otherwise without the prior written permission of
CommScope.
www.commscope.com
TRADEMARKS
All trademarks identified by ® or ™ are registered trademarks or trademarks, respectively, of
CommScope. Names of products mentioned herein are used for identification purposes only
and may be trademarks and / or registered trademarks of their respective companies.
CommScope, Inc. of North Carolina, December-2016

1. General
PowerShift User Manual Version B Page 3
TABLE OF CONTENTS
1. GENERAL 5
ABOUT COMMSCOPE 5
2. POWERSHIFT®TECHNICAL SUPPORT 5
3. REFERENCES 5
4. INTRODUCTION 6
4.1. PURPOSE 6
4.2. BENEFITS 6
4.3. SYSTEM COMPONENTS 6
4.4. GRAPHICAL USER INTERFACE (GUI) 8
5. SYSTEM OPERATION 9
5.1. GENERAL OPERATING DESCRIPTION 9
5.2. LED STATUS INDICATORS 10
5.3. FORM C ALARM DRY CONTACTS 11
5.4. DIP SWITCH AND DATA INTERFACE 12
5.5. OPERATING FAULTS & ALARMS 13
6. INSTALLATION PLANNING 19
6.1. REFERENCE SCHEMATIC 19
6.2. POWERSHIFT WEB SITE 20
6.3. PERFORM A SITE WALK 20
6.4. BASE UNIT INSTALLATION PLANNING 20
6.5. CAPACITIVE JUMPER INSTALLATION PLANNING 21
7. INSTALLATION GUIDELINES 22
7.1. TEST TOOLS 22
7.2. GENERAL INSTALLATION APPROACH 22
8. PRODUCT SPECIFICATIONS 24
Figures and Tables
Figure 4-1 PowerShift Base Unit .................................................................................7
Figure 4-2 Capacitive Jumper......................................................................................8
Figure 4-3 Operating Description.................................................................................9
Figure 5-1 LED Status Indicators...............................................................................11
Figure 5-2 Alarm Relay Connections.........................................................................11
Figure 5-3 DIP Switch and Data Interface Ports........................................................12
Figure 6-1 Reference Schematic for Installation Planning.........................................19

1. General
Page 4PowerShift User Manual Version B

1. General
PowerShift - User Manual Version B DRAFT2.docxVersion B Page 5
1. General
About CommScope
CommScope is the foremost supplier of one-stop, end-to-end radio frequency (RF)
solutions. Part of the CommScope portfolio are complete solutions for wireless
infrastructure from top-of-the-tower base station antennas to cable systems and
cabinets, RF site solutions, signal distribution, and network optimization. For patents
related to this, and other CommScope products, see www.cs-pat.com.
CommScope has global engineering and manufacturing facilities. In addition, it
maintains field service engineering offices throughout the world.
The declaration of conformity for our products is available upon request from the local
sales offices or directly from CommScope www.commscope.com.
2. PowerShift®Technical Support
For technical assistance and support, please contact the PowerShift technical
support team.
Website: https://www.commscope.com/wisupport/
United States and Mexico:
1-888-297-6433 (technical support)
1-888-235-5732 (main number)
International: +1-779-435-8579
3. References
It is important to review the applicable PowerShift®specifications, installation
documents and installation kits when using this document to plan for product
installation and to understand product operation after installation. Refer to the
following CommScope PowerShift®product web page for more information:
http://www.commscope.com/solutions/power-solutions/
•DAS or macro site installation document
•Data sheets
Contact CommScope Technical Support to obtain:
•Graphical User Interface (GUI) software and manual

4. Introduction
Page 6PowerShift User Manual Version B
4. Introduction
This document provides instructions for operating PowerShift®, a patented and
revolutionary product in DC power management for cellular networks and distributed
antenna systems.
4.1. Purpose
The PowerShift system continuously regulates the supply output voltage in order
maintain a consistent input voltage where it is needed: at the remote radio.
4.2. Benefits
The PowerShift system provides the following benefits:
•Lower operating costs: The superior accuracy of the PowerShift system
allows the radio input voltage to run closer to the maximum, thereby lowering
radio load current demand and minimizing power loss in trunk cables.
•Lower capital equipment costs: Smaller gauge cables can be used for the
same radio power requirement.
•Increased backup battery uptime: Higher radio input voltage and lower
current demand results in optimal utilization of battery capacity and extended
runtime.
•Future proof: Increase in radio power requirements may not require larger or
additional power cables to be installed.
•More Information: Visit the PowerShift product web page and video overview:
http://www.commscope.com/solutions/power-solutions/
https://www.youtube.com/watch?v=FSJR6aNzHO4.
4.3. System Components
The PowerShift System consists of the following components:

4. Introduction
PowerShift User Manual Version B Page 7
Component Name
Part Number
Base Unit Shelf
PS-1-R
Base Unit Power Module
PS-1-73
Capacitive Jumper
DPJ-210CAP-3M
PowerShift Base Unit
Figure 4-1 PowerShift Base Unit
Base Unit Features
•The Base Unit is typically collocated with the existing DC power plant (e.g.,
installed in or near the DC power plant cabinet)
•The Base Unit is comprised of the PS-R-1 shelf and PS-1-73 power modules
•The modules are plug-and-play for easy installation and site maintenance
•Each module has three individual DC input and DC output circuits that provide
power for three Remotes (radios)
•The shelf accepts four modules, providing a total capacity for 12 Remotes
•The shelf has dry-contacts (Form C) for remote alarm monitoring
•Each module has LED indicators that provide status information: The “X” LED
at the bottom provides overall status for the module, and the LEDs “1”, “2” and
“3” provide status for each individual circuit

4. Introduction
Page 8PowerShift User Manual Version B
PowerShift Capacitive Jumper
Figure 4-2 Capacitive Jumper
Capacitive Jumper Features
•The capacitive jumper is an inline device installed between the output of the
trunk cable power conductor cable pair and the input to the Remote
•It is available either as a standalone device or integrated into a roof/tower top
SPD/OVP (Surge Protection Device/Over Voltage Protection) package
•It is utilized by the Base Unit to determine the power cable impedance
•It also compensates for DC inductance of the power cable, further reducing
power loss
•Note: The PowerShift Base Unit will not operate without the corresponding
Capacitive Jumper. Each Remote requires one Capacitive Jumper;
4.4. Graphical User Interface (GUI)
The PowerShift V1 GUI is an executable file that is run on a Windows PC and
connects to the PowerShift shelf via a custom RS485 interface cable. Contact
customer technical support to obtain the software file and the document PowerShift
Graphical User Interface Manual for additional details.

5. System Operation
PowerShift User Manual Version B Page 9
5. System Operation
5.1. General Operating Description
The diagram below provides a basic operating description of an installed
PowerShift system.
Note that each Base Unit module has three circuits, and each circuit has its
own input and output terminals; the three circuits operate independently from
one another.
Figure 4-1 Operating Description
Operating Description
a. The module is programmed at the factory with a set-point voltage for the
Remote input (typically 53-56 volts)
b. Whenever input power is active on one or more of the three circuits, the
module “X” LED will be solid green
•A red or yellow LED indicates a fault at the module level; see the next
section for more information

5. System Operation
Page 10 PowerShift User Manual Version B
c. When input power is applied to a circuit, the module executes a startup
calibration mode only for that circuit (the other two circuits are not
impacted); it calculates the round-trip resistance between the module
output and the capacitive jumper at the far end of the cable
d. The calibration mode is approximately 30 seconds in duration, during which
time the applicable circuit LED (1, 2 or 3) will flash green (i.e., a slow flash
with a one-second interval)
•A red or yellow LED indicates a fault at the module level; see the next
section for more information
e. During calibration, the module outputs a varying low voltage (approximately
10 volts); this voltage is sufficiently low that it will not power on the Remote
f. When the calibration is complete, the module outputs full nominal operating
voltage to power on the Remote
g. During nominal operation, the module continuously monitors the load
current demanded by the Remote and dynamically varies its output voltage
to deliver the set-point voltage at the Remote input
h. Any time the input voltage to a module circuit falls below about 30V, the
affected circuit will re-run the initialization sequence and re-calculate the
round-trip resistance of the cable
•NOTE: If a circuit is operating normally and the input power is
removed, the capacitive jumper must discharge down to about 10 volts
before the initialization sequence will start. This typically occurs within
a few seconds, but if there is no remote radio connected (no load) then
it can take a minute or two for the discharge to complete and the
initialization sequence to start.
i. The three circuits in the module operate independently from one another.
Power cycling the input to one circuit of a module has no impact on the
other two circuits.
j. The module “X” LED will continue to be solid green if there is input power
to at least one of the three module circuits
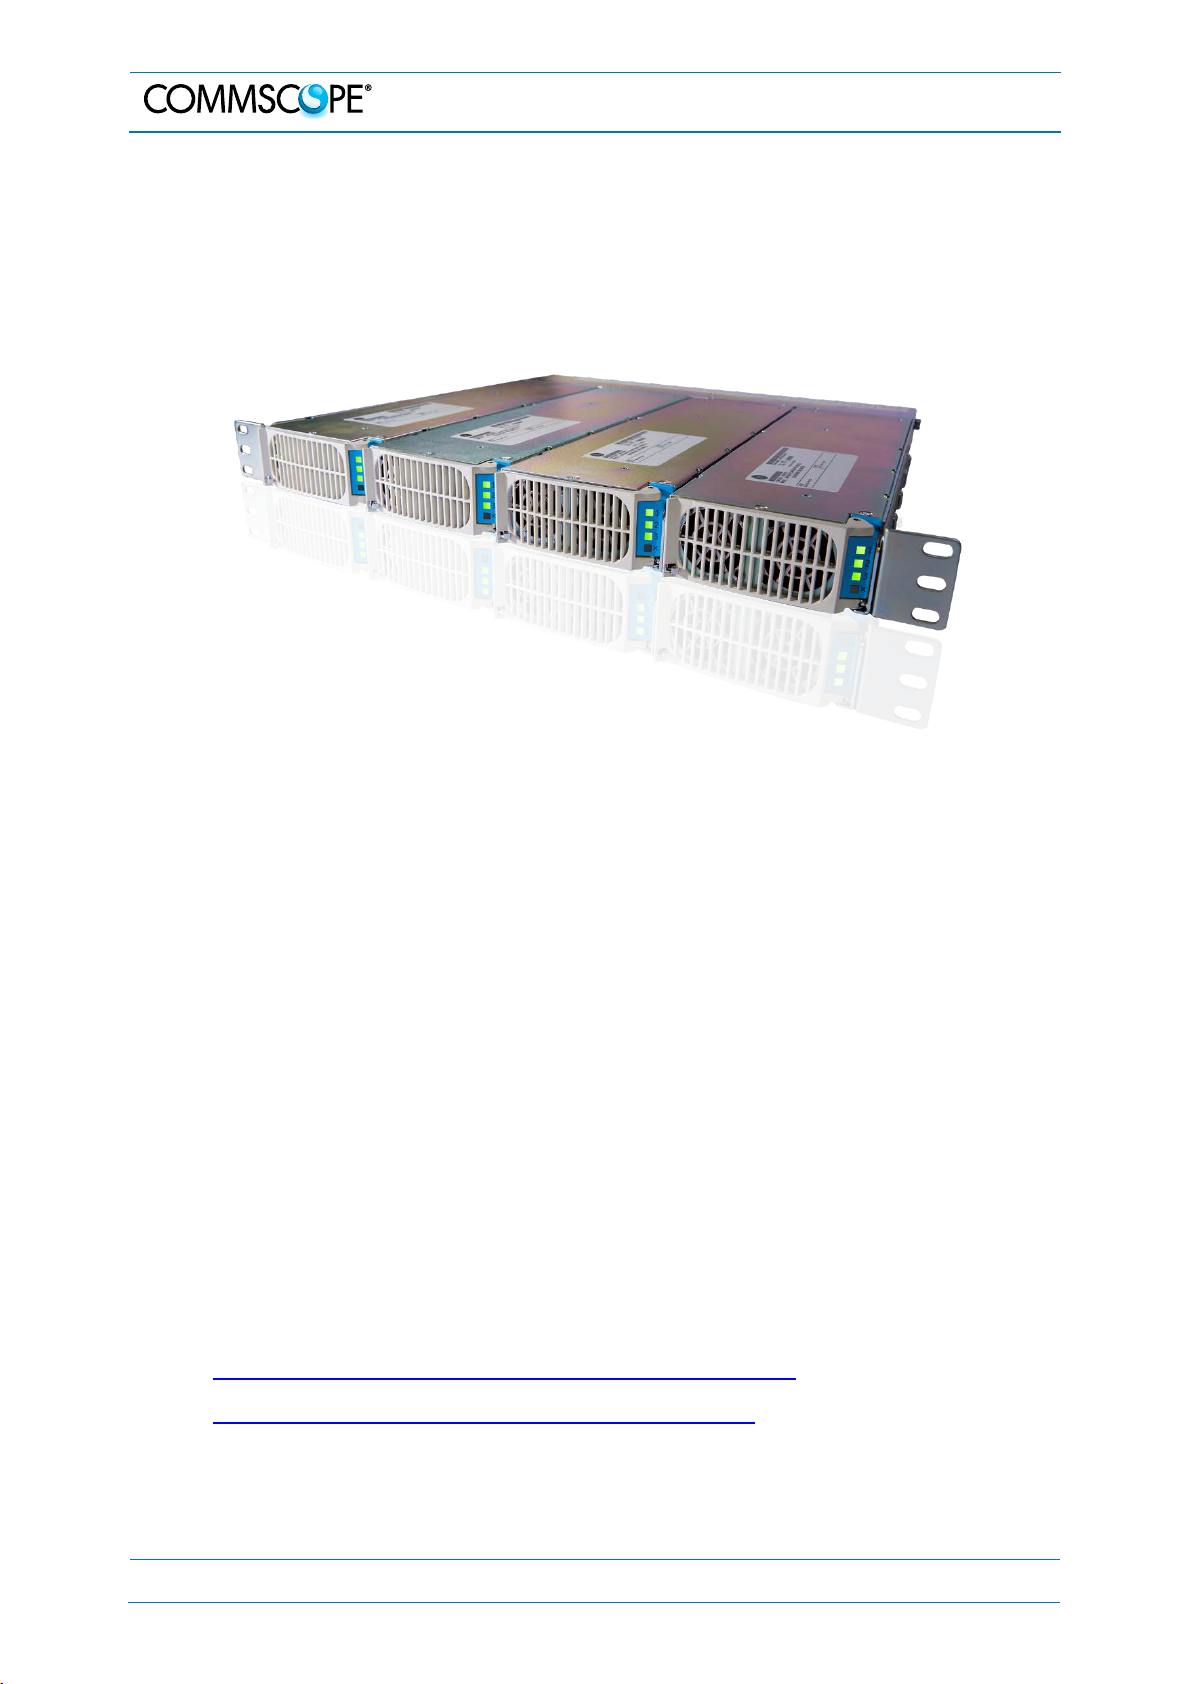
5.2. LED Status Indicators
The following is a description of the module LED status indicators.
a. There are four LED status indicators on each PowerShift Module, they are
labelled: 1, 2, 3 and X

5. System Operation
PowerShift User Manual Version B Page 11
Figure 5-2 LED Status Indicators
b. LEDs 1, 2 and 3 provides the individual status of each of the three power
circuits in the module
c. LED X represents the status of the overall module
d. Intermittent or latent failures will be indicated by the LED X indicator, even
if the individual circuit LEDs are functioning correctly
e. See the alarm table in the next section for additional details
5.3. Form C Alarm Dry Contacts
As shown below, the alarm status of the unit is externally accessible with the terminal
block located at the rear of the unit, on the far right.
Figure 5-3 Alarm Relay Connections

5. System Operation
Page 12 PowerShift User Manual Version B
5.4. DIP Switch and Data Interface
As shown below, each base unit has a DIP switch and RJ45 interface ports.
Figure 5-4 DIP Switch and Data Interface Ports
DIP Switches
a. The DIP switches are not for customer use, they should be left in the down
position (factory default setting)
RJ45 Data Ports
a. The RJ45 data ports provide the communication connection point for a
Windows PC running the GUI software.

5. System Operation
PowerShift - User Manual Version B DRAFT2.docxVersion B Page 13
5.5. Operating Faults & Alarms
The following table lists the possible states for the LED status indicators, shows the corresponding state of the Form C alarm dry
contacts, and provides troubleshooting comments for understanding resolving alarm conditions.
Table 5-1 LED States and Alarm Contact Closures
Circuit
1, 2 or 3
LED
Module
“X” LED
Alarm
Condition
(GUI & Relay)
Description
Off Off Critical
and
Major
No input power on any module/circuit
GUI will not be able to connect, but alarm relays will be active for both critical
and major
Solid
Green Solid
Green None Circuit and module are functioning normally

5. System Operation
Page 14 PowerShift User Manual Version B
Circuit
1, 2 or 3
LED
Module
“X” LED
Alarm
Condition
(GUI & Relay)
Description
Green
Blink Solid
Green
None
(<30 sec)
-Or-
Major
(>60 sec)
Circuit is performing line resistance measurement
Nominal condition (no alarm) – 30 second duration
-Circuit is measuring the line resistance, it takes ~30 seconds to complete
-Occurs whenever circuit input power is applied or is cycled off/on
-Remote is not powered during this time
-After ~30 seconds the circuit LED should change to solid green
-No alarm is raised during or after if the measurement is successful
Alarm condition (Major) – line resistance measurement unsuccessful
-If circuit LED continues to blink green after 60 seconds this indicates the
module could not successfully measure the line resistance of the affected
circuit
-A major alarm condition is raised
-PowerShift will use a default line resistance (0.15 Ohms) in order to
provide voltage to the radio so that it can operate
Possible cause – Capacitive Jumper disconnected or failed
-If there is no power to the radio there may be a break in the trunk cable
or a failure in the capacitive jumper; perform a continuity check
-If there is power to the radio then the capacitive jumper may have failed
in a closed condition

5. System Operation
PowerShift User Manual Version B Page 15
Circuit
1, 2 or 3
LED
Module
“X” LED
Alarm
Condition
(GUI & Relay)
Description
Solid
Green Yellow
Solid Major Circuits are functioning, but a module-level fault has occurred.
The condition may not require immediate attention and can be corrected in the
next available service window (e.g., the module can continue to run with the
failure of one fan, until the module can be replaced).
Possible cause – Fan failure or other module-level failure
-Use the GUI to obtain additional status details for the module failure, or
replace the module
Yellow
Blink Yellow
Blink Critical Circuit is in alarm, no output power on the alarmed circuit
Possible cause - Overload or Short-Circuit
-Circuit is shut down to protect itself from over-current condition
-Possible causes: Excess current demand (failed radio), a short in the trunk
cable, etc.
-Module will sense the circuit condition about every 3 seconds (the circuit LED
briefly flashes green) to see if the fault condition has cleared
-After 20 minutes if condition is not cleared then circuit latches off; fault must
be cleared and input power cycled to re-enable output

5. System Operation
Page 16 PowerShift User Manual Version B
Circuit
1, 2 or 3
LED
Module
“X” LED
Alarm
Condition
(GUI & Relay)
Description
Possible cause – Module is over temperature
-Module shuts down affected circuit(s) to protect itself from high temperature
condition
-Possible causes: Module fan intake is blocked, site shelter cooling system has
failed, module fan has failed
-If the problem resolves itself (shelter cooling is restored) and module drops
below threshold, then output power is restored and LED status changes (see
next row below)
Possible cause – Input Voltage out of range
-Circuit is shut down due to its input voltage being out of range (see
specification table)
-Possible causes: DC rectifier plant output voltage out of range, DC plant on
batteries that have discharged to a low voltage
-If input voltage is brought back into range the circuit will immediately re-enable
its output
Green
Blink Yellow
Solid Major A latent module failure has occurred, circuit was likely previously shut down but
is now providing output power
Possible cause – Module was previously over temperature

5. System Operation
PowerShift User Manual Version B Page 17
Circuit
1, 2 or 3
LED
Module
“X” LED
Alarm
Condition
(GUI & Relay)
Description
-Module was previously shutdown to protect itself from high temperature
condition, but the high temperature subsequently cleared
-The circuit output power is re-enabled, but alarm is latched to provide site
technician with clarity on which module and circuits were impacted
-Possible causes: Module fan intake were temporarily blocked, site shelter
cooling system was temporarily failed
-To clear the alarm, use the GUI “clear” button or cycle the input power for
each affected circuit
Red Solid Red Solid Critical The indicated circuit is shut down.
Internal module hardware failure (e.g., internal fuse failure).
Replace the module. The module is not user serviceable, contact customer
technical support.
Red Blink Red Blink Critical The indicated circuit is shut down.
Fault condition may be internal to the module or in the external circuit.
Confirm the circuit integrity as described in Section 7.
Reset the circuit/module using the GUI clear button or by cycling the DC plant
circuit breakers.
If the fault recurs, replace the module. The module is not user serviceable,
contact customer technical support.

5. System Operation
Page 18 PowerShift User Manual Version B
Circuit
1, 2 or 3
LED
Module
“X” LED
Alarm
Condition
(GUI & Relay)
Description
Note: A red blink circuit LED can occur if the input power is cycled off and
immediately back on, and there is no load
(radio) connected to the circuit. In this
case the capacitive jumper retains a small amount of voltage, and the module
must allow it to discharge down before it can start the line resistance
measurement. Allow 1-2 minutes for the discharge to occur, the LED will then
change to green blink to indicate the line resistance measurement is in
progress.

6. Installation Planning
PowerShift - User Manual Version B DRAFT2.docxVersion B Page 19
6. Installation Planning
Following are general guidelines to plan the installation of the PowerShift system. For
detailed, site-specific installation planning see the product web page referenced in
Section 3.
6.1. Reference Schematic
The following schematic provides a general reference for PowerShift installation
planning.
Figure 6-1 Reference Schematic for Installation Planning

6. Installation Planning
Page 20 PowerShift User Manual Version B
6.2. PowerShift Web Site
a. Check the CommScope website referenced in Section 3 to familiarize
yourself with the different installation kits and options as part of your
planning process
6.3. Perform A Site Walk
a. Perform a site walk to evaluate and plan for the installation of the
PowerShift system
b. Plan to install the Base Unit inside the DC power plant cabinet or as close
to the plant as practical
c. Plan to re-terminate existing cables and fabricate new cables as needed,
noting that the Base Unit input terminal and output terminals will be
connected as follows:
•The input terminals connect to the DC power plant breakers
•The output terminals connect to the power cable trunks that feed the
Remotes, or to the input of the SPD/OVP device if present
d. Noting that each Base Unit holds up to 4 modules and each module
connects up to 3 Remotes, decide on a connection scheme for the
Remotes and sectors vs the modules and circuits (e.g., organize by
sectors, etc)
e. At the Remotes determine a suitable location to mount the standalone
capacitive jumpers, or if applicable to install an SPD/OVP box with
integrated capacitive jumpers (refer to OEM installation instructions for the
specific SPD/OVP box)
f. Make note of the gauges of existing cables and the lugs required for re-
terminating existing cables or for fabricating new cables
g. Ensure the existing power supply system has proper ground reference:
•Visually confirm the return bus of the DC plant is bonded to earth
ground
•Use an inductive DC clamp meter to measure current amplitude on the
supply lines vs return lines for each Remote; any significant differences
in measured current on supply vs return lines may indicate a possible
ground-return issue
6.4. Base Unit Installation Planning
a. Reference the installation documents
b. Requires minimum of 1 RU (rack unit) height
c. Rack mount ears are included for standard 19” wide rack; adapters (not
included) are required for installation in 23” wide or other rack widths
d. The shelf is 17” deep:
This manual suits for next models
6
Table of contents
Other CommScope Power Supply manuals
Popular Power Supply manuals by other brands

Blake UK
Blake UK BLAPSU11F instruction manual

C&H Technologies
C&H Technologies M222 user manual

Paradyne
Paradyne FrameSaver 9620 installation instructions

Fracarro
Fracarro MINIPOWER 12 operating instructions

SitOnit Seating
SitOnit Seating EON Assembly instructions

Unicont SPb
Unicont SPb PS-303 Technical documentation