manuals.online logo
Brands
  1. Home
  2. •
  3. Brands
  4. •
  5. CompuSTAR
  6. •
  7. Remote Starter
  8. •
  9. CompuSTAR FT-MBKG20-HRN User manual

CompuSTAR FT-MBKG20-HRN User manual

FT-MBKG20-HRN Installation Guide
Data Controller (DC)
Remote Start for Mercedes
KeylessGo
Copyright 2011 Firstech, LLC. | 1
www.compustar.com
888.820.3690
Required Parts and Tools
T-20 Torx Driver•
Pick Tool•
Panel Removal Tool•
Digital Multimeter•
10K Ohm Resistor•
Welcome to the installation guide for the KeylessGo portion of the remote start for Mercedes. Please
thoroughly review this manual before installation as there are details that are essential to operation of
the vehicle.
This manual is intended for experienced installers. Firstech recommends professional installation as
we are not responsible for improper use and/or installation. For questions please call 888-820-3690
Monday through Friday 8 am to 5 pm PST.
Mercedes Benz vehicles that have a push button for starting will require the KeylessGo harness. (Part
number: FT-MBKG20-HRN) This will let the user lock and unlock their vehicle from DroneMobile, 2
or 1 Way remote or factory key fob during remote start. This harness must be ran to the KeylessGo
module to a separate CAN connector in the vehicle. The other end of the harness plugs into the 2
pin KeylessGo port on the DC for Mercedes control module.
Note: You must install the DC control module and DroneMobile or RF kit before connecting the
KeylessGo harness. Also don’t forget to test functionality of the remote start.
1. Locate the CAN distribution block that houses the KeylessGo connector. (See table below)
2. Unplug all connectors from the block that contain brown and brown/red twisted CAN wires.
3. Locate the KeylessGo module. (See table below)
4. Unplug the KeylessGo module.
5. Unclip and remove the connector cover from the KeylessGo connector.
6. Locate the twisted brown and brown/red CAN wires in the plug.
7.Inserta10kΩohmresistorbetweenthebrownandbrown/redwiresintheconnector.
8. Using your meter, measure the resistance between the two wires on each plug at the CAN block
thatwereunpluggedinstep2untilyoufindtheplugthatreads10kΩohmacrossthetwowires.
9. Plug all the other connectors back into the CAN block except for the KeylessGo connector that you
located in step 8.
10. Using a pick tool or small flat blade, open the retaining clip that holds the connecting terminals
on the side of the connector housing.
11. Using a pick tool or small flat blade release the tabs on each pin and remove them from the
connector housing. The release tab will need to be pressed down two separate times to remove it
from the connector housing.
Instructions
FT-MBKG20-HRN Installation Guide
Data Controller (DC)
Remote Start for Mercedes
KeylessGo
Copyright 2011 Firstech, LLC. | 2
www.compustar.com
888.820.3690
Class Year CAN Block KeylessGo Module
C 2008-2011 Passenger front door jamb
in wire trough
Right side of trunk near tail
light
CL, S 2007-2010 Under rear of driver’s front
seat
Right side of trunk near tail
light
CL, S 2011 Under rear of driver’s front
seat
Left side of trunk behind
metal bracket
CLS 2012 Passenger front door jamb
in wire trough
Right side of trunk near tail
light
E coupe/sedan 2010-2011 Passenger front door jamb
in wire trough
Right side of trunk near tail
light
E convertible 2010-2011 Passenger front door jamb
in wire trough
In trunk behind rear seat
back (remove carpet trim)
E wagon 2011 Passenger front door jamb
in wire trough
Right side of cargo area
behind bracket
GL 2006-2011 Right side compartment in
cargo area
Right side compartment in
cargo area
GLK 2010-2011 Passenger front door jamb
in wire trough
Center of cargo floor under
carpet
ML* 2006-2011 Passenger front kick panel* Right side compartment in
cargo area*
R* 2006-2010 Passenger front kick panel* Below spare tire in cargo*
R* 2011 Passenger front kick panel* Under false floor behind
driver’s seat*
*ML and R class do not require to change connector plug (steps 10-14 not required). Just plug
into the extension harness once the correct connector is found in the block.
12. Close the retaining clip and put the empty connector housing back into the CAN block. (See
images below)
13. Insert the pins into the provided plug housing making sure the polarity is correct with the
extension harness coming from the DC control module.
14. Close the retaining clip on the new connector.
15. Plug the connector into the harness from the DC control module.
Please see the step by step images below for details on the KeylessGo connection:
Brown/Red--->Brown/Red•
Brown--->Brown•
Module Location Table
KeylessGo Component Locations
C and E Class module locations.
C, E and GLK Class
E Coupe KeylessGo module -- right rear of trunk C and E Sedan KeylessGo module -- right rear trunk
E Wagon -- right rear cargo area
CAN connector, 2010 and up E, C, GLK class and
2012 CLS passenger front door under plastic wire
moulding
FT-MBKG20-HRN Installation Guide
Data Controller (DC)
Remote Start for Mercedes
KeylessGo
www.compustar.com
888.820.3690
Copyright 2011 Firstech, LLC. | 3
KeylessGo plug
on module in
trunk
KeylessGo Module
Plug removed - faces body of car
KeylessGo module behind bracket
FT-MBKG20-HRN Installation Guide
Data Controller (DC)
Remote Start for Mercedes
KeylessGo
Copyright 2011 Firstech, LLC. | 4
www.compustar.com
888.820.3690
CL and S Class module locations.
CL and S Class
Right rear corner of trunk Under rear of driver’s seat
2011 CL and S -- Left side trunk, remove metal
bracket GLK -- Under cargo floor behind seat
CAN Connector
KeylessGo Module
KeylessGo Module
GL, ML, and R Class module locations.
GL, ML, and R Class
GL -- right rear side of cargo compartment R KeylessGo module -- under cargo area floor
ML KeylessGo -- right rear side of cargo
compartment
ML and R CAN distribution block, front passenger
kick panel
FT-MBKG20-HRN Installation Guide
Data Controller (DC)
Remote Start for Mercedes
KeylessGo
www.compustar.com
888.820.3690
Copyright 2011 Firstech, LLC. | 5
KeylessGo Module
CAN Connector
FT-MBKG20-HRN Installation Guide
Data Controller (DC)
Remote Start for Mercedes
KeylessGo
www.compustar.com
888.820.3690
GL, ML, and R Class
2011 R -- under floor behind driver’s seat
KeylessGo Component Locations
Pin Removal and Reinstall
CAN plug removed Release retaining clip
Copyright 2011 Firstech, LLC. | 6
FT-MBKG20-HRN Installation Guide
Data Controller (DC)
Remote Start for Mercedes
KeylessGo
Copyright 2011 Firstech, LLC. | 7
www.compustar.com
888.820.3690
Pin Removal and Reinstall
Remove pins from connector housing Pins removed, connector housing empty
Empty connector housing reinstalled Pins ready for new connector housing
FT-MBKG20-HRN Installation Guide
Data Controller (DC)
Remote Start for Mercedes
KeylessGo
www.compustar.com
888.820.3690
Copyright 2011 Firstech, LLC. | 8
Pin Removal and Reinstall
Pins installed in connector housing Plugs matched up and completed
Brown Matches Brown
Brown/Red Matches Brown/Red
Beginning with V27.4 (see serial number sticker on the rear of the unit), there is an on board KeylessGo
finder. This will make finding the correct plug for connecting to the KeylessGo system on vehicles that require
it much easier. Basic install of the Mercedes DC must be completed prior to testing for KeylessGo (this guide
assumes the starter module is installed and properly working).
Instructions
1. Locate the specified CAN distribution block where the KeylessGo connection should be made.
2. Turn the key to accessory (one click clockwise from the off position). If there is a push button in the ignition
cylinder, it can be removed so the key can be inserted in its place. Grasp the button and pull it out of the
ignition switch.
3. Look inside the Mercedes DC module through the end plate opposite the main wiring plug. You should
see red LEDs that are lit up. One of those should be flashing at a slow pace.
4. In the CAN distribution block, begin to remove connectors one at a time. Each connector should be
unplugged for 15-20 seconds each. Observe the flashing light as you do this. You should end up with two
connectors that cause the flashing light to stop flashing and stay solid on or solid off.
5. Isolate those two connectors to one end of the distribution block and leave the rest alone.
6. Turn the key to the off position and remove it.
7. Take the two connectors from step 5 and remove one at a time. Once one is removed, use the keyfob to
unlock the doors. Removing one of those connectors will cause the door locks to stop working from the
keyfob and one won’t.
8. Take the connector that caused the door locks to stop working and plug it back in.
9. Connect the KeylessGo harness to the plug from step 7 where the door locks continued to work.
KeylessGo Finder (V27.4 and up)
That completes the KeylessGo portion of your installation. Please see the vehicle specific installation guide
for more information.
Firstech, LLC. is not responsible for any damages whatsoever, including but not limited to any consequential
damages, incidental damages, damages for loss of time, loss of earnings, commercial loss, loss of economic
opportunity and the like that may or may not have resulted from the installation or operation of the Data
Controller for Mercedes.
FT-MBKG20-HRN Installation Guide
Data Controller (DC)
Remote Start for Mercedes
KeylessGo
Copyright 2011 Firstech, LLC. | 9
www.compustar.com
888.820.3690

Other CompuSTAR Remote Starter manuals
CompuSTAR CM4200DX User manual

CompuSTAR

CompuSTAR CM4200DX User manual

CompuSTAR SLICE 2W940R-SS Technical manual

CompuSTAR

CompuSTAR SLICE 2W940R-SS Technical manual

CompuSTAR 2WSSR-T11 User manual

CompuSTAR

CompuSTAR 2WSSR-T11 User manual

CompuSTAR 2WT11R-SS Technical manual

CompuSTAR

CompuSTAR 2WT11R-SS Technical manual

CompuSTAR R1700-AM User manual

CompuSTAR

CompuSTAR R1700-AM User manual

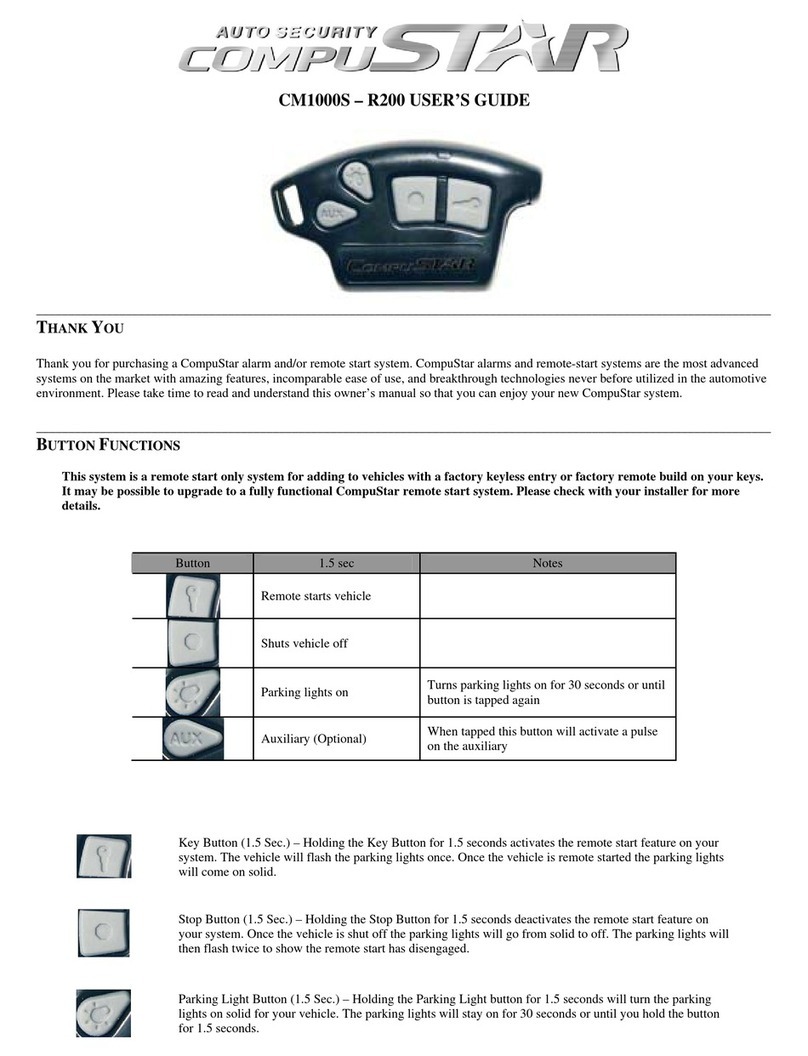
CompuSTAR CM1000S – R200 User manual

CompuSTAR

CompuSTAR CM1000S – R200 User manual

CompuSTAR 2WFMRS User manual

CompuSTAR

CompuSTAR 2WFMRS User manual

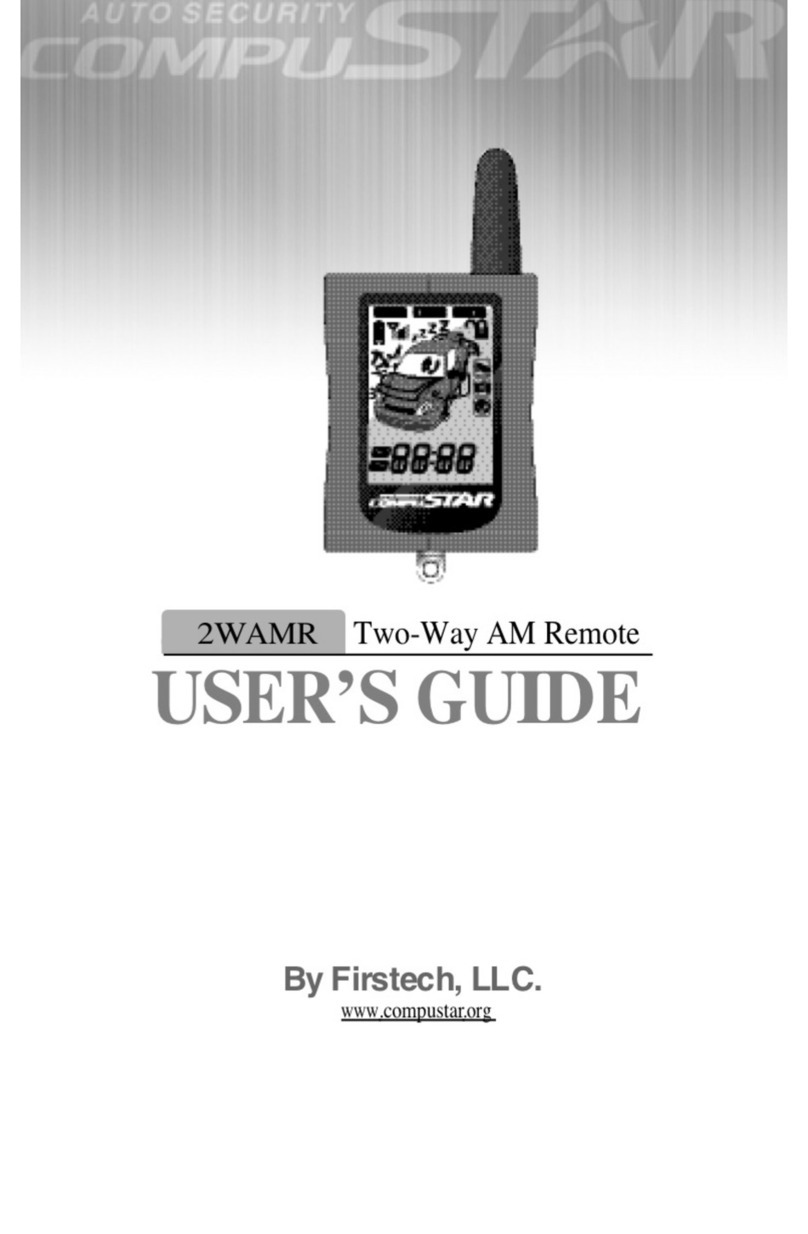
CompuSTAR 2WAMR User manual

CompuSTAR

CompuSTAR 2WAMR User manual

CompuSTAR RF-1WR3R-AM Technical manual

CompuSTAR

CompuSTAR RF-1WR3R-AM Technical manual

CompuSTAR R1700-FM User manual

CompuSTAR

CompuSTAR R1700-FM User manual

CompuSTAR 1000AS User manual

CompuSTAR

CompuSTAR 1000AS User manual

CompuSTAR 2W901R-SS Technical manual

CompuSTAR

CompuSTAR 2W901R-SS Technical manual

CompuSTAR 2W901R-SS User manual

CompuSTAR

CompuSTAR 2W901R-SS User manual

CompuSTAR FT-MB221-DC User manual

CompuSTAR

CompuSTAR FT-MB221-DC User manual

CompuSTAR DroneMobile DR-2000 User manual

CompuSTAR

CompuSTAR DroneMobile DR-2000 User manual

CompuSTAR 2BSHLED User manual

CompuSTAR

CompuSTAR 2BSHLED User manual

CompuSTAR 2WT13R-SF Technical manual

CompuSTAR

CompuSTAR 2WT13R-SF Technical manual
CompuSTAR 2WSH-LED User manual

CompuSTAR

CompuSTAR 2WSH-LED User manual
Popular Remote Starter manuals by other brands

DieHard 2871222 Operator's manual

DieHard

DieHard 2871222 Operator's manual

SC POWER SCB90Pro24 instruction manual

SC POWER

SC POWER SCB90Pro24 instruction manual

Directed Electronics 553 owner's guide

Directed Electronics

Directed Electronics 553 owner's guide

Fortin EVO-ALL user manual

Fortin

Fortin EVO-ALL user manual

Prestige PE1BZLR owner's guide

Prestige

Prestige PE1BZLR owner's guide

Mopar 82209982AH installation instructions

Mopar

Mopar 82209982AH installation instructions

Car Keys Express GMRM-6THZ1RE user guide

Car Keys Express

Car Keys Express GMRM-6THZ1RE user guide

K9Safety K9Caller Configuration manual

K9Safety

K9Safety K9Caller Configuration manual

DeWalt DXAEJ14CA instruction manual

DeWalt

DeWalt DXAEJ14CA instruction manual

Firstech 2WG5R - 900SH user guide

Firstech

Firstech 2WG5R - 900SH user guide

idatastart HC2352AC install guide

idatastart

idatastart HC2352AC install guide

IC Dynamics RS110 product manual

IC Dynamics

IC Dynamics RS110 product manual

Avital AVISTART 4000 installation manual

Avital

Avital AVISTART 4000 installation manual

CrimeStopper CS-830RKE installation instructions

CrimeStopper

CrimeStopper CS-830RKE installation instructions

Shark EPS-203 user guide

Shark

Shark EPS-203 user guide

Excalibur Excalibur RS-11 Operating & installation instructions

Excalibur

Excalibur Excalibur RS-11 Operating & installation instructions

Black & Decker BDV040 user manual

Black & Decker

Black & Decker BDV040 user manual

ADS idatastart CMVWXA0 Product guide

ADS

ADS idatastart CMVWXA0 Product guide

manuals.online logo
manuals.online logoBrands
  • About & Mission
  • Contact us
  • Privacy Policy
  • Terms and Conditions

Copyright 2025 Manuals.Online. All Rights Reserved.