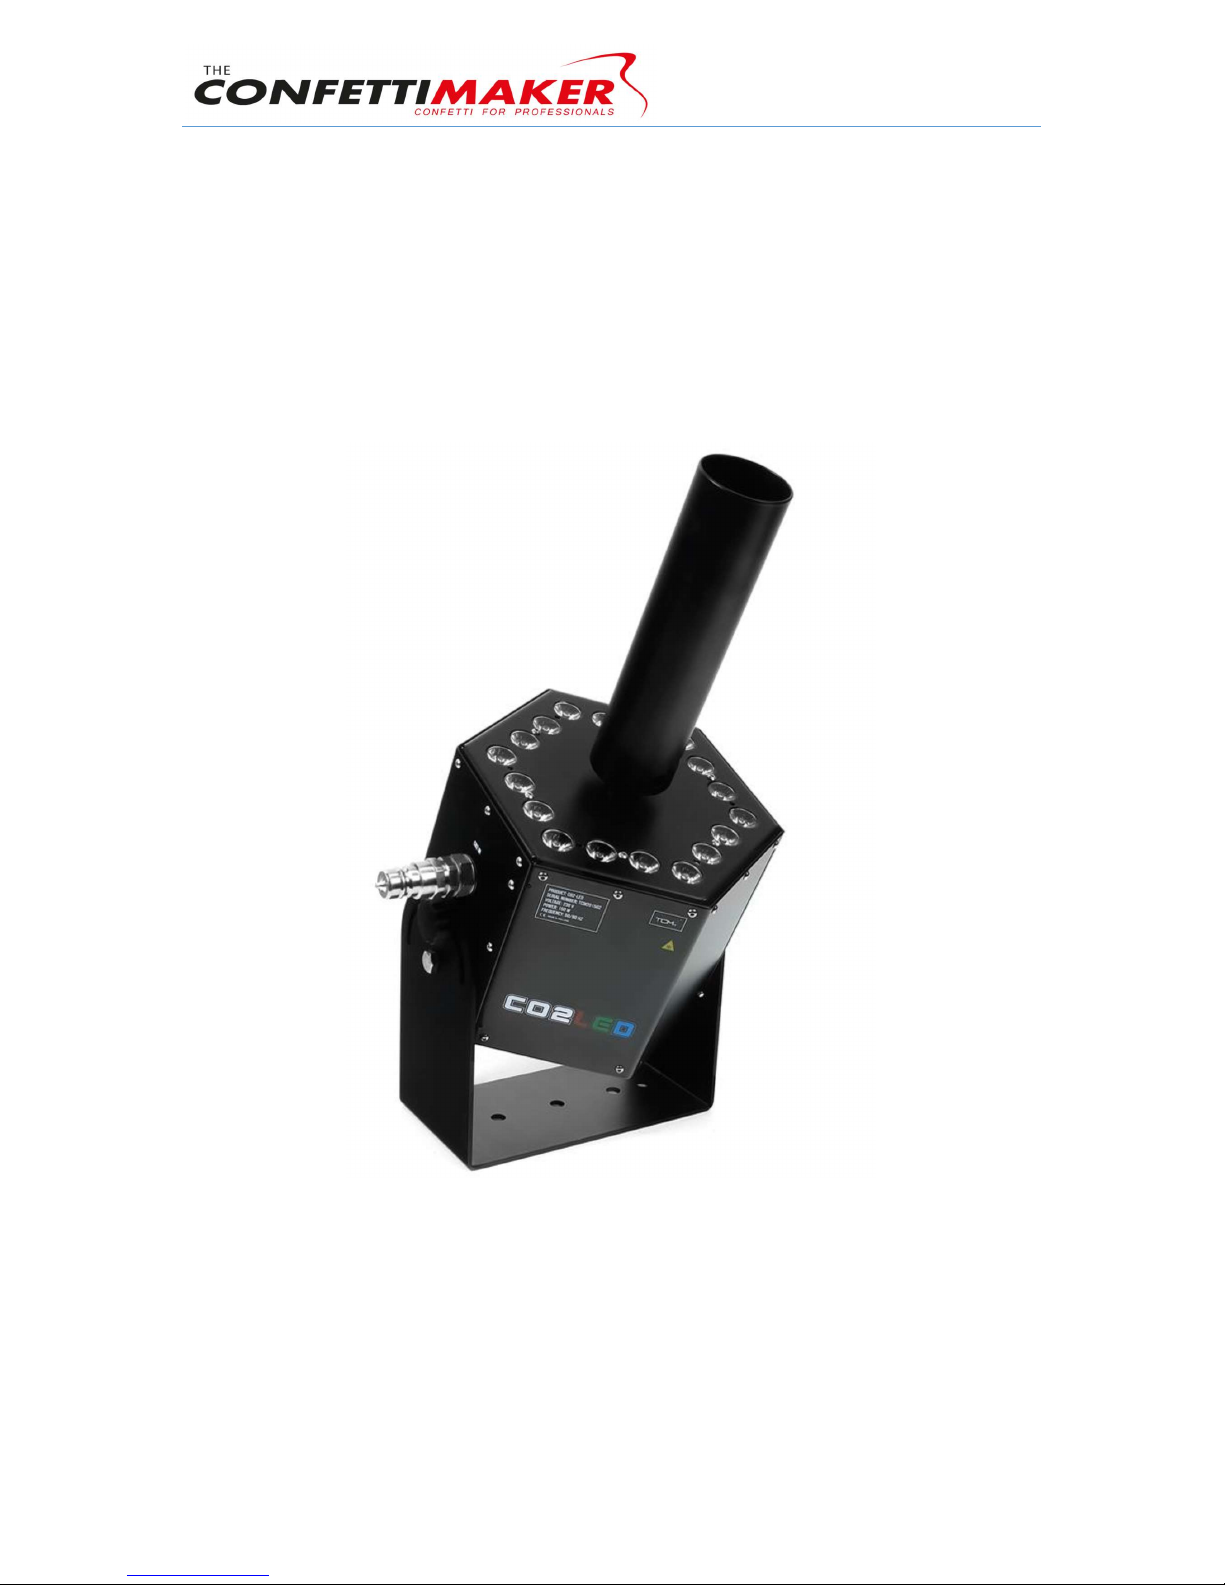
User documentation The Confetti Maker FX
Ⓡ
Warranty
The CO2 LED has a 3 year warranty which will be void if the CO2 LED is handled
differently than described in this manual.
The warranty is void when the CO2 LED has been opened by anyone other than the
Confetti Maker.
The Confetti maker is not responsible for any paint or hardware damaged as a result
of rough handling.
CAUTION! Always contact your supplier in case of malfunctions.
Never try to repair the CO2 LED yourself.
WARNING
READ THIS DOCUMENT BEFORE INSTALLING OR USING CO2 LED
IMPROPER SELECTION, IMPROPER USE, USE BY ANYONE OTHER THAN TRAINED
USERS HAVING APPROPRIATE TECHNIAL EXPERTISE OF THE CO2 LED CAN
CAUSE DAMAGE TO EQUIPMENT OR PROPERTY.
This document and other information from the CO2 LED , its subsidiaries and authorized distributors
together only provide product installation guidelines and product or system usage options, each of
which are intended to operate in conjunction with further investigation by trained users having
appropriate technical expertise to facilitate the safe handling and use of the CO2 LED.
The CO2 LED is not intended to be used or handled by any users other tan trained users having
appropriate technical expertise. The information and documentation contained in our catalog and on
the website, www.theconfettimaker.com, is only provided for technical illustration purposes only and
may not be used or relied upon as a statement of suitability for use in any particular application. Users,
through their own analysis and testing, are solely responsible for assuring that the CO2 LED is used in