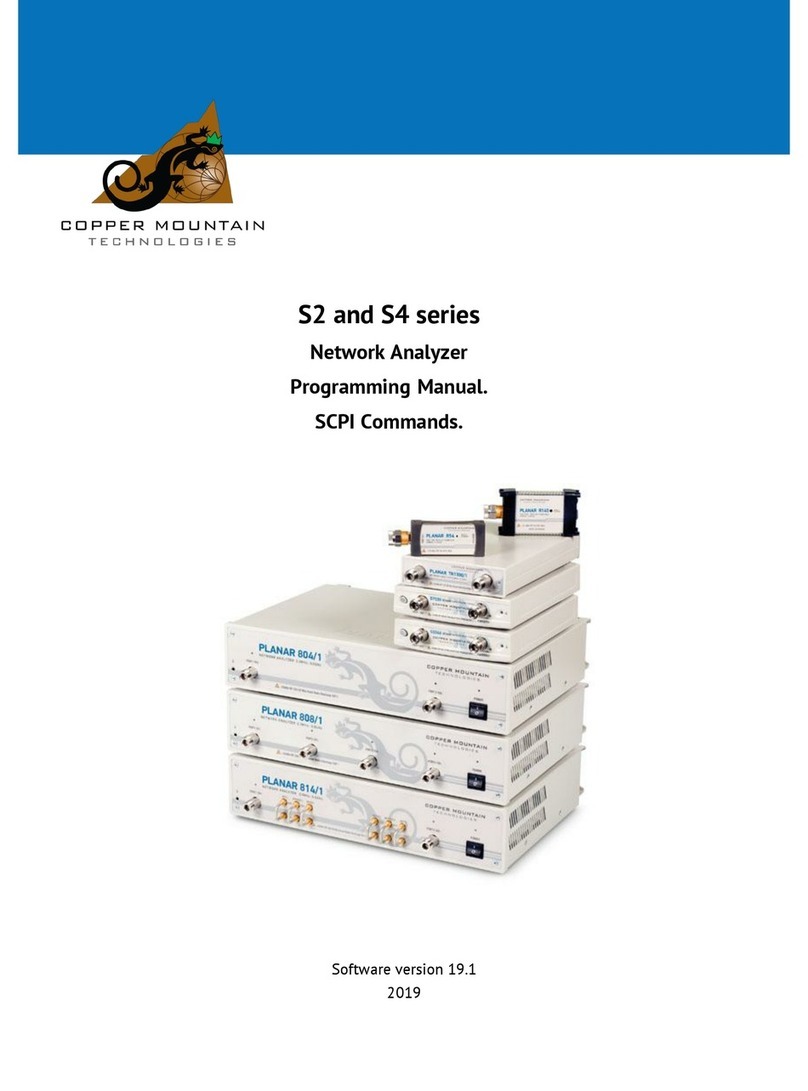
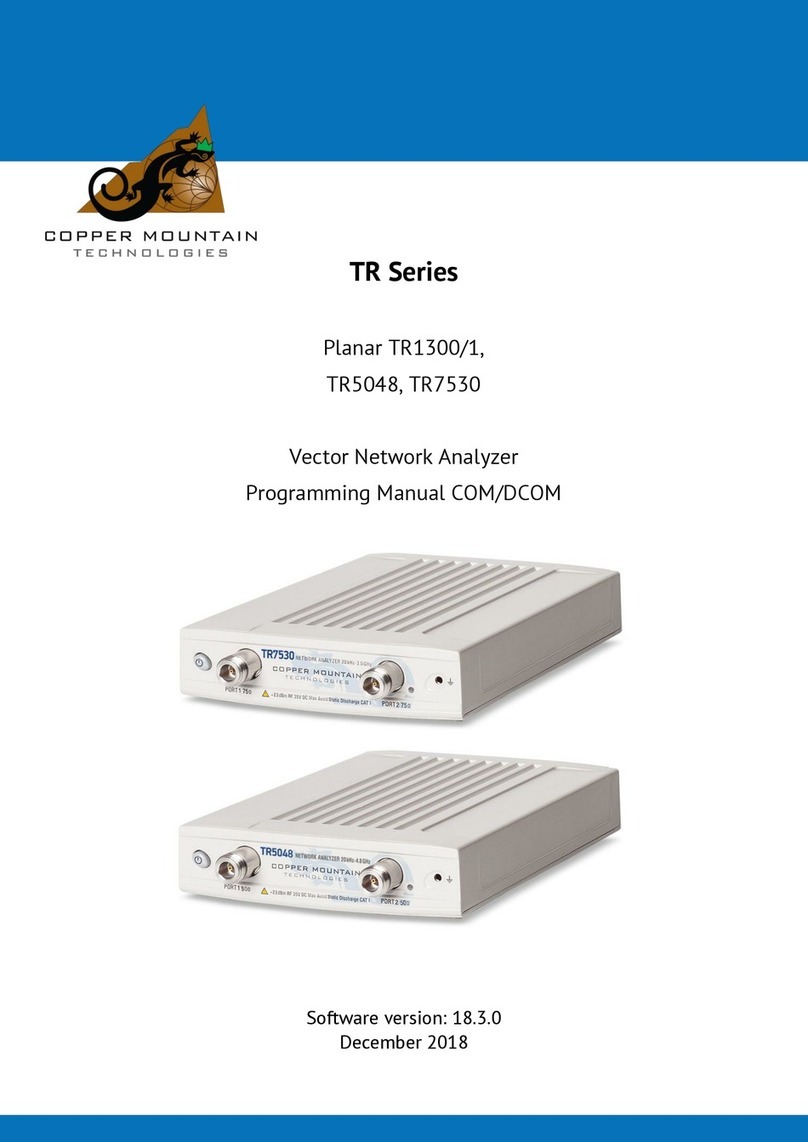
Copper Mountain Technologies R140 User manual

1-Port VNA Series
R54
R140
R60
R180/RP180
Operating Manual
Software version 18.3.0
July 2018

2
T A B L E O F C O N T E N T S
INTRODUCTION.......................................................................................................................8
SAFETY INSTRUCTIONS..........................................................................................................9
1. GENERAL OVERVIEW ....................................................................................................... 11
1.1 Description ........................................................................................................................................ 11
1.2 Specifications................................................................................................................................... 11
1.3 Measurement Capabilities........................................................................................................... 11
1.4 Principle of Operation .................................................................................................................. 16
2. PREPARATION FOR USE .................................................................................................. 18
2.1 General Information ...................................................................................................................... 18
2.2 Software Installation..................................................................................................................... 20
2.3 Top Panel........................................................................................................................................... 20
2.4 Test Port............................................................................................................................................. 23
2.5 Mini B USB Port............................................................................................................................... 23
2.6 External Trigger Signal Input Connector (R140 model only)........................................ 24
2.7 External Reference Frequency Input Connector (R140 model only).......................... 24
2.8 Reference Frequency Input/Output Connector (R60 and R180 model
only) 24
2.9 External Trigger Signal Input/Output Connector (R60 and R180 model
only) 25
3. GETTING STARTED .......................................................................................................... 26
3.1 Analyzer Preparation for Reflection Measurement........................................................... 27
3.2 Analyzer Presetting........................................................................................................................ 27
3.3 Stimulus Setting.............................................................................................................................. 28
3.4 IF Bandwidth Setting .................................................................................................................... 29
3.5 Number of Traces, Measured Parameter and Display Format Setting ...................... 30
3.6 Trace Scale Setting ........................................................................................................................ 31
3.7 Analyzer Calibration for Reflection Coefficient Measurement..................................... 31
3.8 SWR and Reflection Coefficient Phase Analysis Using Markers .................................. 34
4. MEASUREMENT CONDITIONS SETTING......................................................................... 36
4.1 Screen Layout and Functions..................................................................................................... 36
4.1.1 Left and Right Softkey Menu Bars.................................................................................... 36
4.1.2 Top Menu Bar ........................................................................................................................... 37
4.1.3 Instrument Status Bar ........................................................................................................... 40
4.2 Channel Window Layout and Functions................................................................................ 42
4.2.1 Channel Title Bar .................................................................................................................... 43
4.2.2 Trace Status Field ................................................................................................................... 43
4.2.3 Graph Area ................................................................................................................................. 46
4.2.4 Markers........................................................................................................................................ 47
4.2.5 Channel Status Bar................................................................................................................. 48
4.3 Quick Channel Setting Using Mouse....................................................................................... 49
4.3.1 Active Channel Selection..................................................................................................... 49

3
4.3.2 Active Trace Selection .......................................................................................................... 50
4.3.3 Display Format Setting ......................................................................................................... 50
4.3.4 Trace Scale Setting................................................................................................................. 50
4.3.5 Reference Level Setting ....................................................................................................... 51
4.3.6 Marker Stimulus Value Setting.......................................................................................... 52
4.3.7 Switching between Start/Center and Stop/Span Modes......................................... 52
4.3.8 Start/Center Value Setting .................................................................................................. 53
4.3.9 Stop/Span Value Setting ...................................................................................................... 53
4.3.10 Sweep Points Number Setting ........................................................................................ 54
4.3.11 IF Bandwidth Setting .......................................................................................................... 54
4.3.12 Power Level Setting ............................................................................................................ 55
4.4 Channel and Trace Display Setting ......................................................................................... 55
4.4.1 Setting the Number of Channel Windows..................................................................... 55
4.4.2 Channel Activating ................................................................................................................. 56
4.4.3 Active Channel Window Maximizing............................................................................... 57
4.4.4 Number of Traces Setting.................................................................................................... 58
4.4.5 Active Trace Selection .......................................................................................................... 59
4.5 Measurement Parameters Setting............................................................................................ 62
4.5.1 S-Parameters............................................................................................................................. 62
4.5.2 Trace Format............................................................................................................................. 62
4.5.3 Rectangular Format ............................................................................................................... 63
4.5.4 Polar Format ............................................................................................................................. 65
4.5.5 Smith Chart Format................................................................................................................ 66
4.5.6 Data Format Setting............................................................................................................... 68
4.6 Trigger Setting................................................................................................................................. 69
4.6.1 External Trigger (except R54)............................................................................................ 71
4.6.1.1 Point Feature..................................................................................................................... 71
4.6.1.2 External Trigger Polarity .............................................................................................. 71
4.6.1.3 External Trigger Position ............................................................................................. 72
4.6.1.4 External Trigger Delay .................................................................................................. 73
4.6.2 Trigger Output (except R54/R140) .................................................................................. 76
4.6.2.1 Switching ON/OFF Trigger Output........................................................................... 77
4.6.2.2 Trigger Output Polarity ................................................................................................. 78
4.6.2.3 Trigger Output Function............................................................................................... 79
4.7 Scale Setting..................................................................................................................................... 80
4.7.1 Rectangular Scale ................................................................................................................... 80
4.7.2 Rectangular Scale Setting ................................................................................................... 80
4.7.3 Circular Scale............................................................................................................................ 81
4.7.4 Circular Scale Setting ............................................................................................................ 81
4.7.5 Automatic Scaling................................................................................................................... 82
4.7.6 Reference Level Automatic Selection............................................................................. 83
4.7.7 Electrical Delay Setting ........................................................................................................ 83
4.7.8 Phase Offset Setting .............................................................................................................. 84
4.8 Stimulus Setting.............................................................................................................................. 86
4.8.1 Sweep Type Setting ............................................................................................................... 86
4.8.2 Sweep Span Setting ............................................................................................................... 86

4
4.8.3 Sweep Points Setting ............................................................................................................ 87
4.8.4 Stimulus Power Setting ........................................................................................................ 88
4.8.5 Segment Table Editing ......................................................................................................... 88
4.9 Trigger Setting................................................................................................................................. 91
4.10 Measurement Optimizing ......................................................................................................... 92
4.10.1 IF Bandwidth Setting .......................................................................................................... 92
4.10.2 Averaging Setting................................................................................................................. 92
4.10.3 Smoothing Setting ............................................................................................................... 93
4.10.4 Trace Hold Function............................................................................................................ 95
4.11 Cable Specifications.................................................................................................................... 96
4.11.1 Selecting the type of cable............................................................................................... 96
4.11.2 Manually specify Velocity Factor and Cable Loss.................................................... 97
4.11.3 Editing table of cables........................................................................................................ 98
5. CALIBRATION AND CALIBRATION KIT......................................................................... 100
5.1 General Information ....................................................................................................................100
5.1.1 Measurement Errors.............................................................................................................100
5.1.2 Systematic Errors ..................................................................................................................100
5.1.2.1 Directivity Error..............................................................................................................101
5.1.2.2 Source Match Error .......................................................................................................101
5.1.2.3 Reflection Tracking Error ...........................................................................................101
5.1.3 Error Modeling .......................................................................................................................101
5.1.3.1 One-Port Error Model ..................................................................................................101
5.1.4 Analyzer Test Port Defining..............................................................................................102
5.1.5 Calibration Steps...................................................................................................................103
5.1.6 Calibration Methods.............................................................................................................104
5.1.6.1 Normalization .................................................................................................................104
5.1.6.2 Expanded Normalization............................................................................................105
5.1.6.3 Full One-Port Calibration...........................................................................................105
5.1.6.4 Waveguide Calibration ................................................................................................106
5.1.7 Calibration Standards and Calibration Kits ................................................................107
5.1.7.1 Types of Calibration Standards................................................................................107
5.1.7.2 Calibration Standard Model ......................................................................................107
5.2 Calibration Procedures ...............................................................................................................110
5.2.1 Calibration Kit Selection ....................................................................................................110
5.2.2 Reflection Normalization...................................................................................................112
5.2.3 Full One-Port Calibration...................................................................................................114
5.2.4 Error Correction Disabling.................................................................................................116
5.2.5 Error Correction Status .......................................................................................................116
5.2.6 System Impedance Z0.........................................................................................................117
5.2.7 Port Extension........................................................................................................................117
5.2.8 Auto Port Extension .............................................................................................................119
5.3 Calibration Kit Management ....................................................................................................121
5.3.1 Calibration Kit Selection for Editing .............................................................................121
5.3.2 Calibration Kit Label Editing ............................................................................................121
5.3.3 Predefined Calibration Kit Restoration ........................................................................122

5
5.3.4 Calibration Standard Editing ............................................................................................124
5.3.5 Calibration Standard Defining by S-Parameter File................................................126
5.4 Automatic Calibration Module ................................................................................................128
5.4.1 Automatic Calibration Module Features......................................................................129
5.4.2 Automatic Calibration Procedure ...................................................................................130
6. MEASUREMENT DATA ANALYSIS................................................................................. 131
6.1 Markers .............................................................................................................................................131
6.1.1 Marker Adding........................................................................................................................132
6.1.2 Marker Deleting.....................................................................................................................133
6.1.3 Marker Stimulus Value Setting........................................................................................133
6.1.4 Marker Activating..................................................................................................................134
6.1.5 Reference Marker Feature .................................................................................................134
6.1.6 Marker Properties..................................................................................................................136
6.1.6.1 Marker Coupling Feature............................................................................................136
6.1.6.2 Marker Value Indication Capacity ...........................................................................138
6.1.6.3 Multi Marker Data Display .........................................................................................138
6.1.6.4 Marker Data Alignment...............................................................................................139
6.1.6.5 Memory trace value display ......................................................................................140
6.1.7 Marker Position Search Functions..................................................................................141
6.1.7.1 Search for Maximum and Minimum.......................................................................142
6.1.7.2 Search for Peak...............................................................................................................143
6.1.7.3 Search for Target Level...............................................................................................145
6.1.7.4 Search Tracking..............................................................................................................147
6.1.7.5 Search Range ..................................................................................................................147
6.1.8 Marker Math Functions.......................................................................................................148
6.1.8.1 Trace Statistics ...............................................................................................................149
6.1.8.2 Bandwidth Search .........................................................................................................151
6.1.8.3 Flatness .............................................................................................................................155
6.1.8.4 RF Filter Statistics .........................................................................................................157
6.2 Memory Trace Function .............................................................................................................160
6.2.1 Saving Trace into Memory.................................................................................................161
6.2.2 Memory Trace Deleting ......................................................................................................161
6.2.3 Trace Display Setting ..........................................................................................................162
6.2.4 Memory Trace Math .............................................................................................................163
6.3 Fixture Simulation........................................................................................................................164
6.3.1 Port Z Conversion .................................................................................................................164
6.3.2 De-embedding........................................................................................................................165
6.3.3 Embedding...............................................................................................................................167
6.4 Time Domain Transformation..................................................................................................168
6.4.1 Time Domain Transformation Activating ....................................................................170
6.4.2 Time Domain Transformation Span...............................................................................172
6.4.3 Time Domain Transformation Type...............................................................................174
6.4.4 Time Domain Transformation Window Shape Setting...........................................174
6.4.5 Frequency Harmonic Grid Setting ..................................................................................175
6.5 Time Domain Gating ...................................................................................................................177

6
6.5.1 Time Domain Gate Activating..........................................................................................178
6.5.2 Time Domain Gate Span.....................................................................................................178
6.5.3 Time Domain Gate Type.....................................................................................................179
6.5.4 Time Domain Gate Shape Setting ..................................................................................179
6.6 S-Parameter Conversion ............................................................................................................180
6.7 Limit Test.........................................................................................................................................182
6.7.1 Limit Line Editing .................................................................................................................183
6.7.2 Limit Test Enabling/Disabling .........................................................................................185
6.7.3 Limit Test Display Management .....................................................................................185
6.7.4 Limit Line Offset....................................................................................................................186
6.8 Ripple Limit Test...........................................................................................................................187
6.8.1 Ripple Limit Editing .............................................................................................................187
6.8.2 Ripple Limit Enabling/Disabling.....................................................................................189
6.8.3 Ripple Limit Test Display Management.......................................................................189
7. CABLE LOSS MEASUREMENT........................................................................................ 191
7.1 Cable Loss Measurement Algorithm .....................................................................................191
8. ANALYZER DATA OUTPUT ............................................................................................ 193
8.1 Analyzer State................................................................................................................................193
8.1.1 Analyzer State Saving .........................................................................................................193
8.1.2 Analyzer State Recalling ....................................................................................................195
8.1.3 Autosave and Autorecall State of Analyzer ................................................................195
8.2 Channel State.................................................................................................................................196
8.2.1 Channel State Saving ..........................................................................................................196
8.2.2 Channel State Recalling.....................................................................................................197
8.3 Trace Data CSV File .....................................................................................................................199
8.3.1 CSV File Saving......................................................................................................................199
8.4 Trace Data Touchstone File......................................................................................................201
8.4.1 Touchstone File Saving ......................................................................................................202
8.4.2 Touchstone File Recalling.................................................................................................203
8.5 Graph Printing................................................................................................................................205
8.5.1 Graph Printing Procedure ..................................................................................................205
8.5.2 Quick saving program screen shot.................................................................................206
9. SYSTEM SETTINGS......................................................................................................... 207
9.1 Analyzer Presetting......................................................................................................................207
9.2 Program Exit...................................................................................................................................207
9.3 Analyzer System Data .................................................................................................................208
9.4 System Correction Setting ........................................................................................................208
9.5 User Interface Setting.................................................................................................................210
10. SPECIFICS OF WORKING WITH TWO OR MORE DEVICES ........................................ 212
10.1 Installation of additional software......................................................................................212
10.2 Connecting devices to a USB port.......................................................................................212
10.3 Synchronizing the work of analyzers .................................................................................212
10.4 Adding / removing devices.....................................................................................................214

7
10.5 Frequency adjustment of the internal generators ........................................................214
10.5.1 Manual frequency adjustment.......................................................................................215
10.5.2 Automatic frequency adjustment.................................................................................215
10.6 Features of analyzers calibration ........................................................................................216
10.6.1 Calibration Type..................................................................................................................217
10.6.2 Scalar Transmission Normalization.............................................................................218
10.6.3 Expanded Transmission Normalization.....................................................................218
10.7 Selection of the measured S-parameters.........................................................................221
11. MAINTENANCE AND STORAGE................................................................................... 222
11.1 Maintenance Procedures.........................................................................................................222
11.2 Instrument Cleaning .................................................................................................................222
11.3 Factory Calibration ....................................................................................................................223
11.4 Storage Instructions..................................................................................................................223
Appendix 1.......................................................................................................................... 224

8
INTRODUCTION
This Operating Manual represents design, specifications, overview of functions,
and detailed operation procedure for the Vector Network Analyzer, to ensure
effective and safe use of the technical capabilities of the instrument by the user.
Vector Network Analyzer operation and maintenance should be performed by
qualified engineers with initial experience in operating of microwave circuits and
PC.
The following abbreviations are used in this Manual:
PC –Personal Computer
DUT –Device Under Test
IF –Intermediate Frequency
CW –Continuous Wave
SWR –Standing Wave Ratio
VNA –Vector Network Analyzer

9
SAFETY INSTRUCTIONS
Carefully read through the following safety instructions before putting the
Analyzer into operation. Observe all the precautions and warnings provided in this
Manual for all the phases of operation, service, and repair of the Analyzer.
The VNA must be used only by skilled and specialized staff or thoroughly trained
personnel with the required skills and knowledge of safety precautions.
The Analyzer complies with INSTALLATION CATEGORY I as well as POLLUTION
DEGREE 2 in IEC61010–1.
The Analyzer is a MEASUREMENT CATEGORY I (CAT I) device. Do not use as CAT II,
III, or IV device.
The Analyzer is tested in stand-alone condition or in combination with the
accessories supplied by Copper Mountain Technologies against the requirement of
the standards described in the Declaration of Conformity. If it is used as a system
component, compliance of related regulations and safety requirements are to be
confirmed by the builder of the system.
Never operate the Analyzer in the environment containing inflammable gasses or
fumes.
Operators must not remove the cover or part of the housing. The Analyzer must
not be repaired by the operator. Component replacement or internal adjustment
must be performed by qualified maintenance personnel only.
Electrostatic discharge can damage your Analyzer when connected or
disconnected from the DUT. Static charge can build up on your body and damage
the sensitive circuits of internal components of both the Analyzer and the DUT. To
avoid damage from electric discharge, observe the following:
Always use a desktop anti static mat under the DUT.
Always wear a grounding wrist strap connected to the desktop anti static
mat via daisy-chained 1 MΩresistor.
Connect the PC and the body of the DUT to protective grounding before
you start operation.

SAFETY INSTRUCTIONS
10
CAUTION
This sign denotes a hazard. It calls attention to a procedure,
practice or condition that, if not correctly performed or adhered
to, could result in damage to or destruction of part or all of the
instrument.
Note
This sign denotes important information. It calls attention to a
procedure, practice, or condition that is essential for the user to
understand.

11
1. GENERAL OVERVIEW
1.1 Description
The VNA is designed for use in the process of development, adjustment and testing of
antenna-feeder devices in industrial and laboratory facilities, as well as in field,
including operation as a component of an automated measurement system. The
Analyzer is designed for operation with external PC, which is not supplied with it.
1.2 Specifications
The specifications of Analyzer model can be found in its corresponding datasheet.
1.3 Measurement Capabilities
Measured parameters
S11, Cable loss.
Number of
measurement
channels
Up to 4 logical channels. Each logical channel is
represented on the screen as an individual channel
window. A logical channel is defined by such stimulus
signal settings as frequency range, number of test points,
etc.
Data traces
Up to 4 data traces can be displayed in each channel
window. A data trace represents one of such parameters
of the DUT as magnitude and phase of S11, DTF, Cable
loss.
Memory traces
Each of the 4 data traces can be saved into memory for
further comparison with the current values.
Data display formats
SWR, Return loss, Cable loss, Phase, Expanded phase,
Smith chart diagram, DTF SWR, DTF Return loss, Group
delay.
Sweep setup features
Sweep type
Linear frequency sweep, logarithmic frequency sweep,
and segment frequency sweep.
Measured points per
sweep
Set by user from 2 to 100,001.

GENERAL OVERVIEW
12
Segment sweep
A frequency sweep within several user-defined
segments. Frequency range, number of sweep points, IF
bandwidth and measurement delay should be set for
each segment.
Power settings
Two modes of output power level.
Power levels depending on device.
Sweep trigger
Trigger modes: continuous, single, hold.
Trace display functions
Trace type
Data trace, memory trace.
Trace math
Data trace modification by math operations: addition,
subtraction, multiplication or division of measured
complex values and memory data.
Auto scaling
Automatic selection of scale division and reference level
value to have the trace most effectively displayed.
Electrical delay
Calibration plane moving to compensate for the delay in
the test setup. Compensation for electrical delay in a
DUT during measurements of deviation from linear
phase.
Phase offset
Phase offset defined in degrees.
Accuracy enhancement
Calibration
Calibration of a test setup (which includes the Analyzer
and adapter) significantly increases the accuracy of
measurements. Calibration allows to correct the errors
caused by imperfections in the measurement system:
system directivity, source match, and tracking.
Calibration methods
The following calibration methods are available:
reflection normalization;
full one-port calibration.
Reflection
normalization
The simplest calibration method.
Full one-port
calibration
Method of calibration that ensures high accuracy.

GENERAL OVERVIEW
13
Factory calibration
The factory calibration of the Analyzer allows performing
measurements without additional calibration and
reduces the measurement error after reflection
normalization.
Mechanical
calibration kits
The user can select one of the predefined calibration kits
of various manufacturers or define own calibration kits.
Electronic calibration
modules
Electronic calibration modules manufactured by COPPER
MOUNTAIN TECHNOLOGIES make the Analyzer
calibration faster and easier than traditional mechanical
calibration.
Defining of calibration
standards
Different methods of calibration standard defining are
available:
standard defining by polynomial model;
standard defining by data (S-parameters).
Error correction
interpolation
When the user changes such settings as start/stop
frequencies and number of sweep points, compared to
the settings of calibration, interpolation or extrapolation
of the calibration coefficients will be applied.
Marker functions
Data markers
Up to 16 markers for each trace. A marker indicates
stimulus value and the measured value in a given point
of the trace.
Reference marker
Enables indication of any maker values as relative to the
reference marker.
Marker search
Search for max, min, peak, or target values on a trace.
Marker search
additional features
User-definable search range. Functions of specific
condition tracking or single operation search.
Setting parameters by
markers
Setting of start, stop and center frequencies by the
stimulus value of the marker and setting of reference
level by the response value of the marker.
Marker math functions
Statistics, bandwidth, flatness, RF filter.

GENERAL OVERVIEW
14
Statistics
Calculation and display of mean, standard deviation and
peak-to-peak in a frequency range limited by two
markers on a trace.
Bandwidth
Determines bandwidth between cutoff frequency points
for an active marker or absolute maximum. The
bandwidth value, center frequency, lower frequency,
higher frequency, Q value, and insertion loss are
displayed.
Flatness
Displays gain, slope, and flatness between two markers
on a trace.
RF filter
Displays insertion loss and peak-to-peak ripple of the
passband, and the maximum signal magnitude in the
stopband. The passband and stopband are defined by
two pairs of markers.
Data analysis
Port impedance
conversion
The function of conversion of the S-parameters
measured at 50 Ω port into the values, which could be
determined if measured at a test port with arbitrary
impedance.
De-embedding
The function allows to exclude mathematically the
effect of the fixture circuit connected between the
calibration plane and the DUT from the measurement
result. This circuit should be described by an S-
parameter matrix in a Touchstone file.
Embedding
The function allows to simulate mathematically the DUT
parameters after virtual integration of a fixture circuit
between the calibration plane and the DUT. This circuit
should be described by an S-parameter matrix in a
Touchstone file.
S-parameter
conversion
The function allows conversion of the measured S-
parameters to the following parameters: reflection
impedance and admittance, transmission impedance and
admittance, and inverse S-parameters.

GENERAL OVERVIEW
15
Time domain
transformation
The function performs data transformation from
frequency domain into response of the DUT to
radiopulse in time domain. Time domain span is set by
the user arbitrarily from zero to maximum, which is
determined by the frequency step. Windows of various
forms allow better tradeoff between resolution and level
of spurious sidelobes.
Time domain gating
The function mathematically removes unwanted
responses in time domain what allows obtaining
frequency response without influence from the fixture
elements. The function applies reverse transformation
back to frequency domain from the user-defined span in
time domain. Gating filter types are: bandpass or notch.
For better tradeoff between gate resolution and level of
spurious sidelobes the following filter shapes are
available: maximum, wide, normal and minimum.
Other features
Analyzer control
Using external personal computer via USB interface.
Familiar graphical
user interface
Graphical user interface based on Windows operating
system ensures fast and easy Analyzer operation by the
user.
The software interface of Analyzers is compatible with
modern tablet PCs and laptops.
Saving trace data
Saving the traces in graphical format and saving the data
in Touchstone and *.csv (comma separated values)
formats on the hard drive are available.
Remote control
COM/DCOM
Remote control via COM/DCOM. COM automation runs
the user program on an Analyzer PC. DCOM automation
runs the user program on a LAN-networked PC.
Automation of the instrument can be achieved in any
COM/DCOM-compatible language or environment,
including Python, C++, C#, VB.NET, LabVIEW, MATLAB,
Octave, VEE, Visual Basic (Excel) and many others.
Socket
Data transfer between the PC user and the computer
that is connected to the device, can be also performed
via Socket (TCP, port 5025).

GENERAL OVERVIEW
16
1.4 Principle of Operation
The Analyzer consists of the Analyzer Unit, some supplementary accessories, and
personal computer (which is not supplied with the package). The Analyzer Unit is
powered and controlled by PC via USB-interface. The block diagram of the Analyzer is
represented in Figure 1.1.
The Analyzer Unit consists of a source oscillator, a local oscillator, a source power
attenuator, a directional coupler and other components which ensure the Analyzer
operation. The test port is the source of the test signal. The incident and reflected
signals from the directional coupler are supplied into the mixers, where they are
converted into IF, and are transferred further to the 2-channel receiver. The 2-channel
receiver, after filtration, digitally encodes the signals and supplies them for further
processing (filtration, phase difference measurement, magnitude measurement) into the
signal processor. The filters for the IF are digital and have passband from 10 Hz to
30(100) kHz. The combination of the assemblies of directional couplers, mixers, and 2-
channel receiver forms two similar signal receivers.
An external PC controls the operation of the components of the Analyzer. To fulfill the
S-parameter measurement, the Analyzer supplies the source signal of the assigned
frequency from test port to the DUT, then measures magnitude and phase of the signal
reflected by the DUT, and after that compares these results to the magnitude and phase
of the source signal.

17
Figure 1.1The VNA block diagram

18
2. PREPARATION FOR USE
2.1 General Information
Unpack the VNA and other accessories.
Connect the Analyzer to the PC using the USB Cable supplied in the package.
Install the software (supplied on the flash drive) onto your PC. The software
installation procedure is described below.
Warm-up the Analyzer for the time stated in its specifications.
Assemble the test setup using cables, connectors, fixtures, etc, which allow DUT
connection to the Analyzer.
Perform calibration of the Analyzer. Calibration procedure is described in section
5.

PREPARATION FOR USE
20
2.2 Software Installation
The software is installed to the external PC running under Windows operating
system. The Analyzer is connected to the external PC via USB interface.
Minimal system
requirements for
the PC
WINDOWS 2000/XP/VISTA/7/8
1.5 GHz Processor
2 GB RAM
USB 2.0 High Speed
The supplied USB flash drive contains the following software:
Flash drive
contents
Setup_RVNA_vX.X.X.exe installer file
(X.X.X –program version number);
Driver folder contains the driver;
Doc folder contains documentation.
The procedure of the software installation is performed in two steps. The first one
is the driver installation. The second step comprises installation of the program,
documentation and other related files.
Driver installation
Connect the Analyzer to your PC via the supplied USB
cable.
When you connect the Analyzer to the PC for the first time,
Windows will automatically detect the new USB device and
will open the USB driver installation dialog (Windows
2000/XP/VISTA/7/8).
In the USB driver installation dialog, click on Browse and
specify the path to the driver files, which are contained in
the Driver folder on the USB flash drive.
Program and
related files
installation
Run the Setup_RVNA_vX.X.X.exe installer file from the
supplied USB flash drive. Follow the instructions of the
installation wizard.
2.3 Top Panel
The top panel view of Analyzers is represented in the figures below. The top panel
is equipped with the READY/STANDBY LED indicator running in the following
modes:
This manual suits for next models
4
Table of contents
Other Copper Mountain Technologies Measuring Instrument manuals

Copper Mountain Technologies
Copper Mountain Technologies PLANAR TR1300/1 Owner's manual

Copper Mountain Technologies
Copper Mountain Technologies R60 Owner's manual

Copper Mountain Technologies
Copper Mountain Technologies S2 Series Owner's manual

Copper Mountain Technologies
Copper Mountain Technologies S2 Series Owner's manual

Copper Mountain Technologies
Copper Mountain Technologies PLANAR TR1300/1 User manual