Mode
Mode
Mode
Mode
I
I
I
I
sequence will repeat 3 times. Pressing the button in this mode will start the frequency locking process. If the button is not pressed,
mode II will be entered.
Mode
Mode
Mode
Mode
II
II
II
II
sequence will repeat 2 times. Pressing the button in this mode will disable the failsafe function. If the button is not pressed, mode
III will be entered.
Mode
Mode
Mode
Mode
III
III
III
III
sequence will repeat 2 times. Pressing the button in this mode will enable the failsafe function. If the button is not pressed, mode I
will be entered again.
If
If
If
If
no
no
no
no
b
b
b
b
utton
utton
utton
utton
is
is
is
is
pressed
pressed
pressed
pressed
these
these
these
these
3
3
3
3
mode
mode
mode
mode
s
s
s
s
will
will
will
will
repeat
repeat
repeat
repeat
10
10
10
10
times,
times,
times,
times,
then
then
then
then
end
end
end
end
with
with
with
with
2
2
2
2
short
short
short
short
LED
LED
LED
LED
flashes.
flashes.
flashes.
flashes.
Mode
Mode
Mode
Mode
I
I
I
I
:
:
:
:
locking
locking
locking
locking
to
to
to
to
the
the
the
the
transmitter
transmitter
transmitter
transmitter
frequency
frequency
frequency
frequency
1. Turn on the transmitter with the antenna extended.
2. Turn on the receiver. The LED will blink 2 times. If the LED remains lit then the receiver is receiving correct commands from a transmitter.
If the LED goes out then the receiver is not receiving any correct commands, in which case you should set it up again...
3. To set it up, press the scan button for 2 seconds, then release it. The LED blinks 3 times now (should it blink 2 times, then press the
button again for 2 seconds). While in mode
mode
mode
mode
I
I
I
I
, press the button shortly. If the LED begins to blink quickly it means that the receiver is
searching for a valid signal. Wait for 2-3 seconds for the search to complete.
Once the receiver is locked to the transmitter, the LED will flash 2 times and then remain lit. If the LED goes out again, check the
4. A fter the receiver has locked, if you don ’ t change frequency, the receiver will work when ever you connect it to the power. N o need to
C
C
C
C
aution:
aution:
aution:
aution:
when
when
when
when
locking
locking
locking
locking
your
your
your
your
receiver
receiver
receiver
receiver
,
,
,
,
please
please
please
please
ensure
ensure
ensure
ensure
only
only
only
only
your
your
your
your
own
own
own
own
transmit
transmit
transmit
transmit
ter
ter
ter
ter
is
is
is
is
working
working
working
working
and
and
and
and
put
put
put
put
your
your
your
your
receiver
receiver
receiver
receiver
close
close
close
close
enough
enough
enough
enough
to
to
to
to
your
your
your
your
transmitter.
transmitter.
transmitter.
transmitter.
Mode
Mode
Mode
Mode
II
II
II
II
:
:
:
:
disabling
disabling
disabling
disabling
the
the
the
the
failsafe
failsafe
failsafe
failsafe
1. Turn on the transmitter with the antenna extended.
2. Turn on the receiver. The LED will blink 2 times. If the LED remains lit then the receiver is receiving correct commands from a transmitter.
3. To set it up, press the scan button for 2 seconds, then release it. The LED blinks 3 times now (should it blink 2 times, then press the
button again for 2 seconds). While in mode II, press the button shortly to start the failsafe disabling process.
4. The L ED will flash 2 times and then remain lit . The tra n smitter now does not control the receiver and the failsafe has been disabled.
You must now restart the receiver.
Mode
Mode
Mode
Mode
III
III
III
III
:
:
:
:
enabling
enabling
enabling
enabling
the
the
the
the
failsafe
failsafe
failsafe
failsafe
1. Turn on the transmitter with the antenna extended.
2. Turn on the receiver. The LED will blink 2 times. If the LED remains lit then the receiver is receiving correct commands from a transmitter.
3. A djust the sticks and switch es on the transmitter to the position that you feel will best protect your aircraft in the event of a loss of signal .
Typically the throttle is decreased and a slight elevator input is require d to maintain a controlled glide slope. You should notice as you
set the sticks and switches that the receiver is responding indicating the transmitter and receiver are synchronized.
4. To set it up, press the scan button for 2 seconds, then release it. The LED blinks 3 times now (should it blink 2 times, then press the
button again for 2 seconds). While in mode III, press the button shortly to start the failsafe enabling process.
5. The L ED will flash 2 times and then remain lit . The tra n smitter now does not control the receiver and the failsafe has been enabled. You
must now restart the receiver.
During this setting step do not turn off the transmitter. Otherwise the receiver will not record the pos i tion of sticks and s witch es and it will
not retain a failsafe setting. Should this occur you will notice the LED flashing twice and then going dark indicating that you will have to start
the process
over.
Caution:
Caution:
Caution:
Caution:
1.
1.
1.
1.
Restart
Restart
Restart
Restart
the
the
the
the
receiver
receiver
receiver
receiver
when
when
when
when
the
the
the
the
set
set
set
set
up
up
up
up
process
process
process
process
of
of
of
of
disabling
disabling
disabling
disabling
or
or
or
or
enabling
enabling
enabling
enabling
the
the
the
the
failsafe
failsafe
failsafe
failsafe
is
is
is
is
completed.
completed.
completed.
completed.
2.
2.
2.
2.
While
While
While
While
in
in
in
in
Mode
Mode
Mode
Mode
I,
I,
I,
I,
Mode
Mode
Mode
Mode
II
II
II
II
or
or
or
or
Model
Model
Model
Model
III
III
III
III
you
you
you
you
can
can
can
can
cut
cut
cut
cut
power
power
power
power
to
to
to
to
cancel
cancel
cancel
cancel
the
the
the
the
setting
setting
setting
setting
process.
process.
process.
process.
Do
Do
Do
Do
not
not
not
not
cut
cut
cut
cut
power
power
power
power
i
i
i
i
n
n
n
n
the
the
the
the
process
process
process
process
of
of
of
of
locking
locking
locking
locking
receiver,
receiver,
receiver,
receiver,
disabling
disabling
disabling
disabling
failsafe
failsafe
failsafe
failsafe
or
or
or
or
enabling
enabling
enabling
enabling
failsafe.
failsafe.
failsafe.
failsafe.
Otherwise
Otherwise
Otherwise
Otherwise
your
your
your
your
receiver
receiver
receiver
receiver
may
may
may
may
be
be
be
be
damaged.
damaged.
damaged.
damaged.
3.
3.
3.
3.
After
After
After
After
enabling
enabling
enabling
enabling
failsafe,
failsafe,
failsafe,
failsafe,
please
please
please
please
readjust
readjust
readjust
readjust
the
the
the
the
transmitter
transmitter
transmitter
transmitter
settings
settings
settings
settings
of
of
of
of
sticks
sticks
sticks
sticks
and
and
and
and
switches
switches
switches
switches
for
for
for
for
the
the
the
the
correct
correct
correct
correct
flight
flight
flight
flight
conditions.
conditions.
conditions.
conditions.
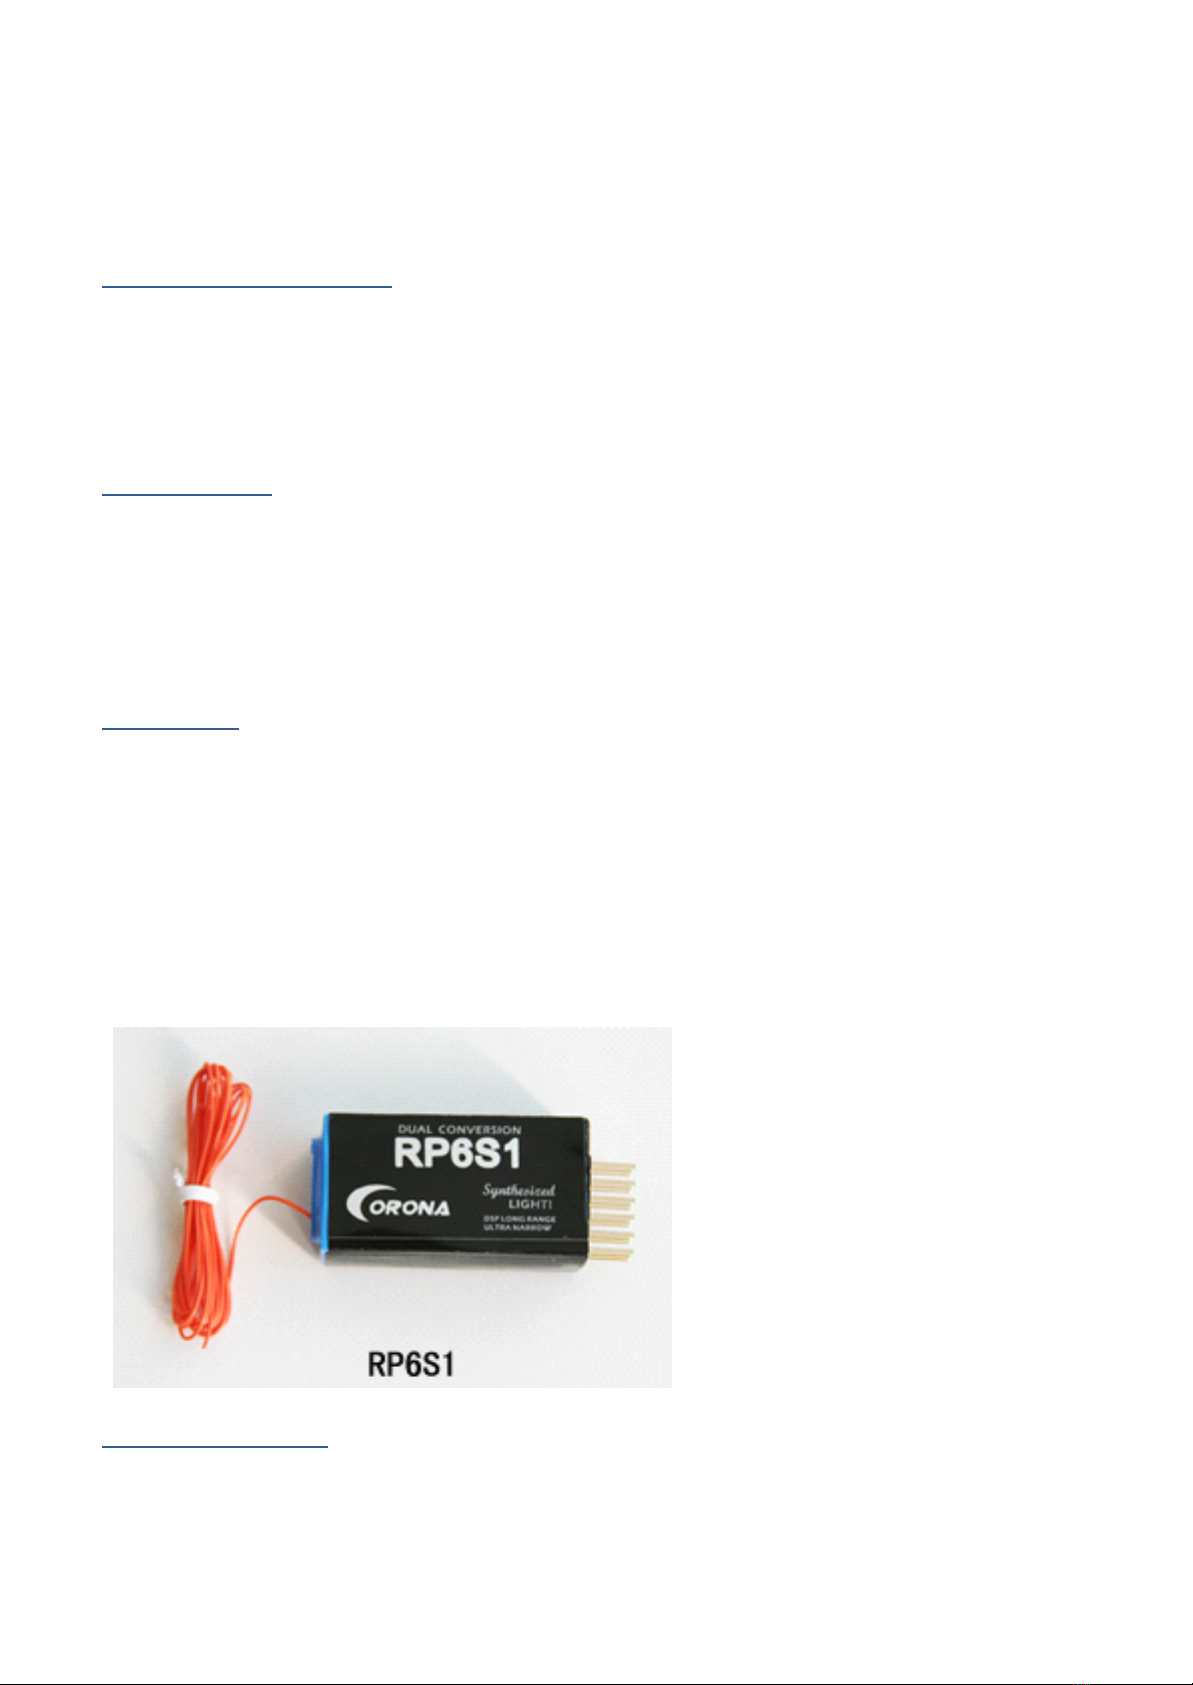
Installing
Installing
Installing
Installing
the
the
the
the
receiver
receiver
receiver
receiver
1 . Plug in all the servos/ESC. Pay attention to the polarity of the connectors. Please consult the labels on the case for the channel numbers
Caution:
Caution:
Caution:
Caution:
If
If
If
If
the
the
the
the
polarity
polarity
polarity
polarity
of
of
of
of
the
the
the
the
plugs
plugs
plugs
plugs
is
is
is
is
wrong,
wrong,
wrong,
wrong,
it
it
it
it
can
can
can
can
damage
damage
damage
damage
the
the
the
the
servos/ESC.
servos/ESC.
servos/ESC.
servos/ESC.
2 . If not using an ESC with a built in battery eliminator circuit (BEC), plug a 4.8V battery/switch harness into any unused channel. If you are
using all the channels for servos, use a Y harness to connect the battery and servo to 1 channel.
3 . Wrap the receiver in foam to isolate it from vibration and secure it in the aircraft with for instance a rubber band.
4. Unwind the antenna fully. Do not coil or cut the antenna.