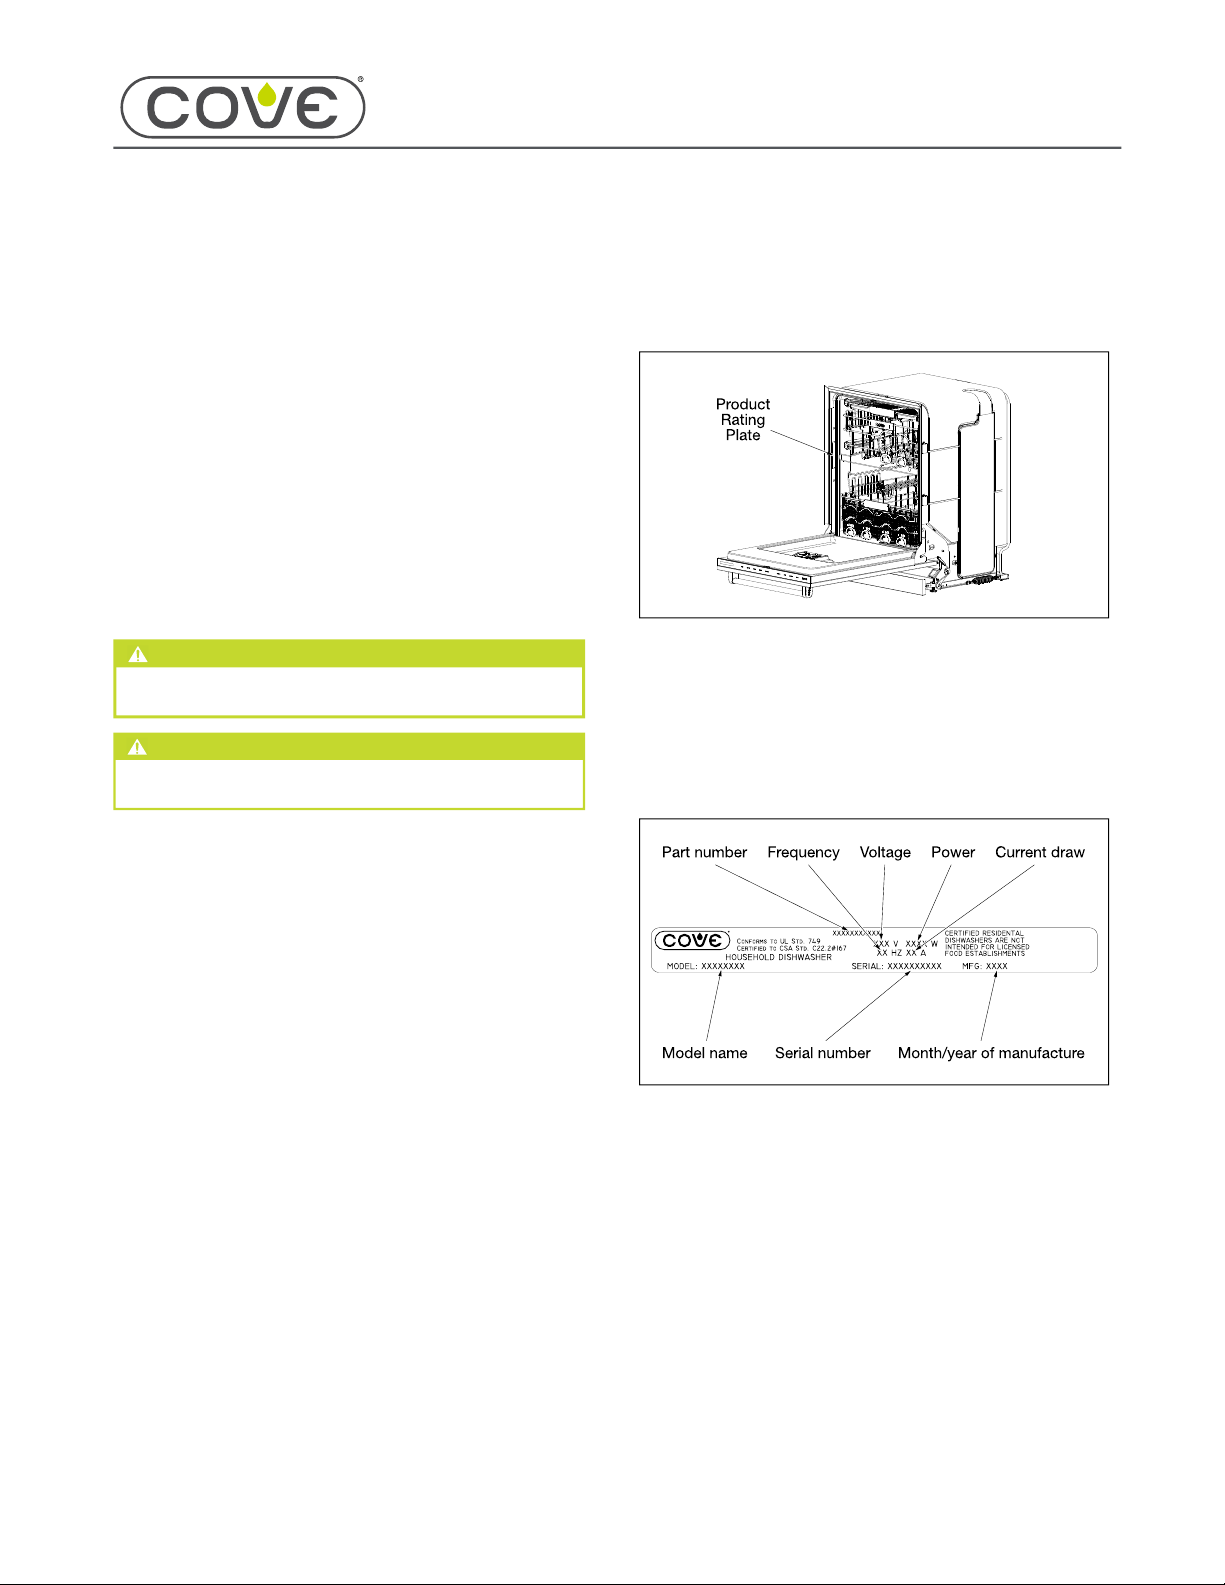
828019 REV B 08/2023
DW2450 and DW2450WS Service Manual
service.subzero.com 800.222.7820
Controls and Operation
WASH CYCLES AND USER CONTROL
The dishwasher's menu is arranged as a multi-level tree
with pre-assigned UIM keys to navigate up/down and left/
right. It also has pre-assigned UIM keys to either select or
disregard a value anywhere within the menu.
AUTO CYCLE
The Auto cycle uses the turbidity of the water and its
change over time to decide the duration and intensity.
Auto starts with a prewash cycle, during which the unit
drains and fills to 1.1 gal. The unit then washes and takes
turbidity readings once per minute, calculating the average
turbidity and the change in the average turbidity as time
passes. The unit washes and accumulates turbidity data
for 10 minutes (up to 15 minutes if the turbidity is not
stable). Then, it selects a cycle based on the average
turbidity:
Very Light (~2:07, 4 gal, crumbs, juice/wine/beer
glasses very light loads).
Light (~2:30, 5.1 gal, cereal bowls, milk glasses,
wine/beer glasses, mashed potatoes, meat juices).
Average (~2:55, 6.2 gal, tomato juice, fried eggs,
cream corn, jams/jellies, tomato sauces).
Heavy (~3:25, 7.3 gal, oatmeal/hot cereals,
scalloped potatoes, dried egg yolk, peanut butter,
creamed corn).
Very Heavy (~3:55, 8.4 gal, dried/baked on starchy
foods, dried on milk products, oven pans used for
roasting meats, casserole foods).
NORMAL CYCLE
The Normal cycle uses the turbidity of the water and its
change over time to decide the duration and intensity.
Normal starts with a pre-wash cycle, during which the unit
drains and fills to 1.1 gal. The unit then washes and takes
turbidity readings once per minute, calculating the average
turbidity and the change in the average turbidity as time
passes. If the turbidity is stable after about 13 minutes or if
the unit has been washing for more than 20 minutes with
varying turbidity behavior, the unit chooses the Light or
Average setting based on the average turbidity level.
However, if the turbidity is consistently low (indicating dirty
water) after the first fill/wash/drain, the unit chooses the
Heavy setting.
Light (~2:40, 3.0-8.3 gal, cold cereal bowls, milk
glasses, wine/beer glasses, meat juices)
Average (~2:40, ~5.0 gal, tomato juice, fried eggs,
cream corn, jams/jellies, tomato sauces, starches)
Heavy (~2:40, 5.3-8.3 gal, oatmeal/hot cereals,
scalloped potatoes, dried egg yolk, peanut butter,
creamed corn)
IMPORTANT NOTE: Within the Heavy setting, the
unit chooses one of two sets of fills and drains
depending on the turbidity (five total fills and
drains if the turbidity improves or eight total fills
and drains if the turbidity remains low).
SET A WASH CYCLE
Touch the desired wash cycle, or touch Cycles+
multiple times to scroll to the desired wash cycle.
Touch Start and close the door within 4 seconds.
IMPORTANT NOTE: To incorporate a cycle option
into the wash cycle, touch Options before
touching Start. Refer to Cycle Options. To change
the cycle after touching Start, touch Cancel.
•
•
•
•
•
•
•
•
1
2
5