Cranborne Audio 500R8 User manual
500R8 - Analogue/Digital Hybrid USB Audio
Interface, Summing Mixer, and 500 Series Rack
User Manual
500R8 User Manual -Page 1- ©2019 Cranborne Audio Ltd

Welcome to our family
Cranborne Audio represents a commitment by four product designers to build an audio brand
that does things the right way. We don’t take shortcuts. We don’t compromise. We don’t
accept “good enough.”
We’re just like you. We’re musicians. We’re audio engineers.
We make products that we want to use. We create, innovate, and design with passion,
purpose, and belief. We strive to design products that remain accessible whilst offering the
highest quality and truly innovative new ways of working and achieving that sound that we all
desire.
Cranborne Audio, for us, means so much more than metal boxes with components in them.
These are our labours of love that embody and demonstrate our demand for excellence. By
distilling what matters and putting our soul into these tools, we hope to help other people
make magic and express themselves, and in some way, become part of our Cranborne Audio
family.
So welcome to our family. We care for our family. And we care about making your tracks,
albums, scores sound as good as they should.
500R8 User Manual -Page 2- ©2019 Cranborne Audio Ltd

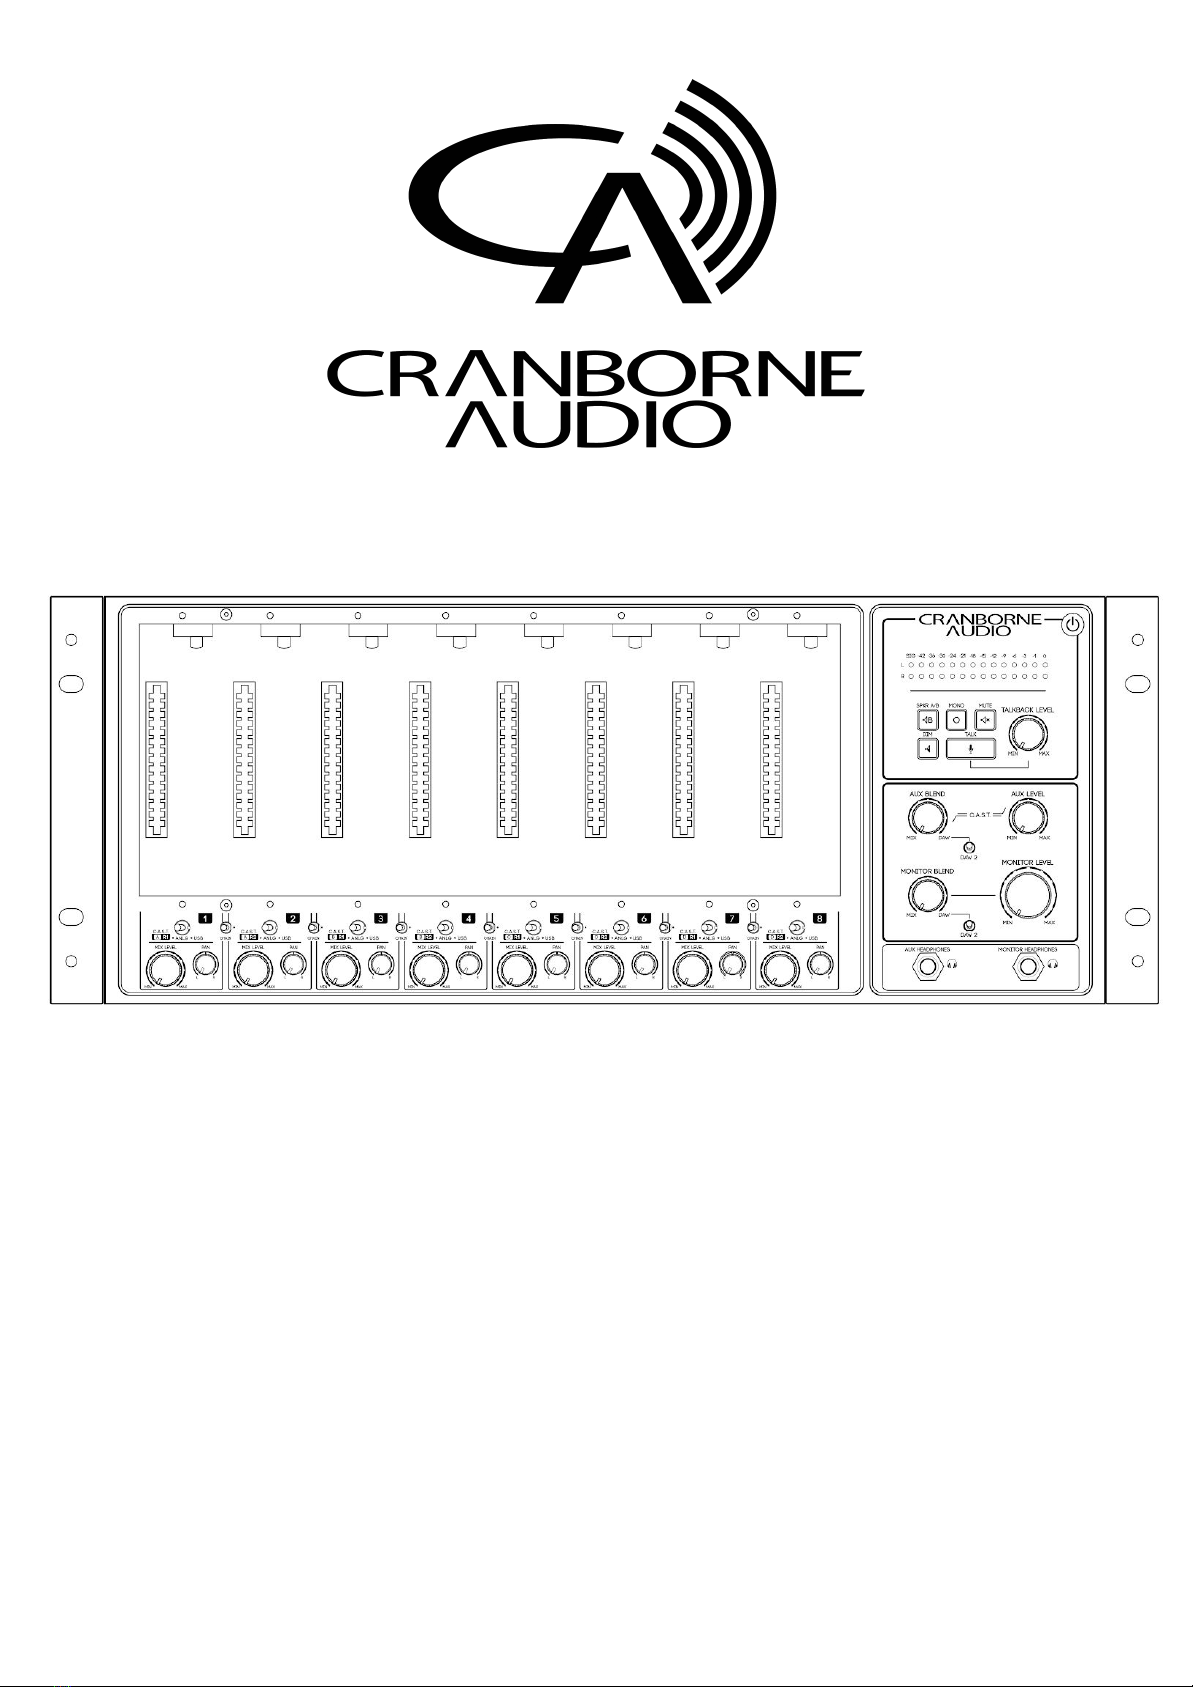
Cranborne Audio 500R8
Congratulations on your purchase of the Cranborne Audio 500R8 and thank you for selecting
Cranborne Audio to be a part of your music creation process.
What we set out to achieve with 500R8 was to put control back into the hands of musicians
and engineers. In a sea of products that rely on computer integration and a “virtual emulation”
mentality, we set out to offer an alternative that places a true, customisable, and flexible
analogue front-end at the forefront of music creation - after all, the feel and touch of a
musician is analogue and that’s where the music begins.
We adopted the widely loved 500 series format as a method to allow you as the engineer to
decide exactly what analogue circuit you would like to use for any particular source. We then
combined it with the very best of the modern essentials found in every home, project, and
professional studio around the world.
Not only is 500R8 the new home for 8 of your favourite 500 series modules; it is also your new
26-in/28-out channel USB audio interface, monitor controller, 16-in/16-out ADAT interface, and
8-to-2 high-headroom analogue summing mixer.
When digital is required, each and every component inside 500R8 has been carefully
considered to ensure that every nuance of your 500 series modules are translated into the best
possible digital signal to be processed. We employ converters with specifications that would
rival that of standalone units costing twice the price of 500R8 and it’s all governed by our
master reference-grade clock that features less than 0.5 picoseconds of jitter.
To top it all off, each and every 500R8 is proudly made with the utmost care and attention to
detail by our team in the UK. The beauty of this is that each and every product can undergo
our strict quality-control to ensure that every product meets our spec without having to rely on
offshore factories maintaining our strict high-standards whilst being situated halfway across
the world.
500R8 User Manual -Page 3- ©2019 Cranborne Audio Ltd

500R8 User Manual
Getting Started 8
Controls, Switches, and Connectors 8
Package Contents 10
Rack-Ear Orientations 11
Default Shipping Configuration 11
Recessed Configuration 12
Handle Configuration 12
Power Supply 13
Connecting Power 13
Disconnecting Power 13
Powering Procedures 14
Powering On 14
Powering Off 14
Installing and Removing 500 Series Modules 14
Installing Modules 14
Removing Modules 14
Hardware Setup 15
Software Setup 16
Windows Configuration 16
Sample Rate Selection In Windows 16
MacOS X Configuration 17
Sample Rate Selection in MacOS 17
Configuring 500R8 in Your DAW 17
Feature Overview 18
500 Series Rack 18
Module Inputs 18
Inserts 18
Module Direct Outputs 19
Slot Bypass Switch 19
Source Switch 20
Chain Switch 21
500 Series Signal Flow 21
Summing Mixer 22
Mix Level & Pan 22
Summing Mixer Outputs 22
Summing Mixer Expansion Via C.A.S.T. LINK 23
Artist Monitoring Section 24
Aux/Monitor Blend 24
DAW Select Switch 24
DAW 2 Input Jacks 25
Aux/Monitor Level 25
500R8 User Manual -Page 4- ©2019 Cranborne Audio Ltd

Aux Outputs 25
Monitor Controller 26
Meter 26
SPKR A/B Key 26
Mono Key 27
Mute Key 27
Dim Key 27
Monitor Headphones Output 27
Talkback 27
Talkback Input 28
Talkback Level 28
Talk Key 28
USB Audio Interface 28
USB Inputs 29
USB Outputs 29
USB Channels At Higher Sample Rates 30
High Sample Rates On macOS 30
ADAT 30
ADAT Channels At Higher Sample Rates* 31
S/PDIF 31
Low-Jitter Internal Clock 31
Word Clock Input 32
Word Clock Output 32
Clock Source 32
Configuring Clock Source on Windows 33
Configuring Clock Source on macOS 33
Clock Settings DIP switch 33
MIDI I/O 34
C.A.S.T. 34
C.A.S.T. IN A,B,C & D (RRTT) 35
C.A.S.T. Requirements 36
Cranborne Audio USB Control Panel 36
Windows 37
macOS 38
Application Guides 38
Using 500R8 without 500 series modules 39
Sending Audio From Your DAW, into the 500 Series modules on 500R8 40
Using 500R8 With Hardware Inserts In your DAW 40
Hardware Inserts In Pro Tools 41
Configuring Studio Monitors With 500R8 42
Creating Monitor Mixes For Musicians 43
Creating A Mix 44
Using the DAW 2 Input 45
Adding Reverb Into The Monitor Mix 45
500R8 User Manual -Page 5- ©2019 Cranborne Audio Ltd
Other manuals for 500R8
1
This manual suits for next models
1
Table of contents
Other Cranborne Audio Accessories manuals


