Crem spengler PSL50 Series User manual
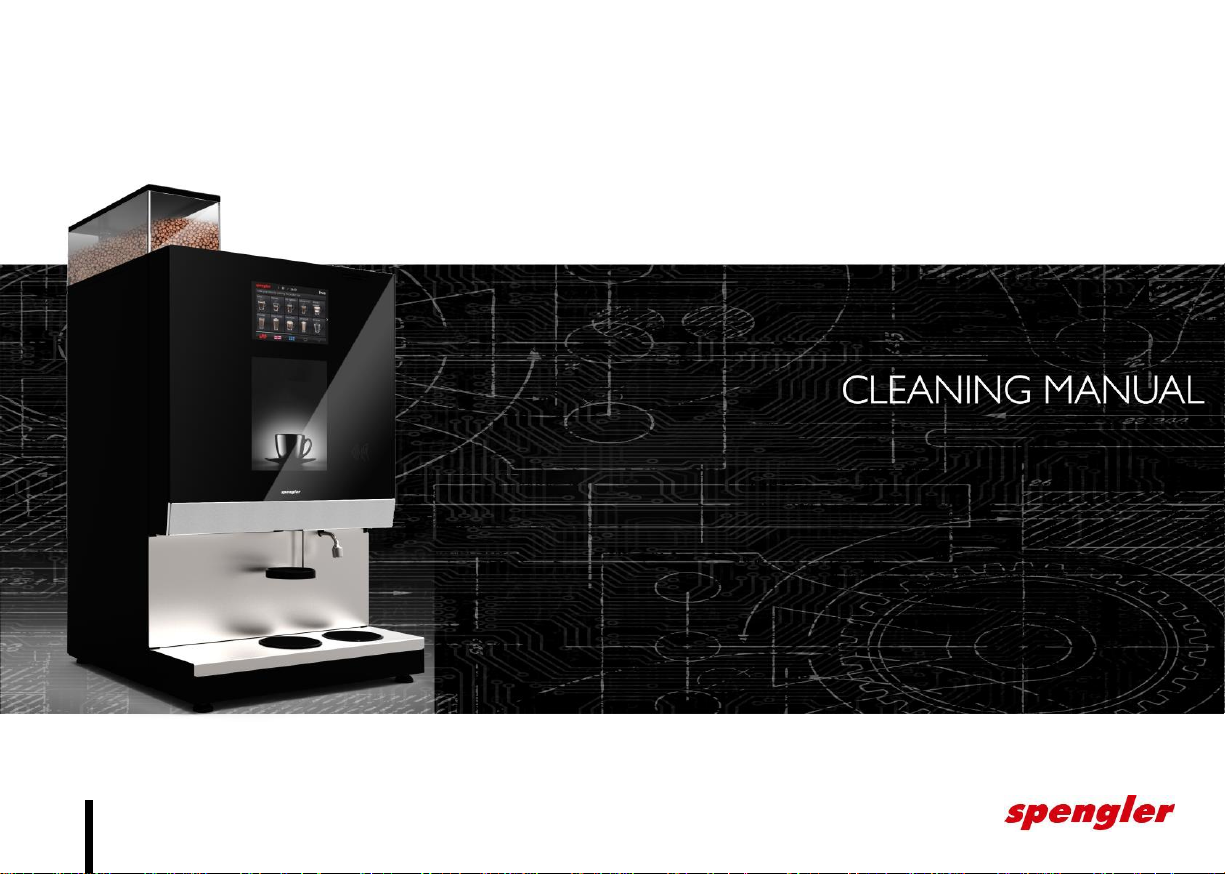
PSL50 SERIES

CONTENTS
CONTENTS
MANUAL REVISIONS
INTRODUCTION
4 Cleaning and care overview
SERVICE MENU
5 Access service menu
DAILY CLEANING OVERVIEW
6 Daily cleaning tasks
6 Required equipment
DAILY CLEANING PROCEDURE
7 Step 1: Run Rinse function
8 Step 2: Empty drip tray
9 Step 3: Empty waste bin
WEEKLY CLEANING OVERVIEW
10 Weekly cleaning tasks
10 Required equipment
10 Dishwasher-safe parts list
WEEKLY CLEANING PROCEDURE
11 Step 1: Run Purification function
12 Step 2: Clean waste bin
13 Step 3: Clean spout adaptor, steam traps
14 Step 4: Clean canister chutes
15 Step 5: Clean drip tray
16 Step 6: Clean interior, replace waste bin
16 Step 7: Replace drip tray, cup grill
17 Step 8: Clean exterior, run Rinsing function, test functionality
2
PSL50 Series
MANUAL REVISIONS
Rev. #
Date
TSB #
Description
3
PSL50 Series
INTRODUCTION
PSL50 Series
Cleaning and care overview
Daily and Weekly Cleaning-
This manual has been optimised for cleaning and care of the dispenser and base
cabinet by a trained First Line Operator on a daily and weekly (or every 1000
servings, whichever comes first) basis. As such, it is expressly focused on cleaning
the dispenser in the most efficient manner possible while still guaranteeing excellent
hygiene is maintained. Please follow the steps in the order they are listed to minimize
down time and ensure that no areas are skipped or overlooked.
In order to guarantee that the dispenser always stays clean and hygienic, and
delivers excellent beverages at all times, all cleaning steps and cleaning/replacement
schedules must be followed exactly as they are listed in this manual. Failure to carry
out any of the cleaning and care steps in a timely manner will result in an unhygienic
environment which may result in off-tasting/low-quality beverages. Poor cleaning and
care habits will also shorten the total life-expectancy of the dispenser and may incur
damage which will not be covered under the dispenser manufacturer’s warranty.
In all instances pay special attention to information marked Note: or Important!:
since these details may require extra attention, or signal that a part should be
replaced during the cleaning visit. Additionally, information marked as Pro Tip:
offers time-saving hints and tricks that can make cleaning and care easier that
can be used at the First Line Operator’s own discretion.
If there are any questions as to the application, procedures, or care and
service requirements for the dispenser contact Spengler Technical Service,
the trained technician who installed/services the dispenser, or the
distributor who supplied the dispenser.
iNote:
This manual is designed for cleaning and care of the entire range of Spengler CL
and PSL50-based dispensers. As such some modules, parts, components and
systems may vary in appearance or description from what is shown slightly.
Responsible Person:
Task:
Reference:
First Line Operator
Daily Cleaning
Daily Cleaning
Weekly Cleaning
Weekly Cleaning
See Spengler
Semi-annual Service
PSL50 Series
Service Manual
See Spengler
Service Technician
Annual Service
PSL50 Series
Service Manual
See Spengler
Bi-annual Service
PSL50 Series
Service Manual
Important:
Daily and weekly cleaning shall only be performed by the First Line
Operator while following all required safety practices as outlined
during the training session(s).
The Semi-annual, Annual and Bi-annual Services (see Service Manual for
details) shall only be performed by a trained technician using all required
safety equipment as outlined during the training session(s) whilst
adhering to local safety standards & practices using service kits from the
original equipment manufacturer.
4

SERVICE MENU
PSL50 Series
Access service menu
01
02
03
AB
C
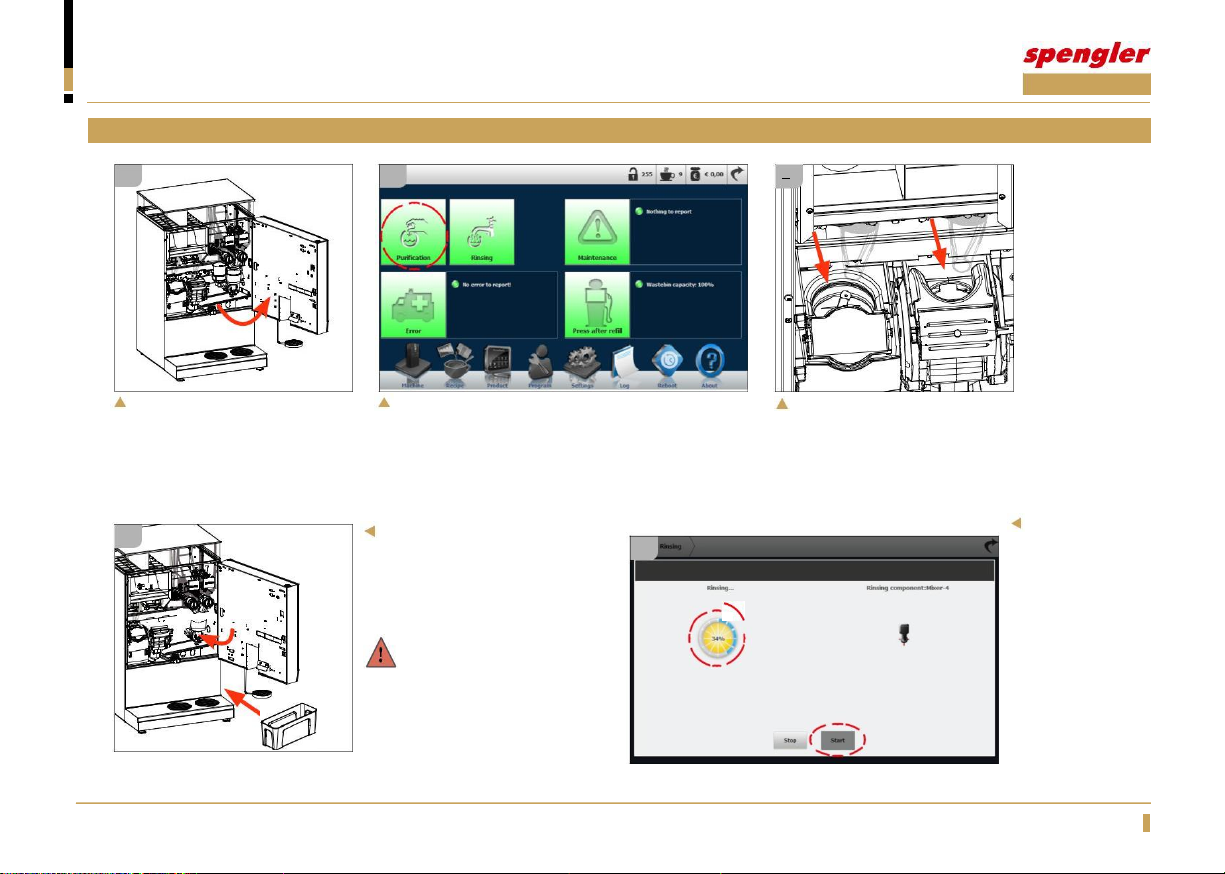
Open door.
Press Service On (A) to enter. Press Service Off (B) to exit.
Press Return icon (C) to return to user menu.
5
Service menu will appear (access level 255 will be
granted)
Press Program to access basic service functions. Follow on-
screen pop-up messages.
Input relevant PIN number to gain required level of
access.

DAILY CLEANING OVERVIEW
PSL50 Series
Daily cleaning tasks
The cleaning tasks listed below are to be done on a daily basis to guarantee
great tasting drinks and good dispenser hygiene. Step-by-step instructions
are provided on the following pages.
1. Run Rinse function
2. Empty drip tray
3. Empty waste bin
Important:
Daily and weekly cleaning shall only be performed by the First Line
Operator while following all required safety practices as outlined
during the training session(s).
Required equipment
The following cleaning equipment/consumable items are required to
perform the daily cleaning procedure:
•Door key
•Cleaning cloth/sponge
•Mild kitchen cleaning spray
•Waste bin liner
6

DAILY CLEANING PROCEDURE
PSL50 Series
Step 1: Run Rinse function
01
02
03
A
Open door. Service menu will appear. Press Rinsing. Follow Close door (A). Place a 2L container
on-screen pop-up messages. (B) under outlets.
04
Press Start (A). Wait for rinsing to
finish (B).
B WARNING:
Cleaning water is very hot!
A
7
B
A
DAILY CLEANING PROCEDURE
PSL50 Series
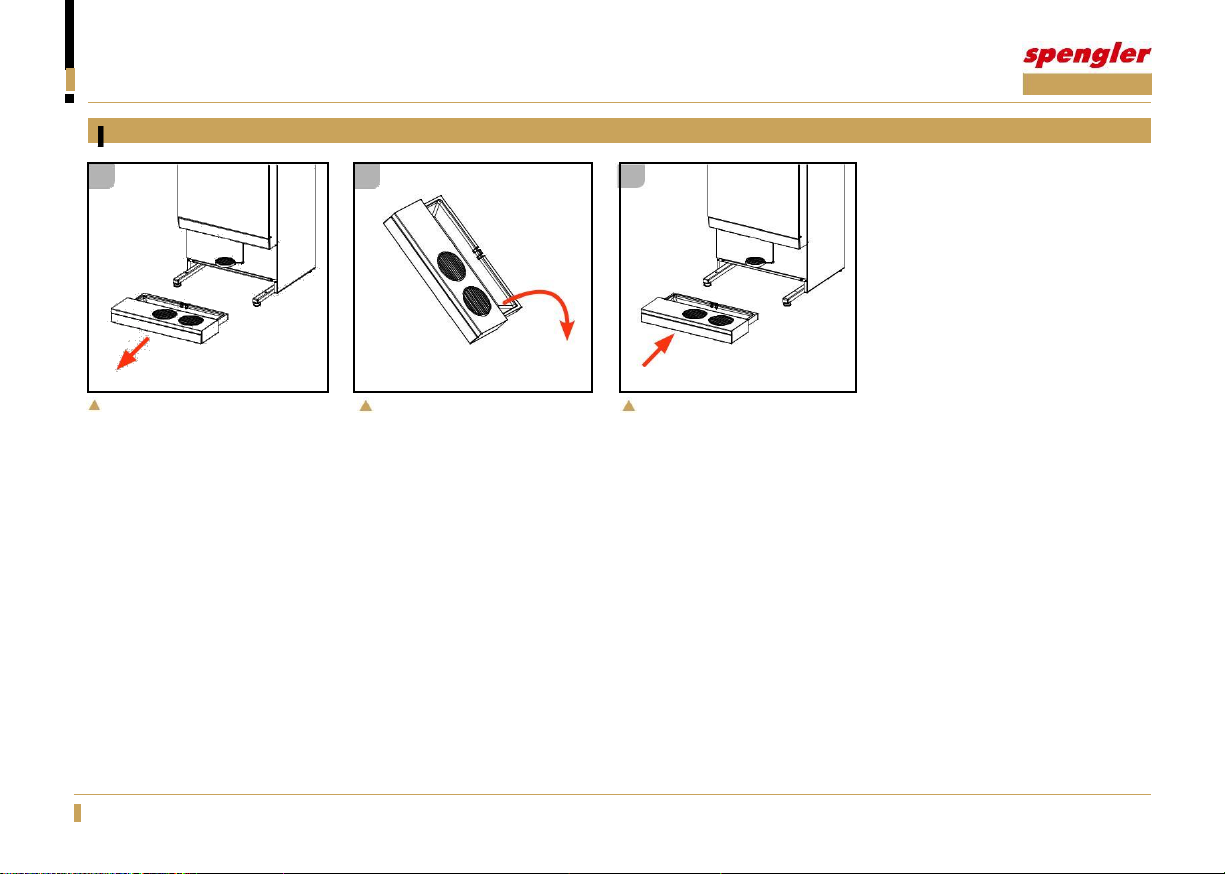
Step 2: Empty drip tray
01
02
03
Remove drip tray. Empty waste water. Replace drip tray.
8

DAILY CLEANING PROCEDURE
PSL50 Series
Step 3: Empty waste bin
01
02
03
04
Open door. Remove waste bin. Remove used bin liner. Clean waste bin. Dry after washing.
05
Place new bin liner in the waste bin.
06
Replace waste bin.
Secure with retaining ring.
9
WEEKLY CLEANING OVERVIEW
PSL50 Series
Weekly cleaning tasks
The cleaning tasks listed below are to be done on a weekly basis (or after every
1,000 servings if the daily expected average is exceeded) to guarantee great
tasting drinks, good dispenser hygiene and to prevent premature dispenser/parts
failure. Step-by-step instructions are provided on the following pages.
1. Run Purification function
2. Clean waste bin
3. Clean spout adaptor, steam traps
4. Clean canister chutes
5. Clean drip tray
6. Clean interior, replace waste bin
7. Replace drip tray, cup grill
8. Clean exterior, run Rinsing function, test functionality
Important:
Daily and weekly cleaning shall only be performed by the First Line
Operator while following all required safety practices as outlined
during the training session(s).
Required equipment
The following cleaning equipment/consumable items are required to
perform the weekly cleaning procedure.
•Door key
•Cleaning cloth/sponge
•Mild kitchen cleaning spray
•Glass cleaning spray
•Waste bin liner
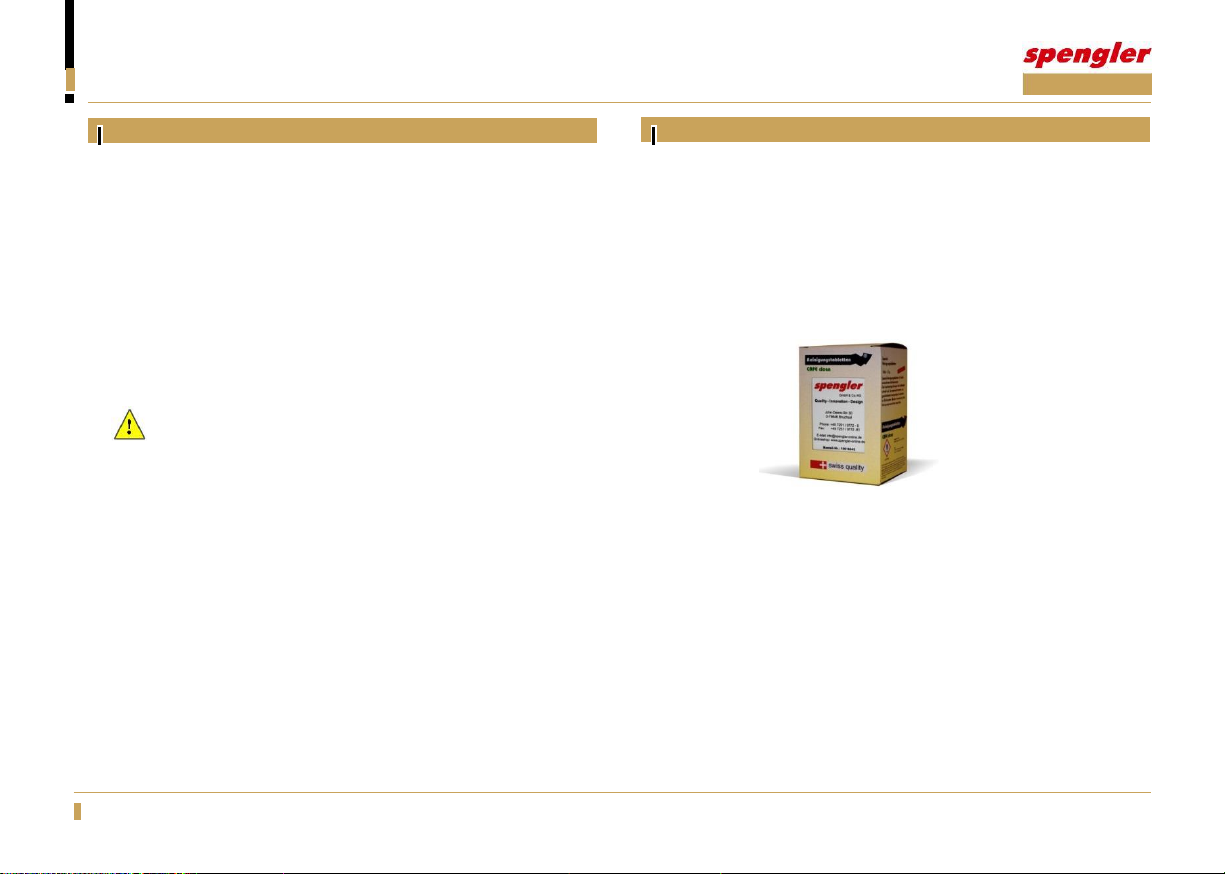
•Spengler cleaning tablets (article number 10018243)
10
WEEKLY CLEANING PROCEDURE
PSL50 Series
Step 1: Run Purification function
01
Open door.
04
A
A
02
Service menu will appear. Press Purification.
Close door (A). Place a 2L container
05
(B) under outlets.
WARNING:
Cleaning water is very hot!
03
Place one cleaning tablet inside each
brewer.
Press Start (A).
Wait for
cleaning to
finish (B).
B
A
11
B

WEEKLY CLEANING PROCEDURE
PSL50 Series
Step 2: Clean waste bin
01
Open door.
02
03
04
Remove waste bin. Remove used bin liner. Clean waste bin. Dry after washing.
05
Place new bin liner in the waste bin.
Secure with retaining ring. Set aside.
iNote:
For a dispenser mounted on a base cabinet, the waste bin inside the
dispenser is replaced with a waste chute to direct waste into the bin located
inside the cabinet. Removal and cleaning of these items is simple, and
necessary cleaning and care steps are the same as listed above.
12
WEEKLY CLEANING PROCEDURE
PSL50 Series
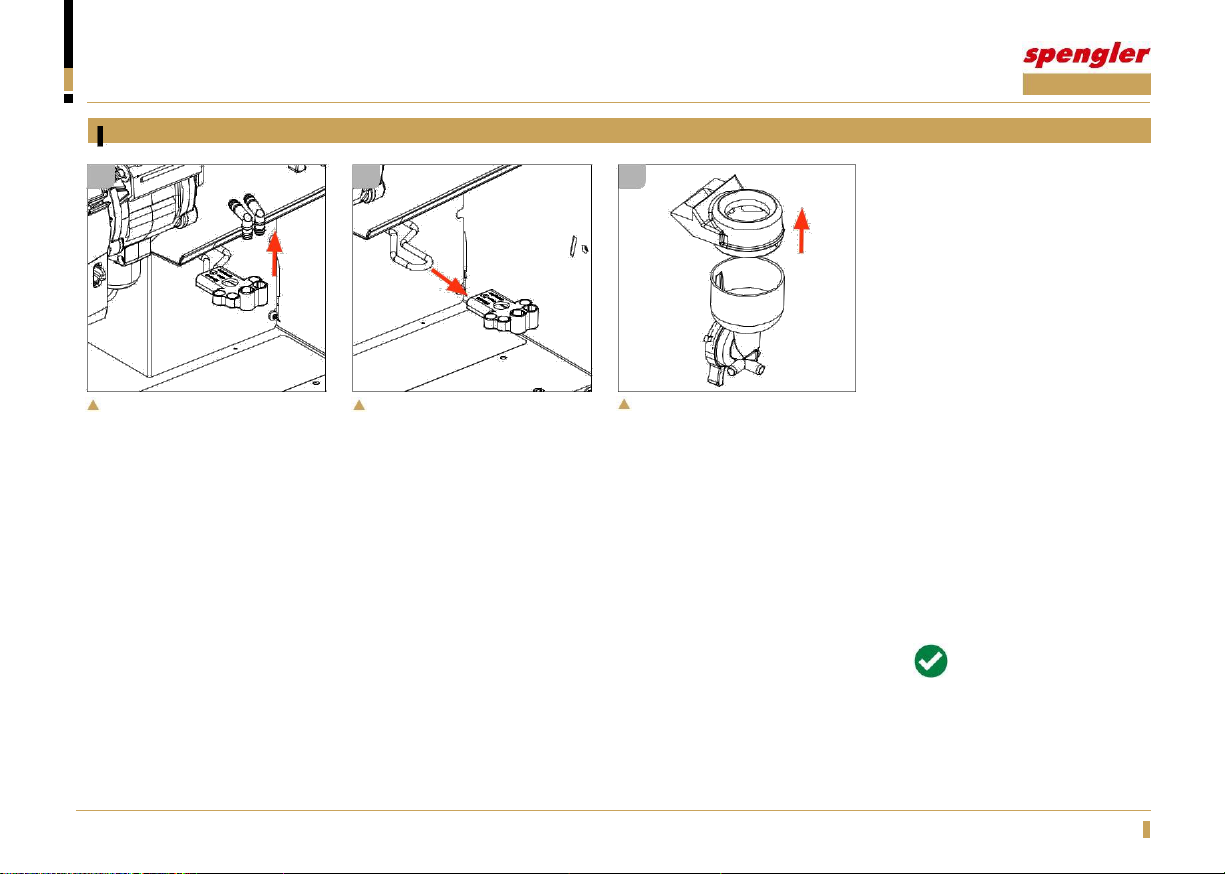
Step 3: Clean spout adaptor, steam traps
01
02
03
Disconnect ingredient spouts
from spout adaptor. Keep tubes
connected to mixers/brewers for
now.
Pull spout adaptor forward to
separate it from support arm.
Wash spout adaptor under
running water and scrub any dried
coffee/ingredient residue with a
brush to remove it. Dry after
washing. Reassemble in reverse
order.
Pull steam trap straight up to remove
it from mixer (repeat for each mixer.
Wash all parts under running water
and scrub any dried coffee/ingredient
residue with a brush to remove it.
Dry after washing. Reassemble in
reverse order.
Pro Tip:
Save time by exchanging dirty
parts with clean spares and
washing and drying the dirty
parts later (in a dishwasher if
dishwasher-safe) then reusing
them during the next weekly
cleaning.
13

WEEKLY CLEANING PROCEDURE
PSL50 Series
Step 4: Clean canister chutes
01
02
A
B
Close canister outlet gates by rotating
Wash chutes under running water and
so arrows point straight up (A) to
scrub any dried coffee residue with a
prevent spillage. Remove ingredient
brush to remove it. Dry parts washing.
chutes by pulling straight down (B).
03
B
A
Snap chutes back onto canister outlets
(A). Reopen canister outlet gates by
rotating so arrows point straight down
(B).
Pro Tip:
Save time by exchanging dirty
parts with clean spares and
washing and drying the dirty
parts later (in a dishwasher if
dishwasher-safe) then reusing
them during the next weekly
cleaning.
14

WEEKLY CLEANING PROCEDURE
PSL50 Series
Step 5: Clean drip tray
01
Remove drip tray.
05
02
Empty waste water.
Wash all parts under running
water and scrub any dried
coffee residue with a brush to
remove it. Dry all parts.
Reassemble in reverse order.
03
04
Remove cup shelf by gripping and Remove cup shelf grill by rotating up
rotating inside edge of shelf and away from support stem.
upward approx. 2cm then slide it
forward.
15

WEEKLY CLEANING PROCEDURE
PSL50 Series
Step 6: Clean interior, replace waste bin
Step 7: Replace drip tray, cup grill
01
02
01
02
Use mild kitchen detergent and damp Replace waste bin. Replace drip tray. Replace adjustable cup grill onto
cloth/sponge to remove any dried-on support stem.
coffee or ingredients on any of the
interior surfaces. Dry all damp surfaces
after cleaning.
16

WEEKLY CLEANING PROCEDURE
PSL50 Series
Step 8: Clean exterior, run Rinsing function, test functionality
01
02
03
Inspect interior of dispenser to
confirm all parts are replaced
properly and all tubes are routed
correctly.
04
Close and lock door. Clean
exterior painted and bare metal
panels and plastic and glass
surfaces with glass cleaner.
Make a test drink using as
many ingredients as
possible to confirm all parts
are reinstalled and working
correctly.
Run Rinsing function (see Daily Cleaning Procedure,
Step 1 for details if necessary). When finished, open
door and check for leaks.
Important!:
Making test drinks is a critical step to ensure that all parts have been reinstalled
correctly to ensure that the dispenser is fully functional for future users.
Pro Tip:
If the first test drink is not satisfactory try making one more test drink
using the same recipe then check it again. Due to handling, some
ingredients may not be settled and/or dispensed properly until after the
dispenser has cycled once or twice. If the second test drink is still
unsatisfactory, unlock and open the door and perform a visual
inspection to determine if any part has not been reinstalled correctly.
Make adjustments as necessary then try the test drink(s) again.
17

www.creminternational.co.uk
Table of contents
Other Crem Coffee Maker manuals


