manuals.online logo
Brands
  1. Home
  2. •
  3. Brands
  4. •
  5. Crown
  6. •
  7. Amplifier
  8. •
  9. Crown I-Tech 8000 User manual

Crown I-Tech 8000 User manual

Channel 1
Channel 2
Getting Started With I-Tech
Welcome! Operating your Crown®I-Tech amplifier can be as simple or advanced as you
wish. Right out of the box, it works like any other amplifier with stereo loudspeaker loads.
You can refer to this Quick-Start Guide to get up and running quickly. For Bridge-Mono oper-
ation, see page 2 of this guide. To learn about I-Tech’s many advanced features, please see the
I-Tech Operation Manual. For example, the manual describes how to control and monitor the
amplifier with Crown’s IQ® Network software, and how to load DSP presets or perform diag-
nostics using the amplifier’s LCD control screen (Figure 3).
Stereo Wiring
Let’s assume that you unpacked and installed your amplifier with the proper cooling. If not,
see Section 2 in the I-Tech Operation Manual. We’ll also assume that you will operate the
amplifier in stereo. If you want to operate your amplifier in Bridge-Mono, skip to page 2 in
this guide.
1. IMPORTANT: Turn off the amplifier. Unplug its power cord from the AC
outlet. The amplifier must be grounded when plugged into AC power.
2. See Figure 1. Connect two cables from your mixer output to the amplifier’s XLR input
connectors.
3. Using Class 1 wiring, connect speaker cables either to the amplifier’s Speakon®connec-
tors (as in Figure 2) or to the 5-way binding posts (as in Figure 1.)
4. Turn down your mixer master faders. Plug the power cord into the amplifier and then into
an AC outlet. Turn on the front-panel power switch. The LCD Control Screen will light up
(Figure 3). Turn down (CCW)both Encoder knobs (Level controls) to maximum attenuation.
5. Play a program through your mixer. Set its level to peak at 0 dB or 0 VU maximum on the
mixer meters. Turn up (CW) the amplifier Encoder knobs (Level controls) to the desired vol-
ume (Fig. 3).
Channel 1
Loudspeaker
Channel 2
Loudspeaker
Top Speakon
(Channel 1)
Bottom
Speakon
(Channel 2)
Figure 2
Wiring Two Speakers to Two
Speakon Connectors for Stereo
Operation
Figure 3
The LCD Control Screen
Figure 1. Rear-panel Connections
for Stereo Wiring
CAUTION – SHOCK HAZARD:
Potentially lethal voltages exist at
the output connectors when the
amplifier is turned on and is pass-
ing a signal.
I-TECH QUICK-START GUIDE - Page 1 of 2
©2004 by Crown Audio®, Inc.
P.O. Box 1000, Elkhart, IN 46525-1000 U.S.A.
Telephone: 574-294-8000
Crown, Crown Audio and IQ are registered trademarks,
and I-Tech is a trademark of Crown International.
4/04 137418-1A
Bridge-Mono Wiring
Let’s assume that you unpacked and installed your amplifier with the proper cool-
ing. If not, see Section 2 in the I-Tech Operation Manual. We’ll also assume that you
will operate the amplifier in Bridge-Mono. Basically you will turn on the amp,
enable Bridge-Mono mode with the LCD Control Screen, turn off the amp, wire it,
and turn it back on.
1. Be sure that no cables are connected to the amplifier. Plug the amplifier power
cord into the amplifier, then into an AC outlet.
2. Turn on the amplifier power switch on the front panel. The LCD Control Screen
will light up (Figure 4).
3. Under the LCD Control Screen, press the Menu/Exit button. Press the Next
button until you see Output Mode on the screen.
4. Turn either Encoder knob to select BRIDGE MONO. Press the knob to confirm
your choice. Press the Menu/Exit button. Turn down (CCW) both Level controls
(Encoders) until you reach maximum attenuation.
5. IMPORTANT: Turn off the amplifier. Unplug its power cord from the
AC outlet. The amplifier must be grounded when plugged into AC
power.
6. See Figure 5. Connect a cable from your mixer output to the amplifier’s Chan-
nel-1 XLR input connector.
7. Using Class 1 wiring, connect the speaker cable either to the amplifier’s top
Speakon connector (terminals 1+ and 2+, Figure 6) or across the red binding posts
of both channels (Figure 5). Do not use the black binding posts in Bridge-Mono.
8. Plug the amplifier’s power cord into the amplifier, then into an AC outlet. Turn
on the front-panel power switch.
9. Play a program through your mixer. Set its level to peak at 0 maximum on the
mixer meters. Gradually turn up (CW) the amplifier’s Encoder-1 knob (Level con-
trol) until you reach the desired volume (Figure 4). Encoder-2 has no effect in
Bridge-Mono mode.
Figure 4. The LCD
Control Screen
Figure 6. Wiring a Speaker to
the Top Speakon Connector for
Bridge-Mono Operation
Figure 5. Rear Panel Connections
for Bridge-Mono Wiring
CAUTION – SHOCK HAZARD:
Potentially lethal voltages exist at
the output connectors when the
amplifier is turned on and is pass-
ing a signal.
I-TECH QUICK-START GUIDE - Page 2 of 2

This manual suits for next models

2

Other Crown Amplifier manuals

Crown i Series User manual

Crown

Crown i Series User manual

Crown DCi 8|300 User manual

Crown

Crown DCi 8|300 User manual

Crown Com-Tech CT-210 User manual

Crown

Crown Com-Tech CT-210 User manual

Crown Micro-Tech MT-1200 User manual

Crown

Crown Micro-Tech MT-1200 User manual

Crown DC-300A User manual

Crown

Crown DC-300A User manual

Crown 140MPA User manual

Crown

Crown 140MPA User manual

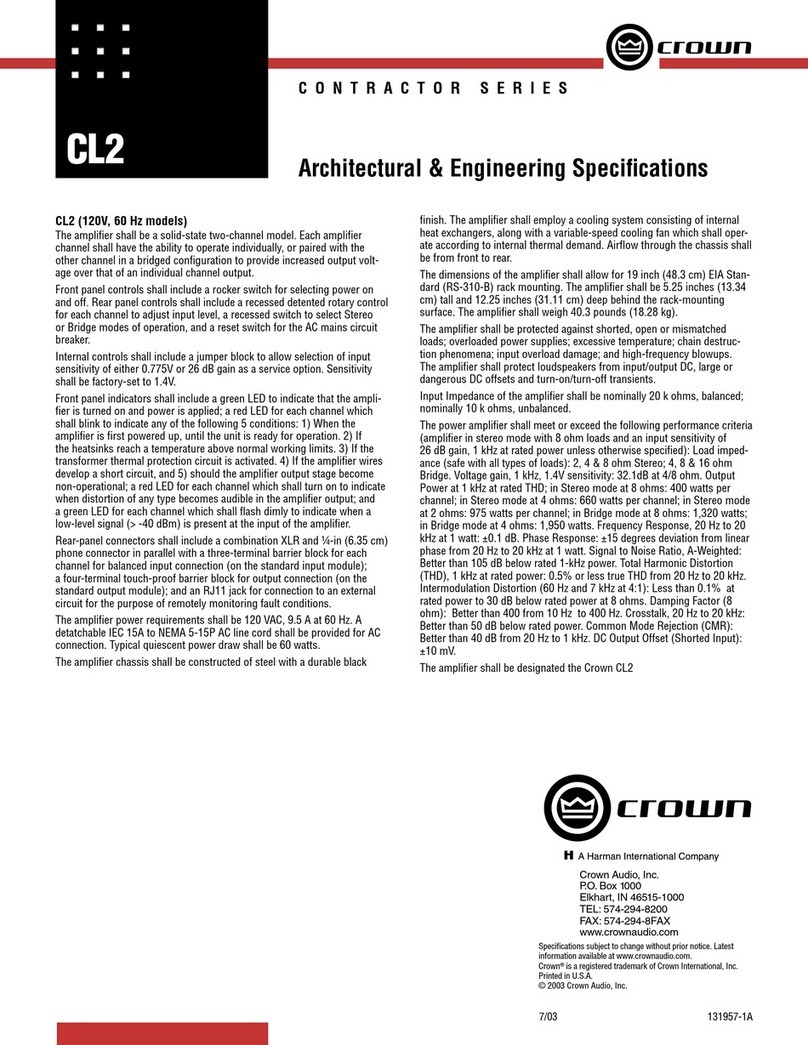
Crown CL2 User manual

Crown

Crown CL2 User manual

Crown XLi 800 User manual

Crown

Crown XLi 800 User manual

Crown Macro-Tech MA-3600VZ User manual

Crown

Crown Macro-Tech MA-3600VZ User manual

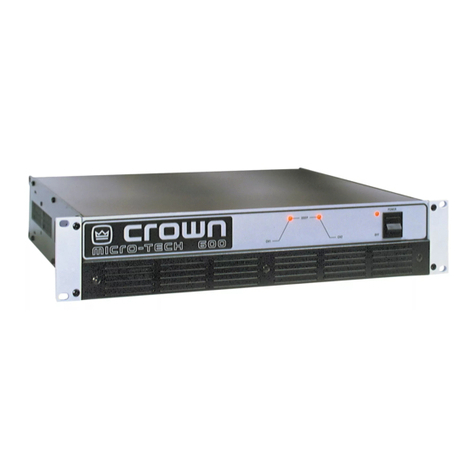
Crown Micro-Tech MT-600 Manual

Crown

Crown Micro-Tech MT-600 Manual

Crown MRX-24 User manual

Crown

Crown MRX-24 User manual

Crown K1 User manual

Crown

Crown K1 User manual

Crown POWER-TECH 3 User manual

Crown

Crown POWER-TECH 3 User manual

Crown 180MAx Pack User manual

Crown

Crown 180MAx Pack User manual

Crown IC-150 User manual

Crown

Crown IC-150 User manual

Crown 1160MA User manual

Crown

Crown 1160MA User manual

Crown D-75 User manual

Crown

Crown D-75 User manual

Crown I-Tech I-T4000 User manual

Crown

Crown I-Tech I-T4000 User manual

Crown Studio Reference I User manual

Crown

Crown Studio Reference I User manual

Crown Xs 4300 User manual

Crown

Crown Xs 4300 User manual

Crown 1202 & 2402 User manual

Crown

Crown 1202 & 2402 User manual

Crown Micro-Tech MT-2400 User manual

Crown

Crown Micro-Tech MT-2400 User manual

Crown Power Base-2 Quick start guide

Crown

Crown Power Base-2 Quick start guide

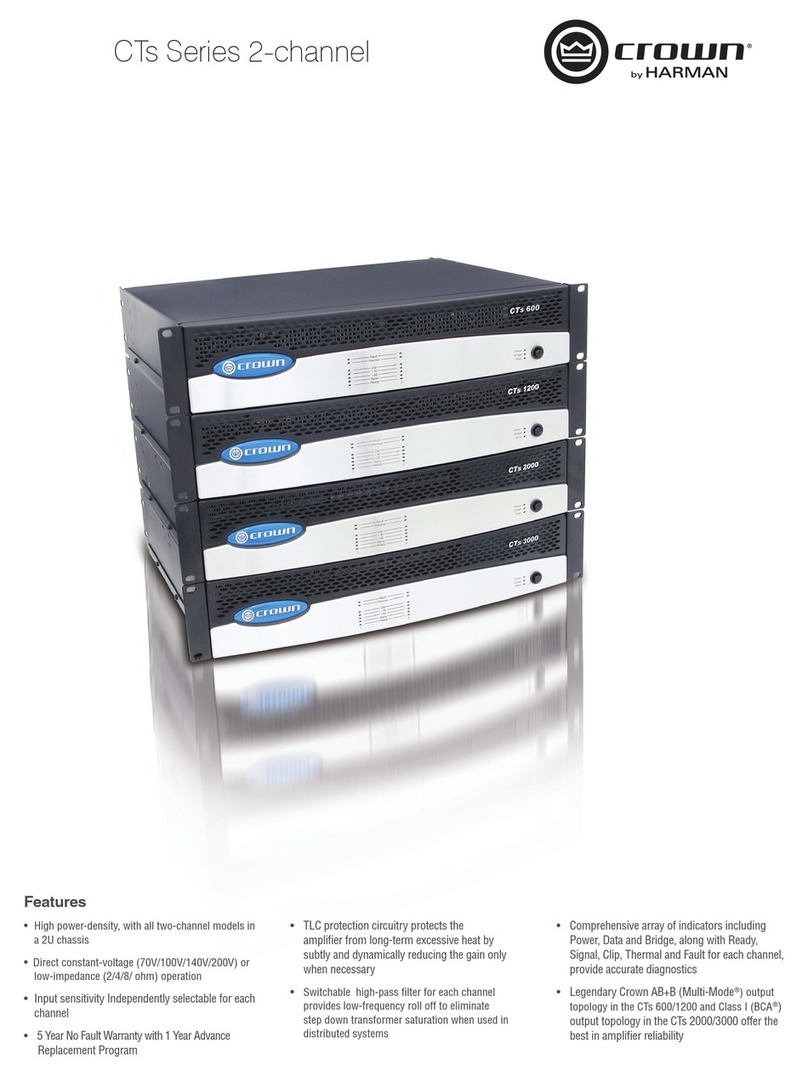
Crown CTs 2-Channel User manual

Crown

Crown CTs 2-Channel User manual

Popular Amplifier manuals by other brands

HyperLink Technologies HA2401-XI-325 End user manual

HyperLink Technologies

HyperLink Technologies HA2401-XI-325 End user manual

McIntosh C-8S instruction manual

McIntosh

McIntosh C-8S instruction manual

ETS-Lindgren 8100-041 user manual

ETS-Lindgren

ETS-Lindgren 8100-041 user manual

Panasonic CY-M9054EN operating instructions

Panasonic

Panasonic CY-M9054EN operating instructions

Televes 4509 Safety instructions

Televes

Televes 4509 Safety instructions

Key Digital KD-DA1x2 operating instructions

Key Digital

Key Digital KD-DA1x2 operating instructions

Phoenix Gold QZ900.1d manual

Phoenix Gold

Phoenix Gold QZ900.1d manual

Universal Audio LA-610 MkII manual

Universal Audio

Universal Audio LA-610 MkII manual

AUNE S16 user manual

AUNE

AUNE S16 user manual

Tektronix 7A19 instruction manual

Tektronix

Tektronix 7A19 instruction manual

Aphex 120 owner's guide

Aphex

Aphex 120 owner's guide

Mark Levinson 431 owner's manual

Mark Levinson

Mark Levinson 431 owner's manual

Altinex DA1206RM user guide

Altinex

Altinex DA1206RM user guide

Yamaha P2500S instruction manual

Yamaha

Yamaha P2500S instruction manual

Nikrans NS-2000L quick start guide

Nikrans

Nikrans NS-2000L quick start guide

Bogen C10 OPERATING AND INSTALLATION Manual

Bogen

Bogen C10 OPERATING AND INSTALLATION Manual

Behringer Minimic Mic800 Technical specifications

Behringer

Behringer Minimic Mic800 Technical specifications

Inter-m NPA Series Operation manual

Inter-m

Inter-m NPA Series Operation manual

manuals.online logo
manuals.online logoBrands
  • About & Mission
  • Contact us
  • Privacy Policy
  • Terms and Conditions

Copyright 2025 Manuals.Online. All Rights Reserved.