CruzPro FU60 User manual
Introduction
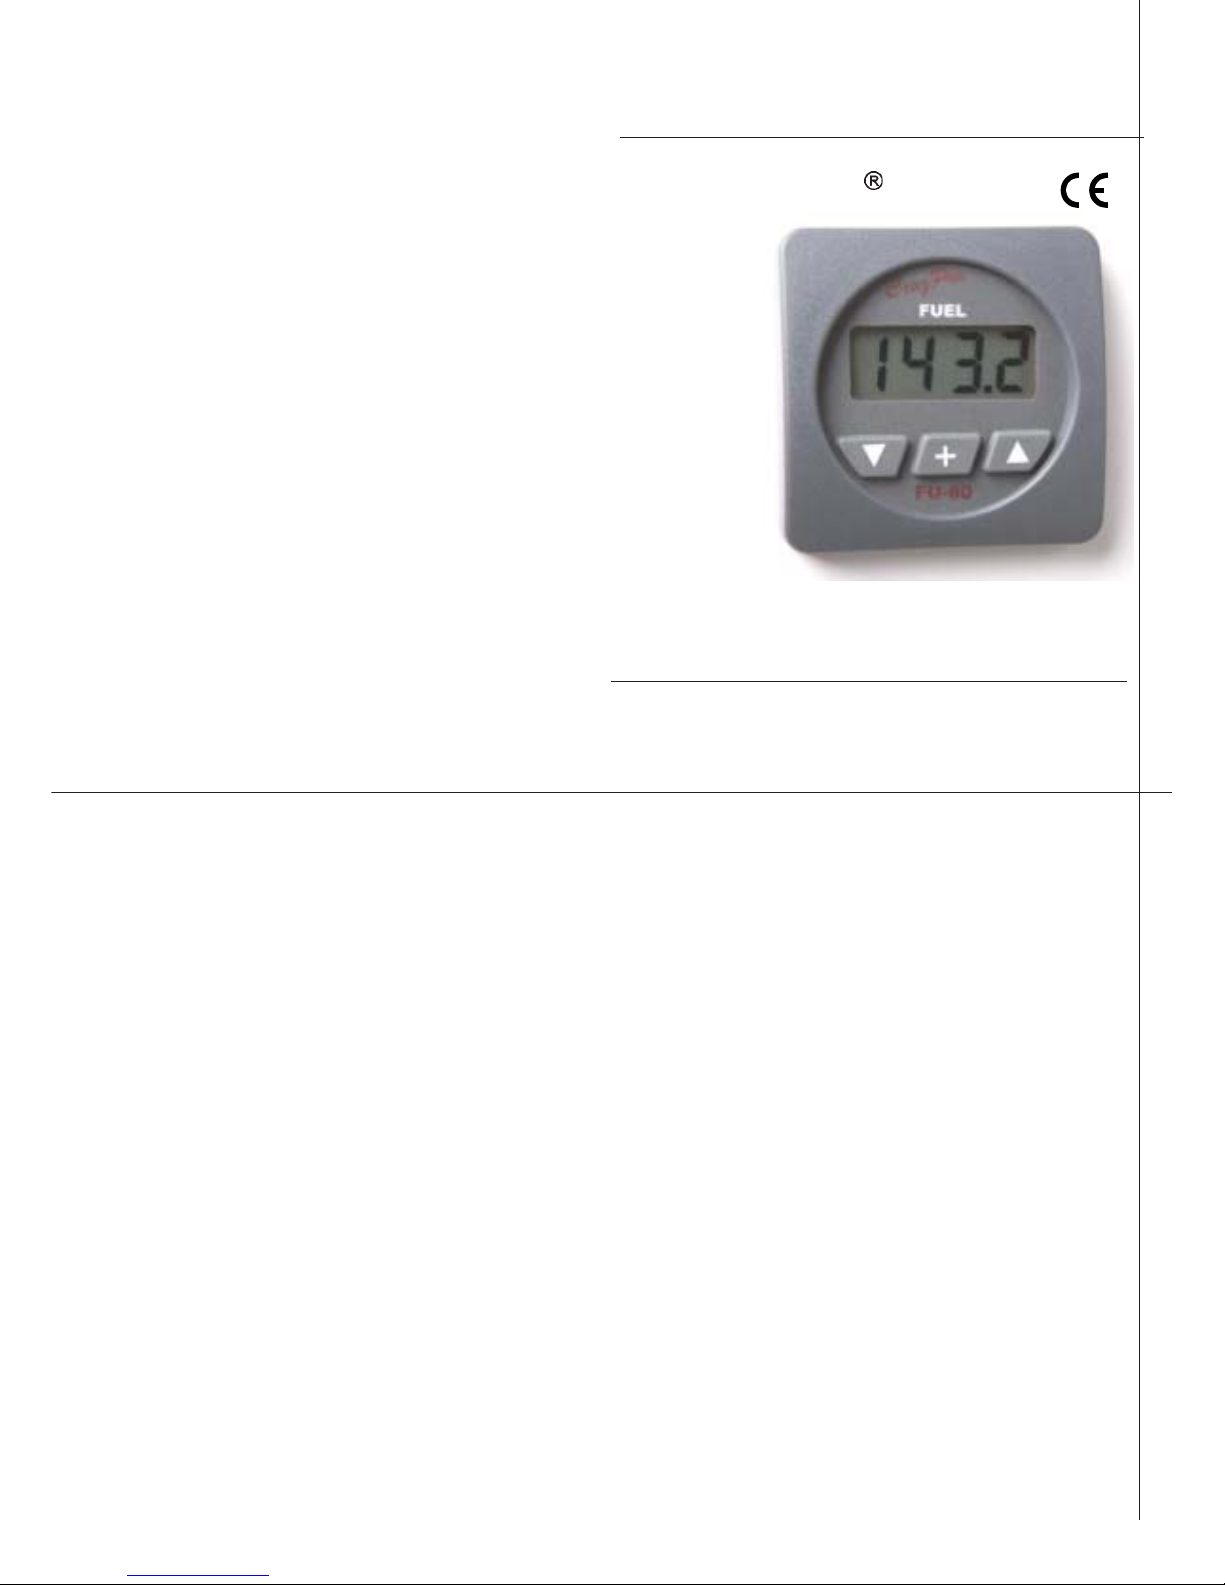
The FU60 digital fuel gauge provides a highly accurate
display of fuel remaining, trip fuel, total fuel used, fuel
consumption rate and "Time-To-Go" at current rate.
Fuel can be displayed with a resolution of 0.1 liters or
gallons or as a percentage (0 to 100%). The FU60
"learns" your tank and fuel sender characteristics and is
accurate with any tank shape. It is compatible with all
popular resistive fuel senders, both American and
European. Low and High Fuel alarms can be set and the
built-in85dBalarmwillsoundandthedisplaywillflash.
Five levels of backlighting can be selected and all setup,
calibration constants, alarm values, etc. are saved in a
nonvolatile memory. The FU60 outputs NMEA 0183
serial data or this terminal may be programmed to
activate an external alarm or fuel transfer pump if using
adaytank. TheFU60containsafulldata editor that can
beusedto enter or edit the fuel data & sender resistance
values. Page 3
CruzPro
FU60
Page 18
Other CruzPro Products
lDepthsounders & Speed/Temperature/Logs
lPC Based Fishfinders and Active Depth Transducers
lDC Volts/Amps/Amp-Hour Monitor
lAC Volts/Amps/Freq/kW Monitor
lLPG/Petrol Gas Detectors/Alarms
lBilge Water Alarms & Smart Bilge Pump Controllers
lWindlass Controller/Chain Counter
lDigital Fuel Gauge & Fuel Consumption Calculator
lDigital Gauge for Three Tanks /w Separate Alarms
lFour Step Smart Alternator Regulators
lMarine Security System
lRPM/Engine Hours/Elapsed Time Gauges
lDigital Oil Pressure Gauge/Alarm
lDigital Water Temperature Gauge/Alarm
lOne and Three Bank Digital Volts and Amps Gauges
lDigital Clock/Watch/Race Timers/Alarms
l8 and 16 Amp Light Dimmers / Motor Speed Controller
lSolar Panel Charge Controllers 6/8/9 & 20 Amps
l4 & 8 Channel NMEA Combiners/RS-232 Convertors
lEngine/Exhaust Temp. Monitor & Digital Pyrometer
lRemote Digital NMEA 0183 Data Repeaters
Intelligent Digital Fuel Gauge/w
Alarms & Consumption Calculator
keyagain results in the next setof data being displayed.
To leave the data editor, use the key to scroll to the
word "dONE" and press the key to exit.
Selecting USA or European Default Sender
In order for the gauge to be usable before calibration, a
defaultset of tank calibration andsender data is factory
pre- programmed into the FU60 fuel gauge.
The factory default setup for the FU60 is for a 100.0
gallon or liter tank with a 10-180 ohm American type
sender. To switch between 10-180 ohm USA and
240-33 ohm European type sender, press and hold the
tkeyforfivesecondswhenpowerisapplied(untilyou
see the "USA" or "EU" letters). Use the tand skeys
to switch between USA and EU and press the :key to
save your entry.

Page 4
Table of Contents
Introduction . . . . . . . . . . . . . . . . . . . . . . . . . . . . 3
Specifications . . . . . . . . . . . . . . . . . . . . . . . . . . . 4
Installation . . . . . . . . . . . . . . . . . . . . . . . . . . . . . .5
Operation . . . . . . . . . . . . . . . . . . . . . . . . . . . . . . .8
Key Functions . . . . . . . . . . . . . . . . . . . . . . . . . . . . 8
Backlight Intensity . . . . . . . . . . . . . . . . . . . . . . . . . 9
Setting Low/High Fuel Alarms . . . . . . . . . . . . . . . 9
Enabling/Disabling Alarms . . . . . . . . . . . . . . . . . . 10
Checking Fuel Remaining . . . . . . . . . . . . . . . . . . . . 10
Checking Total Fuel Used or Trip Fuel Used . . . . . . .11
Checking/Resetting Fuel Consumption Rate . . . . . . . . 11
Checking "Time-To-Go" at Current Consumption Rate . .12
Setup and Calibration . . . . . . . . . . . . . . . . . . . 13
Select NMEA, External Alarm or Fuel Transfer Mode . . .16
Fuel/Sender Data Editor Operation . . . . . . . . . . . 17
Selecting USA or European Default Sender . . . . . . 18
VERY IMPORTANT Notes . . . . . . . . . . . . . . 19
Other CruzPro Products . . . . . . . . . . . . . . . . . . . 20
Specifications
Power supply: 9.5 to 33.0 VDC, .035 amps nom.
Operating temperature: 32 to 122 F ( 0 to 50 C)
Size: 2.5" dia X 4.1" deep (61mm x 104 mm)
Accuracy: Better than 2%, front panel adjustable
Senders: Works with most 0-70, 0-90, 10-180 and
30-250 ohm fuel level senders by VDO, Teleflex,
GM, Stewart-Warner, Mercury, Faria, and others
(both American and European styles).
Alarms: 85 db internal Low and High Fuel alarms,
settable from 000.0 to 6553.
Display: 4 digits, Liters, Gallons or %, 000.0 to 6553
gallonsorliters. Fivelevels of backlighting.
Output: NMEA 0183 4800 baud serial output of Fuel
Remaining,ConsumptionRate&TripFuelUsed. Out-
putpin can alternatively beprogrammed as an external
alarm output or as a fuel transfer pump control signal.
Page 19
1999 CruzPro Ltd. FU60MAN-O
www.cruzpro.com [email protected]
Page 17
VERY IMPORTANT Notes
a) Warning - Selecting either the USA or European
defaultsender data (page 18)will erase all the previous
calibrationinformation! Don'tdothisafteryoucalibrate
-the calibration processautomaticallycorrectsfor USA
or European senders.
b) An error during calibration will require you to start
over or use the data editor to correct the problem.
c)The maximum number ofcalibration points is 20.
d) Thesender resistance (outputvoltage) must change
between each calibration point or the FU60 will not
workcorrectly. See www.cruzpro.com/centroid.html
for setting up Centroid capacitive senders.
e)
If you know your tank and sender characteristics, you can
enterthecalibrationdatamanually (see page 17).
Fuel/Sender Data Editor Operation
TheFU60softwarecontainsa simple but effective data
editorthat enables you toview, change or enterthe fuel
levelvs sender resistance data manually. To enter into
the data editor mode, remove power to the FU60.
Next, press and hold both the t
and
s
keys while
reapplyingpoweruntil"Pt-0"
isdisplayed.
Use the t
and
s
keys
toscroll through thedata points at
anytime that theword"PtX"is displayed ("Pt 0","Pt1",
"Pt 2" through Pt20 and the word "dONE".
Press the :key to display the sender resistance for that
particular data point. Press the :key again to display
the fuel level for that data point. You can use the s
and
t
keys to modify either or both the sender resistance or fuel
datawhenthat information is being displayed. Pressing the
:

Page 5
Page 7
Page 14
Figure 1
Installation
Before starting the installation, please read this
entire section first. Be sure to install the bulkhead
gasket before you install the instrument. Finger
tighten the screws that mount the instrument bracket
- do not use tools.
Page 16
drivertomakethe connections to the screw terminal on
the instrument case back as shown in figure 2.
lCarefully check all your wiring against those
shown in figure 2. If everything is wired correctly
youcan mount the FU60 in the instrumenthole. Besure
the bulkhead gasket is in place and use only finger
tension to tighten the bracket hold-down nuts Do not
overtighten the bracket or you may damage the case
- do not use tools to tighten the nuts.
Bulkhead
Gasket
2-1/8" (55mm) hole
Mounting
Bracket
Finger tighten only - Do not use tools
Step 1
Be sure the fuel tank is empty and apply power to the
FU60whileholdingdownthe :keyfor3seconds. The
displaywill show"YES?"toask ifyouaresure youwant
to erase all previous calibration data.
Step 2
Press the s key to answer YES. Any other key or
removal of power stops the process. When you press
the s key, you will hear a long beep, all previous data
will be erased, the FU-60 will enter calibration mode
andblink the number "1".
Step 3
Pumpfueluntilthetankis approximately1/16thfull. For
example, if you have a 120 gallon fuel tank,
simultaneously press the sand tkeys until you hear a long
beep. Yourdigital fuel gauge should nowbe working!
Select NMEA, External Alarm or Fuel Transfer Mode
Totogglescrew terminal pin (C) between NMEA 0183
dataoutput,ExternalAlarmOutputortoautomatically
activatea fueltransferpump(based onlowandhigh fuel
alarm settings), press and hold down both the tand s
keysfor 10 seconds (untilyou hear a long beep).When
the alarm output or fuel transfer pump is activated, a
+5VDCsignal(10mA Max.) is output on terminal (C).
Thedisplayshows"dAtA", "E-AL"or"tFEr"toindicate
the currently selected mode. In fuel transfer pump
mode, the display will flash when the transfer pump is
running. The pump will activate when the fuel level
drops below the LOW alarm value and turn off when
thefuel level reaches theHIGH alarm setting.

Page 15
Page 6
Mounting and Wiring
lDrill a 2-1/8" (55mm) mounting hole where you
desire to mount the instrument (Figure 1).
lBring the sender wires, ground, and power lines
out of the mounting hole and use a small flat screw-
Figure 2
Page 13
Page 8
Operation
Key Functions
The t , :, and skeys are used to select backlight
levels, display fuel remaining (in liters, gallons or per-
cent), fuelusedorfuelconsumptionrate,setthe low/high
fuelalarms, calibrate the instrumentto your tank shape
and sender type, select NMEA 0183 output, external
alarmoutput ortransferpumpmode andotherfunctions.
After changes are made, the new information is auto-
maticallysavedtoanonvolatilememory.
pumpapproximately120/16=7.5gallonsintothe tank.
The exact number is not critical. After pumping this
amount of fueluse the sandtkeystomakethedisplay
read the correct number of liters or gallons that have
beenpumped so far. When the display reads correctly,
press and hold the :key until you hear a long beep. A
"2"will now blink.
Step 4
Pumpadditionalfueltillthetank isapproximately2/16th
full. For example, if you have a 120 gallon tank, pump
anadditional 7.5 gallonsinto the tank for a total of 15.0
gallons. The use the sand tkeys to make the display
read 15.0andholddown the:key until you hear a long
beep. A"3"will now blink.
Continuethisprocessuntilthe
tankis full. When thetank isfull,instead ofpressingthe:key,
Setupand Calibration
The FU60 will display the words "NEEd CAL" on
power-up until the gauge has been calibrated to your
tank. Duringthecalibrationprocess the FU60 "learns"
thetankshapeandfuelsendercharacteristicsautomati-
cally(USAorEuropean). Thisinformationwillbesaved
to memory and needs to be done only once.
Forbestaccuracythisprocess requires that the fuel tank
be empty at the start (if not, the remaining fuel will be a
reserve when the gauge shows empty) and involves
fillingthefueltankcompletely. Whilefillingthetank,you
will stop a number times (approximately 16 times, 20
maximum)and tell theFU-60 how much fuel has been
pumped into the tank at each calibration point.
We recommend strongly that you practice this
procedure several times without emptying or fill-
ing the tank to get familiar with the process. You
do not have to have a fuel sender attached.

Page 9
Page 12
BacklightIntensity
Press the :key for 1/2 second to adjust the backlight
levelfor nighttime viewing. Each time youpress the :
keyfor1/2second,thebacklightlevelwillchange:1,2,
3, 4, OFF, 1, 2, ... etc.
SettingLow/High FuelAlarms
Whileviewing Fuel Remaining, press and hold thetor
skey for ten (10) secondsto view/set the Low or High
fuelalarmsettingrespectively. Youwillhearalongbeep
and the appropriate alarm value is displayed. Use the
sandtkeys to set the desired fuel alarm limit (000.0
to 6553 liters or gallons). Holding the s or t keys
will scroll the values faster. Press the :key for 1/2
second to save your entry to the nonvolatile memory.
of time the consumption rate will become more accu-
rate. Theconsumption rate isanaverageratecalculated
bydividing litersorgallonsusedbythetotal triptime and
displayed as liters/hr or gallons/hr. To get a more
instantaneousreading offuelconsumption,remove and
reapplypowertotheinstrumentor press and hold the t
key for ten seconds while viewing fuel consumption.
The trip timer will be reset to zero (as will the trip fuel)
anda fresh consumption ratecalculation will be made.
Checking"Time-To-Go" atCurrentConsumptionRate
Pressboth the:and skeys to display how muchtime
youhaveremaininginhoursandminutes(hh:mm)atthe
currentfuel consumption ratebeforeyourunout of fuel.
Avalueof99hours and 59 minutes is displayed if more
than100hours of running time remains.
Page 9
Page 12
BacklightIntensity
Press the :key for 1/2 second to adjust the backlight
levelfor nighttime viewing. Each time youpress the :
keyfor1/2second,thebacklightlevelwillchange:1,2,
3, 4, OFF, 1, 2, ... etc.
SettingLow/High FuelAlarms
Whileviewing Fuel Remaining, press and hold thetor
skey for ten (10) secondsto view/set the Low or High
fuelalarmsettingrespectively. Youwillhearalongbeep
and the appropriate alarm value is displayed. Use the
sand tkeys to set the desired fuel alarm limit (000.0
to 6553 liters or gallons). Holding the s or t keys
will scroll the values faster. Press the :key for 1/2
second to save your entry to the nonvolatile memory.
of time the consumption rate will become more accu-
rate. Theconsumption rate isanaverageratecalculated
bydividing litersorgallonsusedbythetotal triptime and
displayed as liters/hr or gallons/hr. To get a more
instantaneousreading offuelconsumption,remove and
reapplypowertotheinstrumentor press and hold the t
key for ten seconds while viewing fuel consumption.
The trip timer will be reset to zero (as will the trip fuel)
anda fresh consumption ratecalculation will be made.
Checking"Time-To-Go" atCurrentConsumptionRate
Press both the :and skeysto displayhowmuch time
youhaveremaininginhoursandminutes(hh:mm)atthe
currentfuel consumption ratebeforeyourunout of fuel.
Avalueof99hours and 59 minutes is displayed if more
than100hours of running time remains.

Checking Total Fuel Used or Trip Fuel Used
Press thetand skeys simultaneously to display how
muchtotalfuelhasbeenusedsincelastrefillingthetank
(howmuch fuel willbe required to fill the tank).
Pressthe
tkey to display howmuch fuelyouhaveused
inliters or gallons THIS trip. TripFuel Used automati-
cally resets to zero every time you disconnect power
fromthe instrument.
Checking/ResettingFuel Consumption Rate
Press the tand : keys simultaneously to display how
manyliters or gallonsoffuelyou are usingperhour. The
FuelConsumption Rate display can be very inaccurate
ifyouhaveusedonlya small amount of fuel over a short
periodof time. Asyouusemore fuelovera longerperiod
Page 11
Page 10
Enabling/DisablingAlarms
Press the sor t key for 1/2 second to "arm" or
"disarm"thefuel alarms. The display will flash "On" or
"OFF" briefly to show you the state of the alarms. You
shouldnormallyleavethealarmsarmedatall times and
onlydisarmthemtosilencethealarmbuzzertemporarily.
CheckingFuelRemaining
Press the
:keyto display fuel remaining. Youwill see
eitherlitersremainingorgallonsremaining,depending
uponhowyoucalibratedtheinstrument(see"SettingUp
and Calibration"). Press the skey to display fuel
remaining in percent (0 to 100%).
Checking Total Fuel Used or Trip Fuel Used
Press thetand skeys simultaneously to display how
muchtotalfuelhasbeenusedsincelastrefillingthetank
(howmuch fuel willbe required to fill the tank).
Pressthe tkeytodisplayhowmuchfuelyouhaveused
inliters or gallons THIS trip. TripFuel Used automati-
cally resets to zero every time you disconnect power
fromthe instrument.
Checking/ResettingFuel Consumption Rate
Press the tand : keys simultaneously to display how
manyliters or gallonsoffuelyou are usingperhour. The
FuelConsumption Rate display can be very inaccurate
ifyouhaveusedonlya small amount of fuel over a short
periodof time. Asyouusemore fuelovera longerperiod
Page 11
Page 10
Enabling/DisablingAlarms
Press the sor t key for 1/2 second to "arm" or
"disarm"thefuel alarms. The display will flash "On" or
"OFF" briefly to show you the state of the alarms. You
shouldnormallyleavethealarmsarmedatall times and
onlydisarmthemtosilencethealarmbuzzertemporarily.
CheckingFuelRemaining
Press the :key to displayfuel remaining. You will see
eitherlitersremainingorgallonsremaining,depending
uponhowyoucalibratedtheinstrument(see"SettingUp
and Calibration"). Press the skey to display fuel
remaining in percent (0 to 100%).
Table of contents
Other CruzPro Measuring Instrument manuals


