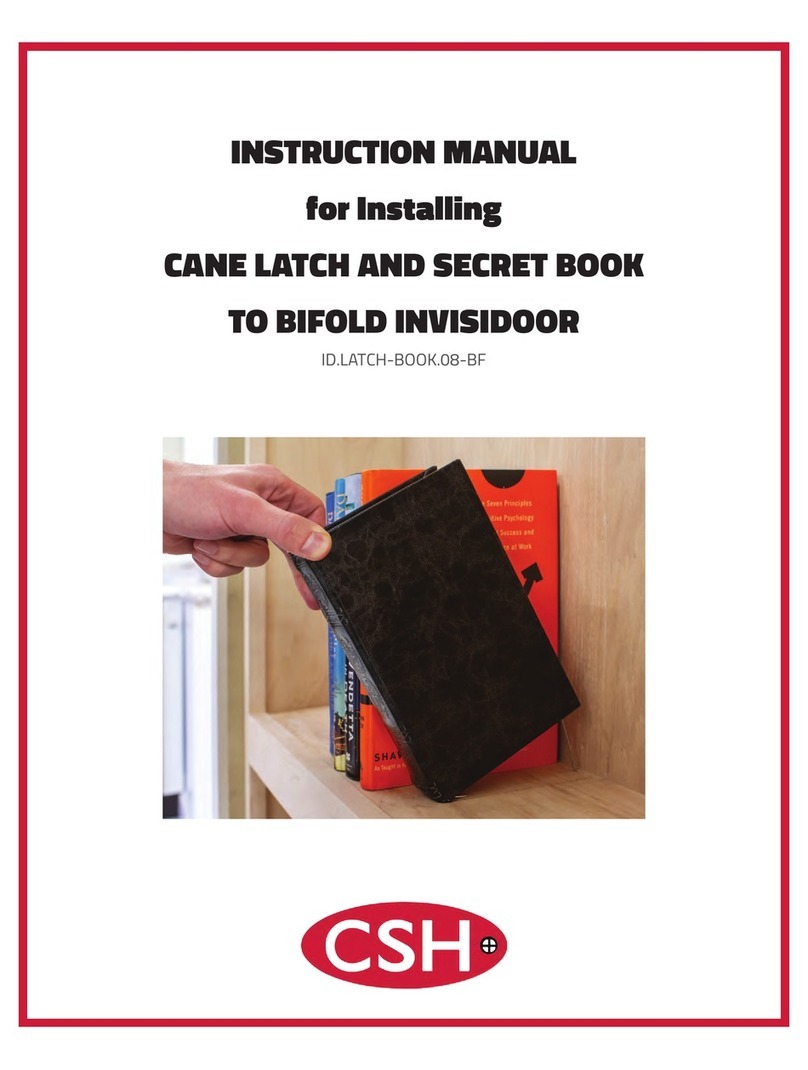
CSH INVISISHELF ID.CS28.01 Series User manual

INSTRUCTION MANUAL
for Installing
INVISISHELF
ID.CS28.01 Series

(x4)
M8x90(x4)
(x2)
C
DE
(x4)
F
G
(x2)
H
(x2)
(x2) M5x26(x2)
ST4.8X50(x8)
ST4.2X32(x8)
Ø8X35(x8)
Ø8
Ø3
Ø10
Ø19
Ø10
ST6X25(x16)
(x4)
M5x6(x4)
(x2)
Ø12
(x2)
Ø10X48(x4)
I
(x4)
(x4)
M8x90(x4)
(x2)
C
DE
(x4)
F
G
(x2)
H
(x2)
(x2) M5x26(x2)
ST4.8X50(x8)
ST4.2X32(x8)
Ø8X35(x8)
Ø8
Ø3
Ø10
Ø19
Ø10
ST6X25(x16)
(x4)
M5x6(x4)
(x2)
Ø12
(x2)
Ø10X48(x4)
I
(x4)
(x4)
M8x90(x4)
(x2)
C
DE
(x4)
F
G
(x2)
H
(x2)
(x2) M5x26(x2)
ST4.8X50(x8)
ST4.2X32(x8)
Ø8X35(x8)
Ø8
Ø3
Ø10
Ø19
Ø10
ST6X25(x16)
(x4)
M5x6(x4)
(x2)
Ø12
(x2)
Ø10X48(x4)
I
(x4)
Installation Tools Needed:
Hardware Included:
2
Instruction Manual for InvisiShelf Installation
InvisiShelf requires installation into wall studs or wood blocking due to weight requirements. If this cannot
be accomplished using existing 16” O.C. (On Center) wall studs, blocking out the wall with wood blocking or
studs behind the drywall will be required to hold the proper weight of the InvisiShelf and contents within it.
Provided #10 Wall Screws are for typical wood Wall Stud application. Specific Individual Wall
Applications might require different hardware or installation methods. Contact your local contractor if
necessary, for proper installation.
InvisiShelf is not a replacement for a safe. It provides concealment and accessibility but not impervious
to damage or too much weight. Consider decorating shelf with objects that will not be too heavy, putting
strain on mounting hardware, shelf, or studs. Consider keeping weight in and on the shelf under 30 lbs.
InvisiShelf
(4) #10x3”
Wall Screws
Kaizen Foam Insert w/ Tape Backing
Lock Instructions, Key
Card/FOB, and Battery LED Light Instructions and USB Charging Cord
7/64” Drill Bit
FastCap Third
Hand(or help from
another person)
#2 Square
drive bit Box Cutter
(or Kaizen Knife)
Eyeglass
Screwdriver
Stud Finder

3
Step 1: Setting Up
1. Remove InvisiShelf from carton. Open InvisiShelf and locate the installed light
under the top shelf. Remove light by sliding it towards the front of the shelf. It
should separate from installed bracket. Take it out and charge it using provided USB
charging cord found inside Shelf. Reference provided LED light instructions for any
additional details found inside Shelf.
2. The Lock pre-installed into the InvisiShelf is preprogrammed to work with the
provided Key Card and Key Fob used for locking and unlocking the shelf. Inside the
Lock Accessories Box, you will find the keys and included Lithium-Ion Battery. Use an
Eyeglass Screwdriver to open the Lock battery compartment and install the Battery.
Use the Key Card or Key Fob to test unlock the InvisiShelf by placing the card on the
top of the Shelf above the Lock location. Lock will re-engage after 3 seconds to allow
unit to re-lock. This battery will provide years of typical use before replacement.
When the battery becomes in need of replacement, it will emit chirps until
replacement battery is installed. In the unlikely event the battery dies completely
before replacement, the shelf will default to the unlock state and open. Follow the
provided Lock Instructions for any further details.
8” x 1” Centered
3” x 1.5” Centered
Areas that can’t store any objects that
would stick above the foam.
Hinge Edge
FOAM
3. Locate Kaizen Black Foam Insert with Tape Backing. This Foam Insert will hold desired
contents in place inside the InvisiShelf when it moves open and shut, providing quick
access to your valuables or personal protection. Cut compartments or trace objects
using the Kaizen Knife or Box Cutter. Make sure to cut to a suitable depth for intended
belongings to fit, removing desired foam layers without cutting all the way through
the foam sheet. Take note on areas in the foam where objects that protrude above the
foam could interfere when the InvisiShelf is closed
(see figure 1)
. There is 1” of clearance
above the foam in areas outside of the sections in red for storage
(see figure 2)
.
LIGHT
Figure 1 Figure 2
Red areas indicate where interference could occur.
Under Lock
Under Light

4
4. Once the Kaizen Foam insert has been customized for storage, apply the foam insert
(if desired) into the InvisiShelf. Peel off the paper backing to the adhesive and align
the foam with even clearance side to side between the strut on the left and the wood
partition on the right. Locate the far edge of the foam against the two hinge cup edges
(see figure 2 on previous page)
. Press foam down firmly, making sure good uniform
contact against the wood. Test the intended valuables in the foam to make sure there
is no interference when closing the shelf, and the objects will remain secured when the
shelf opens down. Remove objects until Shelf installation is complete.
Step 2: Mounting to Wall
5. Determine the location where the
Invisishelf will be mounted on the
Wall. Using a stud finder, locate (2)
suitable studs for installing to the
Wall. Make sure both InvisiShelf
slotted holes will land on existing Stud
locations or Blocking behind drywall
for secure installation. Outside slots
in the shelf are designed for centering
between typical 16” O.C. (On Center)
Stud spacing.
6. Consider the height of the InvisiShelf on the wall and draw level line to indicate the
top of the shelf. Measure 13/16” down from that line along the center of stud locations.
Mark for drilling at the (2) 16” O.C. locations. These will be hole locations marked for the
upper outer slotted holes in the back of the InvisiShelf. Pre-drill wall markings with 7/6 4”
pilot holes 2” deep to prevent wood Wall Stud splitting or cracking when driving in Wall
Screws.
7. Using a second person or prop/support tool, hold the InvisiShelf open and against the
wall. Place a bubble level on top of the shelf. Locate one end of the hole markings on
the Wall in the upper outer hole slot of the Shelf and hold still while a #10 Wall Screw
is driven through the slot into the center of the shelf stud using the Power Drill with #2
Square Drive Bit. Leave screw short of fully tightening for minor adjustments. Continue
holding shelf firmly against wall until fully fastened to the wall.
L
e
ve
l
L
i
ne
16” O.C. Studs
O
r
B
l
ock
i
n
g

5
8. Making sure the shelf is still
fully supported by support tool
or person, move to the opposite
side of the shelf to install a #10
Wall screw in the opposite upper
outer slot hole into the center of
the wall stud. Make sure shelf
is level again. Drive the screw in
completely using the power drill
with #2 square drive bit until
screw is seated tightly against
the back of the shelf to the wall.
1
6
”
O.
C
.
Spa
c
in
g
9. Go back to the first screw, make sure the shelf is still level. Tighten the first screw tight
against the back of the shelf to the wall.
10. Continue with driving the remaining (2) screws into the slotted holes below the first
screws installed into the 16” O.C. studs behind the wall fully engaged against the wall.
11. Make sure shelf is tight and secure against the wall before placing anything in or on
the InvisiShelf. Make sure Latch and Lock engage properly without interference. If the
Latch Pin does not properly engage into Lock, make sure Latch is fastened in the proper
location on the block and make any slight adjustments to the Latch location to make
sure of proper engagement every time.
Closed
Open

6
InvisiShelf Dimensions

7
NOTES

Also available from CSH:
REV. 4.01.21
1170 Wauwatosa Rd.
Cedarburg, WI 53012
cshardware.com
(262) 365-7960
Mini Barn Door Hardware Rolling Barn Door Hardware
Rolling Library Ladders
Table of contents
Other CSH Indoor Furnishing manuals
Popular Indoor Furnishing manuals by other brands

East West Furniture
East West Furniture VT60 Assembly instructions

Furniture of America
Furniture of America CM7862Q Assembly instructions
Viva
Viva VT-SQ32-041517D quick guide

Furniture of America
Furniture of America CM3514-T Assembly instructions

BCS
BCS SKY2359 instruction manual
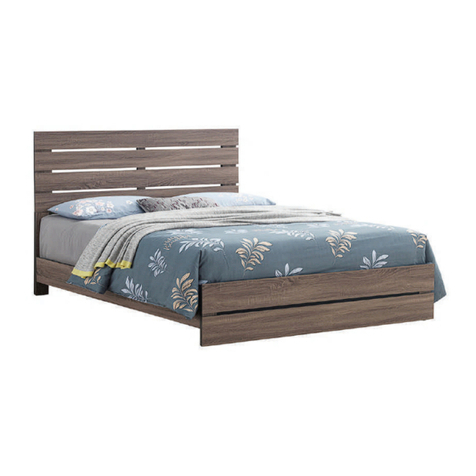
Coaster
Coaster 207041Q Assembly instructions
