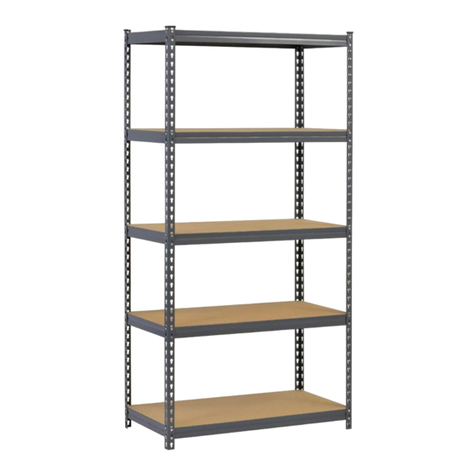
Assemble two (2) post with one (1) brace. Skipping one slot from the
boom of the post (see gure A), place the rivets into post with the
narrow end of the slots poinng down, and with the shelf ledge of
the brace facing up (see gure B). Tap lightly on the top edge of the
brace to seat rivets (see gure C). Repeat with two (2) post and one
(1) brace. Next assemble the two (2) post assemblies with two (2)
beams, skipping one slot from the boom of the post (see gure D).
Place the rivets into post with the narrow end of the slots poinng
down, and with the shelf ledge of the brace facing up (see gure B).
Tap lightly on the top edge of the beam to seat rivets (see gure C).
Assembly Instrucons : MR301260PB4
Step
1
Figure C
Add a parcleboard shelf to the level previously built. Connue by
adding the second level using two (2) braces and two (2) beams to
the post slots of your desired locaon. Again, place the rivets of the
beams and braces into the post slots with the shelf ledge facing up
(see gure E) and tap lightly to seat the rivets (see Figure F).
Figure B
Beams
Figure D
Add a parcleboard shelf to the previously built level, then assem-
ble four (4) posts to the four boom post assemblies by using four
(4) of the post couplers. Place the post coupler into the top of one
of the boom post assembly and tap down to properly seat. Next
place a post into the top of the post coupler and tap down to
properly seat (see gure G). Repeat to assemble the three (3) top
post to the boom post assemblies by using the three (3) remaining
post couplers.
Connue by adding the third and fourth level to the unit using two
(2) braces and two (2) beams per level. Tap lightly to properly seat
the rivets (see gure H) and add the nal parcleboard shelves to
the unit. Important: Do a nal inspecon to make sure all rivets
are securely seated into the narrow ends of the post slots. Finally
place 4 post caps on the top of the posts by pressing down rmly on
the cap ends and middle to ensure connecon (see gure I). The
assembly is now complete.
Figure I
Narrow
end of
keyhole
slots face
down
Beam/brace
ledge
Rivets
Rivets
should be
properly
seated into
the narrow
end of the
keyhole
slots.
Figure C
Step
3
Step
4
Figure A
Post
Brace
Figure G
Top Post
Boom Post
assembly
Post Coupler
Note: Post coupler
plate faces the
inside
Figure H
Parcleboard Shelf
Parcleboard Shelf
Rivets
should be
properly
seated into
the narrow
end of the
keyhole
slots.
Narrow
end of
keyhole
slots face
down
Beam/brace
ledge
Rivets
Figure E
Step
2
Figure F
Inside post view
Outside
post view
Rivets
should be
properly
seated into
the narrow
end of the
keyhole
slots.


