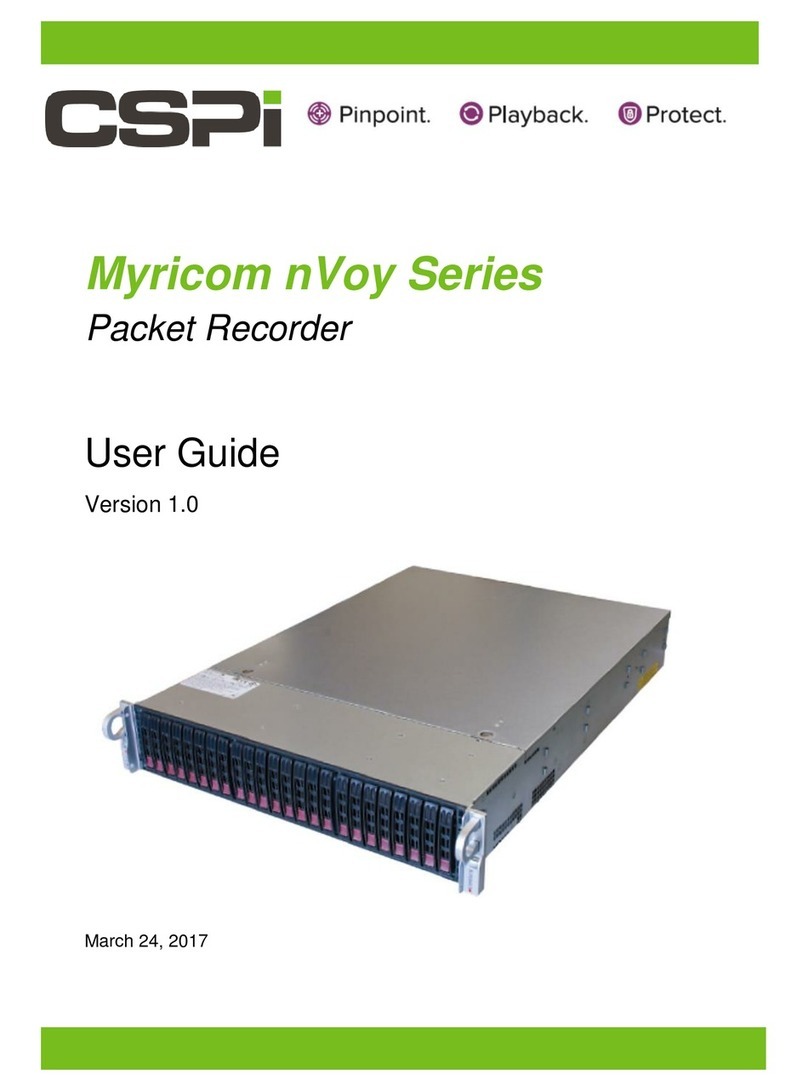
CSPi Myricom nVoy Series User manual

Myricom nVoy Series
Packet Recorder
Quick Start Guide
Version 1.0
March 24, 2017


Copyright © 2017 CSP, Inc.
All rights reserved.
No part of this publication may be reproduced, transmitted, transcribed, stored in a
retrieval system, or translated into any language, in any form or by any means,
electronic, mechanical, photocopying, recording, or otherwise, without prior written
permission from CSP, Inc.
All copyright, confidential information, patents, design rights and all other intellectual
property rights of whatsoever nature contained herein are and shall remain the sole
and exclusive property of CSP, Inc. The information furnished herein is believed to be
accurate and reliable. However, no responsibility is assumed by CSP, Inc. for its use,
or for any infringements of patents or other rights of third parties resulting from its use.
The Myricom, Inc. name and Myricom, Inc. logo are trademarks or registered
trademarks of CSP, Inc. All other trademarks are the property of their respective
owners.
Publishing Information
Document Revision
nPRqs 1.0
Date
March 24, 2017
Address
CSP Inc.
175 Cabot Street, Suite 210
Lowell, MA 01854
Tel: (800) 325-3110
http://www.cspi.com/ethernet-products/integrated-solutions

Myricom nVoy Series Packet Recorder Quick Start Guide v 1.0 Page ii of 18
Table of Contents
1QUICK START GUIDE ........................................................................................................... 1
Cabling and Hard Drive install............................................................................................................ 1
1.1.1 Prerequisites.........................................................................................................................................1
1.1.2 Hard Drive Installation..........................................................................................................................2
1.1.3 Cabling procedure ................................................................................................................................ 5
1.1.4 IPMI interface .......................................................................................................................................5
1.1.5 Factory Reset........................................................................................................................................5
Web User Interface............................................................................................................................ 6
1.2.1 Default login information .....................................................................................................................6
1.2.2 Changing the default root password ....................................................................................................7
1.2.3 Log On procedure.................................................................................................................................8
1.2.4 Log Off procedure................................................................................................................................. 9
1.2.5 SSL Certificate Warning ......................................................................................................................10
Powering ON/OFF.............................................................................................................................11
1.3.1 Power ON sequence ...........................................................................................................................11
1.3.2 Power OFF sequence ..........................................................................................................................11
Checking ARC Series E Network Adapter Connectivity ......................................................................12
2CSPI TECHNICAL SUPPORT................................................................................................ 13
3LIMITED WARRANTY......................................................................................................... 14

Myricom nVoy Series Packet Recorder Quick Start Guide v 1.0 Page 1 of 18
1 Quick Start Guide
The Quick Start guide provides general information on the following topics:
Hard Drive installation
Cabling
Default login information
Changing the default root password
Logging ON/OFF
Powering ON/OFF
Checking ARC Series E Network Adapter Connectivity
Cabling and Hard Drive install
This section describes how to cable and connect the hard drives to the nVoy Packet
Recorder.
1.1.1 Prerequisites
Personal computer, with Ethernet connectivity to the nVoy Packet Recorder
CSPi –Myricom ARC Series E-Class network adapter (pre-installed and
configured)
1.2 terabyte hard drives (24)
SFP+ cable/transceivers
Ethernet cable (Cat 5 or better)
Power cord
110V 50-60Hz power outlet with 4 Amps capacity, OR
220V 50-60Hz power outlet with 2 Amps capacity

Myricom nVoy Series Packet Recorder Quick Start Guide v 1.0 Page 2 of 18
Figure 1.1 Cabling requirements - rear panel of nVoy Packet Recorder.
1.1.2 Hard Drive Installation
A Note on Handling ESD Sensitive Hardware
Follow industry-standard ESD anti-static procedures when handling ESD sensitive
hardware to avoid accidently damaging integrated circuits.
For more information on ESD anti-static procedures, go to:
https://www.esda.org/about-esd/esd-fundamentals/part-3-basic-esd-control-
procedures-and-materials/
Before you start
Carefully remove the nVoy Packet Recorder and hard drives from their
packaging.
Do a visual inspection of the nVoy Packet Recorder chassis and hard drives for
any damage that may have occured during shipping. If there is any damage or
+
Power Cable
Ethernet Cable
ARC Series E Network Adapter
pre-installed and configured
SFP+ cable/transceiver
Management port
SFP+ traffic ports
IPMI interface
1G capture ports (3)
10G capture ports
(2)

Myricom nVoy Series Packet Recorder Quick Start Guide v 1.0 Page 3 of 18
Installing the drives
Identify the hard drive BAY 1 sticker with the chassis enclosure BAY 1 sticker,
as shown in Figure 1.2.
Figure 1.2: Hard drive and chassis enclosure with BAY 1 stickers.
Insert BAY 1 hard drive into chassis enclosure BAY 1, as shown in Figure 1.3.
NOTE:
The nVoy Packet Recorder chassis is shipped without a dust cover.
Check the chassis enclosure for any signs of dirt or debris before
installing the drives.
Chassis enclosure

Myricom nVoy Series Packet Recorder Quick Start Guide v 1.0 Page 4 of 18
Figure 1.3: Inserting BAY1 hard drive into chassis enclosure BAY1.
Gently slide the hard drive into position and secure the front latch.
install and secure the remaining hard drives in consecutive order from BAY 2 to
BAY 24, as shown in Figure 1.4.
Figure 1.4: Bays 1 through 24.
Bays 1 to…24

Myricom nVoy Series Packet Recorder Quick Start Guide v 1.0 Page 5 of 18
1.1.3 Cabling procedure
Connect the Ethernet cable from the nVoy Packet Recorder management port to
a switch or PC.
For 10G traffic ports, run SFP+ copper cables or fiber optical modules (with
proper cables) from one or more nVoy Packet Recorder traffic ports to switch
ports or other SFP+ traffic ports.
Connect the nVoy Packet Recorder to a power outlet.
1.1.4 IPMI interface
The IPMI interface allows you to access the nVoy Packet Recorder in case of a
network disruption on the management port. Refer to the server guide inside the
carton for further details.
Connect the management interface to your network and the traffic monitor to the
monitoring interface. Depending on your nVoy Packet Recorder configuration, there
may be additional monitoring ports that you can configure from the Web user interface.
1.1.5 Factory Reset
To reset the nVoy Packet Recorder to the pre-configured default, navigate to the
System tab and select Factory Reset. Note that at the first reboot, disconnect all
cables from the network interfaces beside the eth0 cable to enable the nVoy Packet
Recorder to detect the eth0 management interface.
For more information on resetting to factory
specs, go to section 5.8 Factory Reset tab of the
Myricom nVoy Series Packet Recorder User
Guide.

Myricom nVoy Series Packet Recorder Quick Start Guide v 1.0 Page 6 of 18
Web User Interface
The nVoy Packet Recorder has a web-based management user interface designed to
configure and run the CSPi series of packet recording software such as n2disk.
1.2.1 Default login information
The nVoy Packet Recorder is shipped with a default IP address to establish TCP/IP
connectivity, as described below.
Default IP address
https://192.168.160.10
Default Console username
root
Default Console password
nbox
Default web username
nbox
Default web password
nbox
Table 1: Default login information.
NOTE:
For the purposes of this user guide, we will be describing the nVoy packet
recording Web user interface as it relates to the n2disk software
package.
NOTE:
Upon receipt of the nVoy Packet Recorder, we recommend that you
immediately change the default root password. For more information, go
to Section 1.2.2 Changing the default root password

Myricom nVoy Series Packet Recorder Quick Start Guide v 1.0 Page 7 of 18
1.2.2 Changing the default root password
To change the default root password, follow these steps:
Click System > Users tab.
The System Users window appears, as shown in Figure 1.5.
Figure 1.5: System Users window.
Check the Users root radio button and click Change Pwd.
The root login Change Pw window appears, as shown in Figure 1.6.
Figure 1.6: Change Pw window (root login)
Enter the new password twice and click Change Pw.
The default root password has been changed.

Myricom nVoy Series Packet Recorder Quick Start Guide v 1.0 Page 8 of 18
1.2.3 Log On procedure
Enter the default IP address.
The Log In window appears, as shown in Figure 1.7.
Figure 1.7: Default login information
Click Log In
The Authentication Required prompt appears, requesting a username and
password, as shown in Figure 1.8.
Figure 1.8: Authentication Required window.
Enter the default user name and password.
Click OK
The nVoy Packet Recorder Web user interface appears. The homepage
defaults to the Dashboard. You can now manage the nVoy Packet Recorder
through the Web user interface.
NOTE:
If you received a security certificate warning when logging on, go to
section 1.2.5 SSL Certificate Warning
NOTE:
If you are logging on to the Web user interface for the fist time, we
recommend that you immediately change the default root password. For
more information, go to Section 1.2.2 Changing the default root
password

Myricom nVoy Series Packet Recorder Quick Start Guide v 1.0 Page 9 of 18
1.2.4 Log Off procedure
The Admin > Logout tab enables user to log off the nVoy Packet Recorder Web user
interface, as shown in Figure 1.9.
Figure 1.9: Logging off the nVoy Packet Recorder Web user interface.
Click Yes, Logout to log off the nVoy Packet Recorder Web user interface.
nVoy Packet Recorder?

Myricom nVoy Series Packet Recorder Quick Start Guide v 1.0 Page 10 of 18
1.2.5 SSL Certificate Warning
When connecting to the nVoy Packet Recorder Web user interface, you may receive a
security certificate warning according to web browser type.
Internet Explorer browser
In the event of a security certificate warning, click Continue to this website (not
recommended), as shown in Figure 1.10.
Figure 1.10: Internet Explorer browser security certificate warning.
Google Chrome browser
In the event of a security certificate warning, click Advanced and then Proceed to
cspi-nvoy-recorder (unsafe), as shown in Figure 1.11.
Figure 1.11: Google Chrome browser security certificate warning.
Click here
Click here
Click here

Myricom nVoy Series Packet Recorder Quick Start Guide v 1.0 Page 11 of 18
Powering ON/OFF
This section describes how to power ON and OFF the nVoy Packet Recorder.
1.3.1 Power ON sequence
Before you power on the nVoy Packet Recorder:
Unplug the Ethernet cable to your network first to prevent IP address conflicts.
Connect the appliance power cords to the power supply.
It takes about five minutes for the appliance to be ready for use.
Connect the Ethernet cable directly to a PC or laptop.
NOTE:
We recommend connecting the appliance to a desktop or a laptop
to change the IP address from the Web GUI.
1.3.2 Power OFF sequence
The Admin > Shutdown tab enables user to shut down the nVoy Packet Recorder
system (Figure 1.12).
Figure 1.12: Shutting down the nVoy Packet Recorder system.
Click Yes, Shut Down to shut down the nVoy Packet Recorder system.
nVoy Packet Recorder?

Myricom nVoy Series Packet Recorder Quick Start Guide v 1.0 Page 12 of 18
Checking ARC Series E Network Adapter Connectivity
To ensure ARC Series E network adapter installation is complete, we recommend
running the adapter as a standard network adapter, as follows:
Attach an SFP+ cable/transceiver from each adapter port to your local 10G
switch device.
Verify the link LEDs on the ARC Series E network adapter.
Verify that the myri0 and myri1 network interface indicator LEDs are green on
the Dashboard display.

Myricom nVoy Series Packet Recorder Quick Start Guide v 1.0 Page 13 of 18
2 CSPi Technical Support
nVoy Packet Recorder technical support, downloads, and user documentation are
available from the CSPi website.
nVoy Packet Recorder technical support, downloads, and user documentation
http://www.cspi.com/ethernet-products/support/downloads
nVoy Packet Recorder Data Sheets
http://www.cspi.com/ethernet-products/integrated-solutions
Contact CSPi Technical Support via the CSPi Customer Portal *
http://www.cspi.com/ethernet-products/support
* Follow the instructions on the CSPi Customer Portal website to register for a CSPi
Customer Support account.
Before you contact our technical support staff, have the following information available:
Your name, title, company name, phone number, and email address
Operating system and version number
Product name and release version
Problem description
CSPi email support address
CSPi
175 Cabot Street, Suite 210
Lowell, MA 01854
Tel: (800) 325-3110
http://www.cspi.com/ethernet-products/integrated-solutions

Myricom nVoy Series Packet Recorder Quick Start Guide v 1.0 Page 14 of 18
3 Limited Warranty
CSPi - Myricom ARC Series-E network adapters come with a one-year warranty on
hardware defects. During the first 90 days, from date of purchase, you have full access
to our CSPi support team via telephone or email. You will also receive any software
upgrades released during that timeframe. Warranty extensions are available, contact
your account representative for more information.
Information in this document is subject to change without notice. Copyright 2017
CSP, Inc. All rights reserved.
No part of this publication may be reproduced, transmitted, transcribed, stored in a
retrieval system, or translated into any language, in any form or by any means,
electronic, mechanical, photocopying, recording, or otherwise, without prior written
permission from CSP, Inc.
All copyright, confidential information, patents, design rights and all other intellectual
property rights of whatsoever nature contained herein are and shall remain the sole
and exclusive property of CSP, Inc. The information furnished herein is believed to be
accurate and reliable. However, no responsibility is assumed by CSP, Inc. for its use,
or for any infringements of patents or other rights of third parties resulting from its use.
The Myricom, Inc. name and Myricom, Inc. logo are trademarks or registered
trademarks of CSP, Inc. All other trademarks are the property of their respective
owners
Rev: nPRqs 03/24/2017
Other manuals for Myricom nVoy Series
2
Table of contents
Other CSPi Voice Recorder manuals
