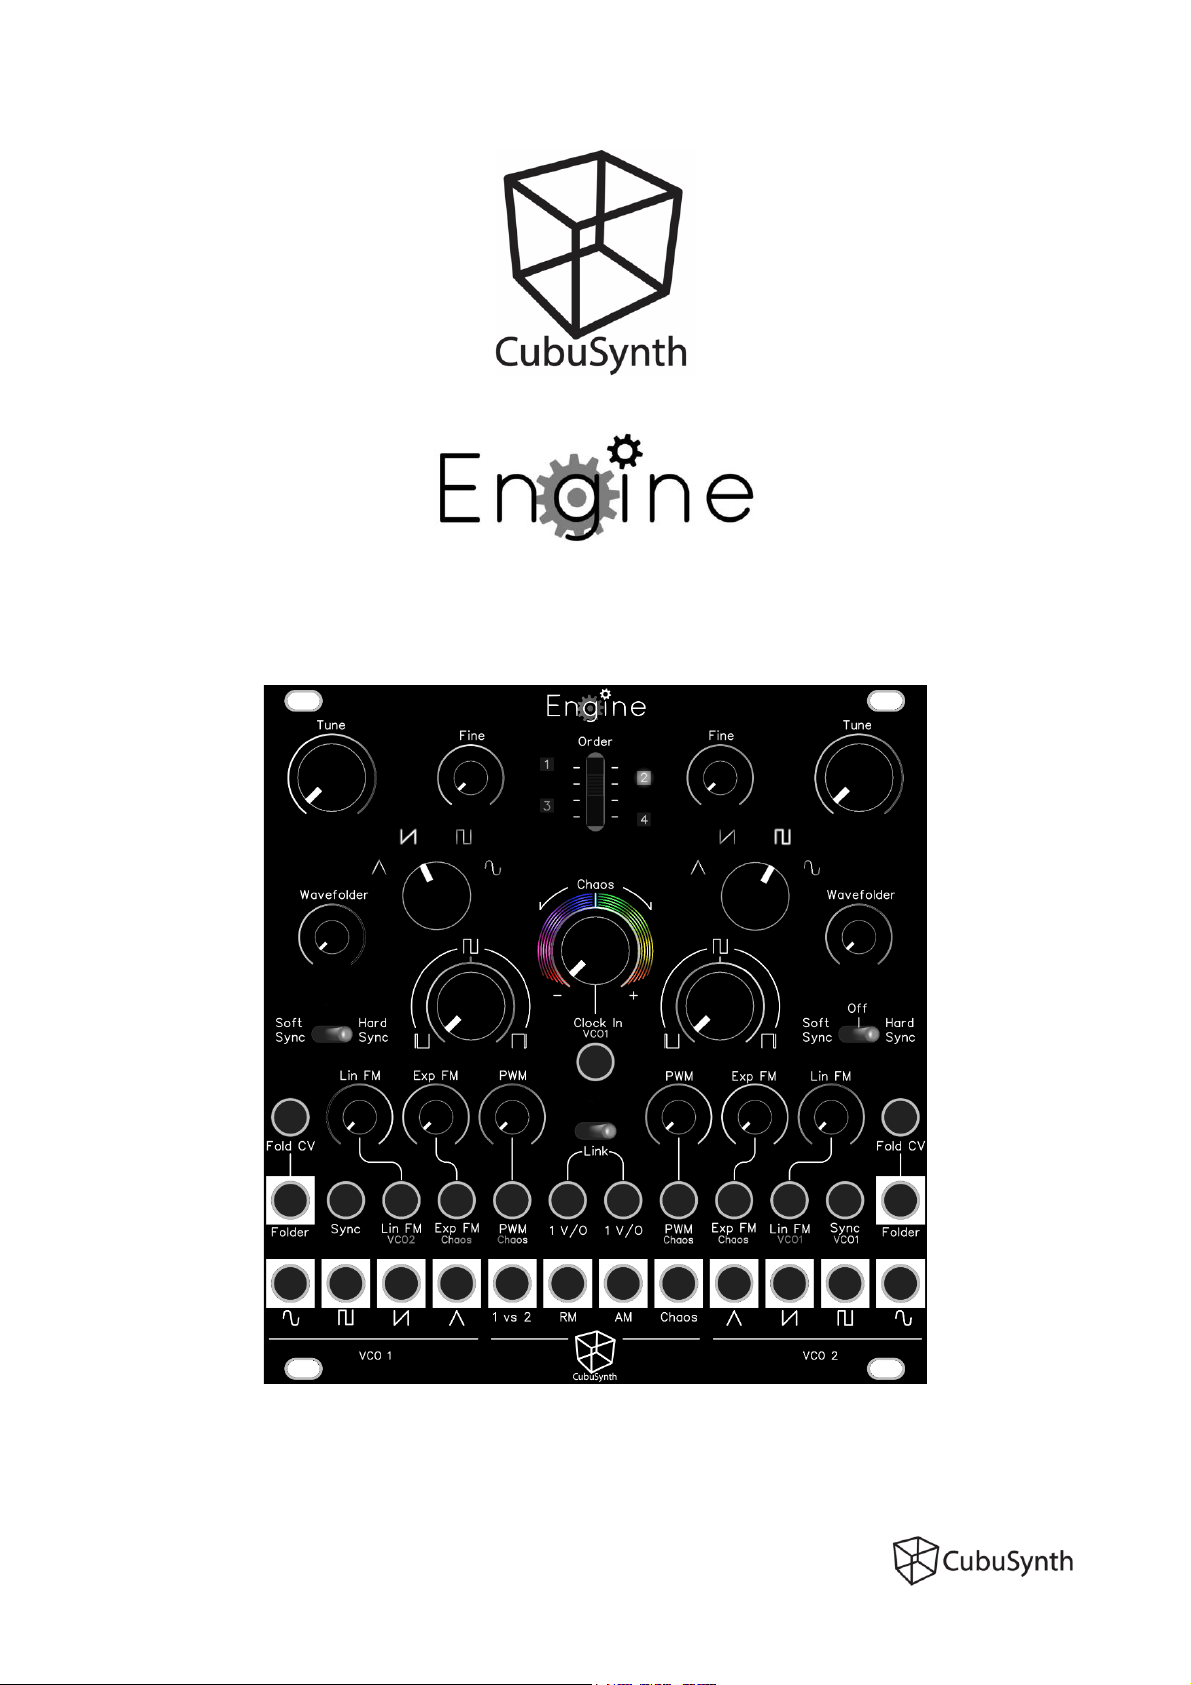
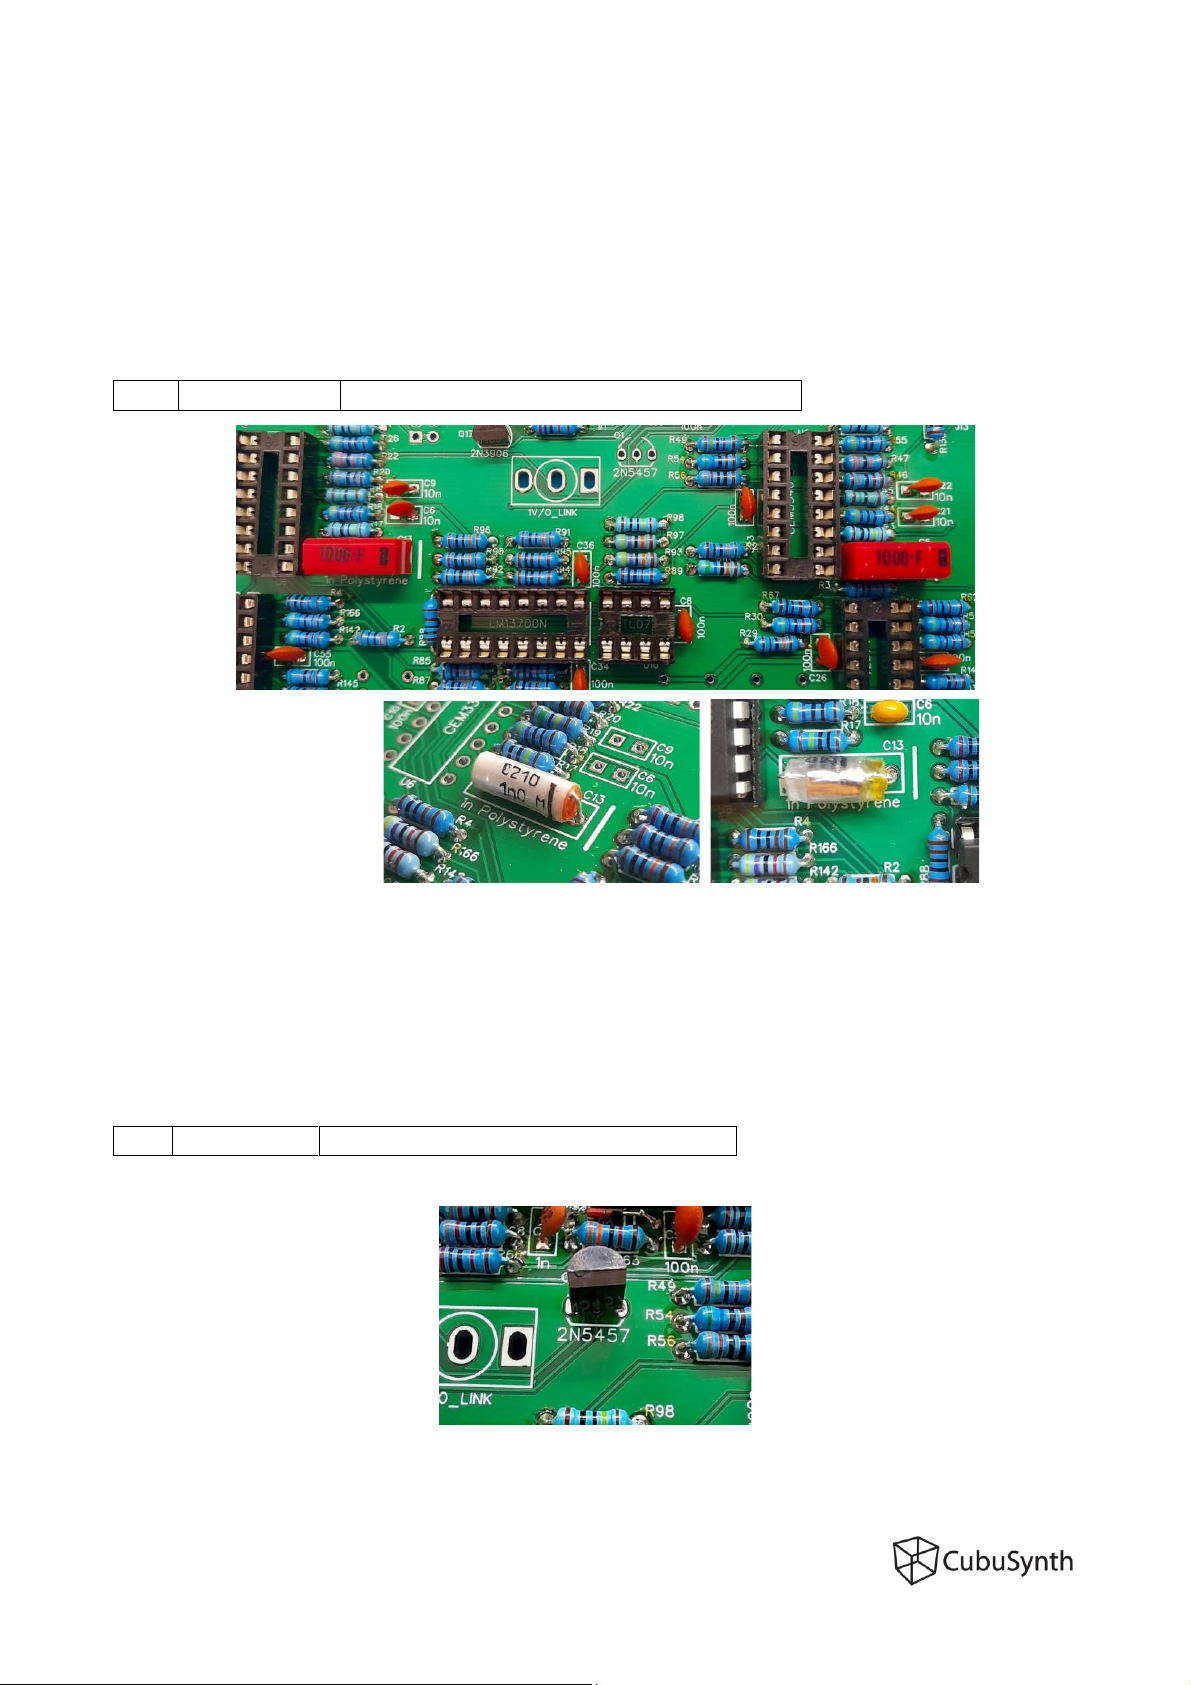
CubuSynth Engine - Build Guide PCB V1.1 May 2022
Page 5
R214,R127,R126,R89,R88,R78,R67,R62,R50,R36,R16,R4,R95,R94,R83,R82,
R130,R129,R186
R199,R194,R193,R192,R187,R184,R183,R178,R158,R112,R110,R64,R58,R121,
R120,R119,R118,R117,R116,R115
R205,R204,R203,R202,R201,R200,R175,R174,R173,R172,R171,R170,R66,R51,
R65,R57,R123,R109,R108,R107,R106,R105,R104,R103,R102,R190,R189,R188
R198,R179,R166,R53,R30,R5,R142,R52,R237,R236
R213,R146,R139,R92,R85,R77,R74,R73,R72,R71,R70,R69,R6,R111,R34,R29,
R7,R3,R2,R1,R122,R100,R75,R191
R28,R8,R91,R90,R87,R86,R132,R96,R81