14 15
nDo not attempt to blend fruit pits, bones or other hard materials as these are liable
to damage the blade.
nDo not overfill chosen mixing containers. The level of mixture will rise when
blending and can overflow.
nDo not put fingers near the blades. To dislodge food, unplug the Hand Blender from
the electrical supply first.
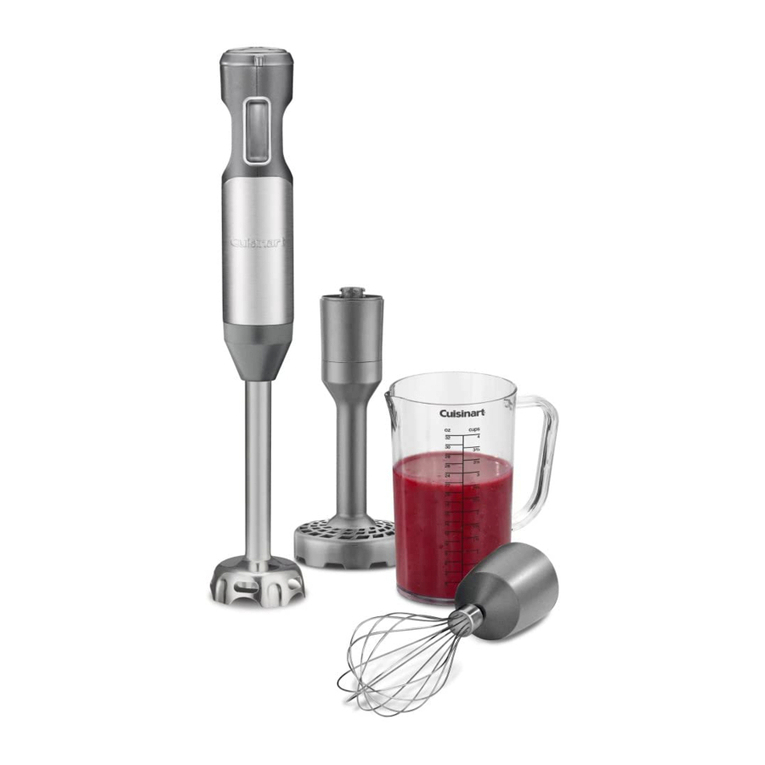
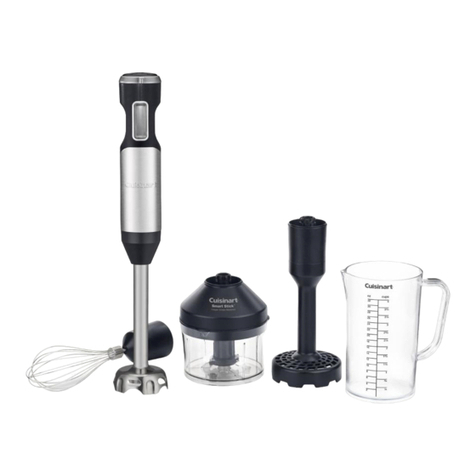
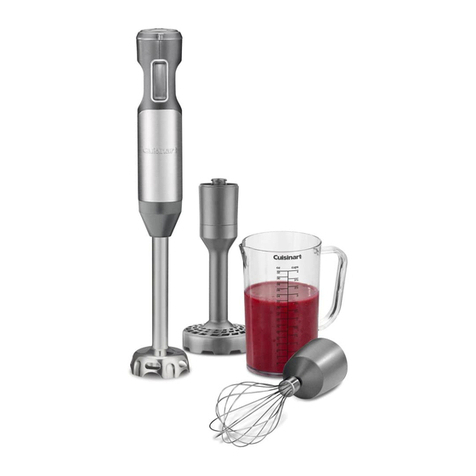
Whisking attachment
nBegin whisking on Speed 1, gradually increasing the speed to avoid splatters.
nWhen beating egg whites use a very clean metal or glass bowl, never plastic. Plastic
can contain hidden oils and fats that can ruin the delicate egg white foam. To help
stabilize the egg whites, add 1/8 teaspoon of cream of tartar per egg white prior to
beating them. (If using a copper bowl omit the cream of tartar.) Beat the egg whites
until desired peaks form.
nBeating egg whites for too long causes them to dry out and become less stable.
nWhen adding sugar to beaten egg whites, add it slowly when soft peaks just begin to
form and then continue beating to form desired peaks.
nWhen beating heavy cream, if possible and time allows, use a chilled bowl and chill the
whisk attachment. The best shaped bowl for whipping cream is one that is deep with a
rounded bottom to minimize any splatter.
nThe cream should come out of the fridge just before whipping. Whipped cream may
be used at either soft or firm peaks depending on preference. It may be flavoured as
desired. For best results, whip cream just before using.
Caution: Do not immerse the whisk attachment gearbox in water or any other liquid.
WARNING: Keep hands, hair, clothing, as well as spatulas and other utensils away
from the whisk attachment during operation to reduce risk of injury to persons, and/
or damage to the appliance. A spatula may be used, but only when the unit is not
operating.
Potato masher attachment
nPut potatoes or other food to be mashed in a large bowl or pot. Place the head of the
potato masher into the food. Slightly raise and lower the masher as you move it through
the food until it reaches the texture you require. N.B. The potato masher is plastic so
will not damage non-stick surfaces.
nWhen using the masher, it is best to use low speed for potatoes, which are starchy and
should not be overworked (the less you process potatoes the better).
nMashing each section, by using just 1 or 2 up and down motions works best.
nThe high speed can be used for other root vegetables like turnips and sweet potatoes.
nMash ingredients when they are hot - they will mash better and more easily.
nMash vegetables first, then add in the other ingredients, such as milk, butter and
seasonings.
Cleaning &Maintenance
Always clean the appliance thoroughly after use.
Main unit:
Ensure any attachment has been removed from the unit.
Clean the main unit and charging stand with a sponge or damp cloth only. Do not use
abrasive cleaners that could scratch the surface.
Blending shaft:
Release the attachment from the main unit.
To clean the blending shaft, wash by hand using warm, soapy water or place on the top
rack of the dishwasher.
Warning: Be mindful of the fixed razor-sharp edges of the blades, they are very sharp
and should be handled carefully to avoid injury.
Whisk attachment:
Release the fully assembled whisk attachment from the main unit.
To clean the whisk attachment, detach the metal whisk from the gearbox by pulling the
pieces apart. To clean the gearbox, simply wipe with a damp cloth. To clean the metal
whisk, wash with warm, soapy water or place on the top rack of the dishwasher.
Do not submerge the gearbox in water or any other liquids.
Potato masher attachment:
Release the full attachment from the main unit.
To simplify cleaning, rinse the attachment immediately after use so food does not dry on
it. With the gearbox still connected to the attachment, pull the inner blade out slightly
from the unit while turning clockwise to release.
Wash the attachment with warm, soapy water and a soft bristle brush if necessary, or
place on the top rack of dishwasher. Do not use any sharp, metal objects. Dry thoroughly
and reassemble when ready to use (see Assembly section).
Do not submerge the gearbox in water or any other liquids.
