Cuisinart COH-100 User manual

CARBON MONOXIDE HAZARD
This appliance can produce
carbon monoxide which has no
odor.
Using it in an enclosed space can
kill you.
Never use this appliance in an
enclosed space such as a
camper, tent, car or home.
WARNING: For Outdoor Use Only.
Installaon and service must be performed by a
qualified installer, service agency, or the gas supplier.
DANGER
FIRE OR EXPLOSION HAZARD
Ifyou smell gas:
• Shut offgas to the appliance.
• Exnguish anyopen flame.
• If odor connues, leave the area immediately.
• Aer leaving the area, call your gas supplier or fire
department.
Failure to follow these instrucons could result in fire or
explosion, which could cause property damage, personal
injury, or death.
WARNING
Improper installaon, adjustment,alteraon, service
or maintenance can cause property damage,injury or
death.
Read andfollow all the warnings, installaon,
operang and maintenance instrucons thoroughly
before assembling and using this equipment.
Failure to follow these instrucons could result in fire
or explosion, which could cause property damage,
personal injury or death.
WARNING
Do not store or use gasoline or otherflammable vapors
and liquids in the vicinity ofthis or any other appliance.
An LP cylinder not connected for use shall not be
stored in the vicinity ofthis or any other appliance.
DANGER
Customer Service Hotline
1-866-994-6390
DO NOT RETURN YOUR PATIO
HEATER TO THE STORE
Before visiting your local retailer, call our
customer service service department at
1-866-994-6390, or email at
from 9:00 am to 5:00 pm
Eastern time, Monday through Friday.
Model NO: COH-100
PATIO FIRE PIT TABLE
OFF
PUSH
LOW
PUSH
IGNITOR
CALIFORNIA PROPOSITION 65 WARNING:
• WARNING: This product can expose you to
lead, which is known to the State of California
to cause cancer and birth defects or other
reproductive harm. For more information go
to www.P65Warnings.ca.gov
INSTALLER: Leave this manual with the appliance.
CONSUMER: Retain this manual for future
reference.

2
Product Specificaons......................................................................................................................2
Safety Informaon...........................................................................................................................3
Package Contents.............................................................................................................................6
Hardware Contents..........................................................................................................................7
Assembly Instrucons......................................................................................................................7
Safety Check...................................................................................................................................15
Lighng Instrucons.......................................................................................................................16
Care and Maintenance...................................................................................................................17
Troubleshoong.............................................................................................................................19
Warranty………………….....................................................................................................................20
Replacement Parts list....................................................................................................................21
TABLE OF CONTENTS

3
Product Specificaons
Cerficaon CSA
Overall Dimension 41.33x26.77x24.09 inches
Rated Heat Input 40,000 BTU/HR
Fuel Propane LP
Gas Supply 20 Lb LP Gas cylinder
Manifold Pressure 11 inchesW.C
Injector Size (diameter) 1.95 mm
Safety Features Thermocouple
Gas Supply Pressure Max 150 PSI, Min 5 PSI
Please call 1-866-994-6390, or email at [email protected], from 9:00 am to 5:00 pm
Eastern me, Monday through Friday, for any assistance.
PRODUCT SPECIFICATIONS

4
Please read and understand this enre manual before aempng to assemble, operate or install
the product. Ifyouhave any quesons regarding the product, please call our customer service at
1-866-994-6390 from 9:00 am to 5:00 pm Eastern me, Monday through Friday, for assistance .
• The installaon must conform with local codes or, in the absence of local codes, with the Naonal
Fuel Gas Code, ANSI Z223.1 /NFPA 54, Natural Gas and Propane Installaon Code, CSA B149.1, or
Propane Storage and Handling Code, B149.2.
• Minimum clearances from combusble material: Side-48 inches, Rear-48 inches, Ceiling-72 inches.
• THIS UNIT IS INTENDED FOR OUTDOOR USE ONLY! This product shall be used outdoors, in a
venlated space and shall not be used in any enclosed area.
• Do not use this outdoor gas fire table for indoor heang. TOXIC carbon monoxide fumes can
accumulate and cause death.
• This unit is to be used with propane gas only! (sold separately).
• Never leave this unit unaended while in use.
• Converng this unit to natural gas is dangerous and not recommended. The conversion of this unit
will void the manufacturer warranty.
• Place the propane hose with regulator assembly out of pathways where people may trip over it or
in areas where the hose will not be subjected to accidental damage.
• Materials or items when stored under the fire table will be subjected to intense heat and could be
seriously damaged.
• Clothing or other flammable materials should not be hung on the fire table, or placed on, under
or near the unit.
• Children and adults should be alerted to the hazards of high surface temperatures and should stay
away to avoid burns or clothing ignion.
• Young children should be carefully supervised when they are in the area of this unit.
• Any guard or other protecve device removed for servicing the fire table must be replaced prior to
operang the fire table.
• Installaon and repair should be done by qualified service person. This unit should be inspected
before use and at least annual by a qualified service person.
• More frequent cleaning may be required as necessary. It is imperave that the control compartment,
burners and circulang air passageways of the fire table to kept clean.
• Keep the appliance area clear and free from combusble materials, gasoline and other flammable
vapors and liquids.
• Do not obstruct the flow of combuson and venlaon air.
• Solid fuels or Charcoals shall not be burned in this unit.
• This unit is not intended for cooking.
• Do not add water into the unit.
• Keep away from the unit for the first 20 minutes aer igning your unit for the first me, as the
rocks could pop out and cause injury. Should any rocks pop out, discard them.
• Do not light or use the gas unit if rocks are wet. Ensure rocks are completely dry before lighng as
intense heat could cause the rocks to crack. Failure to do so could hit somebody’s face or eyes
during the inial start of this unit.
SAFETY INFORMATION
5
SAFETY INFORMATION
• Keep the venlaon opening(s) of the cylinder enclosure free and clear from debris. Use this
appliance in a well-venlated space only. Do not use it in a building, garage, or any other
enclosed area.
• Use this appliance in outdoor areas described below:
• With walls on all sides, but at least one permanent opening at ground level and no
overhead cover.
• Within a paral enclosure that includes overhead cover and no more than two walls.
These walls may be parallel, or at right angles to each other.
• The following shall apply:
• One wall that is equivalent to at least 25% of the total wall area is completely open.
• 30% or more in total of the remaining wall area is open and unrestricted.
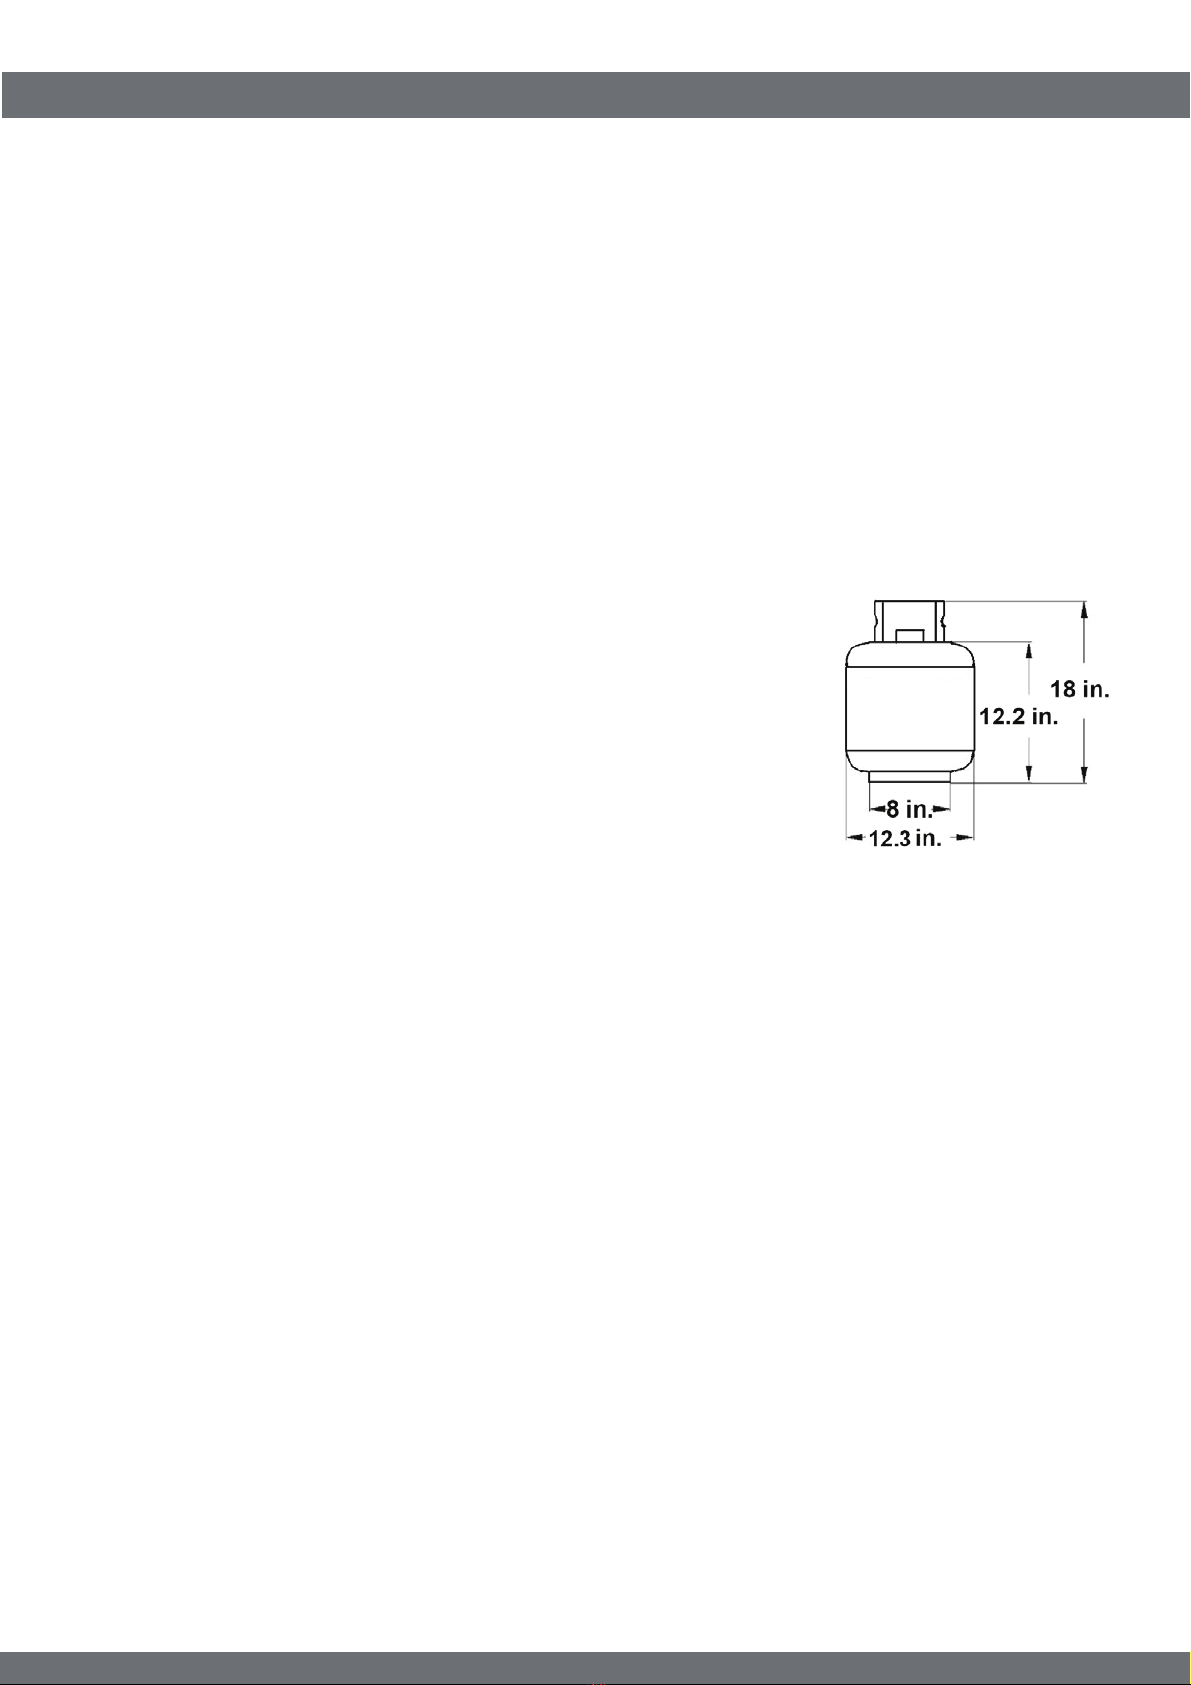
• This fire table is designed for use with a 20 lb. liquid propane gas (LP) tank. The LP-gas supply
cylinder to be used must be:
• Constructed and marked in accordance with the Specificaons for
LP-gas cylinders of the U.S. Department of Transportaon of
Dangerous Goods and Commission, CAN/CSA-B339, as
applicable; Provided with a listed overfilling prevenon
device; and Provided with a cylinder connecon device
compable with the connecon for the appliance.
• If the propane gas tank is leaking gas, you may hear, see, or
smell a hiss. Do the following:
• Disconnect the propane gas tank.
• Do not aempt to fix the problem yourself.
• Contact your gas supplier or fire department for help.
• A leak test should always be performed aer aaching the connecon to the LP gas
cylinder service valve.
• Disconnect the cylinder when the appliance is not in use.
• Check for leaks aer not using the unit for long period of me.
• Storage of an appliance indoors is permissible only if the cylinder is disconnected and removed
from the appliance.
• Store the cylinder outdoors in a well-venlated area (not in a building, garage, or other enclosed
area) out of the reach of children.
• The cylinder used must include a collar to protect the cylinder valve.
• Do not store a spare or disconnected liquid propane cylinder under or near this unit.
• Never fill the cylinder beyond 80% full.
• Place the dust cap ghtly on the cylinder valve outlet whenever the cylinder is not in use. Install
only the type of dust cap on the cylinder valve that is provided with the cylinder valve. Other
types of caps or plugs may result in a propane leak.
• Inspect the visible poron of the hose before each use of the appliance.

6
SAFETY INFORMATION
• Every part of the unit shall be secure against displacement and shall be constructed to maintain a
fixed relaonship between essenal parts under normal and reasonable condions of handling
and usage. Parts not permanently secured shall be designed so they cannot be incorrectly
assembled and cannot be improperly located or misaligned in removing or replacing during
cleaning or other servicing.
• Do not use this unit if any part has been under water. Immediately call a qualified service
technician to inspect the appliance and to replace any part of the control system and any gas
control that has been under water.
• Never let the regulator & hose assembly touch with the ground when it is disconnected. Make
sure the regulator & hose assembly place onto the hook when not in use.
• Certain areas of this outdoor fire table when in use will become too hot to touch. Do not touch
hot surfaces unl the unit has cooled unless you are wearing protecve gear such as insulated
pot holders or heat resistant gloves or miens to avoid burns.
• Remove the PVC cover from the unit before aempng the operang.
• Always use this outdoor fire table on a hard, level non-combusble surface such a concrete,
rock or stone. An asphalt or blacktop surface may not be acceptable for this purpose. Surfaces
such as dirt and grass may prevent the unit from having proper venlaon.
• DO NOT use this outdoor fire table unl it is COMPLETELY assembled and all parts are securely
fastened and ghtened.
• DO NOT use this outdoor fire table near automobiles, trucks, vans or recreaonal vehicles.
• DO NOT use this outdoor fire table under any overhead structure combusble construcons.
Avoid using near or under overhanging trees and shrubs.
• The use of alcohol, prescripon or non-prescripon drugs may impair an individual's ability to
properly assemble or safely operate this outdoor fire table.
• CALIFORNIA PROPOSITION 65 WARNING:
(a) Combuson by-products produced when using this product contain chemicals known to the
State of California to cause cancer and birth defects or other reproducve harm.
(b) Handling the brass material on this product exposes you to lead, a chemical known to the
State of California to cause cancer and birth defects or other reproducve harm. Wash hands
aer handling.
(c) This product contains chemicals, including lead and lead compounds, known by the State of
California to cause cancer, reproducve harm, or other birth defects.
(d) Wash your hands aer using this product.

7
PARTS LIST
PART DESCRIPTION QUANTITY PART DESCRIPTION QUANTITY
A Table Top 1 F Tank Baffle 1
BDoor 2 G Tank Holder 1
C Beam 1 H Base 1
D Rear Panel 1 I Rocks 16.5 lbs
E Front Panel 1
I
H
G
F
E
D
C
B
B
A
PACKAGE CONTENTS

8
AA M6×16 Bolt ×10
BB M5×8 Bolt ×6
CC Door Handle ×2
DD
AAABaery ×1
EE M4×8 Bolt ×6
Before beginning assembly ofproduct, makesure all parts are present andcompare parts with
package contents list. If any part is missing or damaged, do notaempt to assemble the product.
This fire table is very heavy, makesure that therearetwo people to move it orflip it over.
Esmated Assembly Time:45 minutesbytwo people
Tools required: Magnec Head Phillips Screwdriver (Notincluded)
1pc
HARDWARE CONTENTS
ASSEMBLY INSTRUCTIONS

9
B B
A A
G
X 4
M5X10 Bolt
BB
X 2
M6X16 Bolt
AA
H
D
X2
AA M6X16 Bolt
AA
BB M5 X 8 Bolt
BB
ASSEMBLY INSTRUCTIONS
STEP 1
-------------------------------------------
Install the Tank Holder (G) to the Base (H) using 4pcs BB.
STEP 2
-------------------------------------------
Lay down the Rear Panel (D), and then aach the Base assembly using 2pcs AA.

10
E
AA
X 2
M5X10 Bolt
BB
X 2
M6X16 Bolt
AA
E
AA M6 X16 Bolt X2
AA
BB M5 X 8 BoltX2
C
C
ASSEMBLY INSTRUCTIONS
STEP 3
-------------------------------------------
Install the Front Panel (E) to the Base using 2pcs AA.
STEP 4
-------------------------------------------
Install the Beam (C) using 2pcs BB.
TIP: The end with the small metal piece must be installed downwards.
Table of contents
Other Cuisinart Outdoor Fireplace manuals


