Cumberland Seawind 1160-Destiny User manual

OPERATION MANUAL
Seawind 1160 - Destiny
1-4. Specifications and Layouts.
5-6. Electrical System.
7. VHF Radio.
8. Navigation Instruments.
9. Engine.
10-12. Windlass, Emergency Anchoring and Moorings.
13. Refrigeration.
14. Stove, BBQ and LPG.
15. Freshwater System, Showers and Hot Water.
16. Toilets and Holding Tanks.
17. Bilge Pumps.
18. Manoeuvring and Steering.
19. Sails.
20-21. Tender and Outboard.
22. Emergency Procedures.
23-24. Inventories.
Revised July 2018

OPERATION MANUAL
Seawind 1160 - Destiny
Page 1 –Specifications
Length 11.6 Metres
Width 6.5 Metres
Draft 1.15 Metre
Engines Twin Yanmar 27HP Diesels with Saildrives
Fuel Capacity 360 Litres
Freshwater Capacity 800 Litres
Private Cabins 3
Passengers Permitted 9
Double Berths 4
Single Berth 1
Refrigeration Upright Fridge
44 cm Long. 44 cm Wide. 66 cm High.
Bench Freezers (2 of each)
37 cm Long. 20 cm Wide. 4067 cm High.
Deck Fridge
47 cm Long. 42 cm Wide. 49 cm High.
Cooking Facilities 4 Burner Gas Stove , Oven, Grill
Oven dimensions
35 cm Long. 35 cm Wide. 27 cm High.
BBQ dimensions
49 cm Long. 30 cm Wide. Gas.

OPERATION MANUAL
Seawind 1160 - Destiny
Page 2 –Above Deck Layout
Anchor Locker Gas Bottles
Emergency Anchor
Fuel Fillers
BBQ
Mooring Lines
Buckets
Fenders
Hose
Shore Power Socket
Water Filler
Deck Fridge

OPERATION MANUAL
Seawind 1160 - Destiny
Page 3 –Below Deck Layout
Log and Sounder
Transducers
(Under Floor)
Switchboard
Fire Extinguishers
Battery Charger
(In Cupboard)
Flares
Dinghy Pump
Fuel Tanks
(Under Floor)
Water Tank
(Under Settee)
Anchor Winch
Circuit Breaker
Battery Switches
Sewage Holding
Tank
(In Engine Box)
Lifejackets
(Under Settee)
House Batteries
(Under Settee)
Sewage
Holding Tank
Grey Water
Tanks
First Aid Kit
Vinegar

OPERATION MANUAL
Seawind 1160 - Destiny
Page 4 –Safety –Equipment and Door Use
Gas Isolation Valve
(On Bottle In Locker)
Log and Sounder
Transducers
(Under Floor)
Main Battery Switches
Seacocks
(In Engine Boxes)
Gas Isolation Valve
(On BBQ)
(Under Stove)
Gas Shut Off
(In Cupboard
Under Stove)
Seacocks
(Everywhere)
Fuel Shut Off
(Under Floor)
Fire Extinguishers
Bilge Pump
Manifold
Lifting the Bi-Fold Doors
To lift the saloon bi-fold door unbolt the door from the doorframe and take the lifting line together with
its attachment from the cockpit roof and secure it to the door. Run the lifting line around the starboard
winch and winch up the door until it reaches the cockpit roof where it can be secured by positioning
the retaining bar.
To lower the bi-fold door ensure that the lifting line is secured on the starboard winch then fold back the
retaining bar and slowly allow the door to drop to it’s original position by controlling the rate of fall.
Warning
When lifting or dropping the bi-fold door ensure all people especially small children are away from the
doorway.

OPERATION MANUAL
Seawind 1160 - Destiny
Page 5 –Electrical System
Electrical System
Destiny has ample power with an easy to use 12 volt system with separate power supply for the
house and engines. She also utilises 240v shore power when in a marina for battery charging and
operating 240v outlets.
Note: Both engines must be run at 1500rpm for a minimum of THREE hours daily (60 minutes in
the morning, 60 minutes middle of the day and 60 minutes after 3pm) to charge the house batteries.
No battery switches should be touched during charter unless in an emergency or advised to by
base.
All electrical lights and appliances are controlled from the circuit breaker switches at the main
electrical panel.
The batteries are recharged by the engines, the solar panel and shore power when in a marina
berth. Although this provides ample power it is necessary to keep power consumption down by
turning off lights or appliances when not in use.
Because Destiny has a totally separate engine battery system you will always have power to start
your engines even when the house batteries are flat.
Destiny has one engine battery situated under the saloon seats. This battery is recharged by the
engines and normal motoring will be sufficient to recharge it. The house batteries are also located
under the saloon. They are charged bythe engines and the solar panels and also shore power when in
dock.
Battery switches located adjacent to the switch panel are only for use in emergencies when
instructed by your base.
Do not use the bridging for extending the life of the house battery power. This will flatten all batteries
and you will not be able to start the engines.
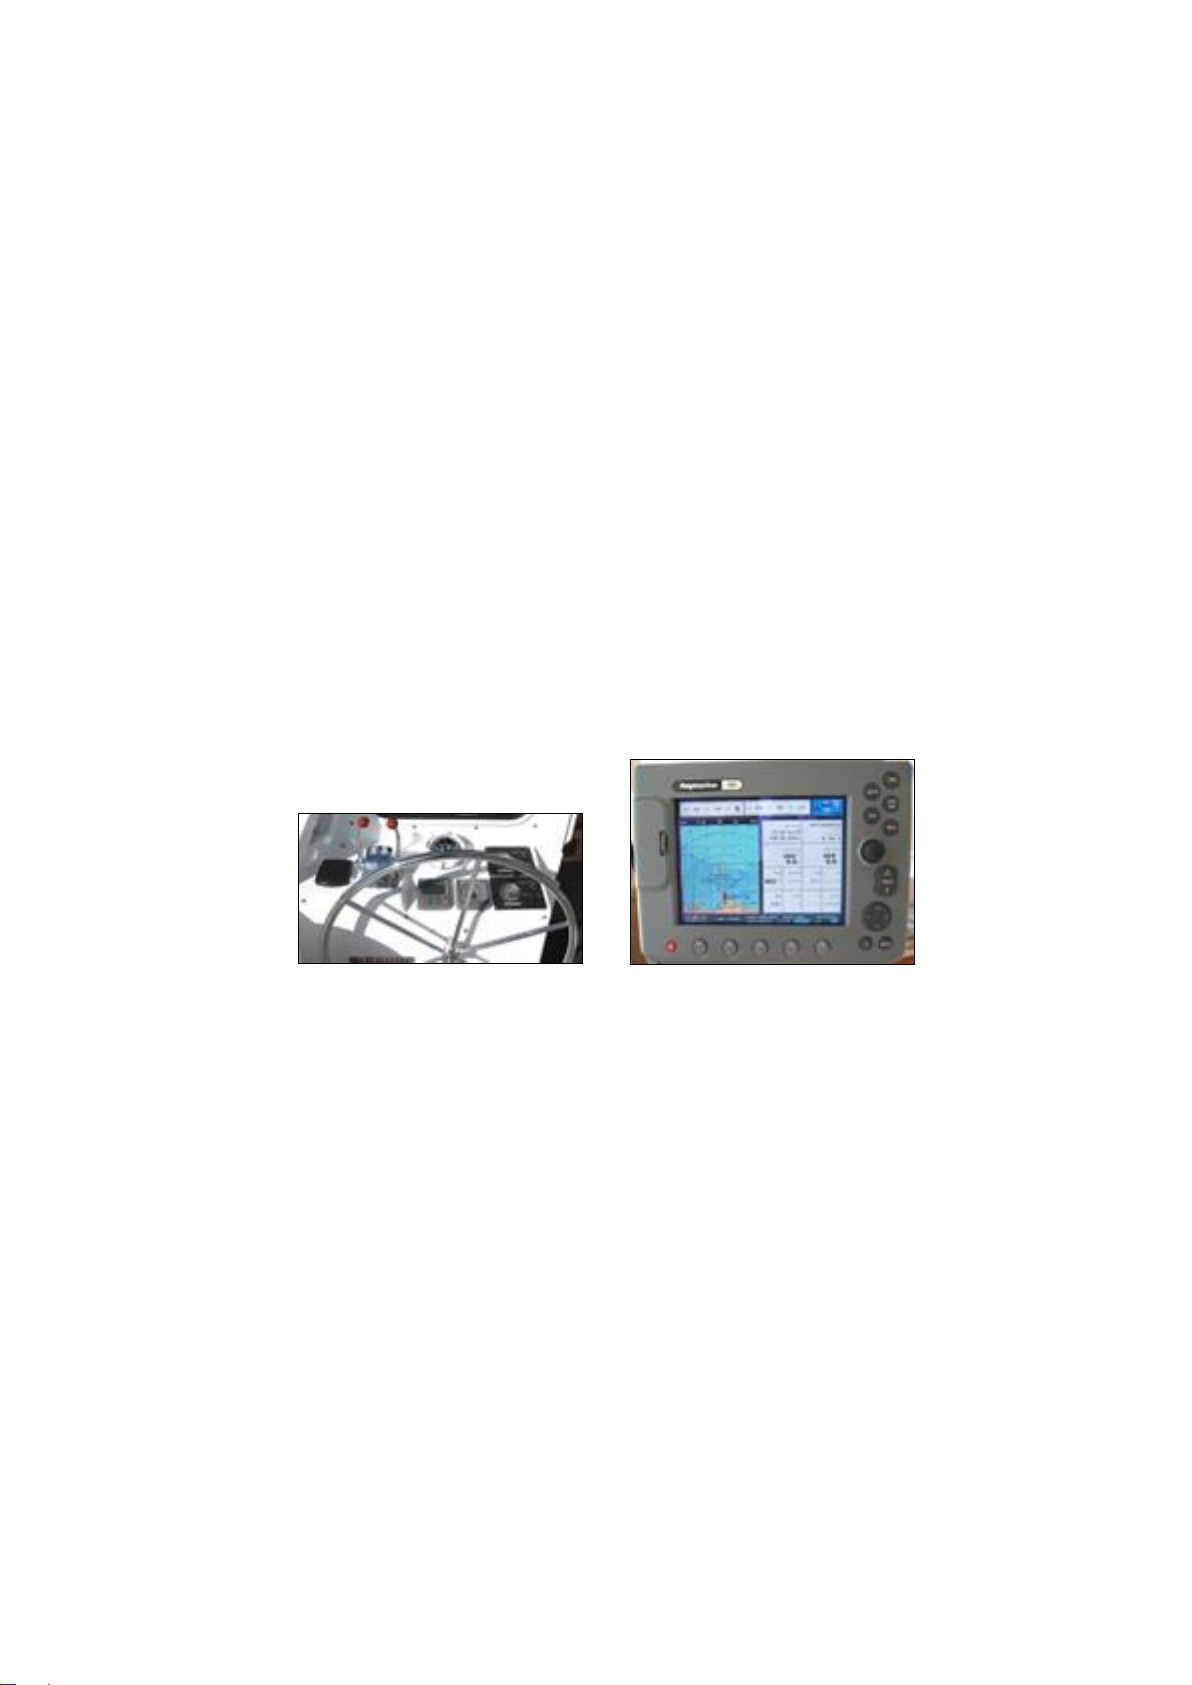
Shore power
When you are in port, use the extension lead to plug into shore power. The inlet is below the port
steering wheel. The battery charger turns on automatically.
Battery Condition Meter
This meter located on the switchboard gives information on the house batteries such as total capacity
andstate of charge.
CD/Stereo
The stereo doesn’t have an iPod connection available.

OPERATION MANUAL
Seawind 1160 - Destiny
Page 6 –Electrical System and House Batteries
Managing the House Batteries
Run both engines at 1500rpm and maintain at least 13 volts in the house batteries at all times.
NOTE: If the house battery voltage drops below 11.8 volts all the refrigeration will shut down without
warning.
Hot Water System
Before showering run your engines to guarantee adequate hot water, as it works off a heat exchanger
coupled to the engines.
Battery Monitor TV
Destiny –Connecting to Bluetooth
Make sure you have your phone out and ready to pair with bluetooth devices
Turn on the power to the radio via the “instruments” switch
Turn on the radio
Switch the radio system on to the “AUX” option
On your phone or device conduct a bluetooth search for “BT-100”
Wait for pairing
Play your desired music out of your phone or device
To turn on
Press twice
for “AUX”
option

OPERATION MANUAL
Seawind 1160 - Destiny
Page 7 –Radio
VHF Radio
Destiny is equipped with a VHF radio.
*Turn the radio on, select the channel, and adjust squelch to stop static.
*Cumberland will call you at 9.30am and 2.30pm on Channel 81 and 82. At all times
contact base on Channels 82 and 81
*When talking to another vessel use channel 11 (eleven) or 08 (zero eight).
*Detailed instructions are on the Cumberland Charter's radio instruction sheet.
Radio Schedules
Charterers are required to answer radio schedules twice daily on Channel 81 and 82 at
9.30pm and 2.30pm.
If reception is bad try Channel 82 in northern waters.
You must be in contact with base twice daily or you will be liable for search costs involved
in locating you and your vessel.

OPERATION MANUAL
Seawind 1160 - Destiny
Page 8 –Navigation Instruments
Navigation Instruments
Destiny is equipped with instruments which give you boat speed, depth of water and wind
speed and direction. There is also a chart plotter. The autopilot is disabled.
Do not adjust these instruments as damage can occur to sensitive electronics if used
incorrectly.
There is no need to adjust any settings by using the buttons on the instruments.
Note: Never rely solely on the sounder when moving in shallow water or when anchoring.
The depth reading on the sounder is depth under the keel not ahead of you.
A crewman should look for coral from the bow and the vessel should manoeuvre very
slowly.
Remember that the instruments are electronic and incorrect use of buttons can cause
false displays or damage.

OPERATION MANUAL
Seawind 1160 - Destiny
Page 9 –Engines and Saildrives
Engines and Saildrives
Destiny is powered by twin Yanmar 27HP diesels and cruises at six knots at 2500 revs. It
is equipped with saildrive legs.
Two 180 litre fuel tanks give a cruising range of 30 hours running.
To Start Engines
1. Select neutral with gear lever in central position.
2. Turn key clockwise to start.
To Stop Engines
1. Select neutral.
2. Press black stop button.
3. When engine is completely stopped turn key off.
To Engage Gears
Push forward to engage forward gear. Pull back control to engage reverse.
Always pause at neutral for a few seconds when changing gears.
To Run Engines for Battery Charging
Pull levers out when in neutral position to disengage the gears and push forward to
increase the revs to 1200 to 1500 rpm.
Checking of oil and coolant in the engines is not necessary during your charter unless a
problem occurs.
It is a good idea to check there is adequate cooling water coming from the engine exhaust
after starting.
If an engine alarm sounds while engine is still running
*Stop the engine.
*Call Cumberland Base for advice and assistance.

OPERATION MANUAL
Seawind 1160 - Destiny
Page 10 –Windlass
Destiny is fitted with an electric anchor winch, 50 metres of chain and a CQR type anchor.
The winch raises the anchor when the UP foot switch is pressed and lowers the anchor
when the DOWN switch is pressed.
Always run the engines when using the winch.
The circuit breaker is located next to the main switch panel and should be in the ON (or
up) position. If the winch is overloaded the circuit breaker will trip. Push the switch up to
reset.
To Lower the Anchor
1. Select your location from the 100 Magic Miles and check water depth and tidal
movement. Stop the vessel with the bow into the wind.
2. With the tender alongside press the DOWN switch.
3. When the required length of chain (minimum 30 metres or 4 times charted depth plus
overnight high tide) is released, allow the vessel to lay into the wind while keeping the
engines in neutral.
4. After about 10 minutes check to ensure your position is the same and the anchor is
holding.
5. Attach the bridle and let out some more chain so the boat load is taken on the bridle.
To Lift Your Anchor
1. Open anchor locker hatch and make sure the chain doesn't stack up.
2. Motor very slowly forward, so the chain is vertical. Press the UP foot switch. Don't over
run the chain and make sure chain comes up vertically. Keep the skipper informed so
the vessel moves ahead only as fast as the chain is retrieved.
3. The windlass is designed to lift the weight of the chain and anchor only. Do not
overload it by pulling the boat forward.
*CAUTION - If the anchor is snagged in rocks or coral and you try to break it free don't
let this load go through the winch. Use the bridle or secure the chain to the main
bollard.
*NEVER engage the foot switch while the handle is in the gypsy clutch.
*Ensure the chain is falling into locker easily. If the chain stacks up you will have to
open the inspection hatch and rectify the situation.
*Always leave the chain slightly loose and don't snub the anchor hard onto the roller to
avoid overloading the windlass. WARNING
When using a windlass, it is important to keep your fingers and toes well away from the
teeth of the windlass and the chain as it passes over the bow roller, as accidentally
trapping them could cause serious injury.
Keep your fingers and toes away from the chain as it passes over the bow roller.

OPERATION MANUAL
Seawind 1160 - Destiny
Page 11 –Windlass
Emergency Manual Anchoring ONLY
To Release Chain
Carefully releasethe gypsy by turning it anti-clockwise withthe anchor winch handle.
As soon as the gypsy is free the chain will run out so do this slowly.
Do not touch the switches and keep your fingers away from the winch.
If the gypsy does not release it might need a gentle tap to break it free.
You could also manually pull the anchor forwardand lowerit into the water for a fewmetres.
*Once the anchor is falling freely regulate its descent by tightening the gypsy with the
handle.
*Check the chain markers to ensure you let out four times the depth of water in chain.
(15 metres would be your maximum depth to allow safe and secure anchoring.)
*When you have enough chain out tighten the gypsy to stop the chain.
*When the anchor is set attach the bridle and let out the chain so it takes the load.
*Retighten the gypsy.
CAUTION - Do not overtighten the gypsy. Use only one hand on the handle and about 10
kilograms force. If it slips tighten it slightly.

OPERATION MANUAL
Seawind 1160 - Destiny
Page 12 –Moorings
Mooring Procedures
Public Moorings
When approaching a public mooring, position the vessel so that it’s down wind of the mooring
and approachthemooring with the wind coming directly at you.
Remember to have the dinghy on the davits during this manoeuvre. Mono hulls Dinghy
alongside.
Station a crewmember on the bow with the boat hook and when the vessel is in position the
crewmember can pick up the mooring line with the boat hook.
The helmsman should take directions from the crewmember when approaching the mooring.
Feed the mooring line over the spare bowroller, but under the life lines. Attach it to the largest
cleat available.
Or use the dedicated Mooring Strop that attaches cleat to cleat (As per briefing).
WARNING! The Mooring line should never be attached to the Anchor Winch, the Anchor Bridle
or the Anchor Snubber.
When releasing moorings the vessel should be reversed until clear of the mooring buoy and
rope.
ONLY when you can see the buoy and pick up line then should you motor forward to clear
the mooring line in the water. Remember to have the dinghy on the davits during this
manoeuvre. Mono hulls Dinghy alongside.
Public Mooring Cumberland or private Mooring
Cumberland and Other types of Moorings
The procedure for using these moorings is the same as public mooring except that they are
fitted with a smaller pickup buoy, which is attached to the main Mooring Chain.
Pickup the small buoy, haul the chain onboard and attach the Chain over the cleat.

OPERATION MANUAL
Seawind 1160 - Destiny
Page 13 –Refrigeration
Refrigeration
Destiny has two bench freezers, an upright fridge and a deck fridge.
To operate ensure the two circuit breakers on the main switch panel are on. These
switches should be left on at all times.
Deck Fridge
Freezers Fridge

OPERATION MANUAL
Seawind 1160 - Destiny
Page 14 –Stove and BBQ
Stove and BBQ
Destiny has a gas stove with oven and grill supplied from a gas bottle in the forward
locker. The cockpit BBQ is supplied from the same bottle.
IMPORTANT –To Activate Gas Supply
1. Turn on the main valve at the gas bottle.
2. You will then hear a series of beeping sounds while a safety check is carried out on the
entire system.
3. Once completed then press the ON/OFF button on the gas detection instrument
located above the 2 freezers.
4. The red VALVE ON and green power light will show when the system is operative.
BBQ
To light the BBQ turn on the gas bottle and at the yellow valve adjacent to the BBQ. Then
press the control knob in and turn anti-clockwise. At the same time press the manual
igniter button. The valve opens fully as soon as it starts to turn. Turn it fully anti-clockwise
for low heat.
To Light Stove Burners
1. Press the burner control knob in. Turn anti-clockwise.
2. Press the igniter and hold down until lit.
3. Once lit, hold the knob in for 20 seconds to warm the fail-safe unit.
If the burner goes out - repeat the procedure.
To Light Oven and Grill
1. Open the oven door.
2. Push knob in and turn to the left for the oven and right for the grill.
3. The igniter is built in and will only operate with the door open.
4. Once lit - hold in for 20 seconds to warm the fail-safe unit.
5. Leave the oven door open when grilling.

OPERATION MANUAL
Seawind 1160 - Destiny
Page 15 –Fresh Water, Showers and Hot Water.
Fresh Water
Destiny has one freshwater tank located under the settee seat in the saloon. The tank
gauge is located adjacent to the electrical panel and the switch for the pump is located on
the panel.
Make sure the pump turns off when taps are off.
Deck filler caps for the tank is located in front of the mast.
Showers
Destiny has three showers, one in each bathroom and a deck shower on the port transom.
To operate ensure one FRESH WATER PUMP switch is on at the switchboard.
When finished - turn everything off again.
All grey water including showers and sinks is held in tanks under each hull floor. These
must be emptied each day by turning on the grey water pump switches for five minutes.
Hot Water Service
Destiny is equipped with a 40 litre hot water system. Running the engines will heat the
water through the heat exchanger. Run your engines prior to or while showering for ample
hot water.

OPERATION MANUAL
Seawind 1160 - Destiny
Page 16 –Toilets and Holding Tanks
Toilets and Holding Tanks
Destiny has two electric MACERATING toilets, each permanently connected to its own
holding tank. Toilet waste is treated by maceration when you flush it. It is then
discharged into the sea via the holding tanks.
IMPORTANT!
When you are visiting a MARINE PARK “B” zone (Green Zone) or a Marina you must
not discharge even treated waste from the toilets. To comply with government regulations
- turn the large valve located on the tank to the OFF position to prevent waste from
discharging. When you depart the GREEN ZONE or marina swing the valve to the OPEN
position and flush each toilet. The holding tanks have a limited capacity and are only
designed to hold waste generated over a 24 hour period. They therefore need to be
emptied regularly.
Port Tank Valve in CLOSED Position Starboard Tank Valve in OPEN Position
Only human waste and toilet paper can be put in the toilet.
Sanitary pads, tampons or panty liners etc.
Baby Wipes.
Washing cloths.
ALL of these waste items must be disposed of in the rubbish as they will block and
damage the system.
Ensure all crew-members know how to use the toilet properly because a blocked toilet can
spoil your holiday!
Operation
Before using the toilet.
1. Press button to introduce water to wet bowl.
After using the toilet
1. Press FINISH button and hold for at least 20 seconds.
If the toilet is blocked - call Cumberland Charter Yachts.
If the toilet is blocked during charter as a result of misuse, there will be a charge to get the
blockage cleaned out.

OPERATION MANUAL
Seawind 1160 - Destiny
Page 17 –Bilge Pumps
Bilge Pumps
Electric System
Destiny has an easy to use system of automatic 12 volt bilge pumps.
There are automatic float switches to operate the electric bilge pumps in each bilge.
There are also high level bilge water alarms in each bilge.
Access to the bilges is under the lift out floor panels and in the engine rooms.
Engine Driven System
There is an engine driven bilge pump attached to the starboard engine and operates
through a switch on the switchboard.
This pump should only be used in emergencies when instructed by base.
Bilge Manifold
There is a bilge manifold located in the locker in the starboard aft cabin which has valves
for various compartments and to change between manual and engine driven pumps.
Manual Bilge Pump
There is a manual bilge pump in the cockpit.

OPERATION MANUAL
Seawind 1160 - Destiny
Page 18 –Manoeuvring and Steering
Manoeuvring and Steering
When moving in a marina or a confined anchorage at slow speed you will have to use your
engines to steer.
Destiny will turn on its own length with one engine in forward and one in reverse.
When engaging reverse PAUSE before using revs so reverse lock engages properly.
Be careful you don't overload the steering when trying to turn in a small area.
Use the engines instead.
Always ensure the tender is on the davits or alongside and secured fore and aft when
manoeuvring. Or if moving astern trail it from the bow.
The best place to learn how your vessel manoeuvres is when you have plenty of space at
an anchorage. Familiarise yourself there before entering a marina. Engage reverse and
test the vessel's response when it reaches 2 to 3 knots.
Before you approach a berth have your fenders down, almost touching the water.
In strong winds use extreme care when moving to a marina berth. Don't reverse into a
berth. Approach the dock slowly but ensure you are moving steadily to retain good
steerage. Make sure you know which side of the dock you will be tying up to. Don't be
afraid to ask marina staff for assistance if required.
The tender can be used as propulsion for the vessel if you need to manoeuvre and only
one engine is operational.
Tie the tender securely fore and aft and have a crewmember operate the outboard to the
skipper's instructions.
Make sure the outboard is in the locked down position so you can use it in reverse.
THIS IS FOR EMERGENCIES ONLY AND CAN ONLY BE DONE IF INSTRUCTED BY
CCY BASE.

OPERATION MANUAL
Seawind 1160 - Destiny
Page 19 –Sails
Sails
Destiny has a roller furling self tacking headsail and a slab reef mainsail.
Always head into the wind when raising or lowering the mainsail.
Headsail
When unfurling the headsail head off the wind to stop the sail from flogging on the rigging.
1. Release furling line at cockpit.
2. Pull sheet rope to unfurl sail.
3. Lock off furling rope if you want to reduce sail.
4. To furl sail away - release tension on sheet rope and pull the smaller furling rope. Lock
off cleat when sail is fully rolled in.
Never use a winch on furling lines as damage to the forestay may result.
Never release tension on mast headsail halyard which is secured with plastic ties. This is
only released when removing the sail for maintenance.
Close hatches when sailing to avoid damage if a rope catches on hatch.
Mainsail
Destiny's mainsail should be reduced to the first reef point when winds reach a constant
15 knots on the wind instrument and to the second reef point at 20 knots.
Do not use the mainsail if the winds exceed 30 knots. In heavy weather conditions it is
best to motor or motor/sail with a minimum amount of headsail.
To Raise the Mainsail
1. Unclip the mainsail cover completely.
2. Move vessel slowly straight into the wind by using the motor.
3. Release the mainsail sheet rope in the cockpit.
4. Release the halyard tie back on the boom.
5. Raise the mainsail by pulling the mainsail halyard by hand. If using the winch make
sure the sail does not jam in the track.
To Reef the Mainsail
1. Destiny has two reefs which both operate on a single line reefing system.
2. To operate - Pull the appropriate reefing line until the connection points at the front and
back of the sail are just below the top of the sail cover.
3. Hoist the sail and tension the halyard in the usual way.
To Lower the Mainsail
1. Steer vessel into the wind and release mainsheet. Release the halyard to drop
mainsail. Most of the mainsail should fall into the lazy jacks and the rest can be pushed
in by hand. Using the motor will assist you in steering into the wind.
2. Pull the halyard away from the mast using the tie back.
3. Clip up the mainsail cover.
Table of contents
Other Cumberland Boat manuals
Popular Boat manuals by other brands

PURSUIT
PURSUIT 255 Express Fisherman owner's manual

Jeanneau
Jeanneau MERRY FISHER 6 MARLIN owner's manual

Chaparral
Chaparral 2012 Signature Owner's/operator's manual

Blue Sky Boatworks
Blue Sky Boatworks 360 Degrees Escape owner's manual

Walker Bay
Walker Bay RID 275H Assembly instructions

Skeeter
Skeeter ZX250 manual