Curtis DVD1100 User manual

Please read this User Manual carefully to ensure proper use of this
product and keep this manual for future reference.
User Manual
DVD1100
DVD1100

Important Safety Instructions
Caution
Features
Front Panel and Rear Panel Illustration
Remote Control
Introduction
2
3
3
4
5
TV set Connecting
Digital Audio Connecting
Connections
6
7
Advanced Features
Others
Troubleshooting
18
Specifications
19
8
11
Content
Function Operation
SYSTEM setup
1

2
Important Safety Instructions Introduction
1) Read theseinstructions.
2) Keep theseinstructions.
3) Heed allwarnings.
4) Follow allinstructions.
5) Do notuse this apparatusnear water.
6) Clean onlywith dry cloth.
7) Do notblock any ventilationopenings, install inaccordance with the instructions.
8) Do notinstall near anyheat sources suchas radiations, heatregisters, stoves, orother
apparatus (including amplifiers) that produce heat.
9) Do notdefeat the safetypurpose of thepolarized plug. Ifthe provided plugdoes not fit
into your outlet,consult an electricianfor replacement ofthe obsolete outlet.
10) Protected thepower cord frombeing walked onor pinched particularly at plugs,
convenience receptacles, andthe point where they exit fromthe apparatus.
11) Only use attachments/accessoriesspecified by the manufacturer.
12) Unplug thisapparatus during lighting storms or when unused for long periods of time.
13) Refer allservicing to qualifiedservice personnel. Servicing is required when the
apparatus has beendamaged in anyway, such as power-supply cord or plug is damaged,
liquid has beenspilled or objectshave fallen intothe apparatus, the apparatus has been
exposed to rainor moisture, doesnot operate normally, or hasbeen dropped.
14) Mains plugis used asthe disconnect device,the disconnect deviceshall remain
readily operable.
15) The ventilation should notbe impeded by covering the ventilation openings with items,
such as newspapers,table-cloth, curtains, etc.
16) No nakedflame sources, suchas lighted candles,should be placed on the apparatus.
17) Attentionshould be drawnto the environmentalaspects of batterydisposal.
18) The use of apparatusin moderate climate.
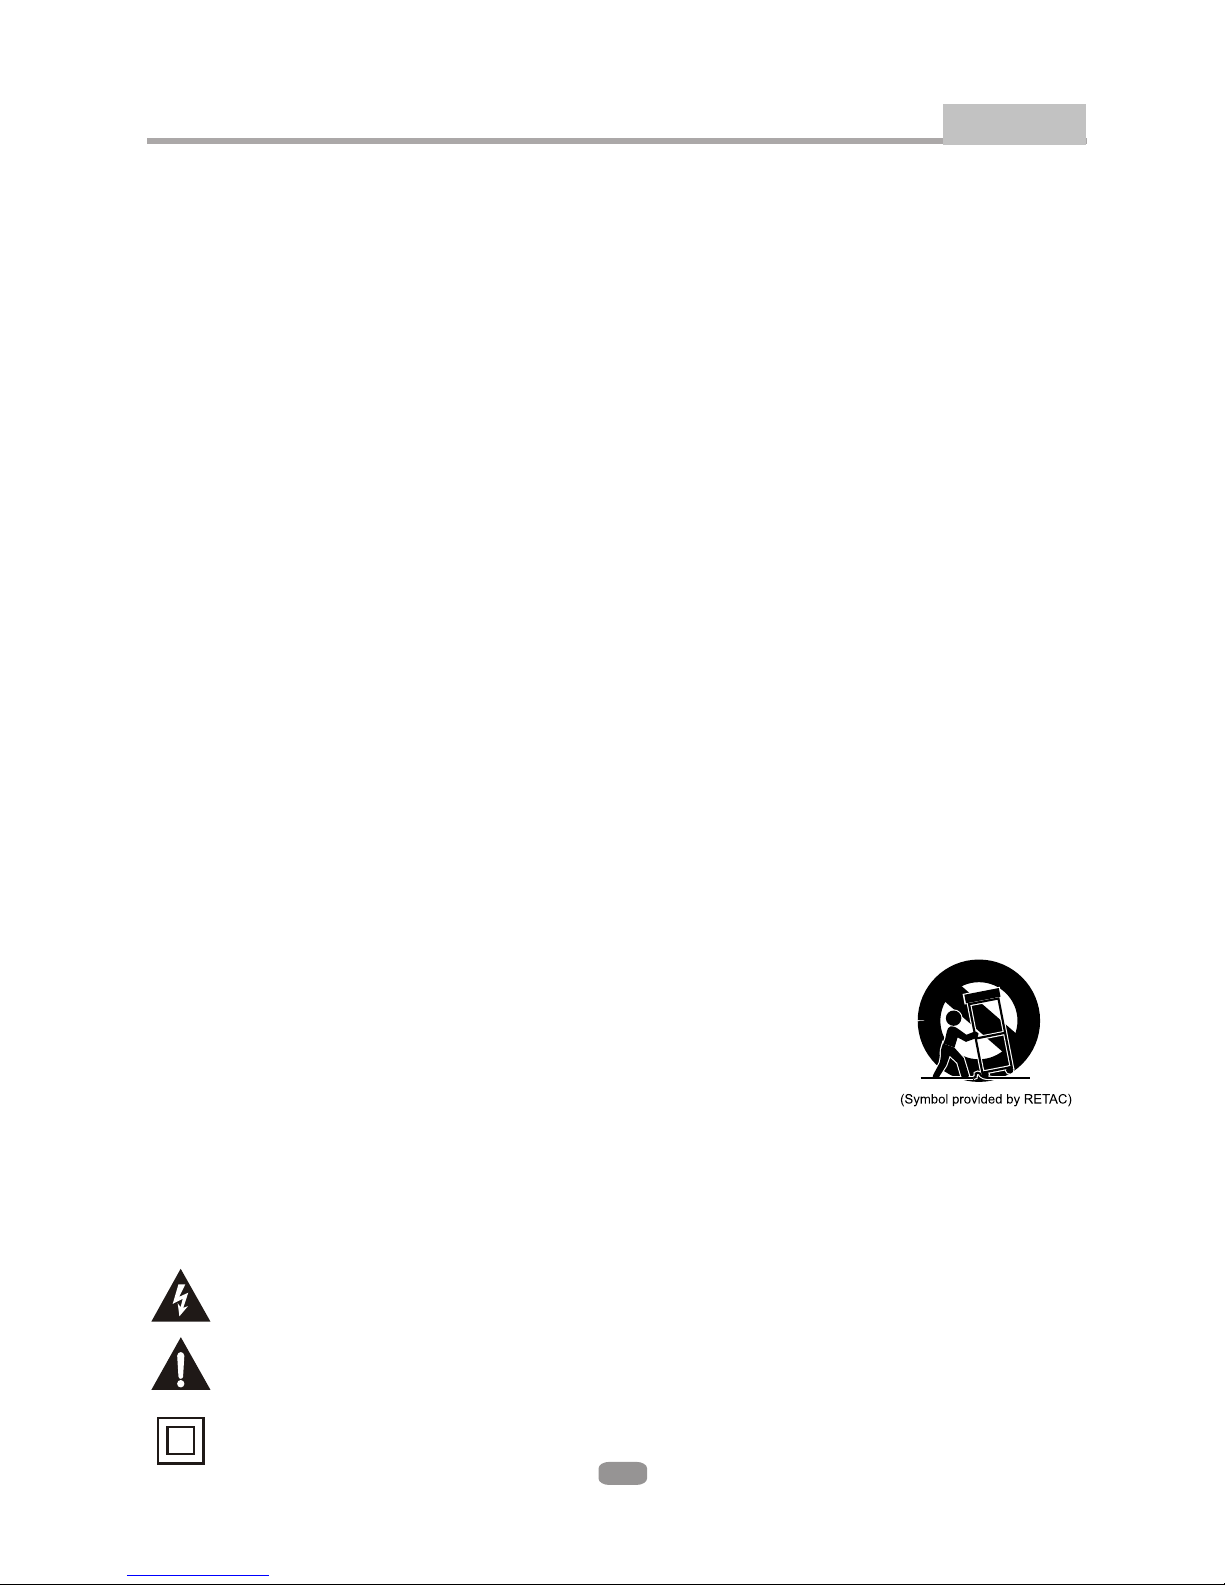
19)Portable Cart Warning
A productand cart combinationshould be movedwith care. Quickstop,
excessive force, anduneven surface maycause the productand cart
combination to overturn.
WARNING: To reduce therisk of fireor electric shock,do not exposethis apparatus torain
or moisture.
WARNING: Thebatteries shall notbe exposed toexcessive heat suchas sunshine, fireor
the like.
The symbol indicatesthat dangerous voltagesconstituting a risk of electric shock
are present withinthis unit.
The symbol indicatesthat there areimportant operating andmaintenance
instructions in theliterature accompanying this unit.
This symbol indicatesthat this productincorporates double insulation between
hazardous main voltageand user accessible parts. When servicing use only
identical replacement parts.

5
3
Please use theoriginal box andpacking materials forsafe transportation ofthis
product.
It is normalfor the coverand rear panelto become warmafter the playerhas been
operation for anextended period oftime.
Do not movethis product duringplayback. Doing somay cause damageto the
pickup and thedisc.
Press OPEN/CLOSE onthe front panelor remote toopen or closethe disc tray.
Do not pushor touch thetray while itis opening orclosing.
Features
Introduction
Disc formats supported by this player:
BD-ROM
Dolby Digital
DVD video DTS-HD
9
Multi-angle
R
RESTRICTED
Parental Lock
32
Subtitle choices
8
Audio choices
This product incorporates copyright protection technology that is protected by U.S. patents and
other intellectual property rights. Use of this copyright protection technology must be authorized
by Macrovision, and is intended for home and other limited viewing uses only unless otherwise by
Macrovision. Reverse engineering or disassembly is prohibited.
This device complies with Part 15 of the FCC Rules. Operation is subject to the following two conditions:(1)
this device may not cause harmful interference, and(2) this device must accept any interference received,
including interference that may cause undesired operation.
c
Manufactured under licenseunder U.S. Patent# s: 5,451,942; 5,956,674;5,974,380; 5,978,762;
6,487,535 & otherU.S. and worldwide patents issued &pending. DTS is a registered trademark
and the DTSlogos, Symbol, DTS-HD and DTS-HDAdvanced Digital Out are trademarks ofDTS,
Inc. 1996-2008 DTS,Inc. All Rights Reserved.
Manufactured under licensefrom Dolby Laboratories. Dolby and thedouble-D symbol are trade
marks of DolbyLaboratories.

4
12
34
5
2 CHAudio output(L,R) COMPOSITE VIDEO output
Component Video output(Y,Pb, Pr) Digital AudioCOAXIAL output
Digital AudioOPTICAL output 6HDMI output
7SERVICE(upgrade only)
1245673
Rear panel(2CH Audio output)
Front panel
1
2
3
POWER
4VFD SCREEN
CABIN DOOR
7PLAY/PAUSE BUTTON
12345678910
9
10
8STOP BUTTON
5
6
SENSOR PREV BUTTON
NEXT BUTTONOPEN/CLOSE BUTTON
BD LIGHT

STANDBY
ANGLE
POP MENU/TITLE
SUBTITLE
MENU
SECONDARY
AUDIO
BONUS
VIEW SECONDARY
SUBTITLE
AUDIO
RANDOM
DISPLAY
REPEAT
A-B
GOTO
OPEN/CLOSE
+
1
4
7
2
5
8
0
3
6
9
RESOLUTION
REV
FWD
NEXT
PREV
MUTE
STOP
VOL
RETURN
SLOW
SETUP
STEP
ENTER
Introduction
Remote Control
Remote Control
5
120
21
22
23
24
25
27
29
30
31
32
33
34
26
28
2
3
4
7
9
10
11
12
14
15
17
19
16
18
13
5
8
6
OPEN/CLOSE
RANDOM
AUDIO
SUBTITLE
MENU
BONUS VIEW
SECONDARY SUBTITLE
COLOUR (RED,
GREEN, YELLOW,BLUE)
SLOW
GOTO
ENTER
DISPLAY
PLAY
MUTE
PAUSE
RESOLUTION
STANDBY
ANGLE
SECONDARY AUDIO
POP MENU/TITLE
SETUP
NEXT
PREV
STOP
STEP
REV
VOL+
VOL-
FWD
MOVE( )
0-9 NUMBER KEY
REPEAT
A-B
RETURN
32
33
34
Battery installation
1.Open the cover
OPEN
2.Install batteries
OPEN
3.Close the cover
Using the remote
Point the remote control at the remote sensor.
(The pictures below are for reference only.)
STANDBY
ANGLE
POPMENU/TITLE
SUBTITLE
MENU
SECONDARY
AUDIO
BONUS
VIEW SECONDARY
SUBTITLE
AUDIO
RANDOM
DISPLAY
REPEAT A-B
GOTO
OPEN/CLOSE
+
1
4
7
2
5
8
0
3
6
9
RESOLUTION
REV
FWDNEXT
PREV
MUTE
STOP
VOL
RETURN
SLOW
SETUP
STEP
ENTER
Point the remote control directly at the
player's remote sensor.
Do not leave the remote control in an
extremely hot or humid place.
Do not spill water or put anything wet on
the remote control.
Inserting the 2AAA 1.5V batteries making
sure the polarity (+ or -) of the batteries
matches the polarity marks inside the unit.
Notes:

6
Connections
CONNECT BD PLAYER TO TV SET BYAVCABLE
Connect the BDplayer s Land R jack to the audio input jack on the TV.
Connect the BDplayer s video out jack to the video input jack of TV.
CONNECT THE BDPLAYER TO TV SET USING THEY/Pb/Pr JACKS
Use the COMPONENTCable(not supplied) to connect BD playerto your TV.
Set the [Primaryoutput] to [Component].
Connect the BDplayer s Land R jack to the audio input jack on the TV.
Notes: The BD player component output supports 1080i, 720P, 576P and 576i.
You can press RESOLUTION key on theremote controller toset the BD player
component output. Ifyour TV does not accept your resolution setting, an
abnormal picture appearson the screen. Please read TV s owners manual then
set the resolutionthat your TV can accept.
Y
U
V
VIDEO
HDMI
R
L
AUDIO IN
HDMI IN
VIDEO IN
YPbPr IN
CONNECT THE BDPLAYER TO TV SET USING THEHDMI OUTPUT
Use the HDMIcable (not supplied)to connect BDplayer to yourTV.
Notes: The player supports video resolutionup to 1080p60Hz on HDMIoutput. If
the player isset to aresolution the TV cannot support,picture will becomeabnormal.
Press the RESOLUTION button in STOP status to change theoutput resolution.
The player canalso perform autodetection of supportedTV resolution via EDID in
order to avoidthe setting ofunsupported resolution.

7
Connections
Connecting to an AV Amplifier with Digital Audio Input
Coaxial Optical
Coaxial cable
Optical cable
or
Notes:
1. Select the Coaxial or Optical digital audio output.
2. Set the digital Amplifier to the AV input connected to the BD player.
Digital Amplifier

Function Buttons
OPEN/CLOSE
To open the disc tray, press OPEN/CLOSE; To close the disc tray, press OPEN/CLOSE
again.
AUDIO
During BD, DVD playback, press AUDIO can select different audio language.
During VCD playback, press AUDIO button to switch between LEFT/RIGHT/STEREO
channels.
SUBTITLE
Press the button to choose different captions(Requires support from disc).
RANDOM
During CD playback, press RANDOM button for random sequence playing.
MENU
During BD, DVD playback, press MENU to display the disc menu of the current title.
Note: This function is subject to the disc.
During VCD playback, press MENU to control PBC ON/OFF.
COLOUR( RED/GREEN/YELLOW/BLUE)
Use the buttons as indicated by the video display during BD-ROM disc playback.
(Requires disc support)
DISPLAY
Press the button to show the information of the current playing disc.
A-B
During playback, press A-B to select point A, press it again to select point B. The player will
repeat the section from A to B automatically. Press A-B a third time to cancel A-B repeat and
clear points A and B.(Requires disc support)
Note: During CD/VCD playback, points A and B must be within the same track. During BD,
DVD playback, points A and B can be selected from different chapters.
ENTER
Press the button to confirm your choice on screen.
RETURN
When VCD disk playing, press RETURN button to return to Main menu (PBC ON only).
During BD/DVD playback, it acts like RESUME
SLOW
During BD, DVD, VCD or SVCD playback, press SLOW for slow motion playback. Once you
press SLOW, the disc will play at different speed. Press PLAY to resume normal playback.
FUNCTION OPERATION
,
8

NEXT
During BD, DVD,CD or VCD playback, press NEXT toplay the next chapter, title or track.
PREV
During BD, DVD, CD or VCD playback, press PREV to play the previous chapter, title or
track.
Play
In pause state or stop state, press the button, the player will be in playing state.
MUTE
Press MUTE to turn off the audio, press MUTE again to resume normal sound.
Pause
In play state, press the button for the first time and the player will be in pause state.
STOP
Press the button once and the player will be in memory stop state. Continuously press
this button twice and the player will be in complete stop state.
RESOLUTION
In the STOP/OPEN TRAY/NO DISC state, Press RESOLUTION key, you can select
different output resolution for HDMI and component.
GOTO
During BD/DVD playback, press GOTO button to choose the desired title or chapter, and
search the desired title time or chapter time.
During VCD playback, press GOTO button to search the desired disk time or track time,
and choose the desired track.(only valid on PBC off)
During CD playback, press GOTO button to search desired track
STANDBY
Press the button to switch the power between normal work mode and standby mode.
ANGLE
Press ANGLE button to view the scene from different angles, this function is disc
dependent.
Bonus View
Press Bonus View button to play the secondary video.
(Picture in picture mode, this function is disc dependent).
Secondary Subtitle
Press Secondary Subtitle button to choose subtitle language of the secondary video (this
function is disc dependent).
Secondary Audio
Press Secondary Audio button to choose audio language for the secondary audio (this
function is disc dependent).
FUNCTION OPERATION
9

POP MENU/TITLE
Press the button to enter the appointed title.(Requires disc support)
During BD playback, press the button to display the disc s popup menu.
REPEAT
Each press of the REPEAT button will change the repeat mode.
During VCD, CD playback, there are three modes: repeat Single, repeat ALL and Off.
During BD, DVD playback, there are three modes: Repeat Chapter, Repeat Title and OFF.
Note: During VCD playback, the PBC mode must be set to Off.
Direction key(UP/DOWN/RIGHT/LEFT)
Press the keys to move the highlighted bar or cursor on any menu to your selection.
SETUP
Press the button to enter the system setting menu. Press the button again to exit the menu.
STEP
Press STEP to step a single frame/ picture forward during playback. Press STEP several
times to step several frames/ pictures forward. Press play to resume playback.
REV:
During BD, DVD, CD or VCD playback, press REV to scan in reverse. The player will review
the disc at different times speed. Press PLAY/PAUSE to resume normal playback.
During BD, DVD, CD, or VCD playback, press to scan forward. The player will cue the
disc at different speed. Press PLAY/PAUSE to resume normal playback.
VOLUME+/-
Press VOL+ to increase volume and press VOL- to decrease volume.
0-9 keys
These keys are used to input the time, as well as title, chapter and track numbers. When a
numeric item is displayed on the screen, press the 0-9 keys to select the desired entry, and
press ENTER to confirm. When a VCD is playing(with PBC off), press the 0-9 keys to select
a track directly.
FUNCTION OPERATION
10
DFW
DFW

SYSTEM SETUP
11
BD Player Setup Menu
Press SETUP button on remote controller under STOP or TRAY OPEN status to enter Main
menu. In Main menu, press UP/DOWN button to select desired sub-menus and press
ENTER button to switch to other sub-menus. In sub-menus, LEFT/RIGHT button are used
to change options for desired item which was be highlighted.
1.1 Audio Language : Select default audiolanguage for BD/DVD
1.2 Subtitle Language:Select default subtitle for BD/DVD.
ENTER: switch menuitem : make choice
Language Menu
Display Menu
Audio Menu
Parental Password Menu
Diagnostic Menu
EXIT
ENTER: switch menuitem : make choice
Language Menu
Audio Language English
Subtitle Language None
Menu Language English
OSD Language English
BACK To Index Menu
1. LANGUAGE SETUP
Select Language in the setup menu, and display the Language submenu:
1.3 Menu Language:Select default menulanguage for BD/DVD.
1.4 OSD Language:Select your languagefor player OSD.
1.5 BACK: Return to mainsetup menu.

SYSTEM SETUP
12
2. DISPLAY SETUP
Select Video in the setupmenu, and displaythe Video submenu:
ENTER: switch menuitem : make choice
2.1 TV Type: Select TV type.
2.2 TV Aspect:: Select display configuration for disc.
16:9: Content presented in 16:9 geometry for widescreen TVs.
16:9PB: Content presented in 4:3 geometry or cropped content for widescreen TVs.
4:3: Content presented in 4:3 geometry with horizontal black bars on top and bottom for
conventional TVs.
4:3 Pan and Scan: Content cropped to fit within 4:3 geometry for conventional Tvs.
Note: Under HD(720P / 1080i / 1080P) mode, only 16:9 and 16:9PB are available.
2.3 Resolution: Select desired resolution.
2.4 Color Space
User can select the best color space the TV supported for best color effect
xvYCC: player implements a fallback algorithm in which the flow is xvYCC->YCC->RGB
base on EDID information via HDMI
Display Menu
TV Type NTSC
TV Aspect 16:9
Resolution 1080P
Color Space xvYCC
Film Mode off
BACK To Index Menu
YCC: player implements a fallback algorithm in which the flow is YCC->RGB base on EDID
information via HDMI
RGB: player will output video using RGB color space
Note: Color space setting only affects HDMI video output. Choose correct option here if you
know the color space feature of TV, choose xvYCC option to let player decide for you. For
some special case, e.g. the TV has wrong EDID information, please change color space to
RGB.
2.5 Film Mode
On: player will output disk content recorded at 24 frames per second directly
Off: player will convert 24frams/sec content to 1080p 60Hz output
Note: This item is only affect HDMI output, if no HDMI connect to player or TV do not support
1080p24Hz, it will be locked to “Off” option.
2.6 BACK: Return to main setup menu.

SYSTEM SETUP
13
3. Audio setup menu
3.1Digital Output
Choose preferred option for digital output base on receiver connected to player
PCM: Output PCM audio data for receiver not support Dolby and DTS decoding (mixed
primary audio, secondary audio and effect audio if available in disk)
Bitstream: Output raw data for receiver support Dolby and DTS decoding (primary audio
only).
Re-encoded DTS: Output DTS data format for receiver if it support DTS decoding (mixed p
rimary audio, secondary audio and effect audio if available in disk)
Note: Not setting this item properly may result in noise.
Dolby Digital
DTS and DTS HD
ENTER: switch menuitem : make choice
Audio Menu
Digital Output PCM
PCM Downsampling Off
Dynamic Range Control Off
BACK To Index Menu
3.2 PCM Downsampling: Sets maximum sampling rate for the SPDIF digital audio output (as
some SPDIF receivers do not support 192 kHz or even 96 kHz).
48 kHz: Downsample audio with sample rates over 48 kHz.
96 kHz: Downsample audio with sample rates over 96 kHz.
Off : No downsampling on SPDIF output.
3.3 Dynamic Range Control: Reduces loudness difference between soft and loud parts of
the audio track.
On: Enables dynamic range control for all codecs.
Follow: Enables dynamic range control for all codecs. MLP streams use the
DRC level embedded in the audio stream itself.
Off: Turns off dynamic range control.
3.4 BACK: Return to main setup menu.

4. Parental control menu:
SYSTEM SETUP
14
Parental Menu
USAParental Country
Parental Control On
Parental Level 8.Adult
Parental Password Default
BACK To Index Menu
ENTER: switch menu item : make choice
Please Input 4-Digit parental password
ENTER: switch menu item : make choice
Note: Factory default password is 6666.
Enter right password to enter parental control menu.
4.1 Parental Country: Select the movie intended for your residential area.
USA: Parental country set to USA.
International: Parental country set to others
4.2 Parental Control: Activate parental control.
Off: Turn off parental control.
On: Turn on parental control.
4.3 Parental Level Select parental control level, disc cannot be played if preset level on
disc exceeds the level user set.
1.Kid Safe
2.G
3.PG
4.PG-13
5.PG-R
6.R
7.NC-17
8.Adult

SYSTEM SETUP
4.4 Parental Password: Set parental password.
Default: Reset to default password
User Define: Setup user define password
15
ENTER: switch menuitem : make choice
Please set 4-DigitParental password: ----
User defined password setting for parental control.
4.5 BACK
Select this item, then press ENTER to return to main setup menu.
Reload Default Setting?(Okay/Canel) OKAY
Erase nonvolatile storage OKAY
ENTER: switch menuitem : make choice
5. MenuDiagnostic
Use UP/DOWN to select item, than use LEFT/RIGHT key to change option (OKAY or Cancel).
Reload Default Setting? (Okay/Canel)
Loading factory default setting for all items in setup menu
Erase nonvolatile storage
Erase storage partition function base on BD-J requirement

SYSTEM SETUP
6.File Disk Playback----- WMA/MP3/JPEG(WMJ) filesin disk
After read outthe device withWMJ files, playerwill list alldirectories and filesin
root directory asbelow picture shown.Press TITLE key to bringout help messages,
press MENU keyto bring upa pop upmenu which guideyou for special features,
press LEFT button to exitpop up menu,press NAVIGATION buttons on remote
controller to selectdesired item forplayback or enternext level directory.
16

For single JPEGfile playback, usercan change toslide show modewith different
transition effects, rotate current pictureor choose “Properties”to see detailfile
information.
For JPEG slideshow operation, usercan set timeinterval or transitioneffects for
JPEG slide showand enable backgroundmusic playback whileJPEG slide show.
Start Slide Show
Rotate
Properties
Start Slide Show
Slide Show Duration
Slide Show BGM
Blend
Film
Shutter
Fade
Curtain
None
17
For JPEG files,in pop upmenu, user canchoose to playcurrent JPEG orslide show
JPEG files
Play
Start Slide Show
Properties
SYSTEM SETUP
Play
Add Play List
Set As BGM
Play
Set Play Mode
Set Audio Mode
Play list
For Playlist operation,in pop upmenu, user canset play mode,audio mode, and
remove songs whichhave been addedinto playlist.
For music files,in pop upmenu, user canadd current fileinto playlist asfavorite songs,
and set currentfile as backgroundmusic while JPEGslide show.

18
Ensure you have entered the correct AV input for your TV.

19
Specifications
Power requirements: AC 100-240 Volt, 50/60Hz
Power consumption: 35W
Discs COMPATIBILITY:
BD,DVD,DVD+/-R/RW,VCD,CD-DA,CD-R/RW.
Video out
Video out: 1.0V(p-p)/75 , sync, negative polarity, RCA pin jack x 1
Audio out
2 channel out: RCA pin jackx2
Coaxial out: 0.5V(p-p)75 , RCA pin Jack x l
Frequency response: 20Hz to 20kHz
S/N ratio:>90dB
Total harmonic distortion: <-65dB
[Accessories]
Video/ Audio cable x 1
Remote Control x 1
User s Manual x 1
Battery x 2
Specifications are subject to change without notice.
Weight and dimensions are approximate.
Table of contents
Other Curtis DVD Player manuals

Curtis
Curtis DVD1093 User manual

Curtis
Curtis DVD1096 User manual

Curtis
Curtis DVD1093 User manual

Curtis
Curtis SDVD6655PL User manual

Curtis
Curtis DVD1046 User manual

Curtis
Curtis DVD1053 Simple manual

Curtis
Curtis DVD1096B User manual

Curtis
Curtis DVD 1112 User manual

Curtis
Curtis DVD1093B User manual

Curtis
Curtis DV1096HDUK User manual

Curtis
Curtis DVD1098B Simple manual

Curtis
Curtis DVD6019-B User manual

Curtis
Curtis DVD1100UK User manual

Curtis
Curtis DVD1093B User manual

Curtis
Curtis DVD1174 User manual

Curtis
Curtis DVD1020 User manual

Curtis
Curtis 2053 User manual

Curtis
Curtis DVD 1112 User manual

Curtis
Curtis DVD1043 User manual

Curtis
Curtis DVD1053 User manual