I. Basic Operation
ON/OFF
OPEN
PLAY
PAUSE
STOP
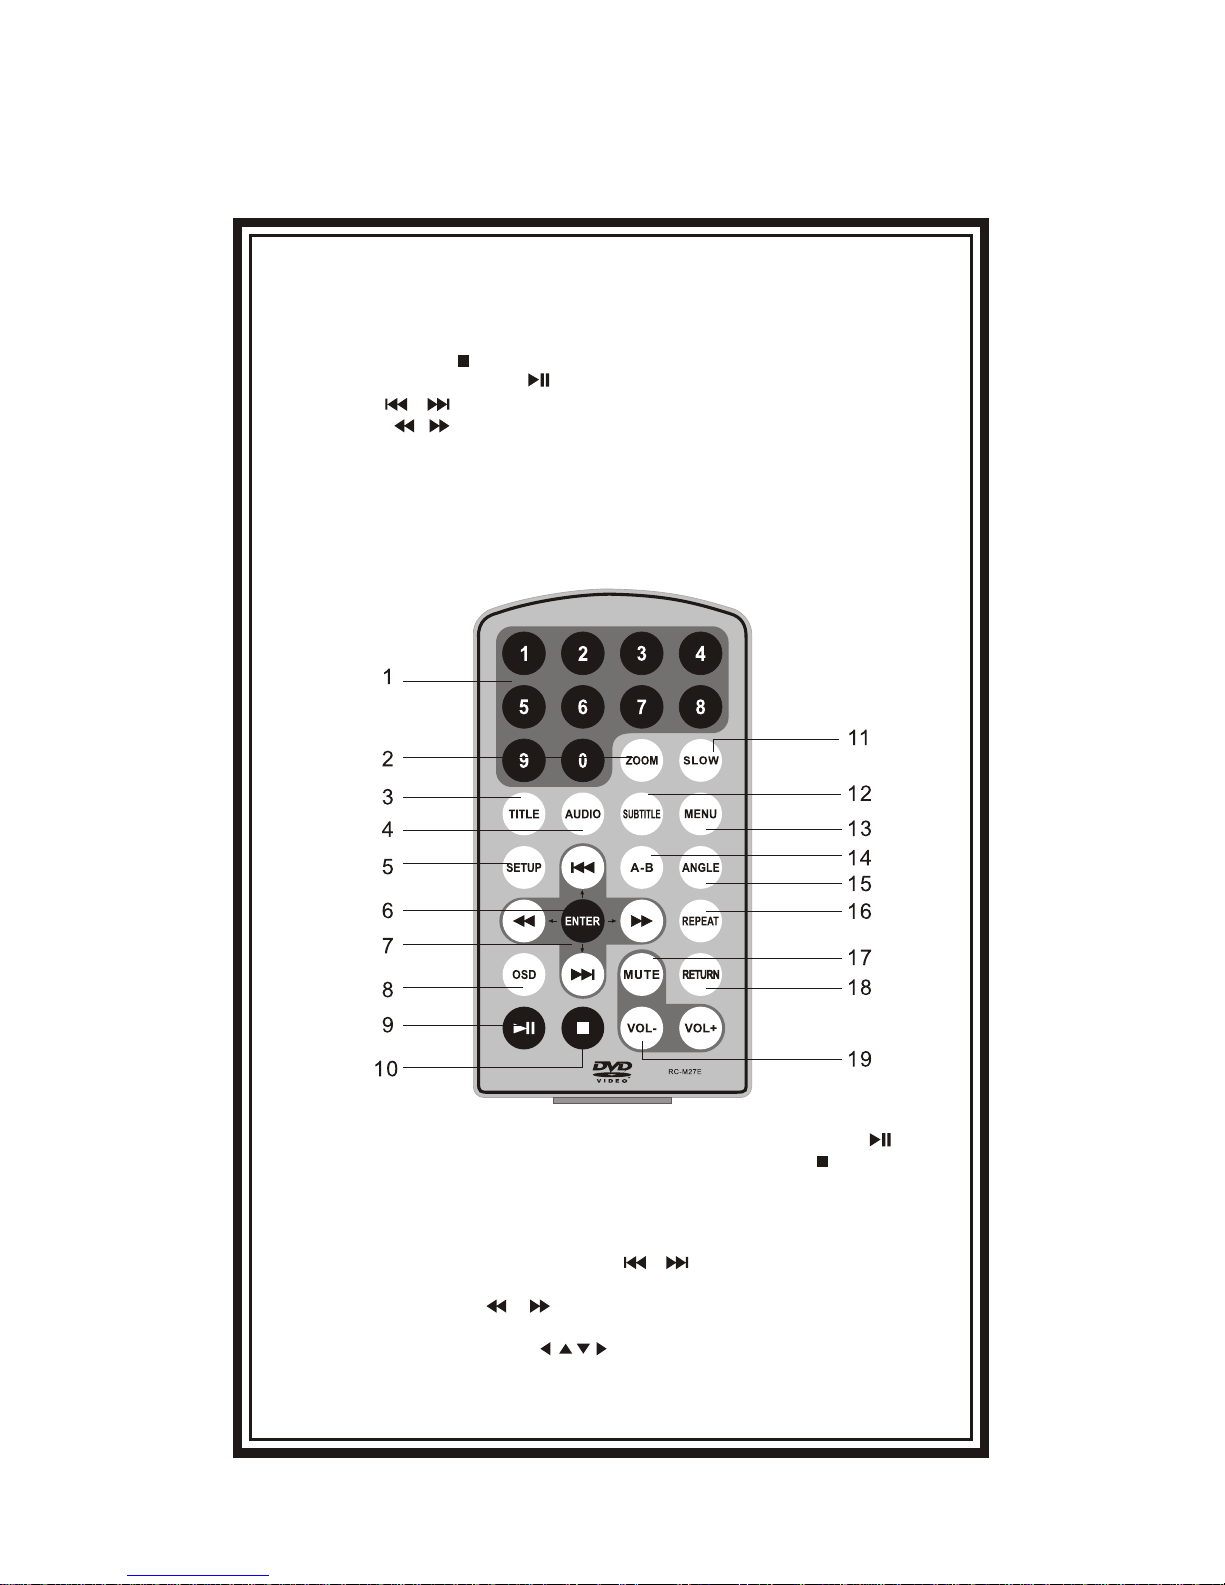
( ON the remote)
( ON the remote)
( ON the remote)
( ON the remote)
OK (ON the remote)
NUMBERS
MENU
REPEAT
A-B
ANGLE
SUBTITLE
AUDIO
ZOOM
SETUP
RETURN
TITLE
SLOW
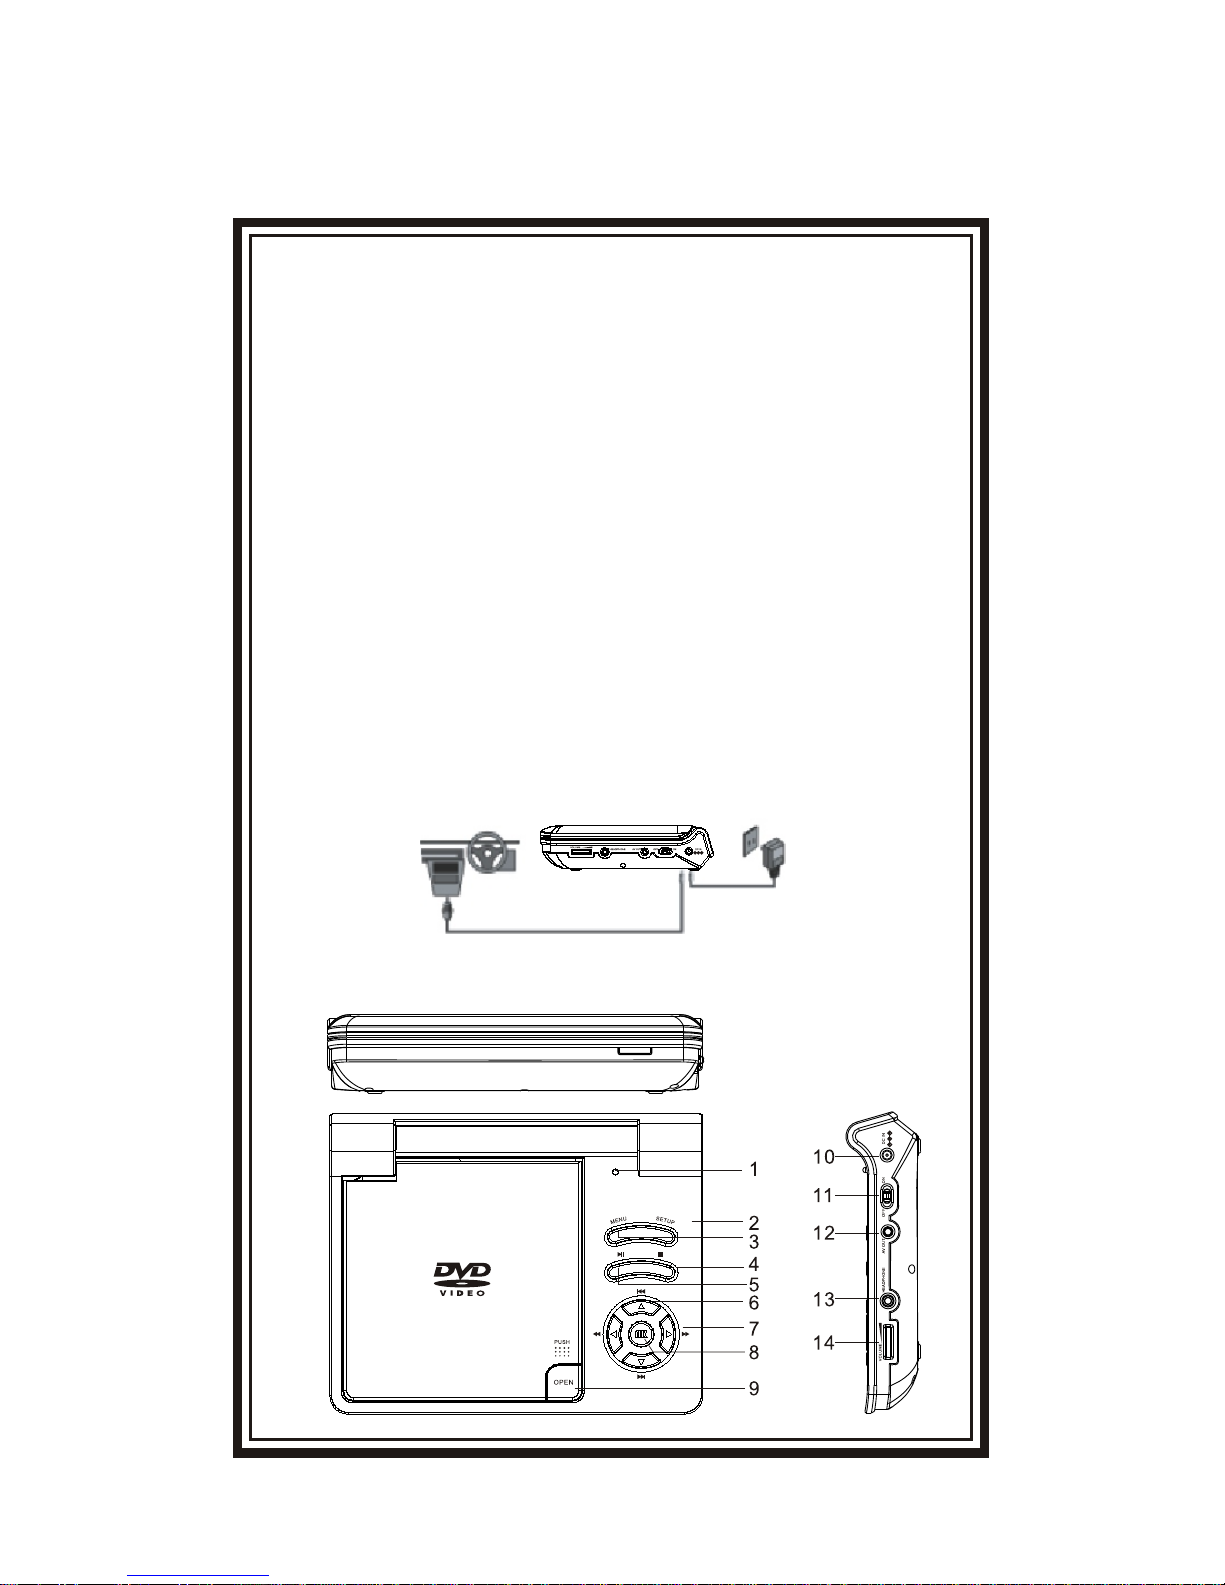
Turn the unit on/off
Remove/load the disc
Start Play/Execute item or setting
Still Picture
(1 time) Stop at the present playing point /
(2 times) Stop playing
Go to the next chapter, track or scene
during play back(also used for Menu
Navigation)
Go back to the previous chapter, track or
scene during playback(also used for Menu
Navigation)
Scan forward at 2, 4, 8,16 or 32 times speed
(also used for Menu Navigation)
Scan backward at 2, 4, 8, 16 or 32 times
speed (also used for Menu Navigation)
Execute item or confirm setting
Select item or setting
Display the main menu of the disc
Repeat playing title, chapter, or track
Repeat a specific portion from point A to
point B of the disc
Change the viewing angles on the scene
Select the subtitle language and turn it
on/off
Select the audio language
Enlarge an image to 2, 3, or 4 times the
original size. Display the setup menu to
select and set items, and exit the setup
menu.
To return to main menu when PBC on for
VCD;To return to root menu during DVD
playing and resume playing when in title
menu or root menu by pressing it again
Root title
Slow
Menu
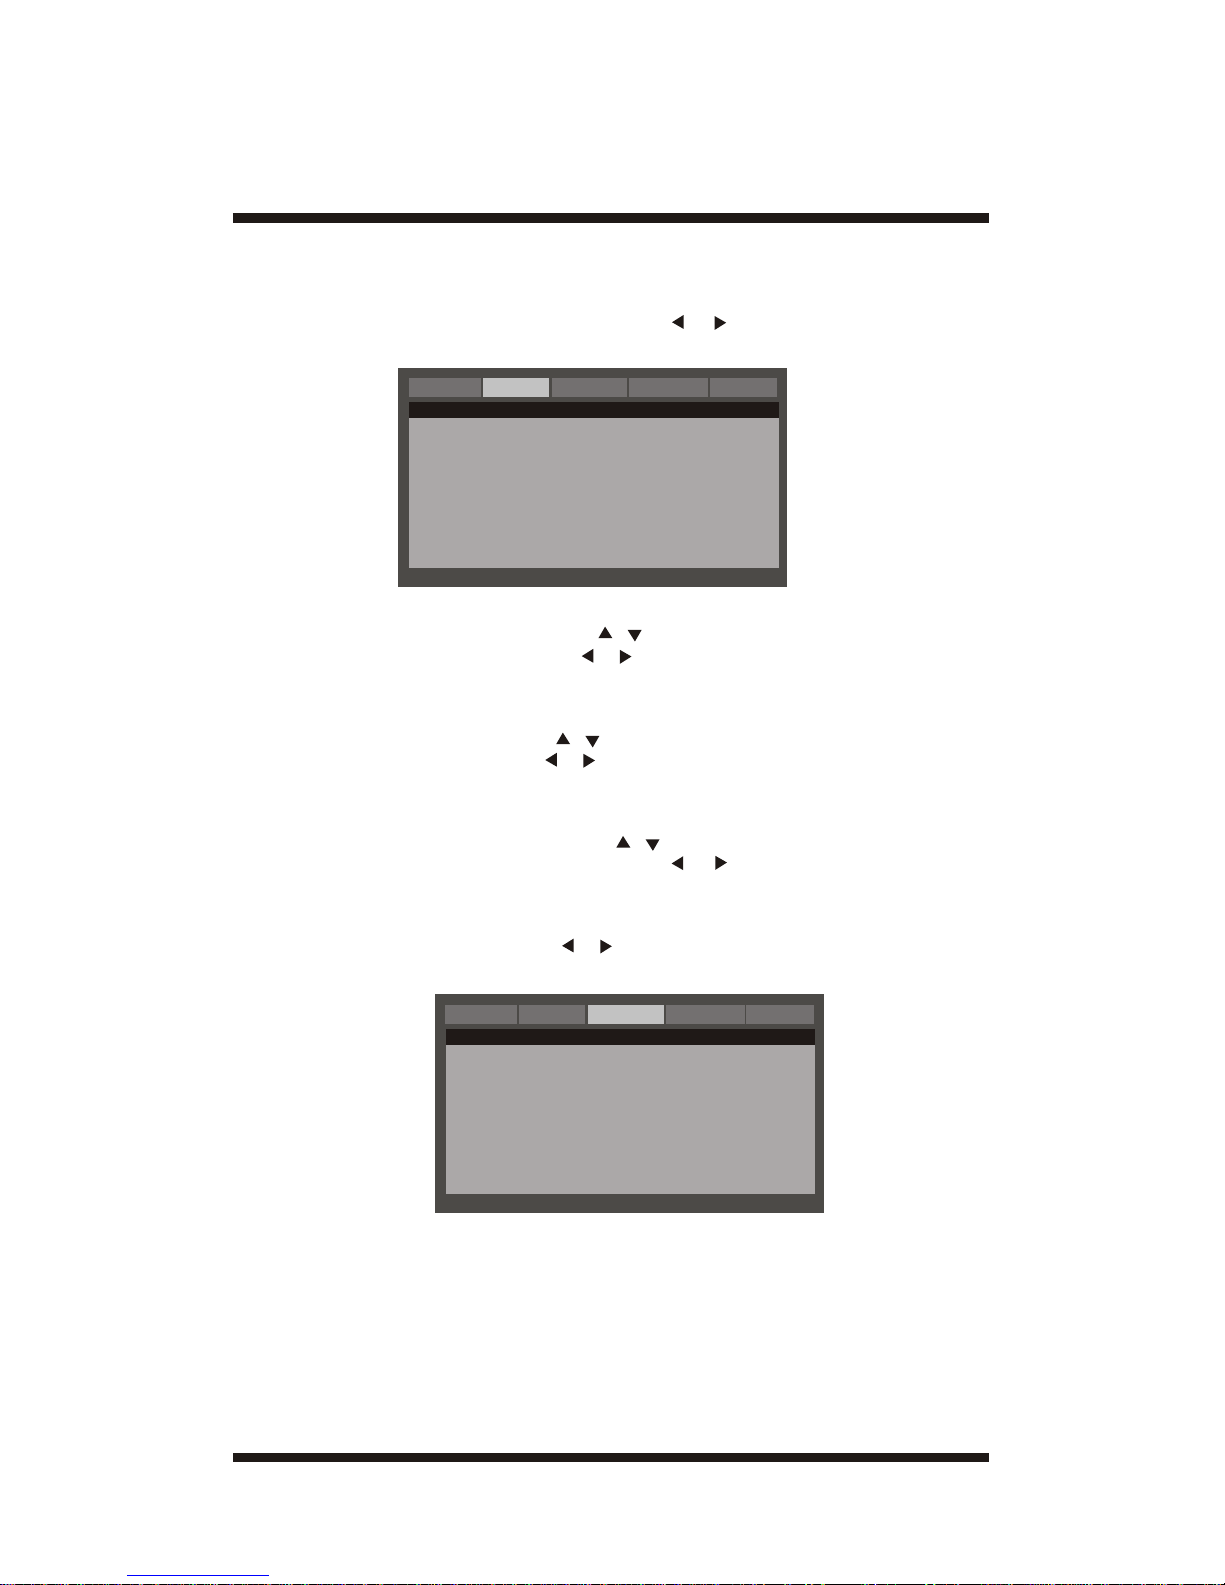
A DVD is divided into two sections called titles and chapters. When you play a
DVD, a root menu of the disc will appear on the screen of your TV or
Monitor. The contents of the menu vary from disc to disc. Press MENU
during playback to display the menu. Some DVDs only allow you to select
disc playback options using the DVD root menu.
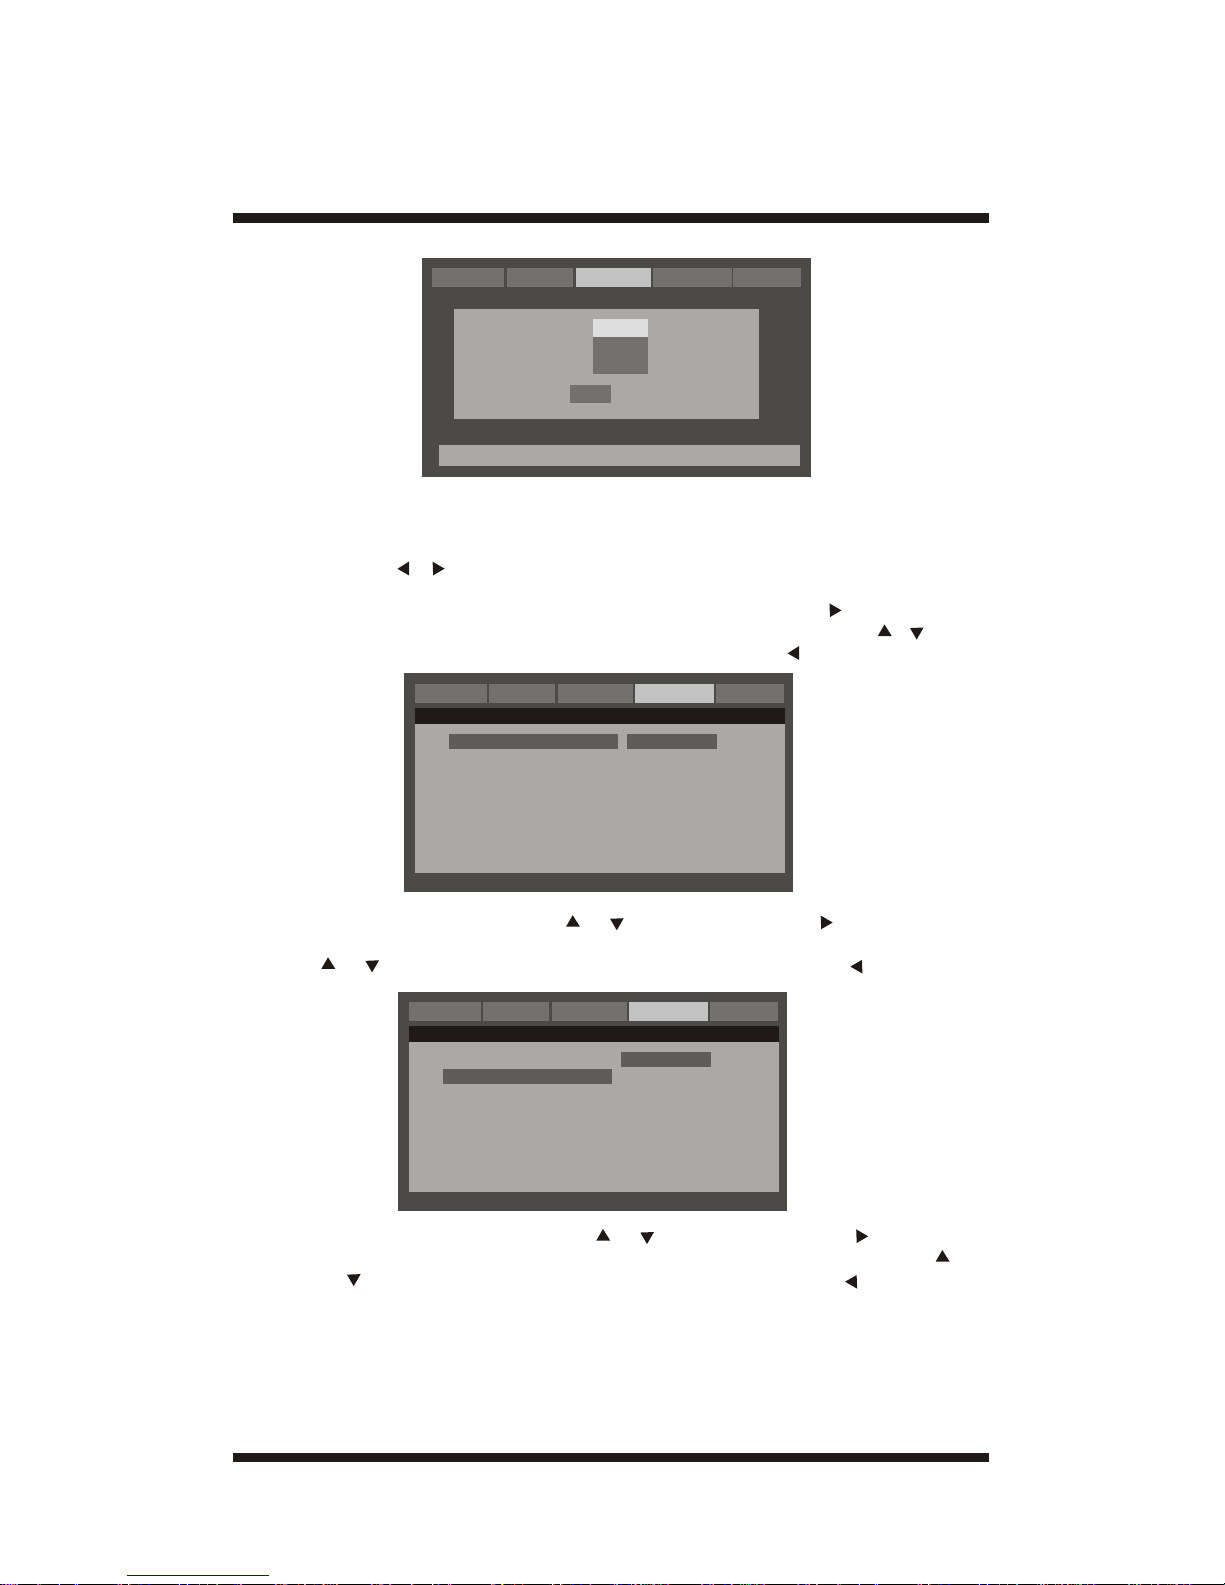
ANGLE
During playback a disc, press 'ANGLE' to display the available angles for
discs containing multi-angles*, with the current angle number (1) and the
total number of angles (2) displaying. Press 'ANGLE' to select another
angle, then press again to exit and return to the normal viewing angle. The
angle display will disappear automatically if the 'ANGLE' button is not
pressed again within 3 seconds.
*NOTE: Not all discs contain this feature.
8