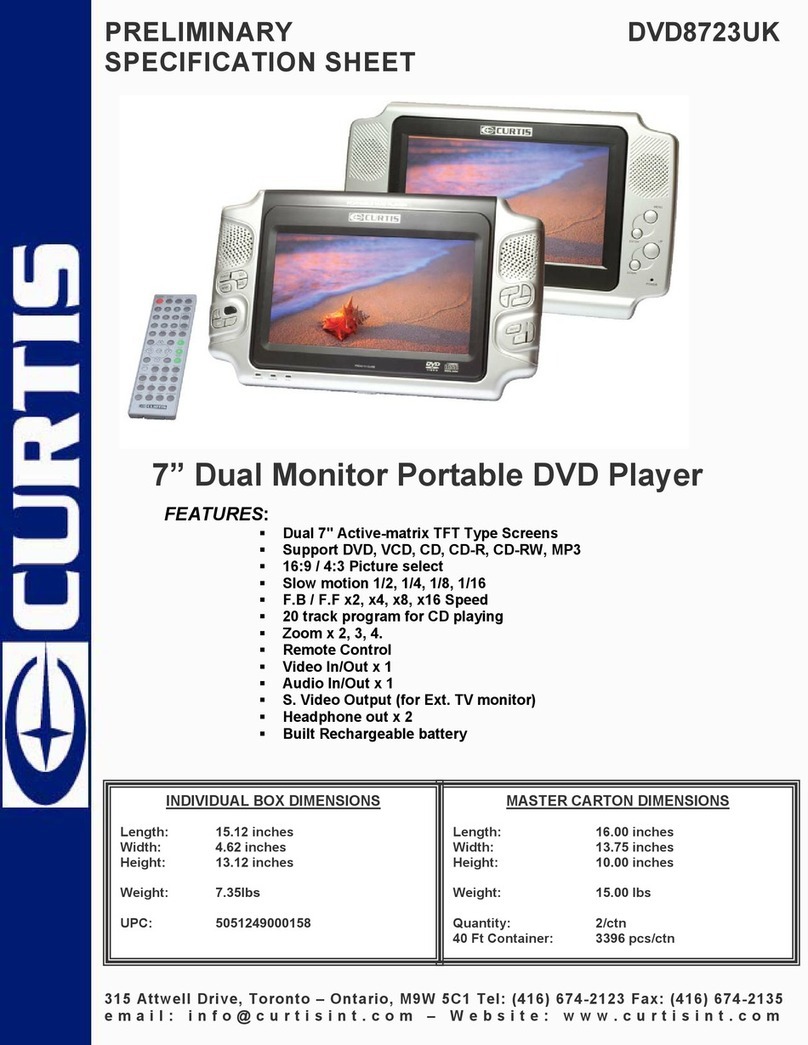
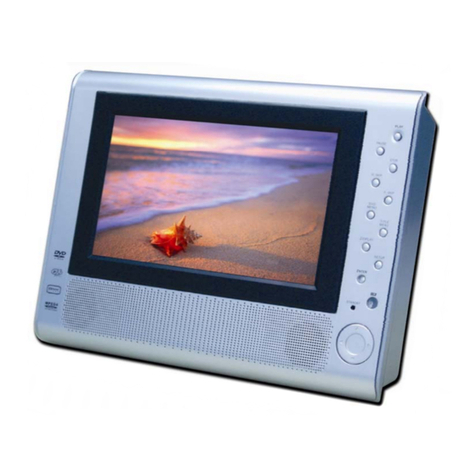
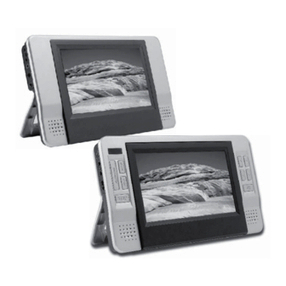
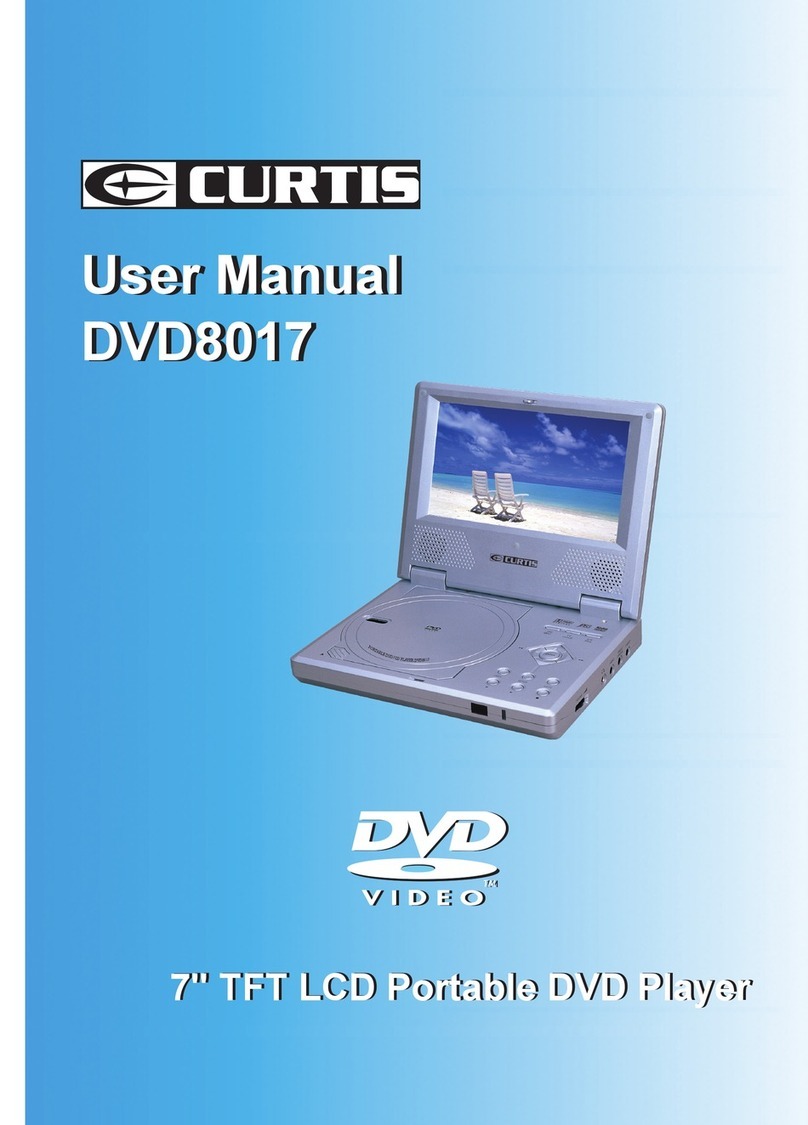
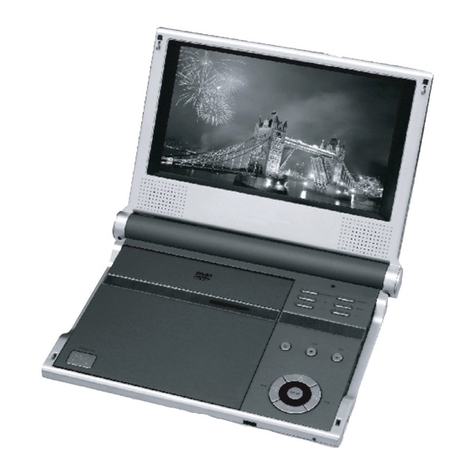
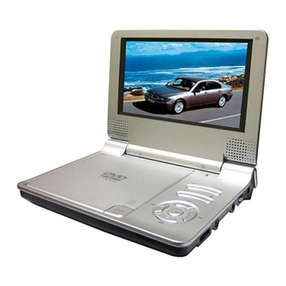
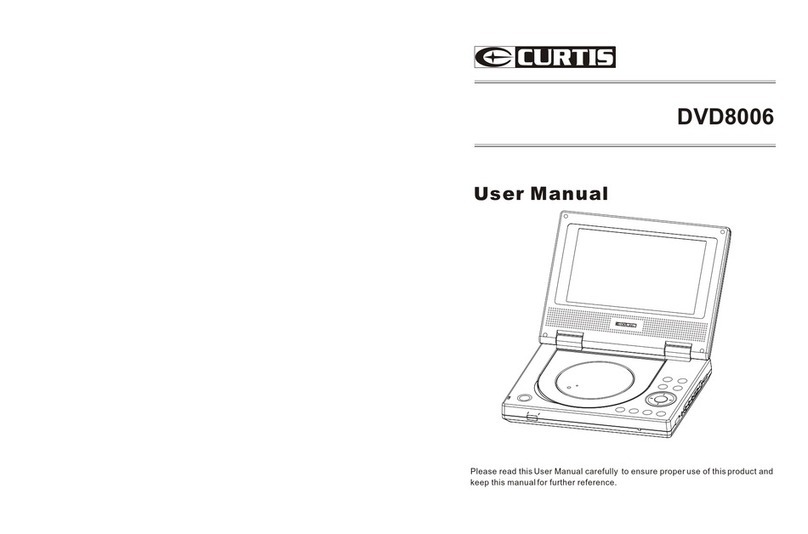
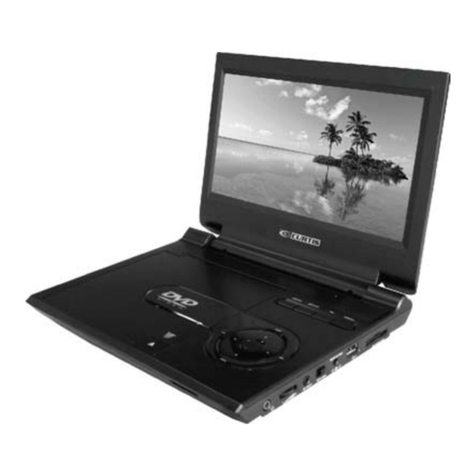
Curtis DVD8039B User manual

LOCATION OF CONTROLS
TOP
1 VIRTUAL REMOTE
2. NAVIGATION (///) BUTTON
3. ENTER BUTTON
4. SETUP BUTTON
5. DVD MENU
6. TITLE MENU
7. DISPLAY BUTTON
8. STOP () , PAUSE (
) ,
SKIP () & SKIP () BUTTON
9. PLAY(X) BUTTON
10. PANEL SCREEN
FRONT PANEL
11. LID OPEN BUTTON
RIGHT PANEL
12. EARPHONES JACKS
13. VOLUME CONTROL KNOB
14. LOW BATTERY INDICATOR
15. CHARGING INDICATOR
16. FULL INDICATOR
17. DC-IN JACK
18. POWER SWITCH KNOB
REAR PANEL
19. STAND LEG.
User’s Guide
Portable DVD Player
MODEL: DVD8039B
WARNING
To prevent fire or shock hazard, do not expose the appliance to rain or
moisture.
To avoid electrical shock, do not open the cabinet.
Refer servicing to qualified service personnel only.
The AC cord must only be changed at qualified service facility.
• This appliance is classified as a CLASS 1 LASER product.
• The CLASS 1 LASER PRODUCT MARKING is located on the rear panel.
• This product contains a low power laser device. To ensure continued safety, do not remove
any cover or attempt to gain access to the inside of the product. Refer all servicing to
qualified personnel only.
MAINTENANCE AND CARE
Caring for the player
• “The apparatus shall not be exposed to dripping or splashing” and that no objects filled
with liquid shall be placed on the unit.
• This kind of electronic products should never be subjected to extreme temperatures or
high humidity.
• If anything falls into the cabinet, unplug the unit and have it checked by qualified personnel
before operating it any further.
• When the lens in the pick-up gets dirty, malfunctions including the impossibility of playback
may occur.
The lens should be cleaned using a commercially available camera lens blower, etc. Do
not touch the lens to prevent damaging the mechanism. Also do not use a lens cleaner or
disc cleaner product.
• Never play a cracked or warped disc.
Cleaning the Unit
• To prevent fire or shock hazard, disconnect your unit from the AC power source when
cleaning.
• The finish on your unit may be cleaned with a dust cloth and cared for as other furniture.
Use caution when cleaning and wiping the plastic parts. Mild soap and a damp cloth may
be used on the panel.
• Do not use volatile solvents such as alcohol, paint thinner, gasoline, or benzine, etc.
Condensation
• If the unit is brought directly from a cold to a warm location, moisture may condense
inside the DVD player and cause damage to the lenses. When you first install the unit, or
when you move it from a cold to a warm location, wait for 30 minutes before operating the
unit.
Disconnect power
• If you are not going to use the player for a long time, be sure to disconnect the power
converter from the wall outlet. To disconnect the AC power cord (main leads), grasp the
plug itself, never pull the cord.
HOW TO MAKE YOUR PLAYER STAND
Follow the illustration below to make your player stand.
Before using the player, please ensure that the local AC voltage is suitable for this unit. Pull out the stand gently, at bottom of the unit. Carefully stand the unit.
IMPORTANT SAFEGUARDS
1. Power sources — Only use the AC/DC power convertor that is packed with the unit.
Using other adapters could seriously damage the unit.
2. Power-cord protection — Power Supply cords should be routed so that they are not likely
to be walked on or pinched by items placed upon or against them. Pay particular attention
to cords at plugs, convenience receptacles, and the point where they exit from the unit.
3. Enclosure removal — Never remove the enclosure.
4. Drop — Do not drop the unit or apply strong shock to it.
5. Ventilation — Avoid hindering the ventilation of the unit.
6. Abnormal smell — If an abnormal smell or smoke is detected, immediately turn the power
OFF and pullout the power cords. Contact your dealer or nearest service center.
7. Heat-Avoid placing the unit under direct sunlight or near a source of heat such as heating
equipment. Particularly, never leave it in an automobile or on the dashboard.
8. Temperature — The unit may not function properly if used at extremely low, or freezing
temperatures. The ideal ambient temperature is above +5°C(41°F).
9. Water and moisture — The unit should not be used near water -for example, near a
bathtub, washbowl, kitchen sink, laundry tub, in a wet basement, or near a swimming
pool, etc.
10. Vibration — Avoid placing the unit on an unstable place such as a shelf or in a place
subject to vibrations.
11. Magnetic fields — keep the unit away from sources of magnetic fields such as TV sets,
speaker systems, radio, motorized toys or magnetized objects.
12. Nonuse periods — The power cord of the unit should be unplugged from the outlet when
left unused for a long period of time.
13. Damage requiring service-The unit should be serviced by qualified service personnel
when:
A. The power-supply cord or the plug has been damaged.
B. Objects have fallen, or liquid has been spilled into the unit.
C. The unit has been exposed to rain.
D. The unit does not appear to operate normally or exhibits a marked change in performance.
E. The unit has been dropped, or the enclosure damaged.
14. Sevicing — The user should not attempt to service the unit beyond that described in the
operating instructions-All other servicing should be referred to qualified service personnel.
15. CAUTION — TO PREVENT ELECTRIC SHOCK DO NOT USE THE AC PLUG WITH
AN EXTENSION CORD, RECEPTACLE OR OTHER OUTLET UNLESS THE BLADES
CAN BE FULLY INSERTED TO PREVENT BLADE EXPOSURE.
GETTING STARTED
Unpacking
Unpack the unit and make sure that all accessories are put aside so they will not be lost. We
recommend that you retain the original carton and packing materials for use should you
transport or ship the unit in the future.
Keep this manual handy for future reference.
• . Portable DVD Player With Battery Pack. .................................................................... x1
• . AC adaptor. ................................................................................................................. x1
• . Earphones. ................................................................................................................. x1
• . User manual. .............................................................................................................. x1
CUSTIS_530_IB_a4sp_size.p65 8/30/2005, 12:09 PM1
Black

BASIC OPERATION
Virtual Remote
Press “Virtual Remote” Button: The diagram appear on screen , there
are 12 functions. press the navigation buttons (///) move high-
light to select your desired function.
Through the Enter button to press the Virtual button on screen, to control
or achieve the function.
3D Sound
• 3D audio post-processing will give a multichannel effect when using
only 2 speakers. This only works with discs encoded with Dolby. Pro Logic, Dolby Digital
and DTS multi-channel audio tracks.
Press the Virtual 3D button repeatedly to achieve the highest quality sound. The following
surround effects will appear on the TV screen when you press the 3D button repeatedly:
SURROUND ROCK SURROUND POP SURROUND LIVE SURROUND DANCE
SURROUND TECHNO SURROUND CLASSIC SURROUND SOFT SURROUND
OFF (return )
SLOW/F, SLOW/R button:
Press this virtual button on screen, to select slow-motion forward or rewind playback at 1/2,1/
4,1/8,1/16 normal speed without sound.
NOTE: This player does not support slow-motion for playback audio CD & MP3-disc, and
slow-motion re-wind (SLOW/R) does not support playback VCD disc and “xxxxx” will
appear on the TV screen if you press SLOW/R button when playing a VCD disc.
ZOOM Function
Note: MP3 discs does not support this function.
Press Virtual ZOOM button (Zoom x2, x3, x4) during normal, slow or still playback mode.
This player can magnify a picture and use Navigation Arrow buttons (,,,) to select
desired part of the zoomed picture.
REPEAT button
DVD disc:
While in the Playback mode, press the Virtual REPEAT button once; “ 3CHAPTER ” will
appear briefly on the TV screen and the currently playing Chapter will repeat continuously.
While in the Playback mode, press the Virtual REPEAT button a second time; “ 3TITLE ”
will appear briefly on the TV screen and the currently playing Title will repeat continuously.
Press the Virtual REPEAT button once more to cancel Repeat mode.
CD / VCD disc:
To Repeat play a track, simply select the track as described on the previous page, then press
the Virtual REPEAT button once; “ 3TRACK ” Will appear on the TV screen and the unit will
repeat the selected track continuously until the STOP () button is pressed.
To Repeat play all tracks on a CD, press the Virtual REPEAT button a second time; “ 3ALL
” will appear on the TV screen and unit will repeat the CD continuously until the STOP ()
button is pressed.
To cancel Repeat play, press the Virtual REPEAT button until “ REPEAT ” disappears from
the TV screen.
SEARCH REV(
) and FF(
) button:
These buttons allow searching ahead/back at 4-level speeds 1st press: x2 2nd press:
x4 3rd press: x8 4th press: x16
Noted: Press the PLAY (X) button to resume normal playback.
A-B REPEAT button
Note: MP3 discs does not support this function.
DVD disc:
• You can repeatedly play a given portion by operating as following:
To press this button once to define the portion head.
To press this button again to define the portion toe. Then the portion will be played
repeatedly.
• To press this button again to return to normal playback.
CD / VCD disc:
While playing back a CD, this unit can repeatedly play back a specific section.
While in the Playback mode, press the Repeat Virtual A-B button to define where you want
the section to start. Press the Repeat Virtual A-B button again to define where you would like
the section to end, the unit will then play the selected area continuously.
To cancel A-B Repeat mode, press the Virtual A-B button again until the icon disappear on
screen.
BASIC PLAYBACK
DVD, VCD, Audio CD, MP3-disc Starting playback
1 To power on the unit. Slide the
POWER knob on at the unit right
then the unit will turn on.
Notes: Selection kind of power
source, please refer portion of
POWER SOURCE
2 Press OPEN button, to open up
the disc compartment door
(OPEN appears on screen) and
place the disc with the label side
facing front on the disc tray.
Notes: Hold the disc without touching
either of its surfaces, placed
with the printed title side
facing up only.
3 Push down the front edge on the
door, to close secure. The disc will
start playback automatically.
Notes:
• Loading the disc in any source
mode will switch from the current
mode to disc mode.
• For MP3 disc, the disc reading
time may exceed a little bit longer, due to the large number of songs complied into one
disc.
If playing DVD disc a MENU appears on the TV screen:
Press the (//or) Arrow buttons, to select the desired item, then press the ENTER
button. Playback of the selected item will start.
Note: For more details, please refer to the jacket or case of the disc. If the password is set
and the inserted disc is within the Parental Ratings set, then the Password screen will
appear, prompting you to enter the password.
4 Stopping play
Press the STOP button once and Press PLAY to Continue appears on the screen. The
player memories the point where you stopped. If you press the PLAY button again, play
starts automatically from the point where you stopped. (Resuming Playback)
If the STOP button is pressed twice, the screen shows STOP() then the player stops
completely.
Note: Some discs may not start resuming playback.
5. Adjust the volume knob to a comfortable level.
Note: When in play mode, the “LOW BATTERY” indicator is blinking, the battery is nearly
exhausted. Refer “POWER SOURCE” to recharge the battery.
POWER SOURCES
Using AC Adapter for Player
Insert the DC plug at the end of the adapter cord into the
DC IN jack at the right side of the player. Then plug the
other end into an AC wall outlet.
Notes:
• Only use with the supplied AC adapter. Using with other
AC adapter could be damaged.
• Remove both DC plug & AC-IN plug, to disconnect the
AC adapter when not necessary.
Charging the Battery
Unit has build-in NiMH battery, then refer the step of “Using AC Adapter for player” to connect
power converter.
Notes:
• For the kind of Ni-MH rechargeable battery, it will not be fully charged when a battery to be
charged first time, please note that the discharging time will be short.
• The battery will be operated normally with normal capacity after 4–5 times of charging and
discharging. It is not a defect and abnormal battery.
• After a period of storage, or not use for a period, it will require users to repeat above
mentioned steps to get the battery back to normal condition.
• The battery is fully charged for approximately 4-5 hours after the AC adaptor is connected.
Battery is charging the CHARGE indicator at the right will light on RED. When charging is
completed, the FULL indicator will light on GREEN.
Notes:
• Disconnect the AC adapter plugs from both the battery and the AC outlet, when charging is
completed or not necessary.
• Battery recharge circuit operates in OFF mode and STANDBY mode. But Switch off the
unit for battery recharge is recommended.
• When battery is fully charged and released from unit, the CHARGE indicator will light on
RED, it means the charge circuit is ON.
Battery Low Indication
When the rechargeable battery packs becomes weak, the LOW BATTERY indi-
cator will light and you will have approx. 5 more minutes of playing time. Charge
the battery full (3 to 3.5 hours) in this situation or use AC power.
Random Playback
Press the Virtual RANDOM button once and “RANDOM” will appear on the TV screen.
Press the PLAY (X) button and the unit will play all the tracks back in random order. After 20
tracks have been randomly played, the unit will automatically stop playing and enter the Stop
mode. To cancel Shuffle, press the Virtual RANDOM button a second time “RANDOM” will
disappear from the TV screen.
Audio menu
Press Virtual AUDIO MENU button, you can change the audio language from the one se-
lected at the initial settings to a different language, if available.
Subtitle Menu
Press the Virtual SUBTITLE MENU button to select a subtitle language, and to turn the
subtitle menu on /off. This feature is not available on all discs.
Angle Mark
This only works when there is an angle mark on the disc.
• Select “ON” the screen shows the angle mark when playing a DVD.
• Select “OFF”, the angle mark is not shown.
CUSTIS_530_IB_a4sp_size.p65 8/30/2005, 12:09 PM2
Black

MP3 ON SCREEN DIALOGUE BOX FEATURES
MP3 BASIC OPERATION
Playback of MP3-Disc
After disc “LOADING”, dialog box will appear on the screen.
The Root/Folder menu and STOP() Mode on screen but-
ton will appear on the screen.
e.g.:
Playback track on Root.
Press the NAVIGATION ( ,) but-
ton to select your desired track on the
Root, then press PLAY (X) or “ENTER”
button, to start playback, the PLAY (X)
indicator show on screen, and the
player will continous playback all tracks
in ROOT, and stop automatically after
finished all tracks.
e.g.:
Playback track in folder.
Press the NAVIGATION (,) button
to select the folder, press NAVIGATION
() button or “ENTER” button to enter
folder.
Note: If had a sub-folder, repeat above
procedure to enter the folder.
Press the NAVIGATION (,) button
to select your desired track, then press
PLAY (X) or “ENTER” button to play-
back, the PLAY (X) indicator show on
screen.
The player will continous playback, un-
til finish all tracks in such folder, the
player will stop automatically.
e.g.:
PLAYBACK MODE
DVD Menu
Press the DVD MENU button, and the Main Menu of the disc will appear. Use the (,,,)
button to select the desired option, and then press the ENTER button.
This is not available on all discs.
Title Menu
Press the TITLE MENU button and the Title Menu of the disc will appear. Use the (,,,)
button to select the desired option, and then press the ENTER button.
This is not available on all discs.
Display Button
1. Press DISPLAY button to show the elapsed time and remaining time of the playing disc.
2. Each time display button is pressed, the time will change on the screen as follows:
DVD disc:
Title Elapsed Title Remain Chapter Elapsed Chapter Remain Display Off (return )
VCD & CD
Single Elapsed Single Remain Total Elapsed Total Remain Display Off (return )
SKIP REV(
) and FF(
) button
Press these buttons to go to the previous/next chapter (DVD) or track (CD).
PAUSE/STEP (
) button
Press button once to pause the picture.Repeatedly press the PAUSE/STEP (
)button to
play the DVD one frame at a time.
PBC function (VCD 2.0 only)
DVD MENU button: When playing VCD. This button switches PBC functions on or off.
Note: MP3 discs does not support this function.
• When playing VCD with PBC functions, You can enjoy simple interactive software on TV
screen.
• When playback, there are such functions as track selection, stop, previous/next scene,
fast forward/ backward, return, play/pause and karaoke for you to select.
•PBC functions can be auto run after the disc is loaded and its logo appears on VFD.
• Desired tracks can be selected by pressing numeric buttons when PBC functions are
ON.
After selected, press ENTER, player will start playing the desired track.
PBC functions allow you to select programs guided by simple interactive software.
JPEG PICTURE OPERATION
PLAYBACK OF A JPEG PICTURE DISC
1. Switch on the power knob on main unit right panel.
2. Press the Lid open button to open the lid cover, insert a disc with the label side facing up
on the disc tray.
3. Push down the center front edge on the lid , to close secure. After loading , the FOLDER/
TRACK menu will appear on the panel screen, Press the navigation (,) button to
select the desired folder/file.
4. Press the PLAY(X)/ENTER button to confirm. Press the navigation (,) buttons to
select the desired picture’ the image preview of the picture will appear in the image preview
area. Press the PLAY(X)/ENTER button to play the picture. Press the Stop () button
stop playback. To select other folders, press navigation (,) button to select “- -“
followed by press the PLAY(X)/ENTER button to go back to select the folders and use
the navigation (,) button to select the described folder again.
Selecting Folder/Tracks Using the Number Buttons
During playback, press the Numeric buttons corresponding to the track numbers to select
your desired track. The unit will jump to the new track and then press ENTER or PLAY (X)
button to playback.
Select/Back to Folder Menu
When in the folder, or in the sub-folder on
screen.
Press the NAVIGATION (,) button, or
press “ENTER” button, when the cursor
highlights the folderxxxxxxx, the screen
will back to previous folder or repeat the
procedure to exit to ROOT. If cursor is
highlights the track or named folder, press
the NAVIGATION () button, the screen
will back to the previous folder or the Root.
The above functions are also available in
PLAY mode.
IMPORTANT
When the “xxxxx” symbol appears while pressing a button, this means that the corresponding
function cannot be performed either on the disc inserted, or in the selected mode.
MP3 BASIC OPERATION(continue)
CUSTIS_530_IB_a4sp_size.p65 8/30/2005, 12:09 PM3
Black

Troubleshooting
No power
• Insert the AC power plug securely into the power outlet.
No power after battery recharged
• Battery recharge circuit operate in Power OFF. Switch off the unit for battery recharge.
Play fails to start even when PLAY is pressed. Play starts but then stops immediately.
• Condensation has formed: wait about 1 to 2 hours to allow the player to dry out.
• This player cannot play a disc other than DVD, MP3 and CD.
• The disc may be dirty and may require cleaning.
• Ensure that the disc is installed with the label side up.
No sound or No picture.
• May the battery power is exhausted, connected with the power converter again.
• May the unit is in STANDBY mode, press PLAY(X)/ENTER button once, the unit will reactive
again and back to Disney open screen.
Picture is distorted during rapid advance or rapid reverse.
• The picture will be somewhat distorted at times: this is normal.
No rapid advance (or rapid reverse play).
• Some discs may have sections which prohibit rapid advance (or rapid reverse.)
No 4:3 (16:9) picture.
• Choose the correct setup “TV SCREEN” item which matches the TV set used.
No key operation is effective.
• Slide the POWER knob to OFF mode, and then back to ON.
(The player may not be operating properly due to lightning, static electricity or some other
external factor.)
Play does not start even when title is selected.
• Confirm the RATING LEVEL setting.
Audio soundtrack and/or subtitle language is not the disc, the initial settings.
• If the audio soundtrack and/or subtitle language does not exist on the language selected at
the initial settings will not be seen/heard.
No subtitles.
• Subtitles appear only with discs which contain them.
• Subtitles are cleared from the TV monitor, Perform the steps on portion SUBTITLE to display
the subtitles.
Alternative audio soundtrack (or subtitle) language fail to be selected.
• An alternative language is not selected with discs which do not contain more than one
language.
The password for rating level has been forgotten.
• Please contact your local sales dealer.
When AC-DC adaptor plug-in a while, FULL and CHARGE indicators blink, then CHARGE
indicator light on RED, but rechargeable battery is released.
• It is a system test for recharge circuit, and then the circuit is powered ON, which is not a
malfunction.
MP3 FAQs (Frequently Asked Questions)
Please read before playing an MP3 CD.
What is an MP3 file?
An MP3 file is a computer format that makes a usually large music file into a smaller one
which is more convenient to download and share.
Can I record my own MP3 CDs?
Yes, But you need a CD recorder, which is available from you local computer store.
Where can I find MP3 files?
MP3 files are available all over the internet.
Can this unit read regular music CDs?
Yes it can. However, you cannot mix MP3s and WAV files on the same CD. If you do this, the
CD Player will play only the MP3 files.
Can I use the MP3 extension for non-audio data files?
No, this may result in serious malfunction and harmful noise interference.
Can I mix MP3 files with other file types on the CDR?
Yes, but your CD player will ignore those files and read only the MP3 files on the CDR.
Does this unit support subdirectories (subfolders)?
Yes, it can read MP3 files from subfolders.
Initial Setting
General Setup
The setting structure is as follows:
TV DISPLAY
1. Normal/PS
Note: “PS” stand for “Pan Scan” This is selected when the unit is connected with a normal
TV.
Wide-Screen images are shown on the screen, but with some parts cut automatically.
2. Normal/LB
Note: “LB” stand for “Letter Box ”
This is selected when the unit is connected with a normal TV.
Wide-screen images are shown on the screen, with black belt on the top and bottom.
3. Wide
This is selected when the unit is connected with a wide - screen TV.
ANGLE MARK
This only works when there is an angle mark on the disc.
• Select “ON” the screen shows the angle mark when playing a DVD.
• Select “OFF” the angle mark is not shown.
OSD LANG
To change language of setup menu, choose the language using (,) buttons and press
ENTER to confirm.
• English / Spanish / German / French
Screen Saver
Start the screen saver, the screen saver image appears
when the unit stops or the image is motionless for approximately 1 minute. This saver can
keep the screen from being damaged.
• ON: Start the screen saver.
• OFF: Remove the screen saver.
Speaker Setup Page
Select Audio setup in the Setup Menu and then Select the Speaker Setup Menu using the
(,) buttons to navigate through the menus/screens and press the Enter buton to confirm.
LT/RT: The front speakers are in theatrical LT/RT downmix mode.
Stereo: The front speakers are in Stereo Downmix mode.
Video Setup Page
•Brightness – To adjust more shining or darken picture.
•Contrast – To adjust increase or decrease picture contrast.
•Colour – To adjust increase or decrease colour intensity.
Press the (or) button to move the cursor to increase or decrease the level. Press ENTER
to confirm.
Preference Setup Page
•Audio – To change the dialogue language, choose the language using the (,)
buttons and press ENTER to confirm.
•Subtitle – To change the subtitle language, choose the language using the (,)
buttons and press ENTER to confirm.
•Disc menu – To change the language of menu, choose the language using the (,)
buttons and press ENTER to confirm.
•Parental – You can control access to the player and the type of discs your family can
watch with the rating function. There are eight levels of parental conrol.
Rating Level: 1 KID SAF 2 G 3 PG 4 PG 13 5 PGR 6 R 7 NC-17 8 Adult
1. Press the ()button and then select the rating level using the (,) buttons.
2. Press ENTER to enter the Password Verify menu.
3. Enter your four-digit password and press ENTER, if you have not chosen one yet, the
factory preset password is 1234.
•Password change – This option allows you to set or change the password.
1. Press the ()button and then press ENTER to enter the Password Change menu.
2. To change the password, enter the current four-digit password in the “Old Password”
column. Then enter the new password in the “New Password” column. You are then
prompted to enter it again in the “Confirmed Password” column to confirm and press
ENTER.
Specifications
Power requirements: DC IN 9V (Center Positive), 1.5A
Battery pack: Ni-MH DC 3.6V x 2
Power consumption: 12W
Signal system: NTSC / PAL
Weight: LB (main unit + battery packs)
Dimensions: 8.4 (W) x 5.3 (H) x 2 (D) inches
Operating temperature range: +5°C to +35°C
Operating humidity range: 5 to 90% (no condensation)
Battery charging time: Approximately 3-4 hours
Battery life(Fully charge): Approximately 2.5 hours
Discs played:
(1) DVD-VIDEO disc 12cm single-sided, single-layer
12cm single-sided, dual-layer
12cm double-sided, single-layer
8 cm single-sided, single-layer
8 cm single-sided, dual-layer
8 cm double-sided, single-layer
(2) Compact disc 12cm disc
8 cm disc
Video output level: 1 Vp-p
Audio output level: 1 Vrms (1 KHz, 0dB)
Audio signal output characteristics:
Frequency responses:
•DVD (linear audio): 125Hz - 18Hz
•CD audio: 125Hz - 18Hz
S/N ratio: 70dB
Wow and flutter: below measurable level
Pickup: Wave length: 655nm
Laser power: CLASS 1
Specifications are subject to change without notice. Weight and dimensions are approximate.
1. Press the Setup button to display the Setup Menu.
The screen shown right:
2. Press the “” or “” Navigation buttons to move
the Yellow Disc symbol underneath the icons on
top of the TV screen to your desired icon page.
The following icons represent 5 Setup Page:
— General Setup Page
— Speaker Setup Page
— Video Setup page
— Preference Page
— Exit Setup Page
Select a menu icon using the (,) buttons. Then Select one of the avaliable options using
the (,) buttons. Press the () button to access the submenu and use the (,) buttons
to select an option. Then press ENTER to confirm your selection. Return to a previous menu
using the () button. To exit from the menus, press the SETUP button again or select the
(xxxx) icon and press ENTER.
CUSTIS_530_IB_a4sp_size.p65 8/30/2005, 12:09 PM4
Black

ABOUT DISCS
The region number for this DVD player is
See the following page for information regarding region numbers.
PLAYABLE DISCS:
The following discs can be played back on this DVD player:
MP3 Discs
When playing an MP3, the total number of files will appear in the display, and the panel
screen will list the folders/tracks. MP3 is the abbreviation of “MPEG 1 Audio Layer3”. MPEG
Audio is a format that compresses the audio portion only.
IMPORTANT NOTES:
Due to many variables, including recording condition, type of disc, writing software, etc. this
unit does not guarantee playback of all MP3 discs.
DISC TYPES:
DVD
Data on most DVDs is divided into sections called
“titles” and then into subsections called “chapters”,
each of which is given a title or chapter number.
Some features of this DVD player will not operate
with some DVD discs as they are perset. If a func-
tion you selected does not run as desired, refer to
the manual accompanying the DVD disc.
AUDIO CD
Data on an audio CD is divided into sections called
“ tracks”, each of which is given a track number.
IMPORTANT:
It is important that you read the manual that accompanies the DVD disc, as there are features
that are on the DVD player that cannot be used with certain DVDs. There are also extra
features on the DVD disc that are different for each DVD disc, so they are not explained in
this owner’s manual.
This player conforms to the NTSC and PAL color systems. However, if you are in the USA,
leave this setting on NTSC. If incorrectly set to PAL, the TV picture will roll vertically. In this
case, simply turn the DVD off, and then back on.
Notes on Copyright:
It is forbidden by law to copy, broadcast, show, broadcast on cable, play in public and rent
copyrighted material without permission. DVD video discs are copy protected, and any
recordings made from these discs will be distorted. This product incorporates copyright
protection technology that is protected by method claims of certain U.S. patents and other
intellectual property rights owned by Macrovision Corporation, and is intended for home
and other limited viewing uses only, unless otherwise authorized by Macrovision
Corporation.
Reverse engineering or disassembly is prohibited.
Region Management Information:
This DVD Player is designed and manufactured to respond to the Region Management infor-
mation that is recorded on a DVD disc. If the Region number described on the DVD disc does
not correspond to the Region number of this DVD player, this DD player cannot play that disc.
You may not be able to play back some DVD video discs on this player if they were pur-
chased from outside your geographic area or made for business purposes. When you try to
play back an unauthorized disc, “Wrong Region” appears on the screen.
Audio & Video Disc size 12cm
Single side, single layer / single side,
double layer
PAL and NTSC DVD disc
Playback time 135min/240min max.
Audio & Video Disc size 12cm / 8 cm
SVCD,CD and VCD disc
Playback time 74min. / 24min. max.
Audio & Video Disc size 12cm / 8 cm
CD disc
Playback time 74min. / 24min. max.
CUSTIS_530_IB_a4sp_size.p65 8/30/2005, 12:09 PM5
Black
Table of contents
Other Curtis Portable DVD Player manuals

Curtis
Curtis DVD8006 User manual

Curtis
Curtis DVD8005 User manual

Curtis
Curtis DVD9000UK User manual

Curtis
Curtis DVD8007C User manual

Curtis
Curtis DVD8402 User manual

Curtis
Curtis DVD8727UK User manual

Curtis
Curtis DVD8723 User manual

Curtis
Curtis DVD8723UK User manual

Curtis
Curtis DVD8017 User manual

Curtis
Curtis DVD8723UK User manual

Curtis
Curtis Dvd8007b User manual

Curtis
Curtis DVD 7014 User manual

Curtis
Curtis DVD8400 User manual

Curtis
Curtis DVD7015 User manual

Curtis
Curtis DVD8007 User manual

Curtis
Curtis DVD7016A User manual

Curtis
Curtis DVD8009 User manual

Curtis
Curtis DVD8722 User manual

Curtis
Curtis DVD7015R User manual

Curtis
Curtis DVD7026 User manual