Cyber Snipa spotter webcam User manual

CAMERA USER MANUAL

www.cybersnipa.com
USB Camera Manual

www.cybersnipa.com
USB Camera Manual
This user’s manual is also available in French,
German and Spanish at:
www.cybersnipa.com/downloads/download_home.htm
CONTENTS
1. Minimum System Requirements.......................4
2. Application Software Overview..........................4
3. Installation.........................................................5
3.1 Accessing camera setup software...................5
3.2 Step 1> Install Microsoft DirectX 9.0c -..........5
3.3 Step 2> Install Cyber Snipa PC Camera................5
3.4 Step 3> Install Cyber Snipa Video Center......6
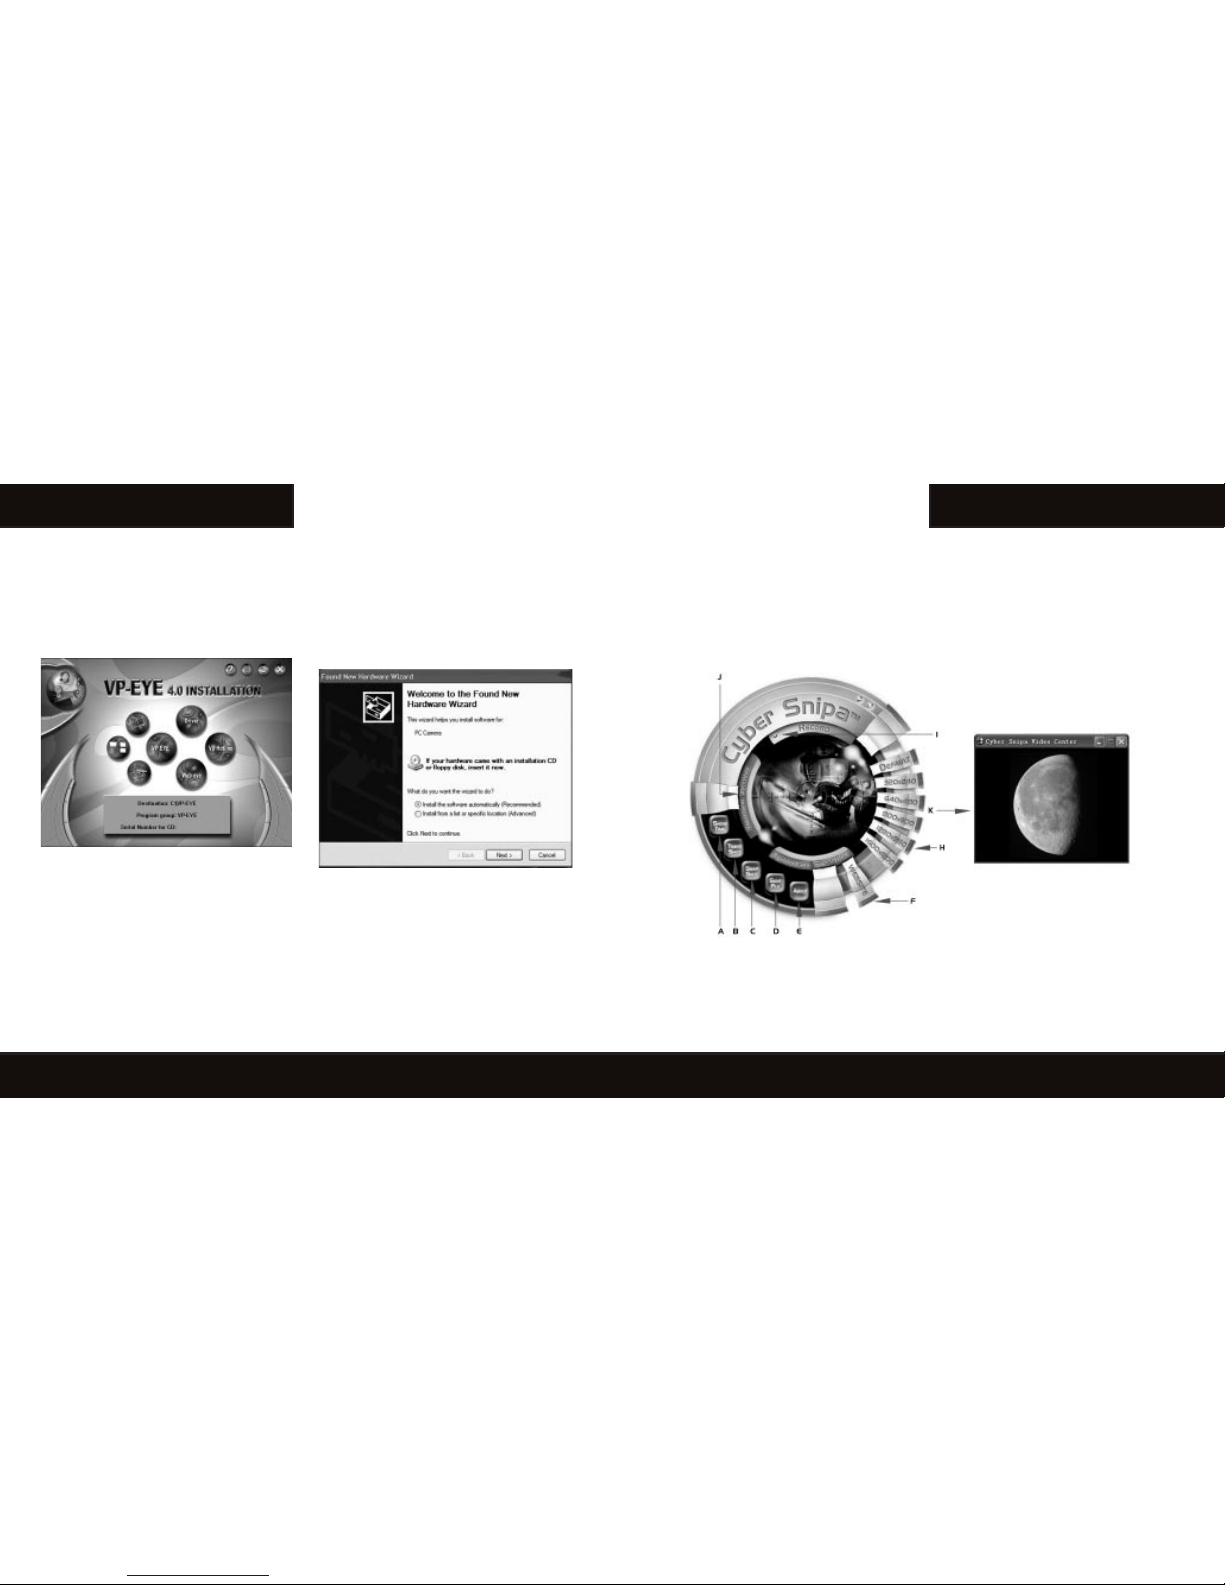
3.5 Step 4> VP-Eye Applications........................6
3.6 Final Step.......................................................6
4. Cyber Snipa™ Video Center Application
User Guide........................................................................7
4.1 Getting Started................................................7
4.2 Still Shot Capture...........................................8
4.3 Video Capturing..............................................8
4.4 Resolution Settings........................................8
5. Using VP-Eye Application User Guide..............8
6. Trouble Shooting...............................................9
7. Maintenance and Storage.................................9
8. Other Cyber Snipa Products.............................10
1. MINIMUM SYSTEM REQUIREMENTS
• 300MHz CPU
• 32MB DRAM
• 10MB hard disk space.
• 16-bit true color display card
• Standard PCI sound card ( Only required for
camera with audio features)
• USB interface
2. APPLICATION SOFTWARE OVER VIEW
Included with your Cyber Snipa Web Cam are two
camera application programs:-
1. Cyber Snipa™ Video Center. A powerful
video application that allows controls of up to
2 mega pixels of in-screen resolution. This
advanced application enhances your digital
experience by enabling you to create, share
and play highly-compressed, quality video
and picture content.
2. VP-Eye Application. This bonus software
package contains 10 fun applications for
capturing and processing your videos and
photos in a variety of ways. It includes
features that allow you to frame still shots,
interact in a game environment or build
colorful online albums. More information is
available in the User Guide in the VP-Eye
main menu.
4
3. INSTALLATION
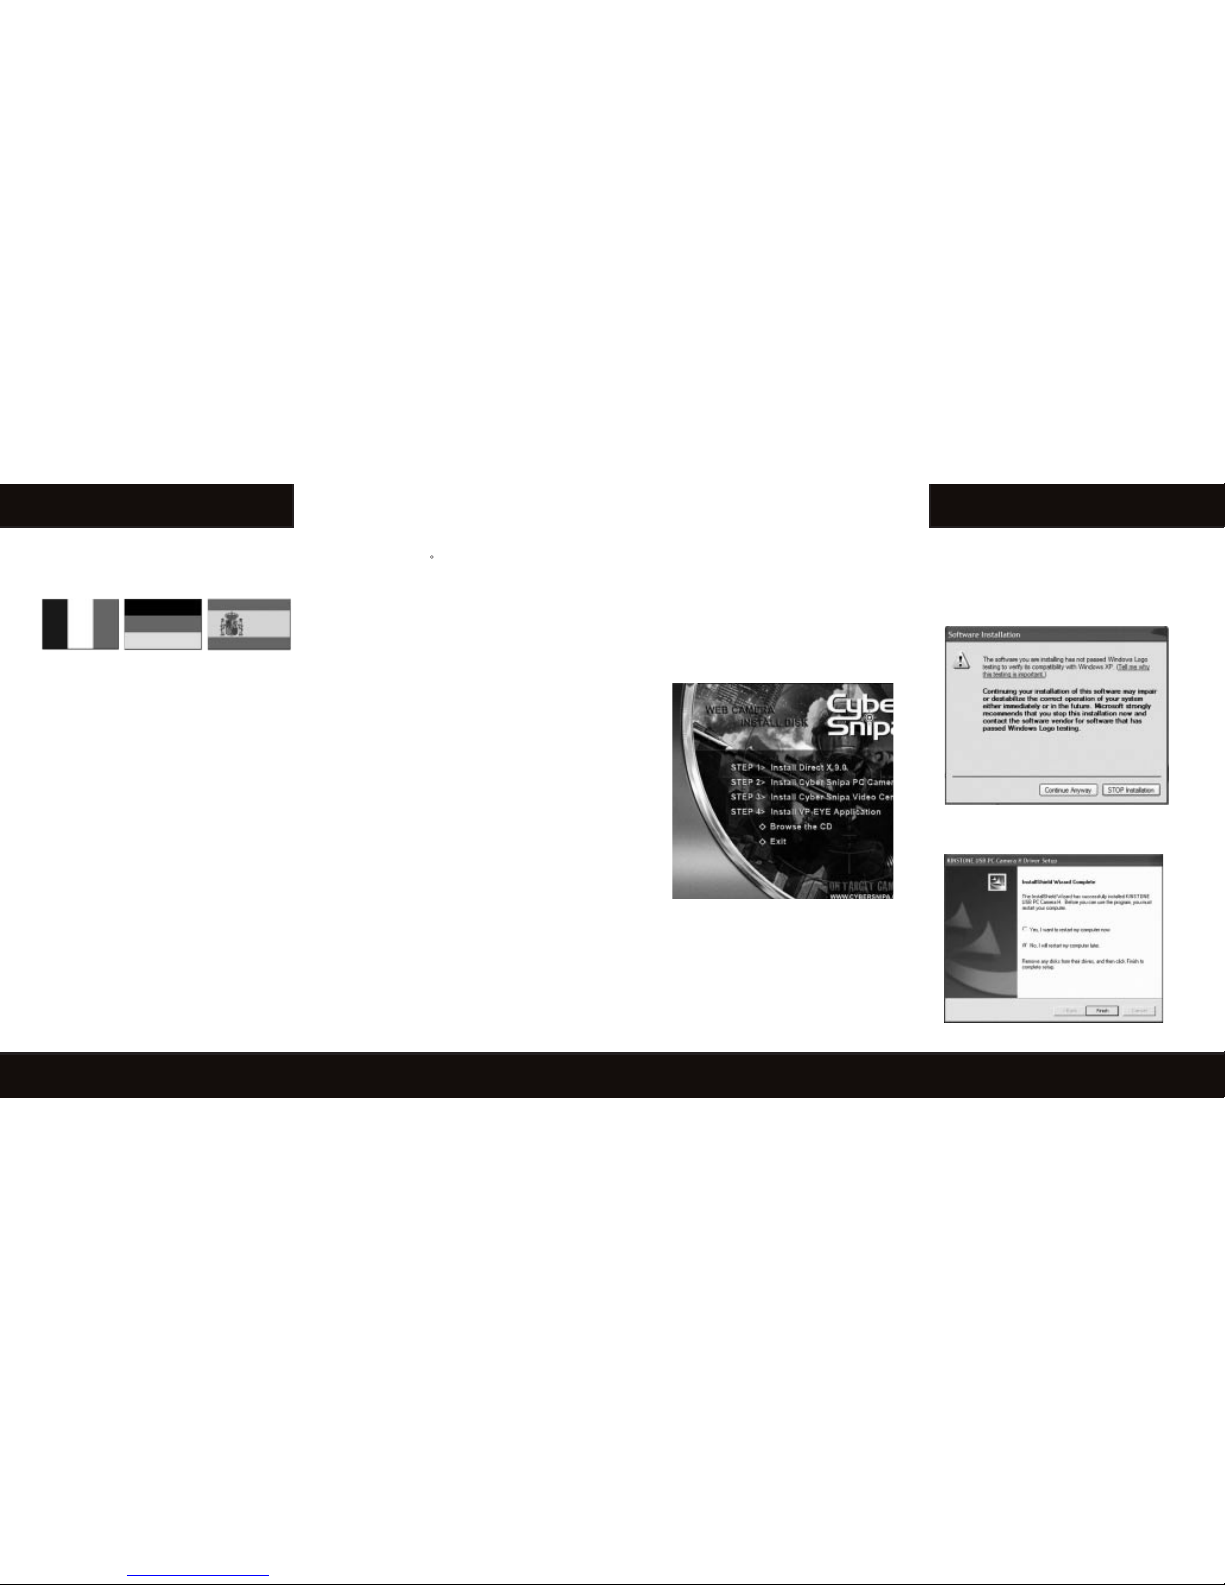
3.1 . Accessing camera setup software
Insert installation disc provided or download driver
software from www.cybersnipa.com.
• If the Cyber Snipa™ autorun window
does not automatically appear then run
autorun.exe le from CD/DVD root directory.
• Follow steps 1 – 4 to complete full installation.
3.2 Step 1> Install Microsoft DirectX 9.0c -
• If you have an earlier version or do not
have Direct X loaded click though and follow
prompts. Once completed return to the
installation screen.
3..3 Step 2> Install Cyber Snipa PC Camera
Click on step 2 and follow prompts. If you are
using Windows XP the following message may
appear. There is no risk to your System. Ignore
the message and continue with your installation.
Check “restart later” option and Click “Finish”.
Proceed to Step 3 of the camera installation.
5

www.cybersnipa.com
USB Camera Manual
3.4 Step 3> Install Cyber Snipa Video Centre
1.Return to Install/AutoRun screen and click
on Step 3.
2.Follow prompts and proceed to Step 4
3.5 Step 4> VP-Eye Applications (optional)
1. Return to Install/AutoRun Screen and Click
on Step 4. The following screen will appear.
2. Click on left icon picture to dene
capture directory.
3. Click on the VP EYE Icon to install the
application.
4. After les have been installed close the
install screen by clicking ‘X’ in the top right
corner.
3.6 Final Step
• Ensure that Steps 1 – 4 have been complete
before this stage.
• Plug USB camera into your USB port. A
found new hardware message should
appear followed by a hardware installation
Wizard Window.
• Select default setting for wizard driver setup.
• Ignore the warning and follow prompts
until finished.
• You are now ready to use your Web Cam.
6
A. Show Time - Display date & time in red
within capture screen.
B. Timer Shot - Captures and saves a bitmap
picture after ve seconds. Timer adjustable by
clicking on “Save le” options button. Ref. D)
C. Snap Shot – Capture and saves an instant
bitmap picture.
D. Save File - Displays and allows capture
of destination path and lename of bitmap
capture le.
7
4. CYBER SNIPA™ VIDEO CENTER APPLICATION
USER GUIDE
4.1 GETTING STARTED
The Cyber Snipa Application can be started by
clicking on the Video Center icon or by using the
Start menu.
The Following window should appear:-

www.cybersnipa.com
USB Camera Manual
E. About - Accolades window
F. Website link – www.cybersnipa.com
G. Advanced Settings –Picture and audio
settings and ne tuning.
H. Video and Image capture size.
I. Record – Start and end video record
J. Recorder Settings - Adjust video and audio
recorder settings
K. Viewer Window
4.2 Still Shot Capture
1. Select picture capture size format (ref. H
on page 7)
2. Enter destination lename and path (ref. D
on page 7)
3. Focus camera on source.
4. Click on “Snap Shot” Button (ref. C on
page 7)
(Note. Still Shots can be captured using the silver
button on the spotter webcam)
4.3 Video Capturing
1. Focus camera on capture source.
2. Click on the “record” button to begin recording.
(ref. on page 7).
3. To stop recording click on the same button.
4. Output le path and audio settings can
be changed by clicking the Record Settings
button ( ref. J on page 7)
(Note. Audio settings only apply to the Scout
Camera that has audio capture features)
4.4 Resolution Settings
You can select the video capture size by simply
selecting 1 of the 5 video resolution options
available (denoted by H on page 7).
The default setting resolution is 640X480. You will
immediately see the results in the viewer screen
alongside the control centre panel.
5. Using VP-Eye Application User Guide
Refer to the online User Guide in your Vp-Eye menu.
8
6. Trouble Shooting
Problem Solution
The computer
can’t
recognize
the camera
device.
1.Use same installation
USB hub.
2.Study Installation
process carefully and
uninstall and begin again if
necessary.
3.Reboot PC after
installation.
Running
software
– Error
message
appears
indicating no
capture devise
present.
1. Check that the camera
is plugged into the same
USB port you installed the
driver software.
2. If the Port is the same
uninstall.
3. Study Installation
process carefully and
uninstall and begin again if
necessary.
Reboot PC after
installation.
Software
loads but
picture is
Black.
1. Make sure the Camera
Cap is off.
Image too
bright or dark
1. Adjust brightness
& Contrast in settings
section of application
Cyber Snipa™ Video
center
Image is
blurry
1. Rotate Lense until
picture focuses.
7. Maintenance and Storage
1.Do not face camera towards sunshine in
order to protect sensitive image sensor.
2.Avoid operating the camera in steamy, oily or
dusty environments.
3.Do not touch lens with your ngers.
4.Clean the camera with a soft and dry cloth,
do not use solvent such as alcohol.
5. Avoid dropping the camera.
9

The Cyber Snipa™ Gamepad (patent pending) is a
weapon like no other. If you need to nd the edge
when playing First Person Shooter (FPS) PC Games,
then the Cyber Snipa™ Keypad is for you. The game
pad will allow you to reach a new level of skill that
conventional keyboards do not provide.
www.cybersnipa.com
USB Camera Manual
AVAILABLE NOW AVAILABLE NOW
Intelli Scope Gaming MouseTM
Stalk your enemies in 1000dpi Stealth mode, and when
your target is in your sights, unleash the beast within with
2400dpi ATAK mode! All with a simple push of a button!
The Cyber Snipa™ Intelli-scope™ Gaming Mouse is
enhanced by the Intelli-Light Ambient Interface (AI)
system. This system allows the user to be intuitively
informed of the DPI setting during combat situations. You
never need to remember what setting you are in! By the
illuminated glow on and around the Mouse, you are
intuitively informed if the DPI setting is set for ATAK
mode or precision STEALTH mode needed for sniping. A
stunning looking mouse with all the grunt you need. Truly
beauty and the beast all in one package!
The Cyber Snipa™ Dog Tags combines USB ash memory
with a handy tool kit for emergency repairs in the eld. The
ash memory drive is removable and includes a data transfer
status light indicator. Memory is available in 128MB through
to 2 GB.
The rugged housing is ideal for Gamers who need instant
access to their gear. The authentic Dog Tag chain completes
this cool piece of functional bling that is easy to wear and
essential tech for the professional gamer.

Constructed from high
quality wear resistant
fabric, the Lan Bag is
designed to pack and
protect all your precious
gaming peripherals in
an easy to carry, highly
portable carry all solution!
Now you can arrive
fresh and organized at
your Lan party or gaming
tournament with the ease
and style of a pro!
Pack all your Gaming
Peripherals in one easy
to carry bag!
www.cybersnipa.com
AVAILABLE NOW
Table of contents
Popular Webcam manuals by other brands

Phottix
Phottix PC60 instruction manual

Trust
Trust 17473 quick start guide

Digital Innovations
Digital Innovations ChatCam 4310100 user guide

Panasonic
Panasonic KX-THA13 - Telephone Wireless Monitoring... operating instructions

Conceptronic
Conceptronic CLLCHATCAM v2.0 Quick installation guide

Logitech
Logitech C922 Setup guide