manuals.online logo
Brands
  1. Home
  2. •
  3. Brands
  4. •
  5. d & b audiotechnik
  6. •
  7. Amplifier
  8. •
  9. d & b audiotechnik TI 316 User manual

d & b audiotechnik TI 316 User manual

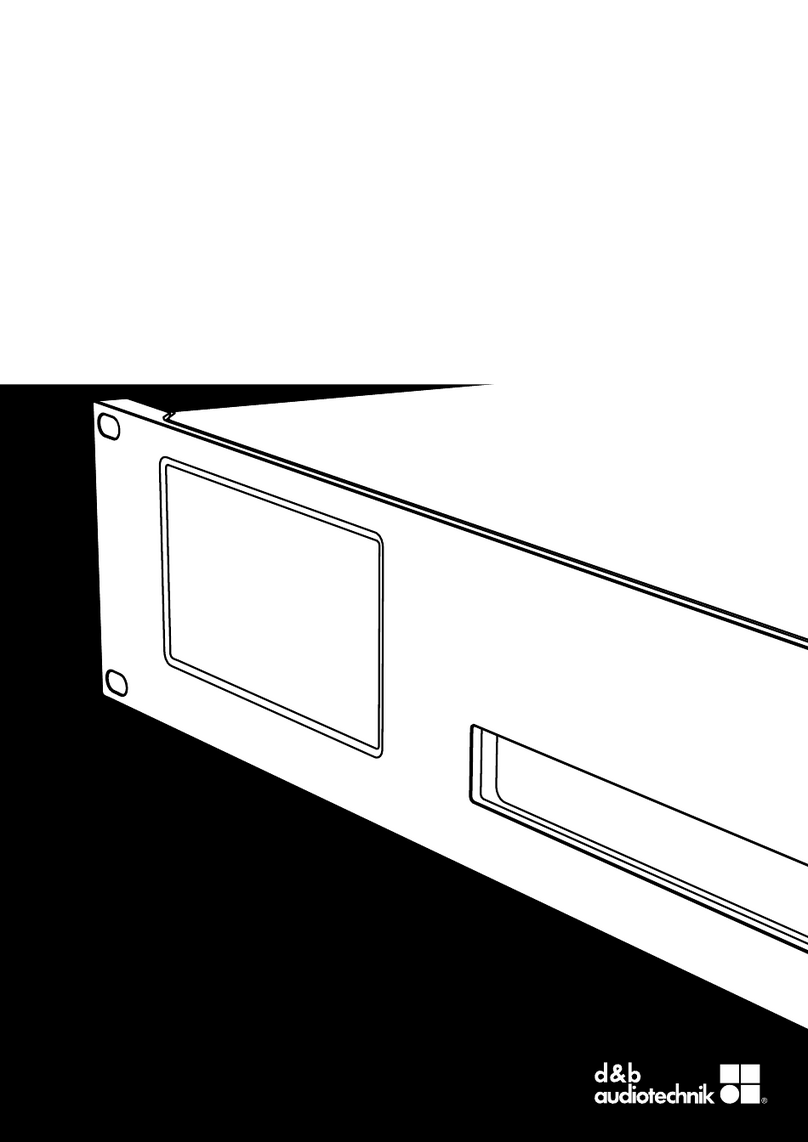
TI 316
QSC Q-SYS Plug-in for
d&b 5D, 10D, 30D, 40D, D20, D40 and D80 a plifiers
1.7 en
1. Introduction
The d&b Q-SYS Plug-in allows basic control and monitoring
of the d&b Ethernet-compatible amplifiers (5D 10D 30D
40D D20 D40 or D80) from within the QSC Q-SYS
framework using the OCA protocol (AES70).
Require ents
▪Ethernet-compatible d&b amplifiers: 10D 30D D20 or
D80 with Firmware V2.02.00 or higher 5D 40D or
D40.
▪QSC Q-SYS system and Q-SYS Designer V9.0 or
higher.
Plug-in capabilities
▪Device
−Power the amplifier on and off
−Optionally set the Plug-in's status to
«Co pro ised» when the amplifier is in Standby
−Track the amplifier's Power and Error status
−Physically identify an amplifier (audible beep and
flashing display)
−Allows the amplifier's time to be synchronized to the
QSC Core's clock
▪Inputs
−Input routing for each output channel
−Input gain controls for each individual input
−Enable/disable Input gain
▪Outputs
−Channel output gain and mute control
−Level metering for each channel including ISP (Input
Signal Present) GR (Gain Reduction) and OVL
(OverLoad)
−Set each amplifier channel's name
−Supervise each channel's error status individually
▪A plifier Presets
−Available for all amplifier models except 5D
−Backup and load presets
−Fire presets immediately via a Q-SYS control pin
−Track the modified status of currently active preset
−Optionally set the Plug-in's status to
«Co pro ised» when the currently active preset
has been modified
▪Monitoring
−Enable/disable Input monitoring for each individual
input
−Enable/disable Load monitoring for each individual
output
−Clear Input monitoring or Load monitoring errors
−Input fallback and override settings
▪Event Logging
−Optionally log events such as internal Plug-in errors
and amplifier connection issues to the QSC Core's
system log.
2. Getting Started
1. Download and unzip the d&b Q-SYS Plug-in package.
2. Ensure you have the Q-SYS Designer software V9.0
or higher installed on your computer.
3. Double-click the included «qplug» file. This will
automatically install the Plug-in in the correct location.
4. In Q-SYS Designer drag and drop the Plug-in from the
«Plugins» panel on the right side onto your project.
Note: One copy of the Plug-in module is required per
d&b amplifier in your setup.
5. Select the appropriate amplifier model in the Plug-in's
«Properties» menu. This ensures a successful
connection to the amplifier. Selecting the wrong
amplifier model can lead to connection issues!
6. Configure each Plug-in’s output mode in order to
match the output configuration in the respective
amplifier.
Note: This does not change the output mode in the
amplifier it only affects the Q-SYS Plug-in.
7. Ensure the d&b amplifiers are connected to the same
Ethernet network as your QSC core and their IP
addresses and subnet masks are compatible.
You may need to set the amplifier's IP mode to
«Manual» via R1 the amplifier’s display or the
Web Remote interface (where available).
8. Use the «E ulate» or «Save to Core & Run»
functions in Q-SYS Designer and double-click the Plug-
in module to open its control interface.
9. Enter the IP address of each amplifier in your setup
into the «IP address» field within each Plug-in
instance. The «Online» LED will illuminate green to
indicate that the connection to the respective amplifier
has been established successfully.
Note: The configuration of Input monitoring and Load
monitoring parameters (such as pilot tone thresholds
and tolerances) as well as the creation and
management of amplifier presets are beyond the scope
of this Plug-in. We recommend using the R1 software
for this purpose.
Note: Enabling or disabling Plug-in features in the
«Properties» menu will not only show or hide the
corresponding controls from the graphical interface it
will also define the number of amplifier parameters that
will be monitored. Depending on the number of
amplifiers in your project this can have a slight impact
on your network traffic and Core CPU load.
TI 316 1.7 en 2
3. Plug-in details overview
A plifier Settings/Status
[1] Enter the amplifier's IP address here.
[2] The «Online» LED illuminates to indicate a
successful network connection to the amplifier.
[3] The device general status can be as follows:
«Initializing» during network connection.
«Co pro ised» when the amplifier is Standby
when there is a channel error or when the current
preset has been modified and the «Strict» mode
has been selected.
«Fault» indicates a device error in the amplifier.
«OK» indicates normal status.
[4] Power switch. Will turn green to indicate that the
unit is switched on or red to indicate Standby
mode.
[5] Device name.
[6] Triggers the «Wink» command which allows you
to physically identify an amplifier (flashing display
and buzzer).
Input onitoring
[1] Enable/disable Input monitoring for each analog
input.
[2] Enable/disable Input monitoring for each digital
input.
[3] Individual Input monitoring error indicators.
[4] Reset Input monitoring (IM) errors.
[5] Fallback mode (Off Manual or Auto).
[6] Enable/disable Fallback.
[7] Override mode (Off Manual or Auto).
[8] Enable/disable Override.
Input gain
[1] General Input gain enable/disable switch.
[2] Input gain controls for individual analog and digital
inputs.
Input routing
The «Input routing» tab varies depending on the
corresponding amplifier connected and accessed.
For detailed information on the input routing of the
respective amplifier please refer to the corresponding
amplifier manual which can be downloaded from the
related product page at www.dbaudio.com.
Channel
Channel controls with Metering disabled (left)
and enabled (right).
[1] Channel name.
[2] Channel status.
[3] LED indicators for ISP (green) GR (yellow) and
OVL (red).
[4] Output level meter (Headroom).
[5] Output level control.
[6] Enable/disable Load monitoring (LM).
[7] Mute/unmute channel.
3 TI 316 1.7 en
A pPresets
[1] Number and name of the currently active preset.
[2] «Preset odified» LED will indicate if the
amplifier's settings have been changed since the
current preset was loaded. If the «Strict» mode is
used this will also turn the general status to
«Co pro ised».
[3] Combo-box for selecting next preset. This preset will
only be preselected but not loaded until «Load»
is pressed. Alternatively the «Trigger Preset»
control pin can be used to fire presets immediately.
[4] Display for the preselected preset's name.
[5] Load the preselected preset.
[6] Backup the current configuration (modified preset)
in the desired backup slot and load the preselected
preset.
TI 316 1.7 en 4
www.dbaudio.co
D5316.EN.01 (10/2022) © d&b audiotechnik GmbH & Co. KG

Other d & b audiotechnik Amplifier manuals

d & b audiotechnik D12 User manual

d & b audiotechnik

d & b audiotechnik D12 User manual

d & b audiotechnik D12 User manual

d & b audiotechnik

d & b audiotechnik D12 User manual

d & b audiotechnik 10D User manual

d & b audiotechnik

d & b audiotechnik 10D User manual

d & b audiotechnik preliminary XD 5D Installation and operation manual

d & b audiotechnik

d & b audiotechnik preliminary XD 5D Installation and operation manual

d & b audiotechnik XD 40D Installation and operation manual

d & b audiotechnik

d & b audiotechnik XD 40D Installation and operation manual

d & b audiotechnik Z5560 User manual

d & b audiotechnik

d & b audiotechnik Z5560 User manual

d & b audiotechnik D6 Mounting instructions

d & b audiotechnik

d & b audiotechnik D6 Mounting instructions

d & b audiotechnik 40D User manual

d & b audiotechnik

d & b audiotechnik 40D User manual

d & b audiotechnik D12 User manual

d & b audiotechnik

d & b audiotechnik D12 User manual

d & b audiotechnik D40 User manual

d & b audiotechnik

d & b audiotechnik D40 User manual

d & b audiotechnik D6 User manual

d & b audiotechnik

d & b audiotechnik D6 User manual

d & b audiotechnik Z5330.001 User manual

d & b audiotechnik

d & b audiotechnik Z5330.001 User manual

d & b audiotechnik E-PAC User manual

d & b audiotechnik

d & b audiotechnik E-PAC User manual

d & b audiotechnik D40 Installation and operation manual

d & b audiotechnik

d & b audiotechnik D40 Installation and operation manual

d & b audiotechnik D12 Mounting instructions

d & b audiotechnik

d & b audiotechnik D12 Mounting instructions

d & b audiotechnik D12 User manual

d & b audiotechnik

d & b audiotechnik D12 User manual

d & b audiotechnik E-PAC User manual

d & b audiotechnik

d & b audiotechnik E-PAC User manual

Popular Amplifier manuals by other brands

VocoPro FEATHER AMP FA-500 owner's manual

VocoPro

VocoPro FEATHER AMP FA-500 owner's manual

Coda Continuum Ts Operation manual

Coda

Coda Continuum Ts Operation manual

Hartke Hartke Acoustic Pre-Amp owner's manual

Hartke

Hartke Hartke Acoustic Pre-Amp owner's manual

Fosi Audio BOX X2 user manual

Fosi Audio

Fosi Audio BOX X2 user manual

Axxent AX-4120TS-D Operator's manual

Axxent

Axxent AX-4120TS-D Operator's manual

Magnat Audio MA1000 Important notes for installation & warranty card

Magnat Audio

Magnat Audio MA1000 Important notes for installation & warranty card

Pd PDV120ZMP3 instruction manual

Pd

Pd PDV120ZMP3 instruction manual

Inter-m IM-300 Operation manual

Inter-m

Inter-m IM-300 Operation manual

technetix AIMA-FPAS Product user manual

technetix

technetix AIMA-FPAS Product user manual

Sound Town PAC180-6 user manual

Sound Town

Sound Town PAC180-6 user manual

EA3GCY QPA-1 Assembly manual

EA3GCY

EA3GCY QPA-1 Assembly manual

Harman Kardon The Prelude PC-200 Operating and service instructions

Harman Kardon

Harman Kardon The Prelude PC-200 Operating and service instructions

RF-Lambda REMC18G23GD quick start guide

RF-Lambda

RF-Lambda REMC18G23GD quick start guide

Yamaha M-70 owner's manual

Yamaha

Yamaha M-70 owner's manual

PRESONUS TUBEPRE user manual

PRESONUS

PRESONUS TUBEPRE user manual

Tone King Falcon Grande user manual

Tone King

Tone King Falcon Grande user manual

Epcom EP20-TB-2600 user manual

Epcom

Epcom EP20-TB-2600 user manual

Onkyo TX-7230 Service manual

Onkyo

Onkyo TX-7230 Service manual

manuals.online logo
manuals.online logoBrands
  • About & Mission
  • Contact us
  • Privacy Policy
  • Terms and Conditions

Copyright 2025 Manuals.Online. All Rights Reserved.