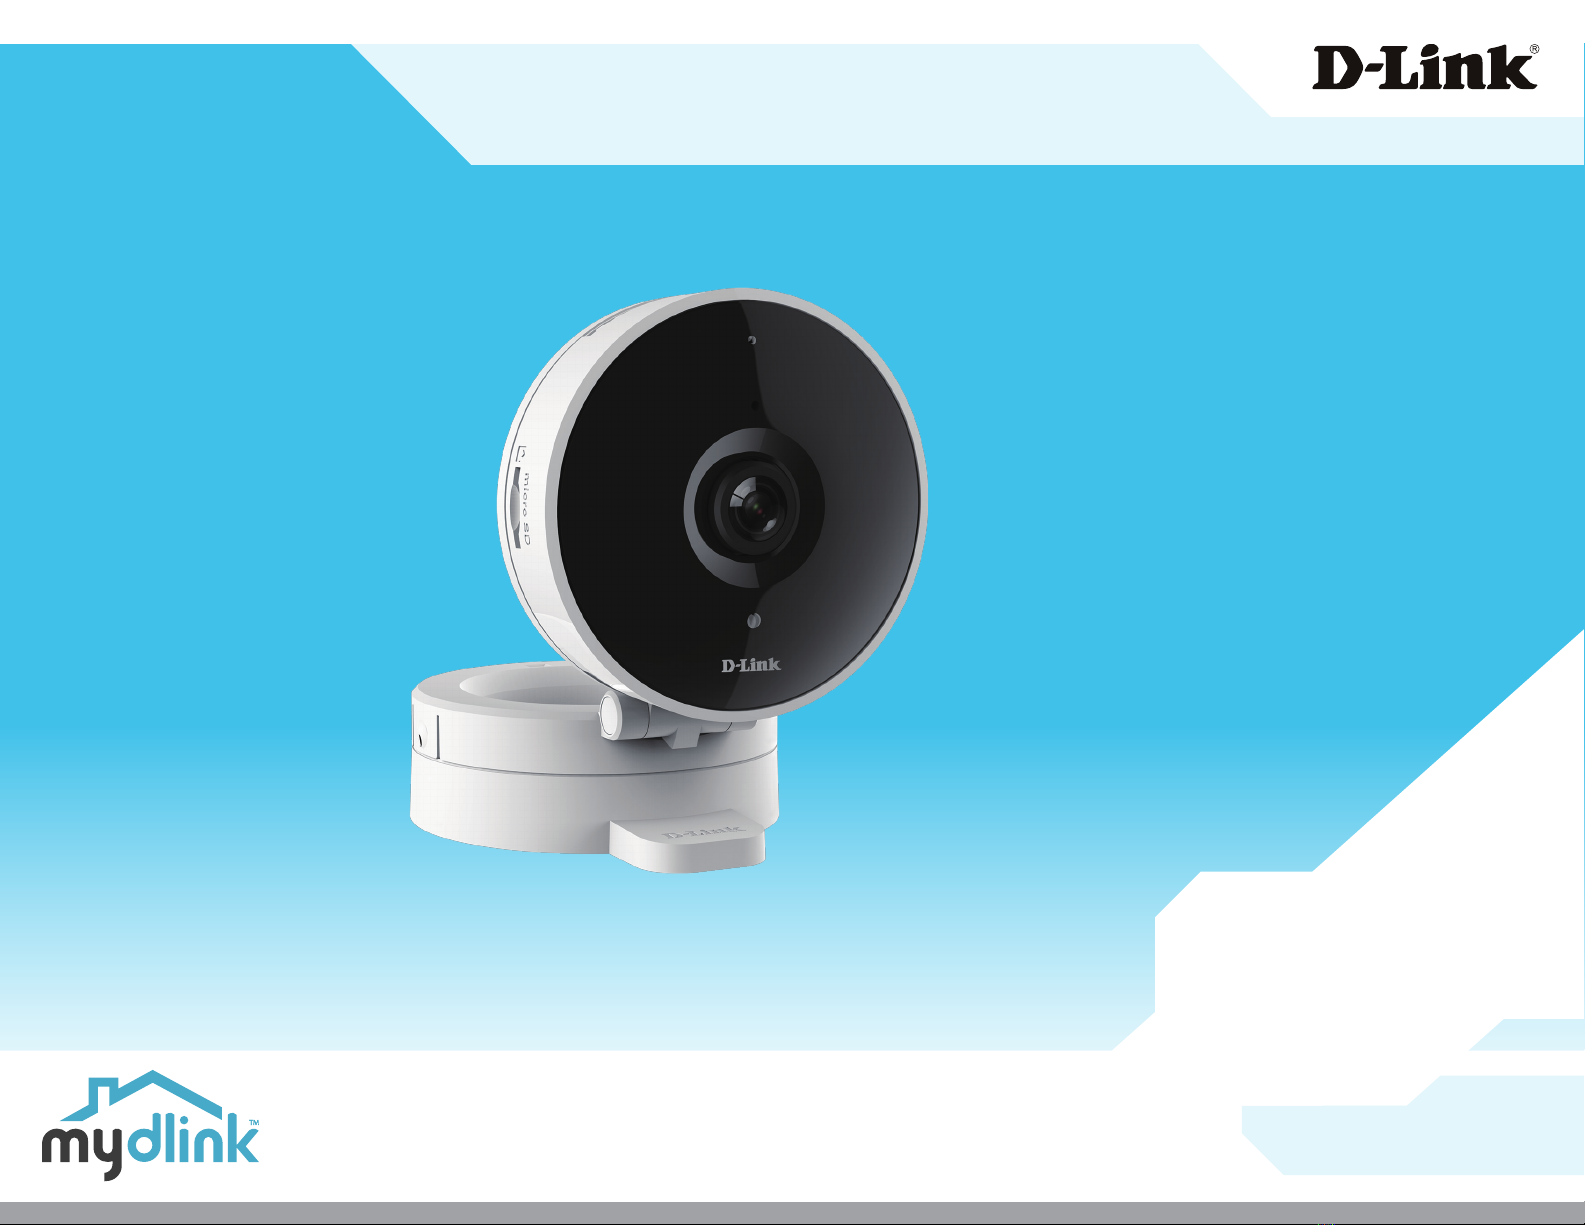
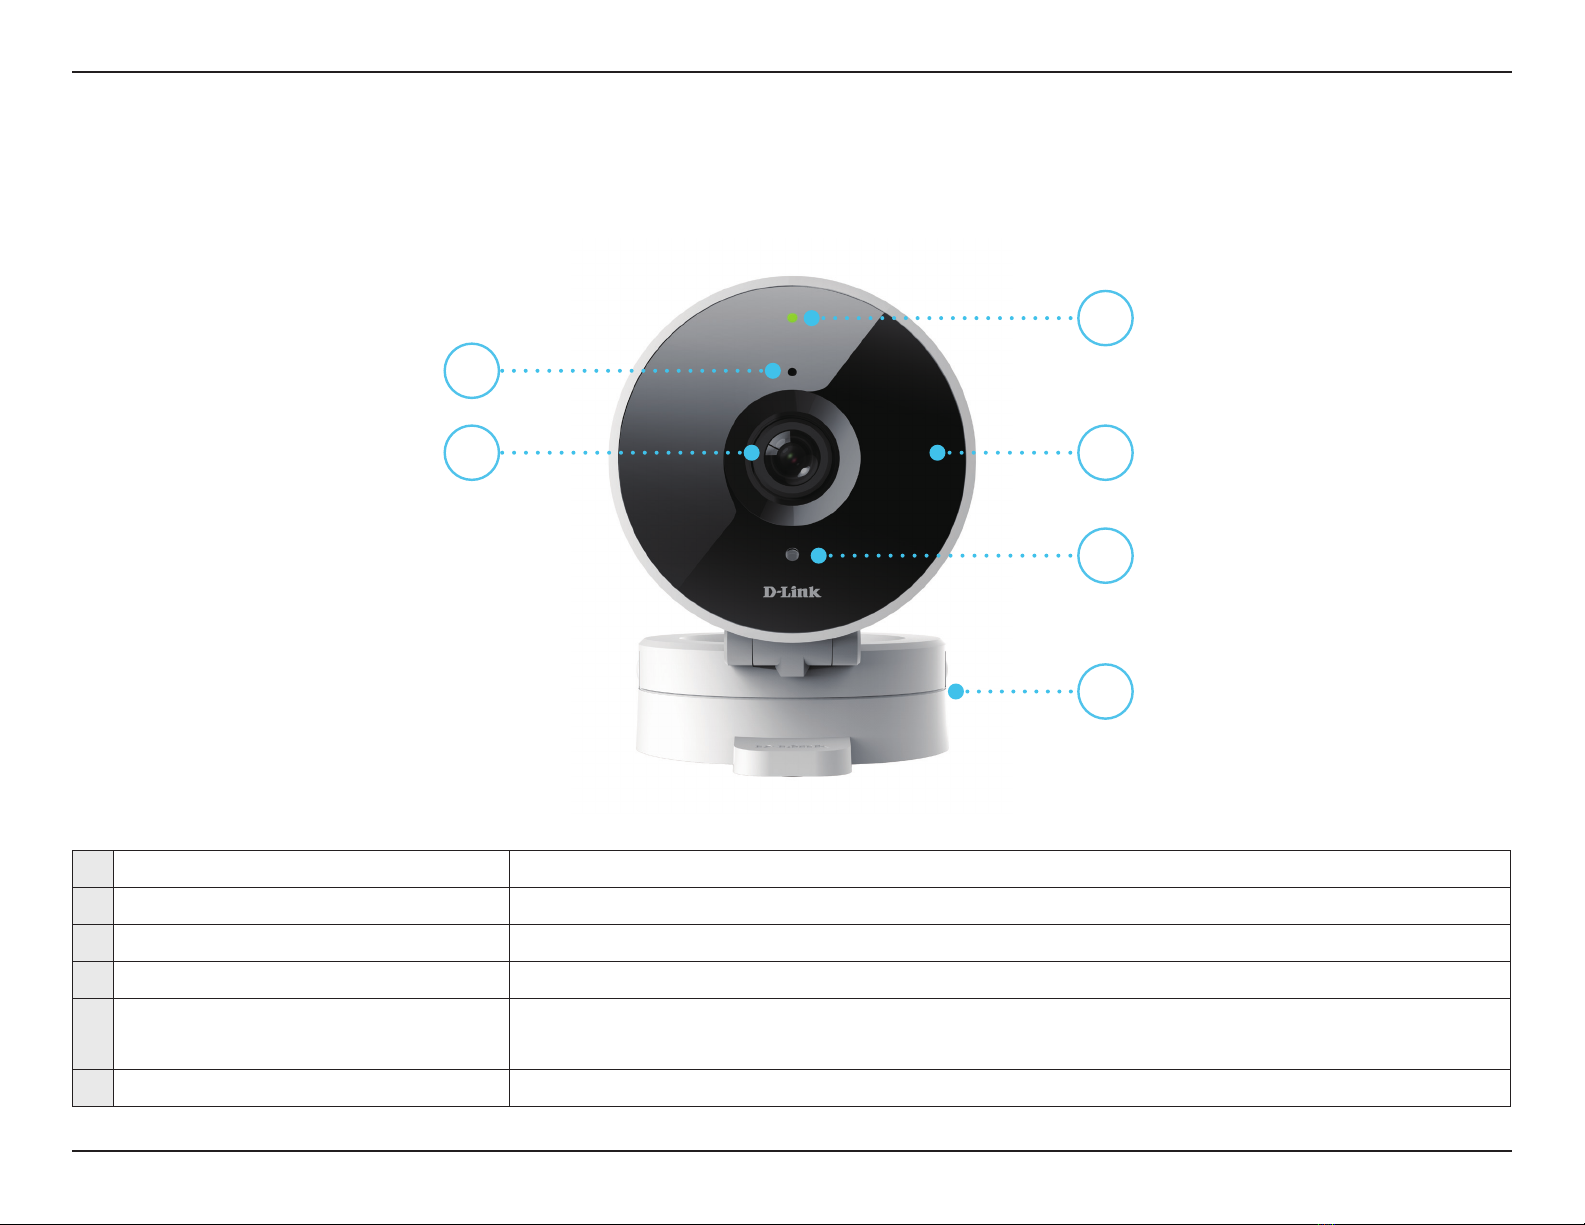
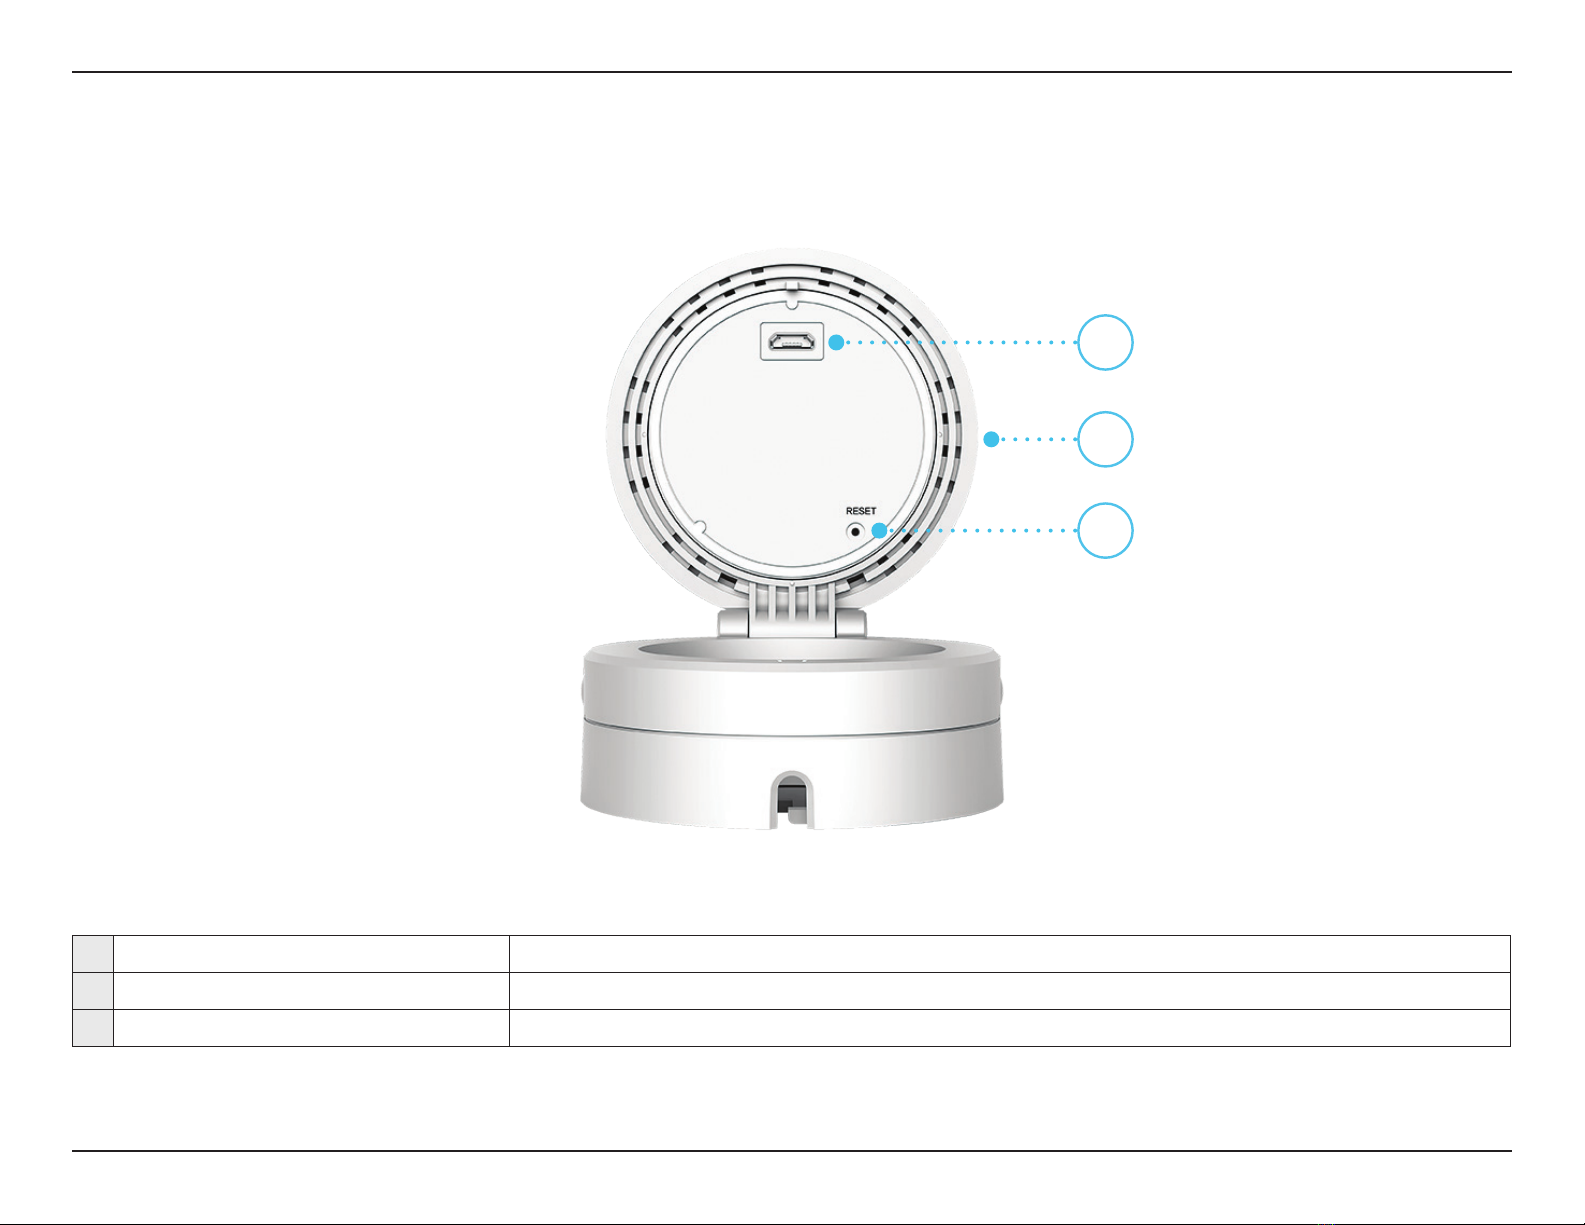
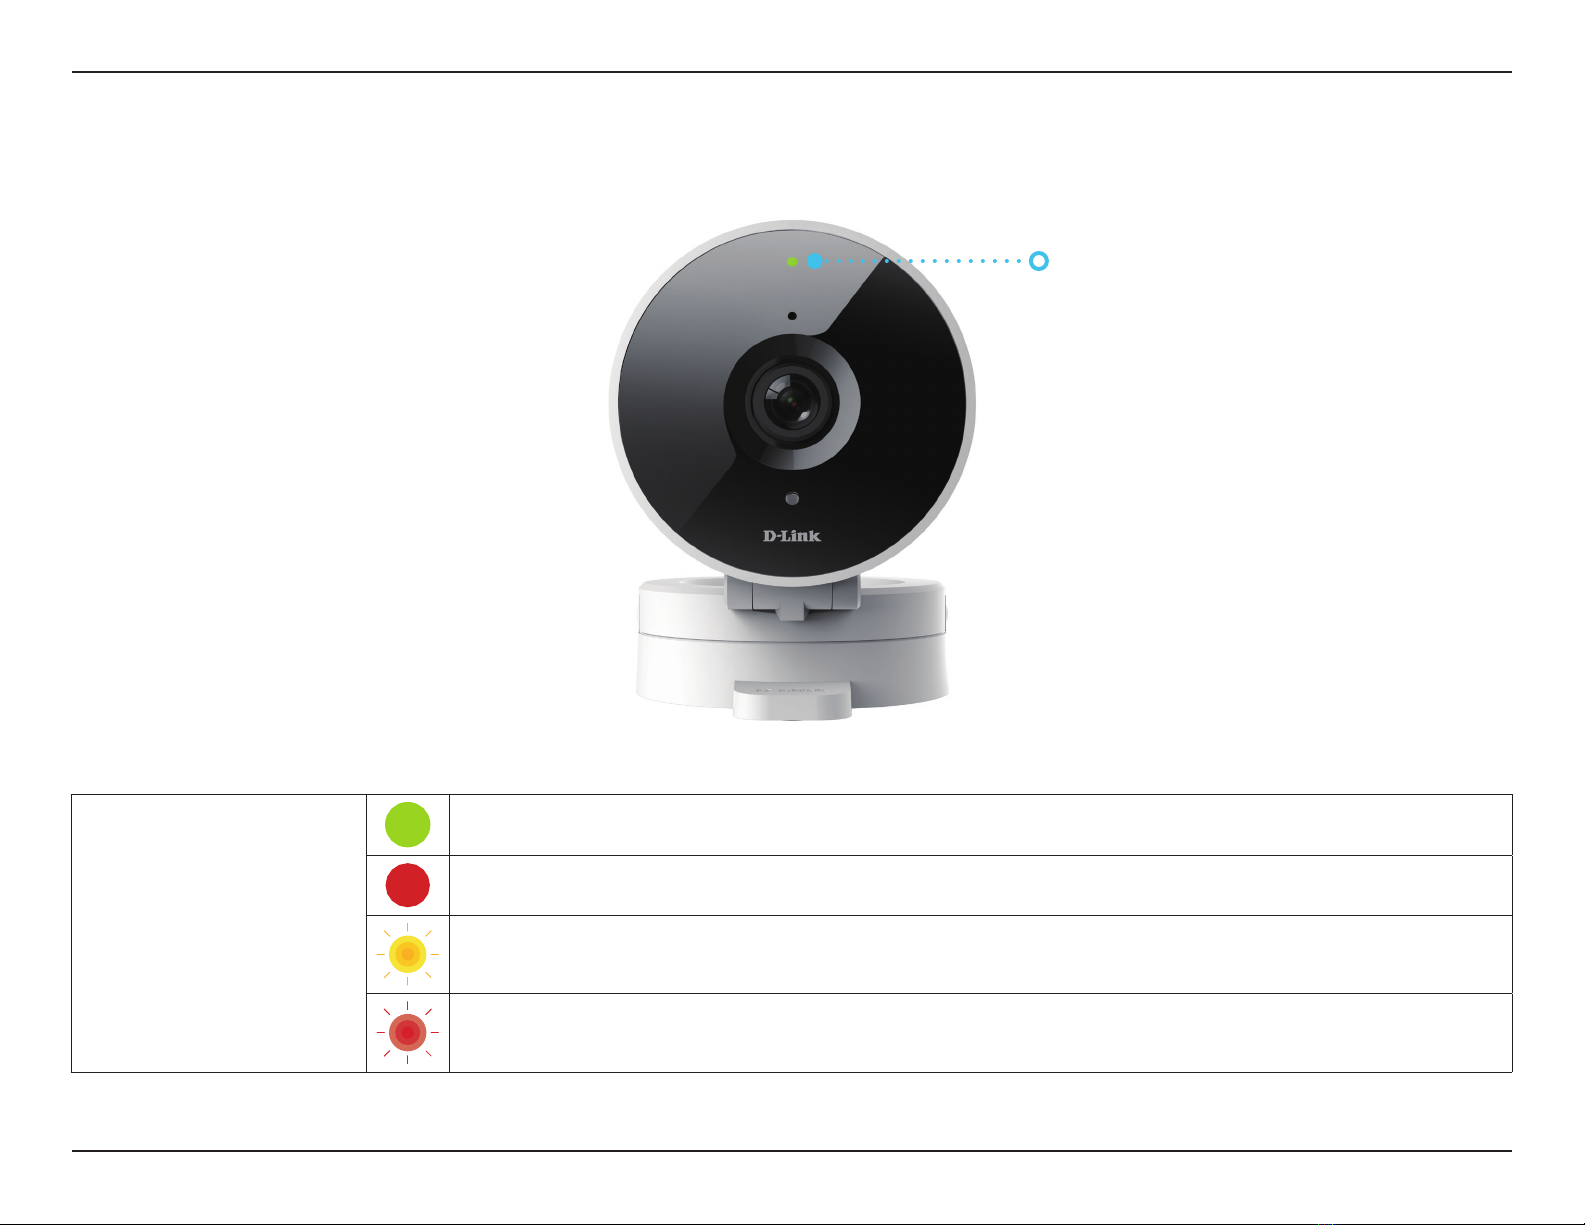
7D-Link DCS-8010LH User Manual
Section 2 - Installation
Wireless Installation Considerations
The DCS-8010LH HD Wi-Fi Camera lets you view video footage from virtually anywhere within the operating range of your
wireless network. Keep in mind that the number, thickness and location of walls, ceilings, or other objects that the wireless
signals must pass through may limit the range. Typical ranges vary depending on the types of materials and background RF
(radio frequency) noise in your home or business. The key to maximizing wireless range is to follow these basic guidelines:
1. Keep the number of walls and ceilings between the camera and wireless access point to a minimum - each wall or ceiling
can reduce your camera’s range from 1 to 30 meters (3 to 90 feet). Position your devices so that the number of walls or
ceilings is minimized.
2. Be aware of the direct line between network devices. A wall that is 0.5 meters (1.5 feet) thick, at a 45-degree angle
appears to be almost 1 meter (3 feet) thick. At a 2-degree angle it looks over 14 meters (42 feet) thick! Position devices so
that the signal will travel straight through a wall or ceiling (instead of at an angle) for better reception.
3. Building materials make a dierence. A solid metal door or aluminum studs may have a negative eect on range. Try
to position access points, wireless routers, and cameras so that the signal passes through drywall or open doorways.
Materials and objects such as glass, steel, metal, walls with insulation, water (sh tanks), mirrors, le cabinets, brick, and
concrete will degrade your wireless signal.
4. Keep your product away at least 1 to 2 meters (3 to 6 feet) from electrical devices or appliances that generate RF noise.