4. Press and hold the (2) previous and next (4) buttons to set the alarm hour. NB Ensure the
AM lndicator (17) is illuminated if setting the time in the morning.
5. Briefly press the Play/Pause/Phone button (3) to go to the alarm minute setting.
6. Press and hold the (2) previous and next (4) buttons to set the alarm minute.
7. Press and hold the Play/Pause/Phone button (3) to confirm the alarm time and return to the clock
display. The Alarm Indicator (16) will illuminate to show the alarm is set.
8. Once the alarm has sounded, press the CLOCK button (5) briefly once to silence the alarm.
NB press and hold the CLOCK button (5) to set (Alarm Indicator (16) lit) and unset the alarm (Alarm
Indicator (16) not lit).
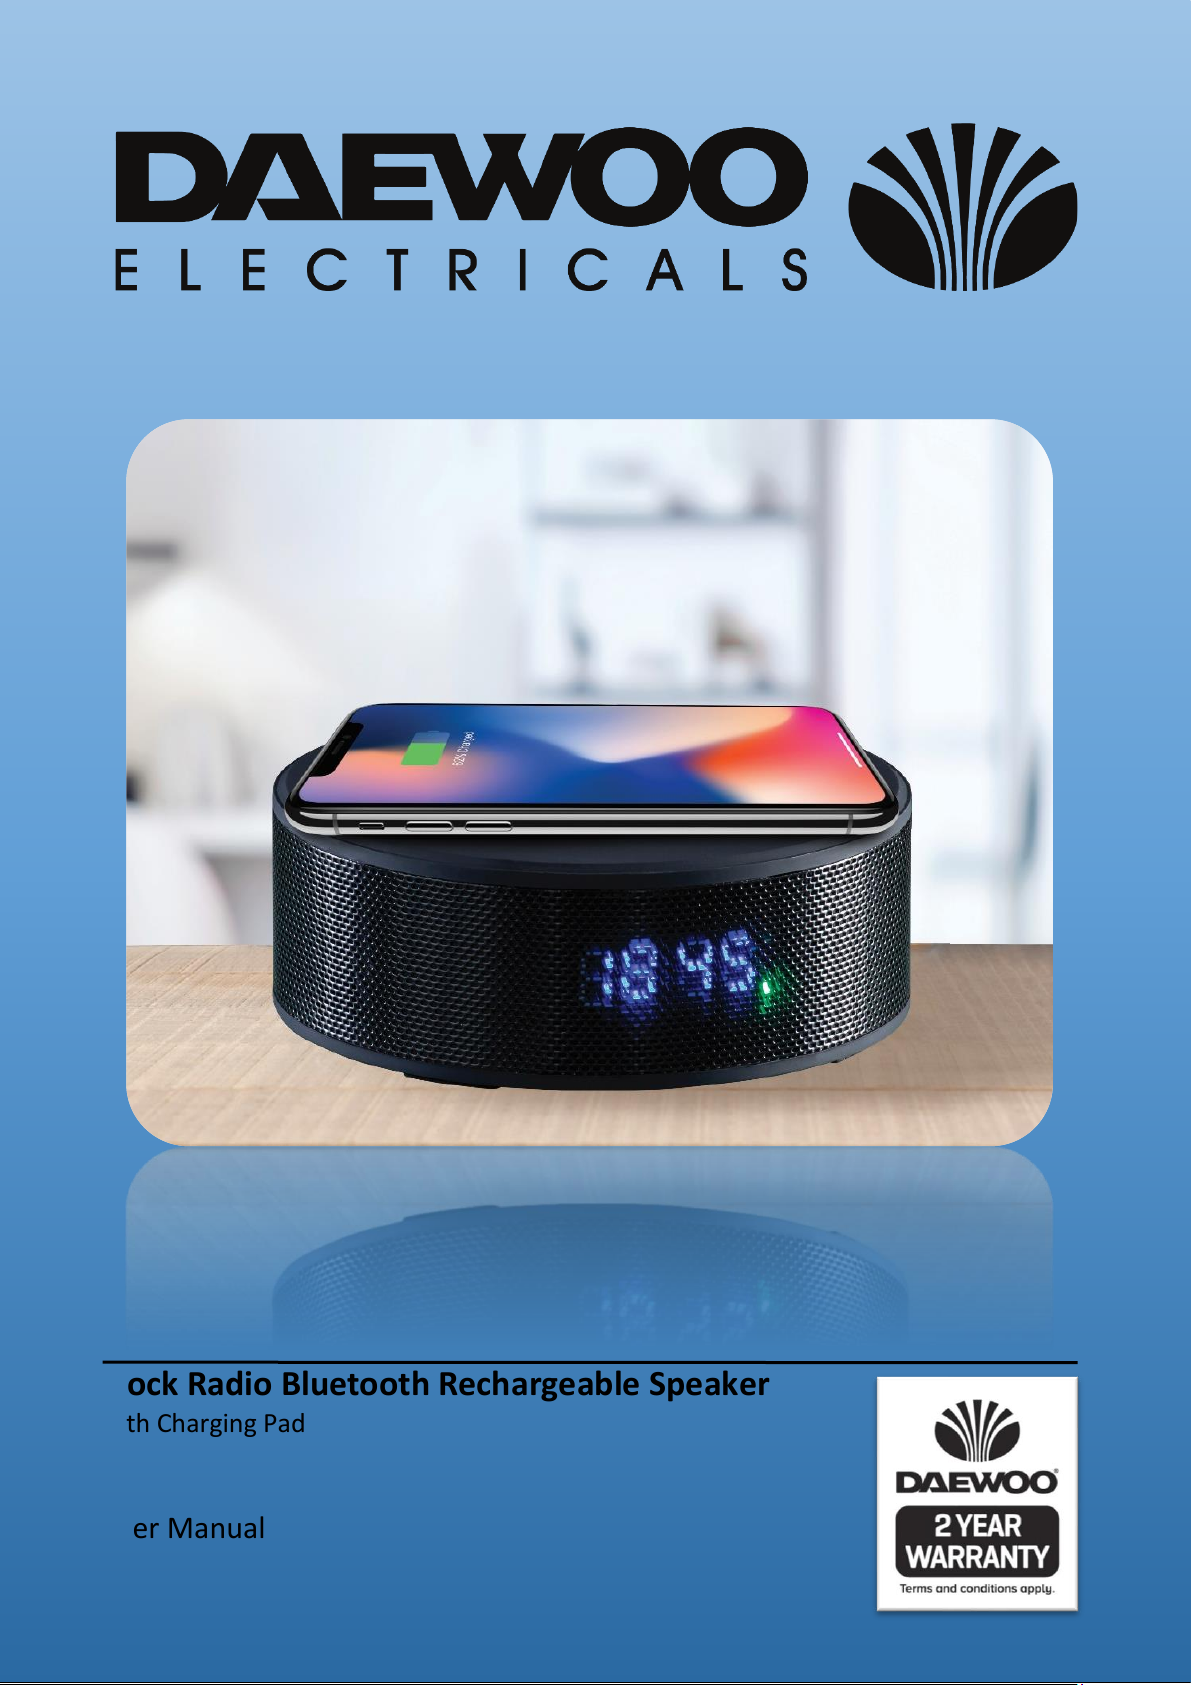
Using the Bluetooth Mode
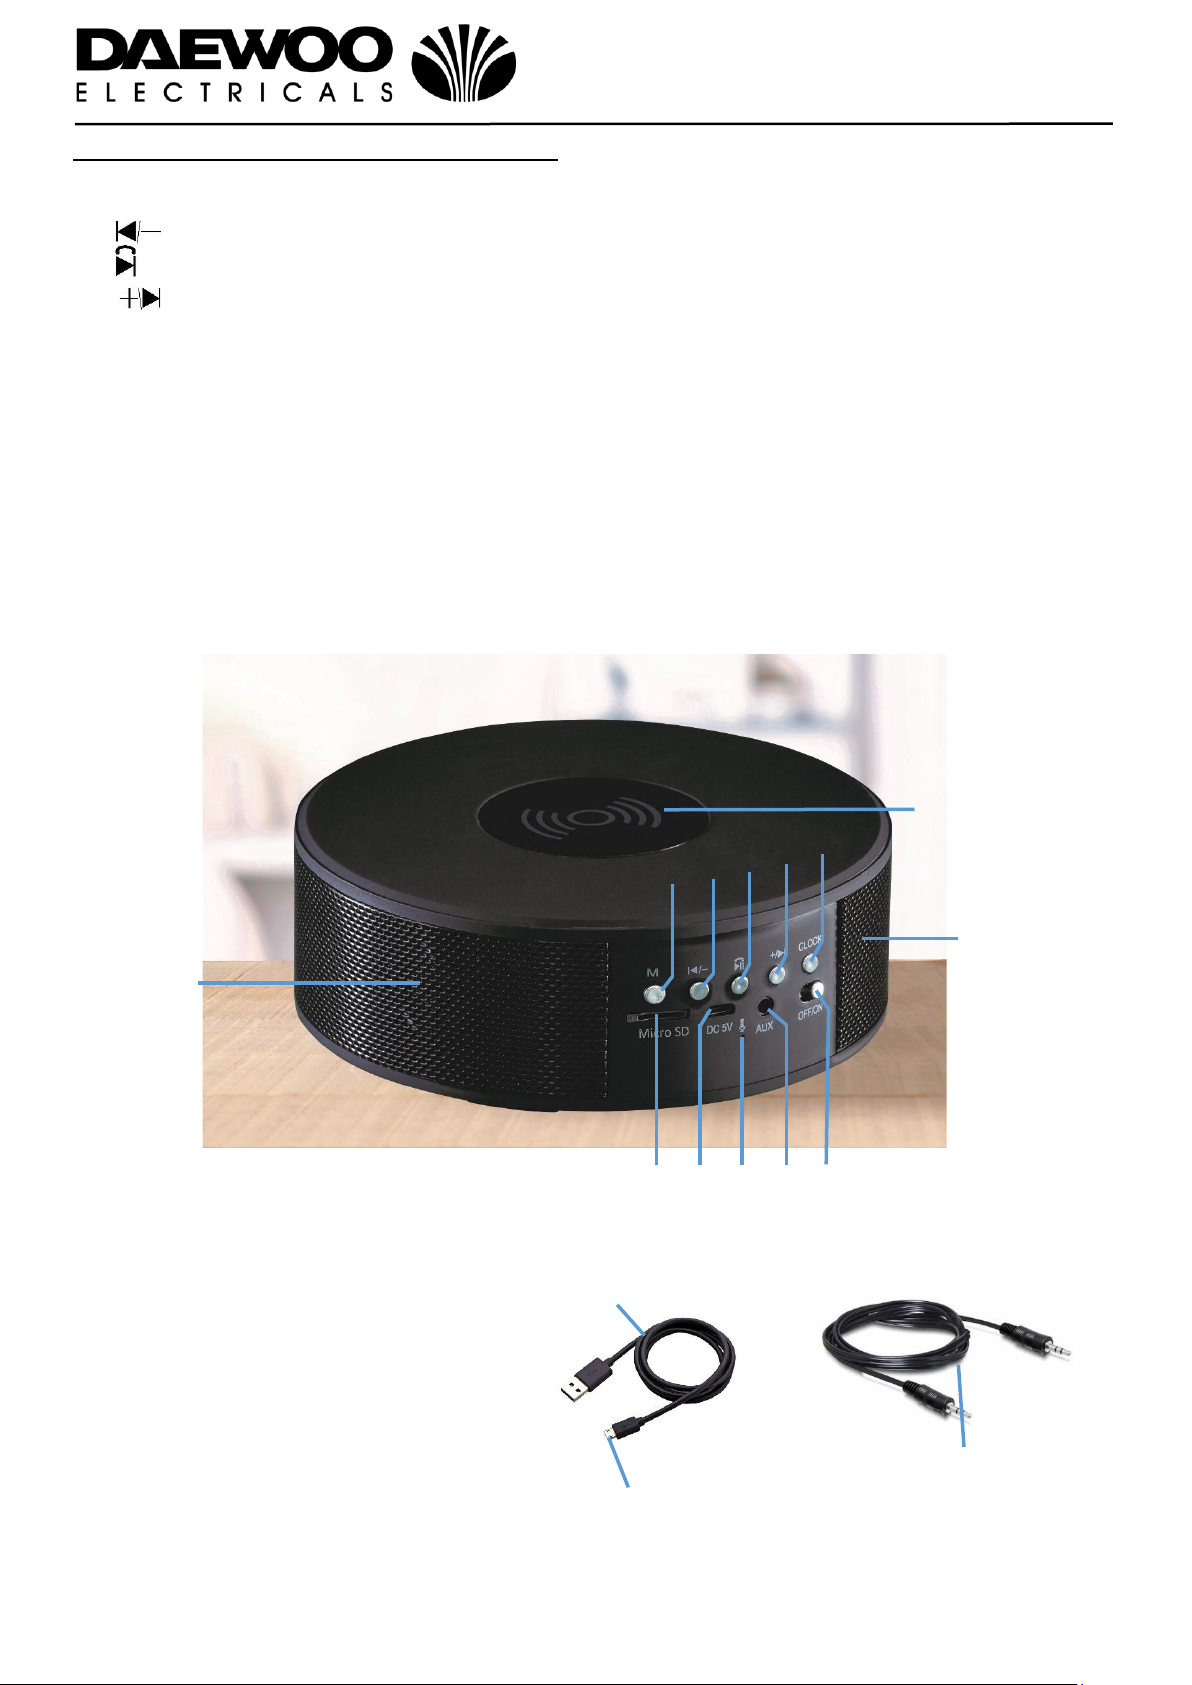
1. Move the ON/OFF switch (11) on the rear panel to the ‘ON’ position.
2. Press the Mbutton (1) until ‘bt’ appears on the LED display (19).
3. Enable the Bluetooth mode on your Phone, Tablet or other Bluetooth compatible device and set it to
search.
4. Select ‘AVS1376’ from the search results found by your device which will now pair and the speaker will
chime to confirm pairing.
5. Enable the music player on your Phone, Tablet or other device you are using.
6. Press the Play/Pause/Phone button (3) to start and stop (pause) the connected device playing.
7. Press briefly the button (2) to reduce the volume level, press and hold to skip to the previous
track.*
8. Press briefly the button (4) to increase the volume level, press and hold to skip to the next track.*
9. Alternatively use your devices controls in the usual manner.
Wireless Charging your Phone
1. Place your phone on the top of the Charging Pad (6) with the rear of the phone towards the pad.
2. The Wireless Charge Indicator (18) will illuminate red to indicate it is charging the phone battery
wirelessly. The Wireless Charge Indicator (18) will turn green once the phone is fully charged.
Handling Telephone Calls
Answering a Call
1. A call coming in will mute (cut) the music you are listening to.
2. Briefly press the Play/Pause/Phone button (3) to answer the call.
3. Press briefly the button (2) to reduce the volume level.*
4. Press briefly the button (4) to increase the volume level.*
5. Briefly press the Play/Pause/Phone button (3) again to end the call.
6. The callers voice will be heard through the speaker and your voice will be picked up by the built in
Microphone (9) at the rear of the speaker.
Rejecting a Call
1. A call coming in will mute (cut) the music you are listening to.
2. Press and hold the Play/Pause/Phone button (3) twice to reject the call.
Using the AUX/LINE Input
The AUX/LINE Input allows a direct wired connection of an external audio device (such as a mobile phone,
music player, etc.) via a 3.5mm jack socket input on the rear Panel.
1. Move the ON/OFF switch (11) on the rear panel to the ‘ON’ position.
2. Insert the supplied 3.5mm Jack to Jack lead (15) into the ‘AUX’ socket (10) on the rear panel.
3. The speaker will automatically detect the lead and switch to LINE mode, alternatively press the M
button (1) until ‘LINE’mode is selected, the word ‘LINE’ will appear on the LED display (19).