manuals.online logo
Brands
  1. Home
  2. •
  3. Brands
  4. •
  5. SOUNDMASTER
  6. •
  7. Clock Radio
  8. •
  9. SOUNDMASTER UR8100 User manual

SOUNDMASTER UR8100 User manual

UR8100 / English Instruction Manual
1
LOCATION OF CONTROLS
FUNCTION AND CONTROLS
1. ALARM 1 ON-OFF SET
2. ALARM 2 ON-OFF SET
3. << DOWN
4. >> UP
5. CLK.ADJ.
6. NIGHT LIGHT ON –OFF
7. SNOOZE / DIMMER
8. LED DISPLAY
9. NIGHT LIGHT
10. BATTERY COMPARTMENT COVER
11. RATING LABEL (BOTTOM OF UNIT)
12. DC POWER INPUT
13. USB CHARGING SOCKET
LED DISPLAY
TIME Announcement
PM Indicator
ALARM 1 Indicator ALARM 2 Indicator
UR8100 / English Instruction Manual
2
POWER CONNECTION
PREPARATION FOR USE
AC-DC adaptor connection: The clock unit can be powered by an externalAC-DC adaptor, required
the output DC 5V 1200mA (included).
POWER CONNECTION
Plug the AC-DC adaptor to a household outlet AC source. This unit is equipped with a battery back
up system; it requires a 3V flat lithium battery “CR2032” (not included). Insert the battery in the
battery compartment, making certain that the positive and negative (+and-) battery terminals are
attached to the corresponding terminals on the plate in the battery compartment. If an AC power
failure occurs, the clock automatically switches to the battery power supply, the clock continue
running. When the AC power resumes, the clock switches back to AC again.
INSTALLING/REPLACING THE BACK-UP BATTERY
1. Unscrew and remove the BATTERY COMPARTMENT COVER.
2. Install one fresh CR2032 lithium battery into the battery compartment following the polarity
diagram on the BATTERY COMPARTMENT COVER. Use only the specified size and type of
battery.
3. Replace the BATTERY COMPARTMENT COVER and tighten its screw.
Note: The unit will operate without a battery installed but your time & alarm setting will be lost and
will have to be reset in the event of power interruption or failure.
IMPORTANT:
Be sure that the battery is installed correctly. Wrong polarity may damage the unit and void the
warranty. For best performance and longer operating time, we recommend the use of good quality
alkaline battery.
TIME MANUAL SETTING
SETTING THE TIME
1. Press and hold the “CLK.ADJ.” (5) button for about 2 seconds to enter the time set mode.
2. While the display is flashing, repeatedly tap the “<<”(3) or “>>” (4) button to adjust to the correct
time. Press and hold the “<<” (3) or “>>”(4) button for faster scanning backward or forward. Tap the
“CLK.ADJ.”(5) button to confirm.
Notes:
The display sequence in time set mode will be as follows:
12/24 Hour Time Format →Real Time Hour →Real Time Min →Normal Time
During the time set, if no button is being pressed within 10 seconds, the current display time
will be automatically stored.
Make sure the hour is set so that the PM indicator is displayed correctly for afternoon/night
times.
UR8100 / English Instruction Manual
3
ALARM SETTING
SETTING THE ALARMS (ALARM 1 and ALARM 2)
Be sure to observe the PM indicator when setting the alarm to make sure the alarm time is set
correctly for AM or PM. If the PM Indicator is ‘On’, the alarm time will be afternoon/night time. The
setting sequence for AL1 is as follows :
Normal Time →ALARM 1 Hour →ALARM 1 Minute →Normal Time
1. Tap the “ALARM 1” (or “ALARM 2” ) button (1 or 2) to show the preset alarm time.
2. Press and hold the “ALARM 1”(or “ALARM 2”) button (1 or 2) again for about 2 seconds until
the Hour Indicator on the LED DISPLAY flashes. Press the “<<”(3) or “>>”(4) button to obtain
the desired Alarm Hour.
3. Tap the “ALARM 1”(or “ALARM 2”) button (1 or 2) again to advance to the Minute Indicator.
Press the “<<”(3) or “>> “(4) button to obtain the desired Alarm Minutes.
4. Press the “ALARM 1” (or “ALARM 2”) button (1 or 2) to finish setting and exit to normal time
display.
5. To disable ALARM (or ALARM 2) from automatically sounding on the upcoming days, press
and hold the “ALARM 1” (or “ALARM 2”) button (1 or 2) for about 2 seconds, the corresponding
ALARM 1 (or ALARM 2) INDICATOR will go off.
6. To resume ALARM 1 (or ALARM 2) from automatically sounding on the upcoming days, press
and hold the “ALARM 1”(or “ALARM 2”) button (1 or 2) for about 2 seconds, the corresponding
ALARM 1 (or ALARM 2) INDICATOR will turn on and the alarm will sound the following day at
the set time.
TURNING OFF THE ALARM
When the preset alarm time is reached, the ALARM 1 (or ALARM 2) INDICATOR will flash on the
LED DISPLAY and the beeper alarm will sound for 30 minutes unless interrupted by pressing
“SNOOZE”(7). To stop the alarm immediately, tap the corresponding “ALARM 1”(or “ALARM 2”)
button (1 or 2). The alarm will ring again at the same alarm time on the following day, or when set to
go off based on your Alarm settings.
Notes :
When the Beeper alarm begins, it will sound at a lower beeping rate and gradually increase to
the normal rate within 30 seconds.
SNOOZE FUNCTION
When the alarm source is sounding, press the “SNOOZE”(7) button to suspend the alarm and
activate the snooze function. The Alarm will temporarily stop and sound again 9 minutes later but
the ALARM 1 (or ALARM 2) indicator will keep flashing.
Notes:
This manual snooze operation can be repeated again and again.
To turn off the snooze function before it ends, tap the corresponding “ALARM 1”(or
“ALARM 2”) button (1 or 2). TheALARM 1 (or ALARM 2) INDICATOR will stop flashing.
UR8100 / English Instruction Manual
4
DIMMER CONTROL
Tap the “DIMMER”(7) button to set the brightness of the LED display to high, medium, low or off
according to your ambient light conditions.
NIGHT LIGHT FUNCTION
1. Press the night light “ON-OFF”(6) button to turn on the function.
2. In order to turn off the function, press the button again.
USB CHARGING FUNCTION
The product functions as a charger for your mobile phone and USB device.
The connector or the USB charging cable is not supplied. (The cable length does not exceed 3m).
IMPORTANT!
When connecting your USB cable to the USB charging socket on this alarm clock please be sure
that the USB symbol on your plug is facing UP when you insert the plug into the USB charging
socket. Observe the charging indicator on your device to confirm that it is charging.
To improve charging effectiveness, please turn off and/or refrain from using your device while
charging.
Charging time will vary depending on the charging current that your device requires.
Therefore, some devices will take longer to charge than others.
RESETTING THE UNIT
If the system does not respond or exhibits erratic or intermittent operation, you may have
experienced an electrostatic discharge (ESD) or a power surge that triggered the internal
microcontroller to shut down automatically. If this occurs, disconnect the AC Power Adaptor from
the wall and remove the backup battery from the compartment. Wait at least 3 minutes, and reinsert
the battery for the back-up, and reattach the AC Cord to the wall. The unit is now reset, so you will
need to setup the unit time and alarms again.
SPECIFICATIONS
Battery backup: 3V (CR2032 Flat Lithium battery x 1)
Power Adaptor: Input AC 100-240V 50- 60 Hz
Output DC 5V 1200mA
IMPORTER
Wörlein GmbH
Gewerbestrasse 12
D 90556 Cadolzburg
Germany
Tel.: +49 9103 71 67 0
Fax.:+49 9103 71 67 12
Email: service@woerlein.com
Web: www.woerlein.com
Technische Änderungen und Druckfehler vorbehalten
Copyright by Woerlein GmbH, 90556 Cadolzburg, www.woerlein.com
Vervielfältigung nur mit ausdrücklicher Genehmigung der Woerlein GmbH

Other manuals for UR8100

1

Other SOUNDMASTER Clock Radio manuals

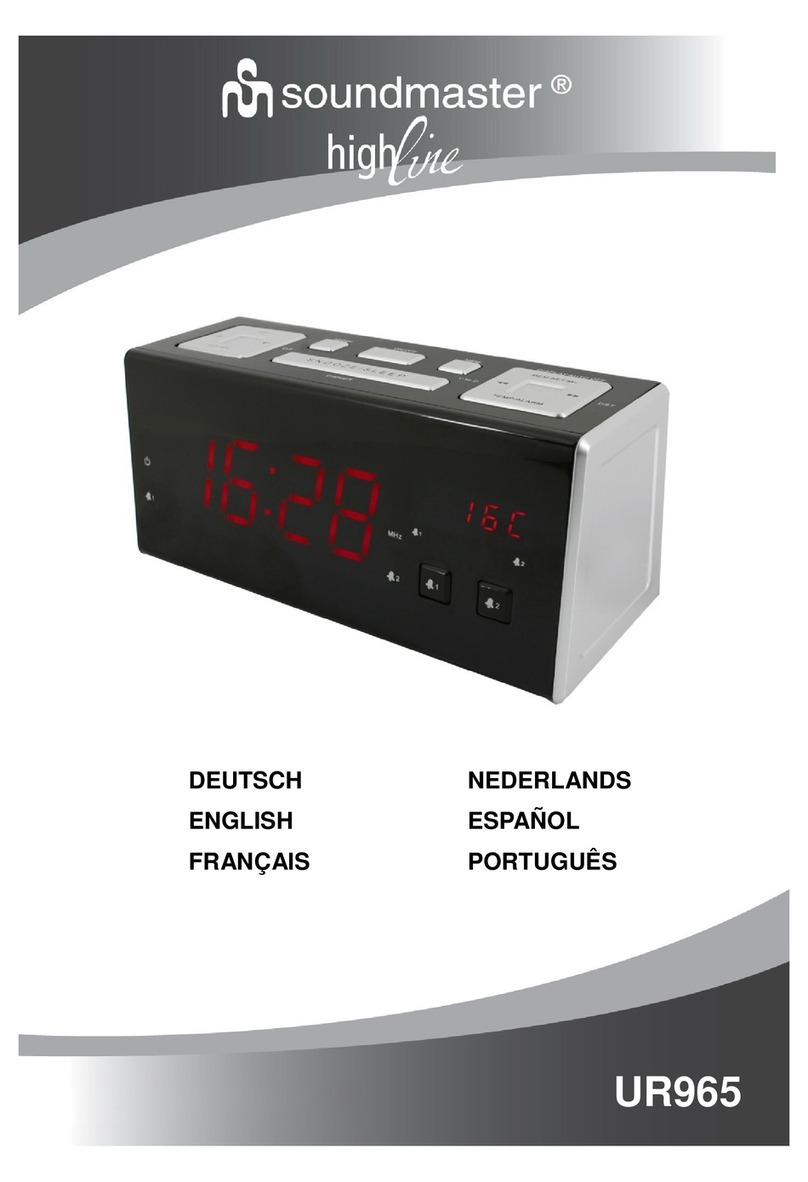
SOUNDMASTER Highline UR965 User manual

SOUNDMASTER

SOUNDMASTER Highline UR965 User manual

SOUNDMASTER Day Break iP 1040 User manual

SOUNDMASTER

SOUNDMASTER Day Break iP 1040 User manual

SOUNDMASTER UR270 User manual

SOUNDMASTER

SOUNDMASTER UR270 User manual

SOUNDMASTER UR200SI User manual

SOUNDMASTER

SOUNDMASTER UR200SI User manual

SOUNDMASTER UR-501 User manual

SOUNDMASTER

SOUNDMASTER UR-501 User manual

SOUNDMASTER High Line UR 108 User manual

SOUNDMASTER

SOUNDMASTER High Line UR 108 User manual

SOUNDMASTER FUR850 User manual

SOUNDMASTER

SOUNDMASTER FUR850 User manual

SOUNDMASTER FUR4005 User manual

SOUNDMASTER

SOUNDMASTER FUR4005 User manual

SOUNDMASTER UR2025 User manual

SOUNDMASTER

SOUNDMASTER UR2025 User manual

SOUNDMASTER UR230WE User manual

SOUNDMASTER

SOUNDMASTER UR230WE User manual

SOUNDMASTER UR-2010 User manual

SOUNDMASTER

SOUNDMASTER UR-2010 User manual

SOUNDMASTER UR8600 User manual

SOUNDMASTER

SOUNDMASTER UR8600 User manual

SOUNDMASTER iP4060BT User manual

SOUNDMASTER

SOUNDMASTER iP4060BT User manual

SOUNDMASTER BT-1308 User manual

SOUNDMASTER

SOUNDMASTER BT-1308 User manual

SOUNDMASTER UR-115 User manual

SOUNDMASTER

SOUNDMASTER UR-115 User manual

SOUNDMASTER High Line UR-8300 User manual

SOUNDMASTER

SOUNDMASTER High Line UR-8300 User manual

SOUNDMASTER URD470SW User manual

SOUNDMASTER

SOUNDMASTER URD470SW User manual

SOUNDMASTER URD480SW User manual

SOUNDMASTER

SOUNDMASTER URD480SW User manual

SOUNDMASTER Highline UR 8680 User manual

SOUNDMASTER

SOUNDMASTER Highline UR 8680 User manual

SOUNDMASTER Highline URD840 User manual

SOUNDMASTER

SOUNDMASTER Highline URD840 User manual

SOUNDMASTER UR105 User manual

SOUNDMASTER

SOUNDMASTER UR105 User manual

SOUNDMASTER HighLine URD830USB User manual

SOUNDMASTER

SOUNDMASTER HighLine URD830USB User manual

SOUNDMASTER UR-400 User manual

SOUNDMASTER

SOUNDMASTER UR-400 User manual

SOUNDMASTER NR 350 User manual

SOUNDMASTER

SOUNDMASTER NR 350 User manual

Popular Clock Radio manuals by other brands

JBL Horizon quick start guide

JBL

JBL Horizon quick start guide

Vitek VT-3517 SR Manual instruction

Vitek

Vitek VT-3517 SR Manual instruction

Aluratek AIRMM02F Instructional manual

Aluratek

Aluratek AIRMM02F Instructional manual

RCA RC207 user manual

RCA

RCA RC207 user manual

Denver Electronics DENVER CPR-700 user manual

Denver Electronics

Denver Electronics DENVER CPR-700 user manual

Sony Dream Machine ICF-C1iPMK2 user manual

Sony

Sony Dream Machine ICF-C1iPMK2 user manual

Craig CMB3228 owner's manual

Craig

Craig CMB3228 owner's manual

Philips AJ 3282 user manual

Philips

Philips AJ 3282 user manual

Renkforce WL-01 operating instructions

Renkforce

Renkforce WL-01 operating instructions

capello CR2W user guide

capello

capello CR2W user guide

Philips AJ3600 user manual

Philips

Philips AJ3600 user manual

Sony ICF-CD837 user manual

Sony

Sony ICF-CD837 user manual

Tevion PC-5400 user manual

Tevion

Tevion PC-5400 user manual

Hyundai H-1513 instruction manual

Hyundai

Hyundai H-1513 instruction manual

SkyScan 88905 Quick setup guide

SkyScan

SkyScan 88905 Quick setup guide

Telefunken TF-1567U instruction manual

Telefunken

Telefunken TF-1567U instruction manual

Vextra VX504 operating instructions

Vextra

Vextra VX504 operating instructions

Lenoxx CDR-1902 operating instructions

Lenoxx

Lenoxx CDR-1902 operating instructions

manuals.online logo
manuals.online logoBrands
  • About & Mission
  • Contact us
  • Privacy Policy
  • Terms and Conditions

Copyright 2025 Manuals.Online. All Rights Reserved.