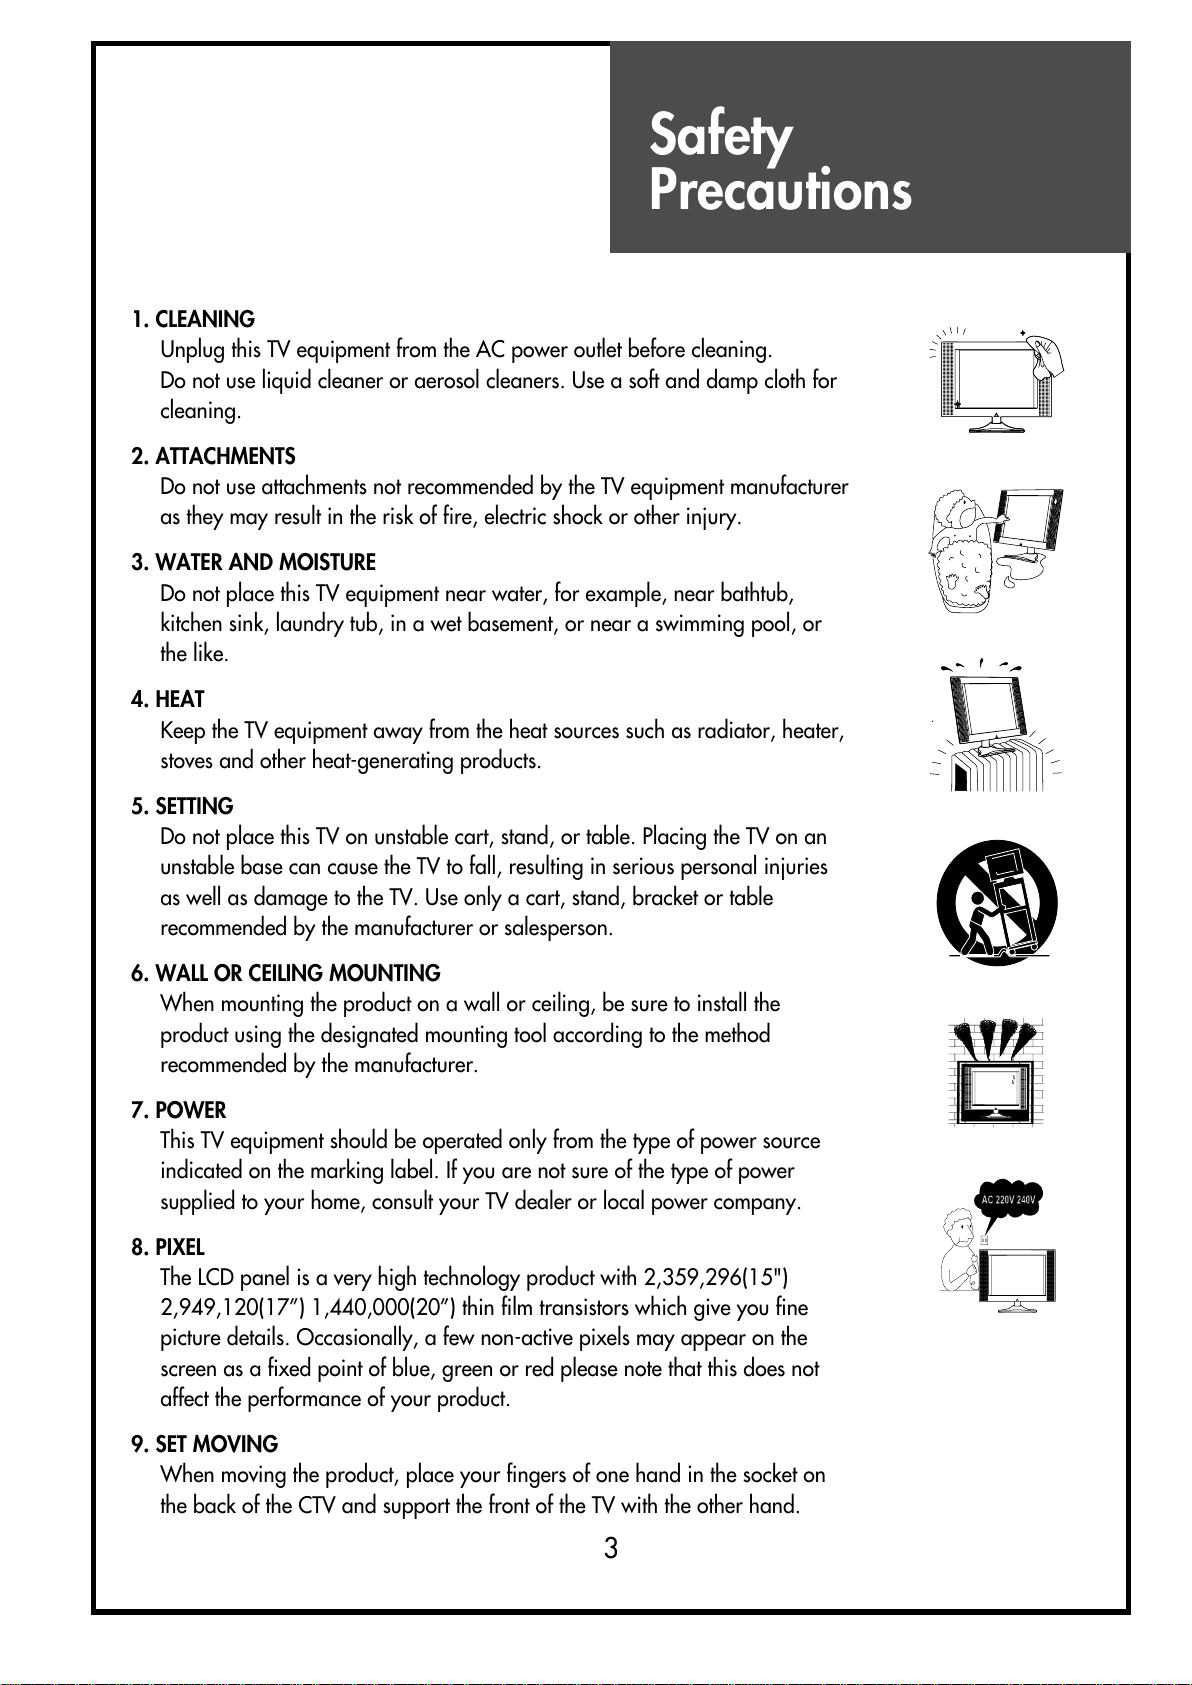
DAEWOO ELECTRONICS DSL-15D3 User manual

LCD TELEVISION
INSTRUCTION MANUAL
DSL-15D3
DSL-17D3
DSL-20D3
DSL-15D4
DSL-17D4
DSL-20D4
PAL B/G, D/K, I/I,
SECAM B/G, D/K, L/L’, NTSC(AV)
TELETEXT
SCART/VIDEO/S-VIDEO/COMPONENT/PC
MULTI-LANGUAGE OSD
All manuals and user guides at all-guides.com
all-guides.com

Caution
WARNING:To reduce the risk of fire or electric shock hazard, do not expose this appliance
to rain or moisture.
2
CAUTION
RISK OF ELECTRIC SHOCK
DO NOT OPEN
CAUTION : TO REDUCE THE RISK OF ELECTRIC SHOCK,
DO NOT REMOVE COVER (OR BACK .
NO USER-SERVICEABLE PARTS INSIDE.
REFER SERVICING TO QUALIFIED SERVICE PERSONNEL.
The lightning flash with arrowhead symbol, within an equilateral triangle, is
intended to alert the user to the presence of uninsulated “dangerous oltage” with-
in the product’s enclosure that may be of sufficient magnitude to constitute a risk
electric shock.
The exclamation point within an equilateral triangle is intended to alert the user to
the presence of important operating and ser icing instructions in the literature
accompanying the appliance.
All manuals and user guides at all-guides.com

Safety
Precautions
1. CLEANING
Unplug this TV equipment from the AC power outlet before cleaning.
Do not use liquid cleaner or aerosol cleaners. Use a soft and damp cloth for
cleaning.
2. ATTACHMENTS
Do not use attachments not recommended by the TV equipment manufacturer
as they may result in the risk of fire, electric shock or other injury.
3. WATER AND MOISTURE
Do not place this TV equipment near water, for example, near bathtub,
kitchen sink, laundry tub, in a wet basement, or near a swimming pool, or
the like.
4. HEAT
Keep the TV equipment away from the heat sources such as radiator, heater,
sto es and other heat-generating products.
5. SETTING
Do not place this TV on unstable cart, stand, or table. Placing the TV on an
unstable base can cause the TV to fall, resulting in serious personal injuries
as well as damage to the TV. Use only a cart, stand, bracket or table
recommended by the manufacturer or salesperson.
6. WALL OR CEILING MOUNTING
When mounting the product on a wall or ceiling, be sure to install the
product using the designated mounting tool according to the method
recommended by the manufacturer.
7. POWER
This TV equipment should be operated only from the type of power source
indicated on the marking label. If you are not sure of the type of power
supplied to your home, consult your TV dealer or local power company.
8. PIXEL
The LCD panel is a ery high technology product with 2,359,296(15")
2,949,120(17”) 1,440,000(20”) thin film transistors which gi e you fine
picture details. Occasionally, a few non-acti e pixels may appear on the
screen as a fixed point of blue, green or red please note that this does not
affect the performance of your product.
9. SET MOVING
When mo ing the product, place your fingers of one hand in the socket on
the back of the CTV and support the front of the TV with the other hand.
3
All manuals and user guides at all-guides.com

Contents
IMPORTANT SAFEGUARDS 5
SUPPLIED ACCESSORIES 6
FUNCTIONAL OVERVIEW 7
Front (Control panel) 7
Remote controller 8
PREPARATION 9
Inserting Batteries into the Remote Control Unit 9
Mains connection 9
Aerial connection 10
Connecting external equipment 12
INSTALLATION 14
Language selection 14
Automatic Tuning of TV Channels 14
Programme Editing 15
Manual Tuning 16
DAILY USE 18
Switching On and Off 18
Recall 18
Programme Selection 19
Picture Control 19
Sound Control 20
Special Features 21
Time setting 21
Wake up time setting 22
Sleep 22
Teletext (Option) 23
PC setup 25
WALL/ARM MOUNTING 27
TROUBLESHOOTING 28
PRODUCT SPECIFICATIONS 29
4
All manuals and user guides at all-guides.com

Important
Safeguards
Location
Heat, Moisture, Dust, Vibration
Position your set so that bright light or sunlight doesn't fall directly onto the screen.
Care should be taken not to expose the set to any unnecessary ibration, moisture, dust or
heat.
Do not expose the set to dripping or splashing.
Ventilation
Also ensure that the set is placed in a position to allow a free flow of air.
Do not co er the entilation openings on the back co er.
Lea e at least 10 cm around each side of the TV set.
Mounting
This set can be positioned by using the table top stand or wall mounting bracket.
When you install the set using the wall mounting bracket, fix it carefully so it is secure.
Object Entry
Do not insert foreign objects, such as needles and coins, into the entilation openings.
Lightning striking
You should disconnect your set from the mains and the aerial system during thunderstorms.
Cleaning
Unplug the set from the mains before cleaning.
Dust the set by wiping the LCD screen and the cabinet with a soft, clean cloth.
If the screen requires additional cleaning, use a clean, damp cloth.
Do not use liquid cleaners or aerosol cleaners.
Do not rub or strike the LCD with anything hard as this may scratch, or damage the LCD
permanently.
Service
Ne er remo e the back co er of the set as this can expose you to high oltage and other
hazards.
If the set does not operate properly,unplug it and call your dealer.
5
All manuals and user guides at all-guides.com

Supplied
Accessories
Make sure that the following accessories are provided with the product.
6
AC cord
AC cord
AC/DC adapter
123
456
789
RECALL
SLEEP
PC
MUTE POWER
VOL VOL
PR
PR
NORMAL
S.MODEASPECT
X?
MENU
0
Remote controller
Batteries (Option)
(2x1.5V, AAA)
Instruction manual
All manuals and user guides at all-guides.com
all-guides.com

Functional
Overview
Front (Control panel
7
Remote
sensor LED
indicator
PR MENU
Power
On/Off PR
Up/Down Volume
Up/Down AV MENU
All manuals and user guides at all-guides.com

Functional
Overview
Remote Controller
[ ] : Teletext function
8
123
456
789
RECALL
SLEEP
PC
MUTE POWER
VOL VOL
PR
PR
NORMAL
S.MODEASPECT
X?
MENU
0
MUTE POWER
MENU
UP (PR UP) [PAGE UP]
LEFT(VOLUME DOWN) RIGHT(VOLUME UP)
AV
DOWN(PR DOWN)
[PAGE DOWN]
NORMAL
[HOLD]
SOUND MODE[SIZE]
[TELETEXT]
[INDEX]
PC
NUMBER[PAGE]
SLEEP[SUBPAGE]
RECALL
ASPECT[MIX]
[CANCEL]
[REVEAL]
All manuals and user guides at all-guides.com

Preparation
Inserting Batteries into the Remote Control Unit
Mains Connection
1. Connect the DC plug of the AC adaptor to the DC 12V(DC 15V-only 20” input terminal of
the set.
2. Connect the AC adaptor and AC cord.
3. Plug the other end of AC cord into a Power outlet with 100V - 240V AC, 50/60Hz.
9
To load the batteries, turn the remote control
handset o er and open the battery compartment.
Insert the batteries (Two 1.5 , type R03 or AAA).
Make sure that the polarity matches with the (+)
and (-) marks inside of the battery compartment.
Note: To a oid damage from possible battery
leakage, remo e the batteries if you do not
plan to use the remote control handset for
an extended period of time.
Power outlet AC Adapter
AC Cord
DC 12V input terminal
(DC 15V-only 20”)
All manuals and user guides at all-guides.com

Preparation
Aerial Connection
CONNECTING THE TV DIRECTLY TO AN AERIAL
Connect an aerial cable (75 ohm coaxial cable) to the Aerial terminal on the back of the TV
set.
10
Aerial cable
Aerial Terminal
Aerial
All manuals and user guides at all-guides.com

Preparation
AERIAL CONNECTION WITH VCR
Connect your aerial cable to the RF(aerial) IN terminal on the VCR.
Connect the RF OUT terminal of the VCR to the Aerial terminal on the TV set with RF cable.
NOTE: If you wish to use only the Aerial (RF) connection, then you should store the VCR
channel on programme number “ZERO”using the “Manual tuning”function (See page 16).
Now you can watch the VCR in TV mode by selecting the programme number “PR00”.
11
RF IN RF OUT
VCR
All manuals and user guides at all-guides.com
all-guides.com

Preparation
Connecting external equipment
12
AV 1
PC INPUT
Pr Pb Y R L
PC
AUDIO
VIDEO2
AUDIO
L
R
S-VIDEO
COMPONENT
Pr Pb
RL
Y
Set Top Box
VCR/DVD
DVD
RCA cable
Headphone
S- ideo cable
SCART cable
PC Audio cable
PC
PC D-sub cable
Set Top Box
VCR/DVD/Camcorder/
Video Game
All manuals and user guides at all-guides.com

Preparation
TV/AV/PC MODE SELECTION
Press the TV/AV( ) button on the control panel repeatedly to select the source.
You can also select the source using TV/AV( ) button on the remote controller.
TV AV1 AV2 S-VIDEO COMPONENT PC TV
There is the direct key on the remote controller, PC, for the PC mode.
In TV mode, you can change the TV programme number with the PR button or the
NUMBER button.
NOTE : When the TV SET has no signal, OSD(On Screen Display) appears on the screen.
AV INPUT JACK (VIDEO2
This jack has ideo / audio inputs.
It is used to connect a VCR, Camcorder, DVD, STB, Video game.
S-VIDEO INPUT JACK
It has Y/C inputs. This jack is used to connect S-Video equipment.
COMPONENT INPUT JACK (COMPONENT
This jack has Y/Pb(Cb)/Pr(Cr) inputs and audio inputs.
It is used to connect a DVD.
SCART JACK (AV1
This jack has ideo / audio inputs and outputs, RGB inputs.
It is used to connect a STB, VCR, DVD.
When the signal is RGB, the TV set switches automatically to AV1 mode.
In most cases, the TV set switches automatically to AV1 mode, when the external equipment is
connected in playback mode. If not, then use the AV button to select AV1.
HEADPHONE JACK
Insert the headphone plug(3.5 mm ø) into this jack( ).
The sound from the speaker will be automatically cut off.
You can control the headphone sound with the VOL button.
D-SUB JACK (PC RGB
This jack has RGB inputs and is used to connect a PC.
See page 25 for more information of PC mode.
PC AUDIO INPUT JACK
Connect the stereo audio cable to the PC AUDIO jack and the other end to the Audio Out
terminal of the Sound card on your PC. 13
All manuals and user guides at all-guides.com

Language Selection
1. When you turn on the TV set(see page18) for
the first time, the Language menu appears for
the on-screen display.
If not,
(1) Press the MENU button to call up the menu.
(2) Mo e the selection bar to the Utilities menu
with PR button.
(3) Press the VOL button.
(4) Mo e the selection bar to the Language
with PR button.
2. Press the VOL button to choose the
language you want .
3. Press the MENU button to escape from menu.
Automatic Tuning of TV Channels
1. Press the MENU button to call up the menu.
2. Mo e the selection bar to the Setup menu with
PR button.
3. Press the VOL button.
4. Place the selection bar on Auto setup and
press the VOL button.
5. Place the selection bar on the Country you
require with PR button.
Installation
14
Picture Language English
Time
Osd Translucent Opaque
Colour temp Normal
Child lock Off
Sound
Utilities
Setup
Move Adjust Prev.
MENU
Picture Auto setup
Manual tuning
Edit
Sound
Utilities
Setup
Move Adjust Prev.
MENU
Picture Country Gerat Britain
Sound
Utilities
Setup
Move Adjust Prev.
MENU
All manuals and user guides at all-guides.com

Installation
15
6. Press the VOL button. All a ailable TV
channels(CH) are searched for and stored from
programme number (PR) 1 onwards
automatically. The names of the TV channels
are stored as well if the TV channels broadcast
VPS, PDC or Teletext.
7. Please wait until the tuning screen disappears.
Programme Editing
Select the Edit menu from the Setup menu.
DELETING THE PROGRAMME
1. Position the selection bar to the programme to
delete with the PR buttons.
2. Press the YELLOW button. The selected TV
channel is deleted, all the following channels
are shifted up one position.
MOVING THE PROGRAMME
1. Select the programme to mo e with PR
button.
2. Press GREEN button to mo e the selected
programme up or down to the desired
programme number.
SKIPPING THE PROGRAMMES
1. Select Skip “Yes” or “No” with the RED button.
2. The programme marked with Skip “Yes”
doesn’t appear on screen when selecting a
programme using the PR button.
ATS 10 %
Exit
MENU
Picture P01 ----- skip
P02 ----- skip
P03 ----- skip
P04 ----- skip
P05 ----- skip
Sound
Utilities
Setup
Cursor Exit
MENU
Skip Move Delete
All manuals and user guides at all-guides.com

Installation
16
Manual tuning
Select the Manual tuning from the Setup menu.
PROGRAMME NUMBER SELECTION
1. Position a selection bar to Program.
2. Press the VOL buttons to select a
programme number you want.
TV SYSTEM SELECTION
If necessary, you can change the TV System.
1. Position a selection bar to System.
2. Select the TV system with VOL button.
CHANNEL SEARCH
PR Search
1. Position the selection bar to Search.
2. Press the VOL or VOL button to search up
or down.
3. Searching will be stopped automatically after
finding the next channel.
4. Without memorizing the searched channel, it
will not be stored.
For sa ing the channel, position the selection
bar to Memorize.
5. Press the VOL button.
Picture Program Pr 1
Name -----
Ch S09
System GB
Search
Memorize
Sound
Utilities
Setup
Move Adjust Prev.
MENU
Picture Program Pr 1
Name -----
Ch S09
System GB
Search
Memorize
Sound
Utilities
Setup
Move Adjust Prev.
MENU
All manuals and user guides at all-guides.com
all-guides.com

Installation
17
Picture
Sound
Utilities
Setup
Move Adjust Prev.
MENU
Program Pr 1
Name -----
Ch S09
System GB
Search
Memorize
Picture Program Pr 1
Name -----
Ch S09
System GB
Search
Memorize
Sound
Utilities
Setup
Move Adjust Prev.
MENU
Direct Search
You can find the desired channel directly without
Search function by inputting the channel number.
1. Place the selection bar to ‘Ch’.
2. Press the VOL button of the remote control to
start.
3. Using VOL button of the remote control to
select the digit, which you desire to change.
4. By pressing the PR button, you can find
the desired number or character.
5. For sa ing the channel you select, please
memorize it.
ENTER A STATION NAME
You can change an existing name, or enter a
name where none exists.
1. Mo e the selection bar to Name.
2. Press the VOL buttons to call up the Name
menu.
3. Select the position with VOL button.
4. Use the PR buttons to select the desired
character : A
B C ... Z + - .(blank) 1 2 ... 9
All manuals and user guides at all-guides.com

Daily Use
18
Switching On and Off
SWITCHING ON
1. If the Indicator is not lit, then the TV set is powered off.
You must press the button on the TV set.
The set will switch to stand-by mode and then the Indicator will illuminate in Red.
2. Press the POWER button, PR button or NUMBER button on the remote controller or PR
button on the TV set.
The TV set will be switched on and then the Indicator will change to Green.
SWITCHING OFF
1. Press the POWER button on the remote controller to return the set to its stand-by mode.
The Indicator will illuminate in Red.
2. Press the button on the TV set to switch the TV set off completely.
NOTE: If you don’t use the set for extended periods of time, unplug the AC cord from Power
outlet.
Recall
The Recall button is used to display the current status; Mode (AV, Component, PC) and Signal
information for 4 seconds.
In TV mode, the Programme number and Station Name, Sound mode are displayed.
All manuals and user guides at all-guides.com

Picture Control
1. Select the Picture menu.
2. Select and adjust the le el of each function:
“Brightness”, “Contrast”, “Colour”, “Sharpness”.
The adjusted le els are stored automatically in
Fa ourite mode.
NOTE: Tint is displayed only when recei ing a
NTSC signal. Only Brightness, Sharpness
and Contrast are displayed in PC mode.
SMART NORMAL SELECTION
When you press the NORMAL button repeatedly,
you can call up three pictures settings;
Normal1 Normal2 Favourite
Normal1
ZOOM (ASPECT RATIO CONTROL
You can select the desired aspect ratio with the
ASPECT button on the remote controller.
(NB: It doesn't work in Component or PC mode.)
The following picture formats are a ailable:
Normal 16:9 Zoom (15”/20”
Normal 4:3 Zoom (17”
Daily Use
19
Programme Selection
The set has 100 programme numbers, PR00..PR99.
DIRECT SELECTION
The NUMBER buttons are used for direct programme selection.
To select a two-digit programme, press the second numbered button within 2 seconds.
PR SELECTION
You can also select a programme by pressing step by step the PR buttons.
Picture Brightness 32
Contrast 32
Colour 32
Sharpness 32
Sound
Utilities
Setup
Move Adjust Prev.
MENU
All manuals and user guides at all-guides.com

Daily Use
20
Volume 20
Pr 12
Stereo
Pr 12
Mono
Sound Control
VOLUME CONTROL
Adjust the olume with the VOL buttons.
MUTE
Pressing the MUTE button ( ) turns the sound
off.
The MUTE symbol will be displayed.
The sound returns if the button is pressed once
more.
SOUND MODE
Stereo/Mono sound selection
When recei ing a Stereo programme, Stereo
mode is automatically selected.
In Stereo reception if you are unable to get good
sound quality due to poor reception, you can
force a change from Stereo to Mono transmission
by pressing the S.MODE button.
Then the program status display indicates (Mono).
To return back to Stereo, press the S. MODE
button again.
The setting can be indi idually selected for each
PR number.
All manuals and user guides at all-guides.com
This manual suits for next models
5
Table of contents
Other DAEWOO ELECTRONICS LCD TV manuals

DAEWOO ELECTRONICS
DAEWOO ELECTRONICS DLM-32C5 User manual

DAEWOO ELECTRONICS
DAEWOO ELECTRONICS DSL-15C1T User manual

DAEWOO ELECTRONICS
DAEWOO ELECTRONICS DLM-42U1 User manual

DAEWOO ELECTRONICS
DAEWOO ELECTRONICS DLN-15D3SHS User manual

DAEWOO ELECTRONICS
DAEWOO ELECTRONICS DLP-20J1 User manual

DAEWOO ELECTRONICS
DAEWOO ELECTRONICS DSL-15D1T User manual

DAEWOO ELECTRONICS
DAEWOO ELECTRONICS DLT-42U1GMB User manual

DAEWOO ELECTRONICS
DAEWOO ELECTRONICS DLM-26C2 User manual

DAEWOO ELECTRONICS
DAEWOO ELECTRONICS DSL-19M1WCD User manual

DAEWOO ELECTRONICS
DAEWOO ELECTRONICS DLP-26C2 User manual