manuals.online logo
Brands
  1. Home
  2. •
  3. Brands
  4. •
  5. Daheng Imaging
  6. •
  7. Digital Camera
  8. •
  9. Daheng Imaging MERCURY2 GigE Series User manual

Daheng Imaging MERCURY2 GigE Series User manual

MERCURY&MERCURY2 QuickGuideMERCURY&MERCURY2 QuickGuide
Thank you for choosing DAHENG IMAGING products! This guide will help you get started as quickly as
possible with our products. For more information(e.g. detailed manuals, CAD/3D drawings, driver software,
etc.), please visit: www.daheng-imaging.com/en.
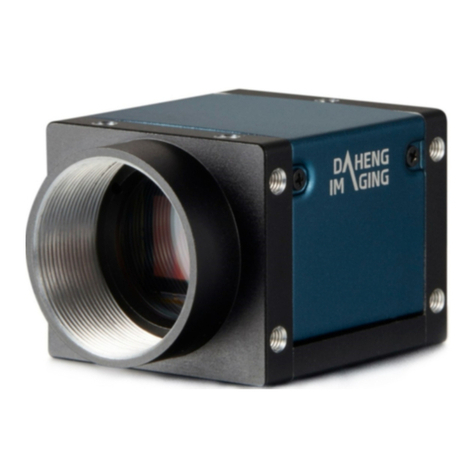
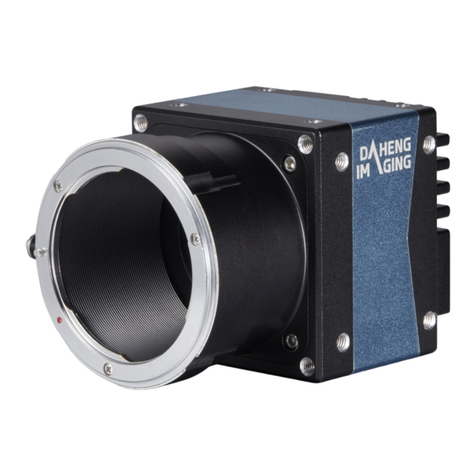
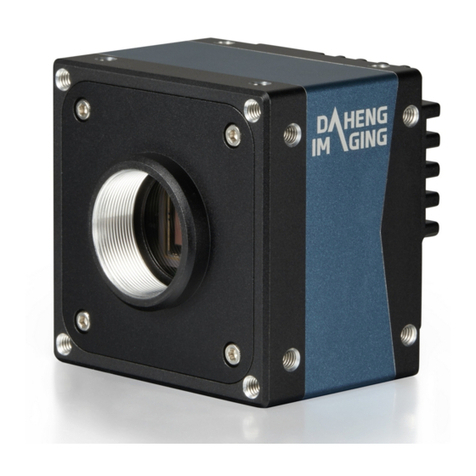
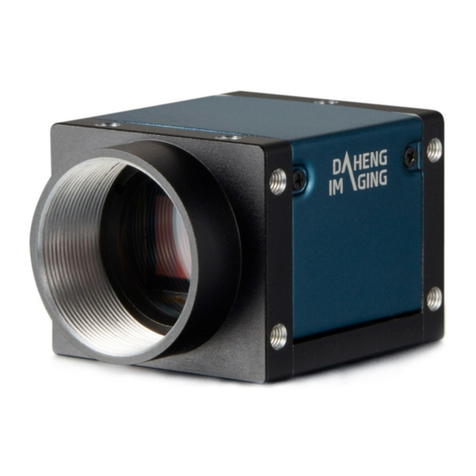
This guide applies to the following products:
MERCURY2
■■USB3.0 Series MER2-U3(-L)
■■GigE Series MER2-G(-P)
■■Pro USB3.0 Series ME2P-U3
■■Pro GigE Series ME2P-G-P
■■Lite USB3.0 Series ME2L-U3(-L)
MERCURY
■■USB3.0 Series MER-U3(-L)
■■GigE Series MER-G(-P)
Please visit our website www.daheng-imaging.com/en and download the latest driver and software from
[Downloads] →[Software Downloads].
After uncompressing the download file, please run the setup program(.exe file). You can choose the
components which you need during the installation process.
If you have any problems during the installation, please contact our technical support engineer for more
detailed instructions: isuppor[email protected].
■ Download
■ Installation
I. Download and Installation (Driver/Software)
II. Power
• Via PoE (only for PoE Camera )
The power provided must adhere to the requirements
specied in IEEE 802.3af.
• Via external DC power supply
MER-G(-P): +12VDC(±10%)
MER2-G(-P)/ME2P-G-P: +12VDC~+24VDC (±10%)
Camera can get power from the Hirose 8-pin receptacle via a
standard I/O cable.
■GigE Interface Camera
Voltage outside of the specied range or use of connectors that do not match the IO port may cause camera damage.
China Daheng Group, Inc. Beijing Image Vision
Technology Branch
Website: www.daheng-imaging.com/en
Sales Email: [email protected]
Sales Tel: +86 10 8282 8878
Support Email: isuppor[email protected]
When you supply power to the camera both via the camera’s RJ45 jack and via the 8-pin Hirose I/O port, the
camera will get power via the Hirose I/O port. And if you cut off the Hirose I/O port, the camera will get power via PoE
and may restart.
MER2-G(-P) ME2P-G-P
ME2P-G-P
MER-G(-P)
MER-G(-P) MER2-G(-P)
(U3-L Series cameras have no I/O interface)
III. I/O Port
IV. Running the Acquisition Program
Pin Denition Color Description
1 Line 0+ Green Opto-isolated input +
2 GND Blue PWR GND & GPIO GND
3 Line 0- Gray Opto-isolated input -
4 POWER_IN Purple Camera external power
(USB3.0 interface camera does not connect pin4)
5 Line 2 Orange GPIO input/output
6 Line 3 Pink GPIO input/output
7 Line 1- White green Opto-isolated output -
8 Line 1+ White blue Opto-isolated output +
Camera I/O Port (except for ME2L-U3 Series)
ME2L-U3 Series Camera I/O Port
Run the Demo (demonstration program). You can open the demo by the following ways: “Desktop\
Daheng Galaxy Viewer” or “Start\ All Programs\Daheng Galaxy Devices\Daheng Galaxy Viewer”
In the Demo, you can adjust the cameras' parameters, acquire and save images.
If the camera is rst used, Please run the GigE IP Congurator tool by the following ways: “Desktop\
GigE IP Congurator” or “Start\All Programs\Daheng Galaxy Devices\GigE IP Congurator”
The camera's IP address, conguration modes, and the user-dened name of the cameras can be modied
in the software.
(USB3.0 interface camera does not require IP conguration)
■GigE IP Conguration
■ Running the Acquisition program
Pin Denition Color Description
1 Line 0+ Pink Opto-isolated input +
2 GND White GPIO GND
3 Line 0- Gray Opto-isolated input -
4 NC Brown Not Connected
5 Line 2 Green GPIO input/output
6 NC Yellow Not Connected
7 NC - Not Connected
8 NC - Not Connected
■ USB3.0 Interface Camera
Power supply through USB3.0 interface: 5VDC
ME2L-U3
MER-U3 ME2L-U3-LMER2-U3 ME2P-U3
MER2-U3-L
MER-U3-L
The polarity of power and GPIO cannot be reversed, otherwise, camera or other peripherals could burn out.
After the camera is connected properly, the LED on the back panel of the camera shows green continuous, it
indicates that the camera has been ready for acquiring images or other operations.
■Connecting the camera
■ When you install the ME2L-U3(-L) Series camera with Daheng Imaging's tripod adapter, you should use
M3*6 or M2*6 cross recessed round head screw to x the camera. When you install the other series camera
with Daheng Imaging's tripod adapter, you should use M3*6 cross recessed round head screw to x the
camera.The rear through hole of the tripod adapter enables the bolt to x the camera directly. No spring
washer needed
■ The length of thread engagement of camera and M3 screw should be between 2.5mm and 2.7mm, and
that of camera and M2 screw should be between 3mm and 3.3mm
■ The assembly torque of M3 screws shall not exceed 1N·m, and that of M2 screws shall not exceed 0.5N·m.
It is recommended to use cross recessed screw to avoid excessive assembly torque
■ The user's camera installation should meet above requirements. Otherwise, it may cause the camera
thread hole through or thread stripping
■ CAT-5e cables or above with S/STP shielding are recommended for GigE interface cameras
■ USB cables certicated by USB IF with lock screw are recommended for USB3.0 interface cameras
■ Using shielded cable can avoid electro-magnetic interface. Shielding layer of the cable should conduct
to ground nearby and not until stretched too long. When many devices need conduct to ground, using
single point grounding to avoid earth loop
■ Try to use camera cables that are the correct length. Avoid coiling camera cables. If the cables are
too long, use a meandering path rather than coiling the cables
■ Keep your cameras away from equipment with high voltage, or high current (as motor, inverter, relay,
etc.). If necessary, use additional shielding
■ ESD (electro-static discharge) may damage cameras permanently, so use suitable clothing (cotton)
and shoes, and touch the metal to discharge the electro-static before operating cameras
■ Housing temperature during operation: 0°C ~ 45°C, humidity during operation: 10% ~ 80%
■ Storage temperature: -20°C ~ 70°C
■ To avoid collecting dust in the optical lter, always keep the plastic cap on cameras when no lens is
mounted
■ PC requirement: Intel Core 2 Duo, 2.4GHz or above, and 2GB memory or above
■ NIC requirement for GigE interface cameras: Intel Pro 1000 NIC or higher performance Gigabit LAN
conrming to IEEE802.3af standard, CAT-5e or CAT-6 cables, less than 100m, Gigabit Switch conrming to
IEEE802.3af standard
■ USB3.0 host controller requirement for USB3.0 interface cameras: Intel controller integrated in mainboard
is recommend. Select Renesas controller if external frame grabber is needed
■ The cable must have a locking screw at the end of the device for USB3.0 interface cameras
■ Make sure that cameras are transported in the original factory packages
V1.0.0 | 2021.05
Guidelines for Avoiding EMI and ESD
Environmental Requirements
Camera Mechanical Installation Precautions
V. Precautions
Other manuals for MERCURY2 GigE Series

1

This manual suits for next models

1

Other Daheng Imaging Digital Camera manuals

Daheng Imaging MARS GigE User manual

Daheng Imaging

Daheng Imaging MARS GigE User manual

Daheng Imaging MERCURY2 GigE Series User manual

Daheng Imaging

Daheng Imaging MERCURY2 GigE Series User manual

Daheng Imaging VEN-134-90U3M-D User manual

Daheng Imaging

Daheng Imaging VEN-134-90U3M-D User manual

Daheng Imaging MARS USB3 User manual

Daheng Imaging

Daheng Imaging MARS USB3 User manual

Daheng Imaging MER-030-120UC-L User manual

Daheng Imaging

Daheng Imaging MER-030-120UC-L User manual

Daheng Imaging MERCURY2 USB3 User manual

Daheng Imaging

Daheng Imaging MERCURY2 USB3 User manual

Daheng Imaging VENUS USB3 Series User manual

Daheng Imaging

Daheng Imaging VENUS USB3 Series User manual

Daheng Imaging VENUS USB3 Series User manual

Daheng Imaging

Daheng Imaging VENUS USB3 Series User manual

Daheng Imaging VENUS USB3 Series User manual

Daheng Imaging

Daheng Imaging VENUS USB3 Series User manual

Popular Digital Camera manuals by other brands

Casio Exilim EX-Z75 user guide

Casio

Casio Exilim EX-Z75 user guide

Samsung SCC-130B user guide

Samsung

Samsung SCC-130B user guide

Sony DSC-T10 Handbook

Sony

Sony DSC-T10 Handbook

Panasonic Lumix DMC-FT25 Basic operating instructions

Panasonic

Panasonic Lumix DMC-FT25 Basic operating instructions

Sony A330LDVDKIT Specifications

Sony

Sony A330LDVDKIT Specifications

Hikmicro HIKMICRO SP Series user manual

Hikmicro

Hikmicro HIKMICRO SP Series user manual

iDule ID2MB-CLD Technical manual

iDule

iDule ID2MB-CLD Technical manual

Cool-Icam CIC-280 user manual

Cool-Icam

Cool-Icam CIC-280 user manual

Sony FD Mavica MVC-FD200 Specifications

Sony

Sony FD Mavica MVC-FD200 Specifications

VOIGTLANDER BESSA-R instruction manual

VOIGTLANDER

VOIGTLANDER BESSA-R instruction manual

Kodak PIXPRO FZ42 user manual

Kodak

Kodak PIXPRO FZ42 user manual

BrandMotion 9002-2773 installation instructions

BrandMotion

BrandMotion 9002-2773 installation instructions

Canon PowerShot A710 IS Advanced user's guide

Canon

Canon PowerShot A710 IS Advanced user's guide

Sony PlayStation Portable instruction manual

Sony

Sony PlayStation Portable instruction manual

Samsung SMART Camera WB850F user manual

Samsung

Samsung SMART Camera WB850F user manual

Digital Concepts 99379 owner's manual

Digital Concepts

Digital Concepts 99379 owner's manual

Pentax ME Super Service manual

Pentax

Pentax ME Super Service manual

Vicon VC2430A-24 Installation & operation manual

Vicon

Vicon VC2430A-24 Installation & operation manual

manuals.online logo
manuals.online logoBrands
  • About & Mission
  • Contact us
  • Privacy Policy
  • Terms and Conditions

Copyright 2025 Manuals.Online. All Rights Reserved.