Dahua DHI-ARA24-W2(868) User manual

Wireless Keyfob
User's Manual
ZHEJIANG DAHUA VISION TECHNOLOGY CO.LTD. V1.1.0

User's Manual
I
Foreword
General
This manual introduces the installation, functions and operations of the wireless keyfob (hereinafter
referred to as the "keyfob"). Read carefully before using the device, and keep the manual safe for
future reference.
Safety Instructions
The following signal words might appear in the manual.
Signal Words
Meaning
DANGER
Indicates a high potential hazard which, if not avoided, will result in
death or serious injury.
WARNING
Indicates a medium or low potential hazard which, if not avoided,
could result in slight or moderate injury.
CAUTION
Indicates a potential risk which, if not avoided, could result in
property damage, data loss, reductions in performance, or
unpredictable results.
TIPS Provides methods to help you solve a problem or save time.
NOTE Provides additional information as a supplement to the text.
Revision History
Version Revision Content Release Time
V1.1.0
●Added technical specifications.
●Updated descriptions of parameters.
●Updated images.
January 2022
V1.0.0 First release. October 2021
Privacy Protection Notice
As the device user or data controller, you might collect the personal data of others such as their face,
fingerprints, and license plate number. You need to be in compliance with your local privacy
protection laws and regulations to protect the legitimate rights and interests of other people by
implementing measures which include but are not limited: Providing clear and visible identification
to inform people of the existence of the surveillance area and provide required contact information.
About the Manual
●The manual is for reference only. Slight differences might be found between the manual and the
product.
●We are not liable for losses incurred due to operating the product in ways that are not in
compliance with the manual.

User's Manual
II
●The manual will be updated according to the latest laws and regulations of related jurisdictions.
For detailed information, see the paper user’s manual, use our CD-ROM, scan the QR code or visit
our official website. The manual is for reference only. Slight differences might be found between
the electronic version and the paper version.
●All designs and software are subject to change without prior written notice. Product updates
might result in some differences appearing between the actual product and the manual. Please
contact customer service for the latest program and supplementary documentation.
●There might be errors in the print or deviations in the description of the functions, operations
and technical data. If there is any doubt or dispute, we reserve the right of final explanation.
●Upgrade the reader software or try other mainstream reader software if the manual (in PDF
format) cannot be opened.
●All trademarks, registered trademarks and company names in the manual are properties of their
respective owners.
●Please visit our website, contact the supplier or customer service if any problems occur while
using the device.
●If there is any uncertainty or controversy, we reserve the right of final explanation.

User's Manual
III
Important Safeguards and Warnings
This section introduces content covering the proper handling of the keyfob, hazard prevention, and
prevention of property damage. Read carefully before using the keyfob, and comply with the
guidelines when using it.
Operation Requirements
●Make sure that the power supply of the device works properly before use.
●Do not pull out the power cable of the device while it is powered on.
●Only use the device within the rated power range.
●Transport, use and store the device under allowed humidity and temperature conditions.
●Prevent liquids from splashing or dripping on the device. Make sure that there are no objects
filled with liquid on top of the device to avoid liquids flowing into it.
●Do not disassemble the device.
Installation Requirements
●Connect the device to the adapter before power on.
●Strictly abide by local electrical safety standards, and make sure that the voltage in the area is
steady and conforms to the power requirements of the device.
●Do not connect the device to more than one power supply. Otherwise, the device might become
damaged.
●Observe all safety procedures and wear required protective equipment provided for your use
while working at heights.
●Do not expose the device to direct sunlight or heat sources.
●Do not install the device in humid, dusty or smoky places.
●Install the device in a well-ventilated place, and do not block the ventilator of the device.
●Use the power adapter or case power supply provided by the device manufacturer.
●The power supply must conform to the requirements of ES1 in IEC 62368-1 standard and be no
higher than PS2. Note that the power supply requirements are subject to the device label.
●Connect class I electrical appliances to a power socket with protective earthing.

User's Manual
IV
Table of Contents
Foreword ........................................................................................................................................................................................................I
Important Safeguards and Warnings............................................................................................................................................ III
1 Introduction ............................................................................................................................................................................................ 1
1.1 Overview........................................................................................................................................................................................ 1
1.2 Technical Specifications......................................................................................................................................................... 1
2 Checklist.................................................................................................................................................................................................... 3
3 Design......................................................................................................................................................................................................... 4
3.1 Appearance................................................................................................................................................................................... 4
3.2 Function Key ................................................................................................................................................................................ 4
4 Adding the Keyfob to the Hub ....................................................................................................................................................... 7
5 Keyfob Configuration......................................................................................................................................................................... 8
5.1 Viewing Status ............................................................................................................................................................................ 8
5.2 Configuring the Keyfob.......................................................................................................................................................... 8
6 Using the Keyfob.................................................................................................................................................................................10

User's Manual
1
1 Introduction
1.1 Overview
Wireless keyfob is a miniature remote that connects to the hub and controls the alarm system in
your home. It works by sending wireless communication signals to the alarm system, which will
recognize the signal and then perform the function that is assigned to the area.
1.2 Technical Specifications
This section contains technical specifications of the keyfob. Please refer to the ones that correspond
with your model.
Table 1-1 Technical specifications
Type Parameter Description
Port Indicator Light 1 × two-color status indicator (green: normal, red:
abnormal)
Button 4 (Home, Away, Disarm, and SOS)
Function Remote Update Cloud update
Low Battery Alarm Yes
Wireless
Parameters
Carrier Frequency DHI-ARA24-W2(868):
868.0 MHz–868.6 MHz
DHI-ARA24-W2:
433.1 MHz–434.6 MHz
Communication
Distance
DHI-ARA24-W2(868):
Up to 900 m (2,952.76
ft) in an open space
DHI-ARA24-W2:
Up to 500 m (1,640.42 ft) in
an open space
Communication
Mechanism Two-way
Encryption Mode AES128
Frequency Hopping Yes
General
Power Supply CR2032 battery
Battery Voltage 3 VDC
Min. Voltage 1.8 VDC
Battery Low
Threshold 2.6 VDC
Battery Restore
Threshold 2.65 VDC
Consumption Quiescent current 3 uA
Max current 50 mA
PS Type Type C

User's Manual
2
Type Parameter Description
Battery Life 5 years
Power Consumption DHI-ARA24-W2(868):
Max. 100 mW
DHI-ARA24-W2:
Max. 85 mW
Operating
Environment
Indoor: –10 °C to +55 °C (+14 °F to +131 °F)
Certified temperature: –10°C to +40°C (+14°F to
+104 °F)
Operating Humidity 10%–90% (RH)
Product Dimensions 60.0 mm × 39.5 mm × 15.0 mm (2.36" × 1.56" × 0.59")
(L × W × H)
Packaging
Dimensions 135.0 mm × 98.5 mm × 27.8 mm (5.31" × 3.88" × 1.09")
Net Weight 20 g (0.04 lb)
Gross Weight 65 g (0.14 lb)
Casing PC + ABS
ACE Type Type B
Certifications
DHI-ARA24-W2(868):
EN 50131-1:2006+A1: 2009+A2:2017+A3:2020
EN 50131-5-3: 2017
EN 50131-6:2017
EN 50131-3: 2009
Security Grade 2
Environmental Class II
CE
DHI-ARA24-W2:
CE
FCC

User's Manual
3
2 Checklist
Check the package according to the following checklist. If you find device damage or any loss,
contact the after-sales service.
Figure 2-1 Checklist
Table 2-1Checklist
No. Item Name Quantity
1 Wireless keyfob 1
2 String 1
3 Quick start guide 1
4 Legal and regulatory information 1

User's Manual
4
3 Design
3.1 Appearance
Figure 3-1 Appearance
3.2 Function Key
Figure 3-2 Function key

User's Manual
5
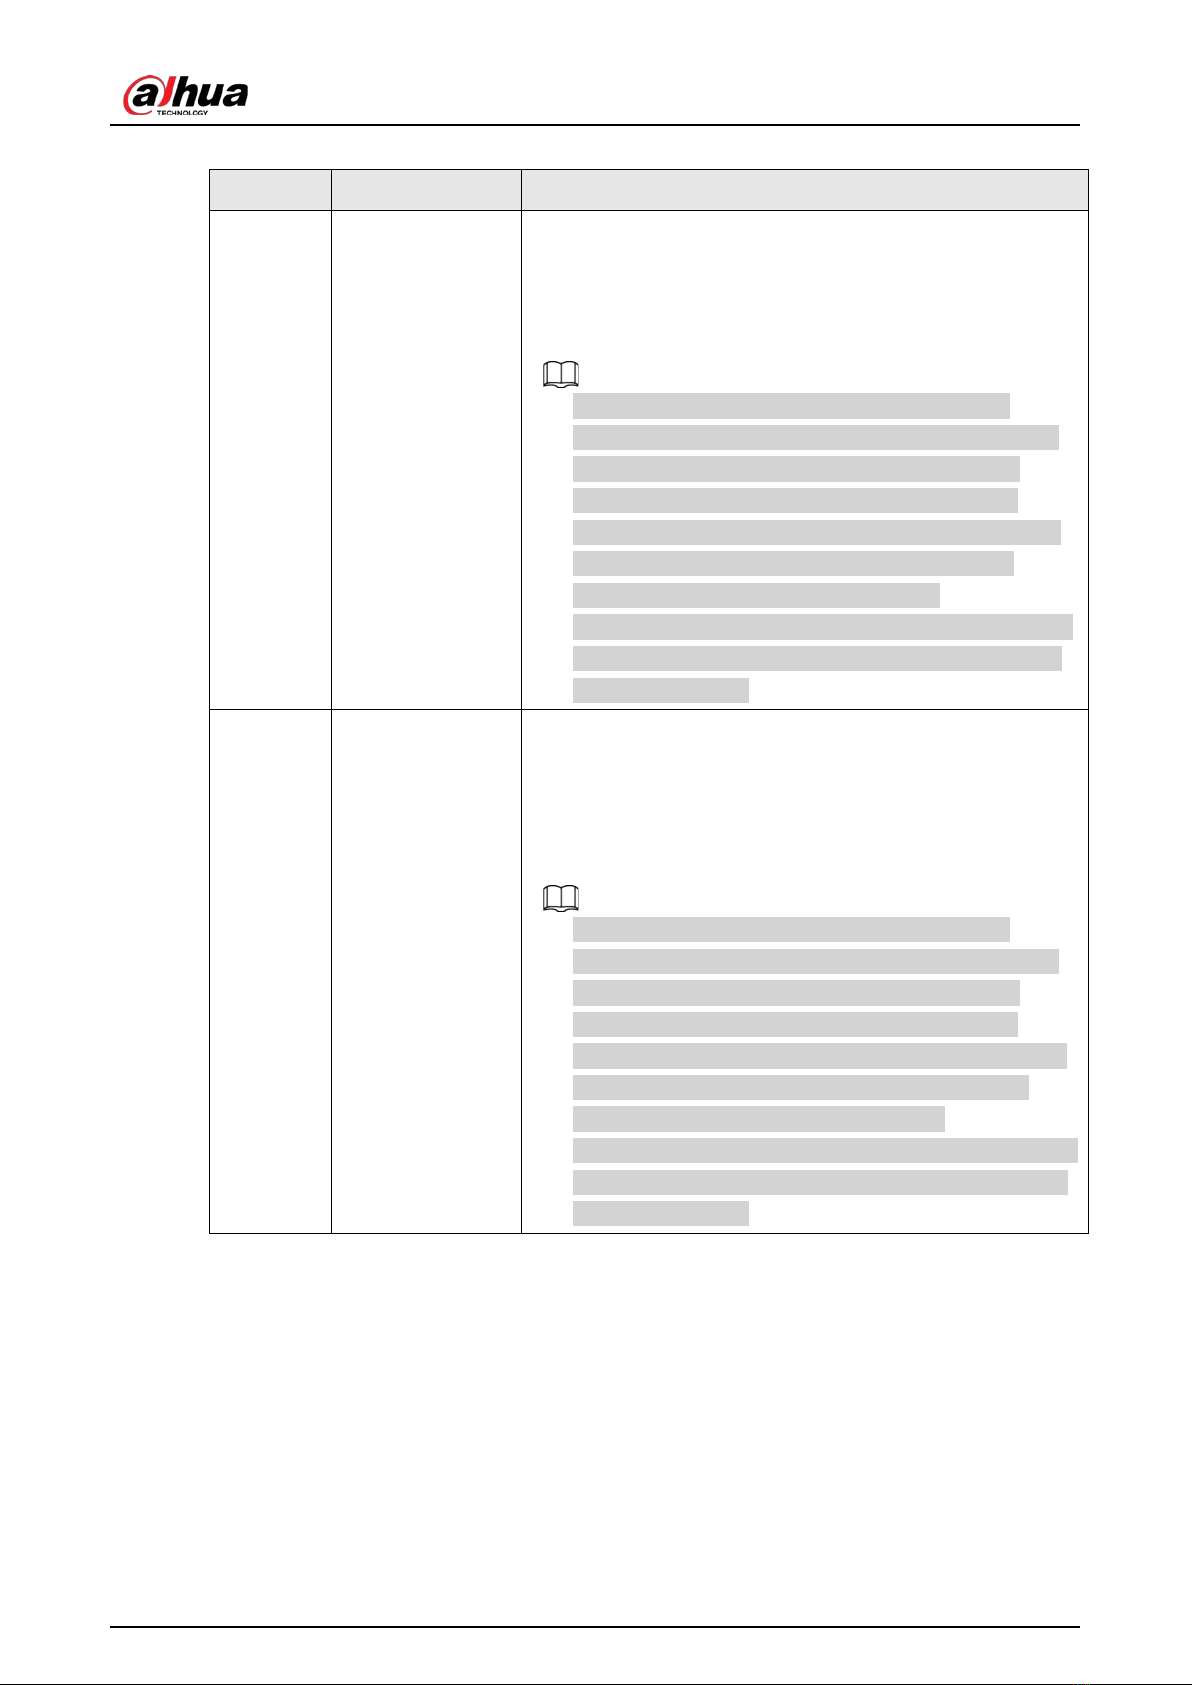
Table 3-1 Description of function key
No. Name Description
1 Arming button
Press the button once to arm the system.
After pressing the arming button, if the system fails to arm,
you can press the button again within 10 seconds to override
preventions that resulted in the previous arming failure and
arm successfully.
●There are many prevention of setting conditions,
including intruders being detected by other detectors,
detector faults, tamper alarms going off and other
situations that can all interrupt the arming process.
●If you arm during the exit delay process, the system will
start to arm immediately. If you disarm during this
process, the system will stop arming itself.
●Failures that occur during the exit delay process function
differently to how failures occur with the typical arming
process seen above.
2 Home mode
Press home mode, and then the selected accessories that
were configured in home mode will be home armed.
After pressing the home mode button, if the system fails to
arm, you can press the button again within 10 seconds to
override preventions that resulted in the previous arming
failure and arm successfully.
●There are many prevention of setting conditions,
including intruders being detected by other detectors,
detector faults, tamper alarms going off and other
situations that can all interrupt the arming process.
●If you arm during the exit delay process, the system will
start to arm immediately; if you disarm during such
process, the system will cancel the arming.
●Failures that occur during the exit delay process function
differently to how failures occur with the typical arming
process seen above.

User's Manual
6
No. Name Description
3 Indicator
●Solid green for 2 seconds: Power on.
●Flashes green quickly: Pairing mode.
●Solid green for 2 seconds: Pairing is successful.
●Flashes green 3 times: Pairing fails.
●Flashes green slowly: Exit delay.
●Flashes green once: The command was successfully sent.
●Flashes red once: Failed to send the command.
●Flashes green once after the command is successfully
sent: The command was successfully executed.
●Flashes red once after the command is successfully sent:
Delayed in responding to the command.
●Flashes red twice after the command is successfully sent:
Failed to execute the command.
●Flashes red and then turns off: Low battery.
4 Disarming button Press the button once to disarm the system.
5 SOS Press the panic button, and then the keyfob will send alarm
signal to the alarm system.

User's Manual
7
4 Adding the Keyfob to the Hub
Prerequisites
Device configurations are performed on the DMSS app. Make sure that you have installed the DMSS
app, created an account, and added the hub to the app. For details on adding the hub, see the user's
manual of the corresponding hub.
●Make sure that the hub has a stable internet connection.
●Make sure that the hub is disarmed.
Background Information
You can add the keyfob to the hub. This user's manual uses the operations on iOS as an example.
Procedure
Step 1 Go to the hub screen, and then tap Accessory to add the keyfob.
Step 2 Tap to scan the QR code at the bottom of the keyfob, and then tap Next.
Step 3 Tap Next after the keyfob has been found.
Step 4 Follow the on-screen instructions and press and once at the same time, and then
tap Next.
Step 5 Wait for the pairing.
Step 6 Customize the name of the keyfob, and then tap Completed.

User's Manual
8
5 Keyfob Configuration
You can view and edit general information of the keyfob.
5.1 Viewing Status
On the hub screen, select a keyfob from the accessory list, and then you can view the status of the
keyfob.
Table 5-1 Status
Parameter Description
Temporary
Deactivate
The status for whether the functions of the keyfob are enabled or disabled.
●: Enable.
●: Only disable tamper alarm.
●: Disable.
The function is only available when the version of the DMSS app is 1.96 or
later, the hub is V1.001.0000000.6.R.211215 or later, and the keyfob is
V1.000.0000001.0.R.20211203 or later.
Battery Level
The battery level of the keyfob.
●: Fully charged.
●: Sufficient.
●: Moderate.
●: Insufficient.
SOS Status The status of the SOS alarm.
Relay Status
The status of whether the keyfob forwards accessory messages to the hub
through the repeater.
The function is only available when the version of the DMSS app is 1.96 or
later, the hub is V1.001.0000000.6.R.211215 or later, and the keyfob is
V1.000.0000001.0.R.20211203 or later.
Program Version The program version of the keyfob.
5.2 Configuring the Keyfob
On the hub screen, select a keyfob from the accessory list, and then tap to configure the
parameters of the keyfob.

User's Manual
9
Table 5-2 Keyfob parameter description
Parameter Description
Device Configuration
●View device name, type, SN and device model.
●Edit device name, and then tap Save to save configuration.
Area
●View the existing area.
●Add the area that you want to arm, and then tap Save to
save configuration.
Temporary Deactivate
●Tap Enable, and then the function of the siren will be
enabled. Enable is set by default.
●Tap Only Disable Tamper Alarm, and then the system will
only ignore tamper alarm messages.
●Tap Disable, and then the function of the siren will be
disabled.
LED Indicator
LED Indicator is enabled by default on the app. You also need
to press any button on the keyfob to enable the function. For
details on indicator behavior, see "3.2 Function Key".
●If LED Indicator is disabled, the LED indicator will remain
off regardless of whether the keyfob is functioning
normally or not.
●The function is only available when the version of the
DMSS app is 1.96 or later, the hub is
V1.001.0000000.4.R.211014 or later, and the keyfob is
V1.000.0000001.0.R.20210818 or later.
Control Permissions Select the area over which the keyfob has control permissions.
SOS Alarm If enabled, the SOS alarm messages will be pushed when an
alarm event is detected.
Siren Linkage When an alarm is triggered, the accessories will report the
alarm events to the hub and alert with siren.
Alarm-video Linkage When an alarm is triggered, the accessories will report the
alarm events to the hub and then will be linked with videos.
Video Channel Select the video channel as needed.
Cloud Update
Update online.
If the latest version is detected, you need to tap Update on the
app, and then press any button on the keyfob to update the
keyfob.
Delete
Delete the online accessory.
Go to the hub screen, select the accessory from the list, and
then swipe left to delete it.

User's Manual
10
6 Using the Keyfob
Maximum connection distance between the keyfob and the hub is 900 meters. This distance is
reduced by walls, inserted floors and any objects hindering the signal transmission.
After the accessories have been added on the hub, you can operate on the keyfob.
●Press and once at the same time to connect with the hub.
●Press once to enable the away mode, and then all the accessories in the area will be armed.
Press twice if the System Integrity Check is enabled in the hub.
●Pressonce to enable the home mode, and then the selected accessories in the area will be
armed.
●Pressonce to enable the disarm mode, and then all the accessories in the area will be
disarmed.
●Pressonce to enable SOS.

User's Manual
This manual suits for next models
1
Table of contents
Other Dahua Remote Control manuals
Popular Remote Control manuals by other brands

Abus
Abus FUBE50013 user guide

Sky Master
Sky Master Universal Remote Control user manual

CO/Tech
CO/Tech 50075 operating instructions

Timeguard
Timeguard LEDPROFOB Installation & operating instructions

Skytech
Skytech 1420-A Installation and operation instruction manual

Tripp Lite
Tripp Lite TuneView RF Specifications