manuals.online logo
Brands
  1. Home
  2. •
  3. Brands
  4. •
  5. Datacold
  6. •
  7. Measuring Instrument
  8. •
  9. Datacold 600 R User manual

Datacold 600 R User manual

Carrier Transicold Europe PROPRIETARY & CONFIDENTIAL Feb-15 TEC_QSG_DataCOLD 600_Rev-_ENG 1/2
Quick Start Guide
DISPLAY DESCRIPTION
To enter the PIN code, use the four keys as following figures.
TO OBTAIN PRINT OUT
- Press the BLUE Key ( ) several times to select the print needed:
DELIVERY TICKET: “CURRENT VALUE”
JOURNEY TICKET: “NUMERICAL TICKET” or “GRAPHICAL TICKET"
HISTORICAL TICKET
Printing starts 4 seconds after having selected the print needed.
To cancel the print, press the RED KEY before the 4 second delay.
The printing of temperatures data depends of the print parameter set in the print menu.
Please, tear paper only when printing has stopped to avoid damage to the printer mechanism.
TO REPLACE PAPER ROLL
If a coloured line appears on the last meter of paper, the paper roll needs to be replaced as follows:
1. Pull on the window of the
printer module to open the
printer front
2. Pull the printer module carefully
forwards.
3. Insert a new paper roll
and push on the printer
front to close it
4. Place the printer module carefully
back into the recorder.
ACCESS TO PRINT MENU
Print Menu list
Item
Function
1.1 Select compartment to print
Setting
1.2 Time zone offset for printing
Setting
1.3 Print report events
Printing
1.4 Print report parameters
Printing
1.5 Historical ticket
Setting
1.6 Delivery ticket setting
Setting
1.7 Print time period
Setting
1.8 Day start time
Setting
1.9 Day end time
Setting
- Press the BLUE Key ( ) for 4 seconds to access to the print menu.
- For settings:
1. Select the desired item by pressing the BLUE Key ( ) or the YELLOW Key ( ).
2. Select the desired item by pressing the GREEN Key ( ).
3. Set the parameter needed by using the BLUE Key ( ) or the YELLOW Key ( ).
4. Press the GREEN Key ( ) to confirm the setting.
5. To exit, press the RED KEY ( ) to return at default display.
- For printings:
1. Select the desired item by pressing the BLUE Key ( ) or the YELLOW Key ( ).
2. Press the GREEN Key ( ).to confirm the print.
Printing starts after 2 seconds after having confirmation.
T1 T2 T3 T4 T5 T6
Temperature inputs
Alarm activated
Rotating display
of each T°
inputs with
sensor name
Status of digital inputs :
Door
Defrost on/off


Refrigeration


Menu :
each menu choice is available via
the corresponding key
Keyboard
Day, date and time
1 2 3 4
Carrier Transicold Europe PROPRIETARY & CONFIDENTIAL Feb-15 TEC_QSG_DataCOLD 600_Rev-_ENG 2/2
TO ACTIVATE AN ALARM
1. Press the YELLOW KEY ( ) TWICE.
2. Select the desired compartment by pressing the BLUE Key ( ) or the YELLOW Key ( ).
3. Press the GREEN Key ( ) to confirm.
4. Select by pressing the BLUE Key ( ) or the YELLOW Key ( ). the desired alarm group: 1, 2, 3 or 4.
5. Confirm with "Accept" or "Edit" ( GREEN key ).
6. To exit, press the GREEN Key ( )
Remark : If there is an alarm, the acoustic signal will stop after pressing the YELLOW KEY( ) . The corresponding
input will flash until alarm condition is over.
If Compartment and Alarms settings requested at keypad, please contact your Service Center for
specific configuration.
USER SETTINGS
User setting list
3.1 Time zone offset
UTC±h:min
3.4 Summer / winter time
ON/OFF
3.5 Select language
Setting
3.6 Set display contrast
Setting
3.7 Set display backlight
Setting
3.8 Set buzzer volume
Setting
3.9 Set buzzer frequency
Setting
3.10 Set buzzer on-time
Setting
Display Software version + date +
time
CTD DC600 X.XX.X© MM/DD/YY
1. Press the GREEN Key ( ) to enter User setting list.
2. Select the desired item by pressing the BLUE Key ( ) or the YELLOW Key ( ).
3. Select the desired item by pressing the GREEN Key ( ).
4. Set the parameter needed by using the BLUE Key ( ) or the YELLOW Key ( ).
5. Press the GREEN Key ( ) to confirm the setting.
6. Press again the GREEN Key ( ) to return at default display.
STATUS DISPLAY
- Press the RED KEY ( ). The display mode will change between full information or only showing actual
temperatures enlarged:
T1 T2 T3 T4 T5 T6
DATACOLD 600 recorders are tested and approved to the European EN12830 specification, directives 92/1/EU; 93/43/EU and E-mark
approved following directive 95/54/CE.

This manual suits for next models

1

Popular Measuring Instrument manuals by other brands

Midtronics PowerSensor Micro700 instruction manual

Midtronics

Midtronics PowerSensor Micro700 instruction manual

Keysight ENA Series installation guide

Keysight

Keysight ENA Series installation guide

OBDPROG MT401 manual

OBDPROG

OBDPROG MT401 manual

PeakTech 3349 Operation manual

PeakTech

PeakTech 3349 Operation manual

Kett Riceter M Series instruction manual

Kett

Kett Riceter M Series instruction manual

Olympus DS-3000 Administration Quick Reference

Olympus

Olympus DS-3000 Administration Quick Reference

TREND VJS/TG/JIG manual

TREND

TREND VJS/TG/JIG manual

Connected Inventions AirWits CO2 user manual

Connected Inventions

Connected Inventions AirWits CO2 user manual

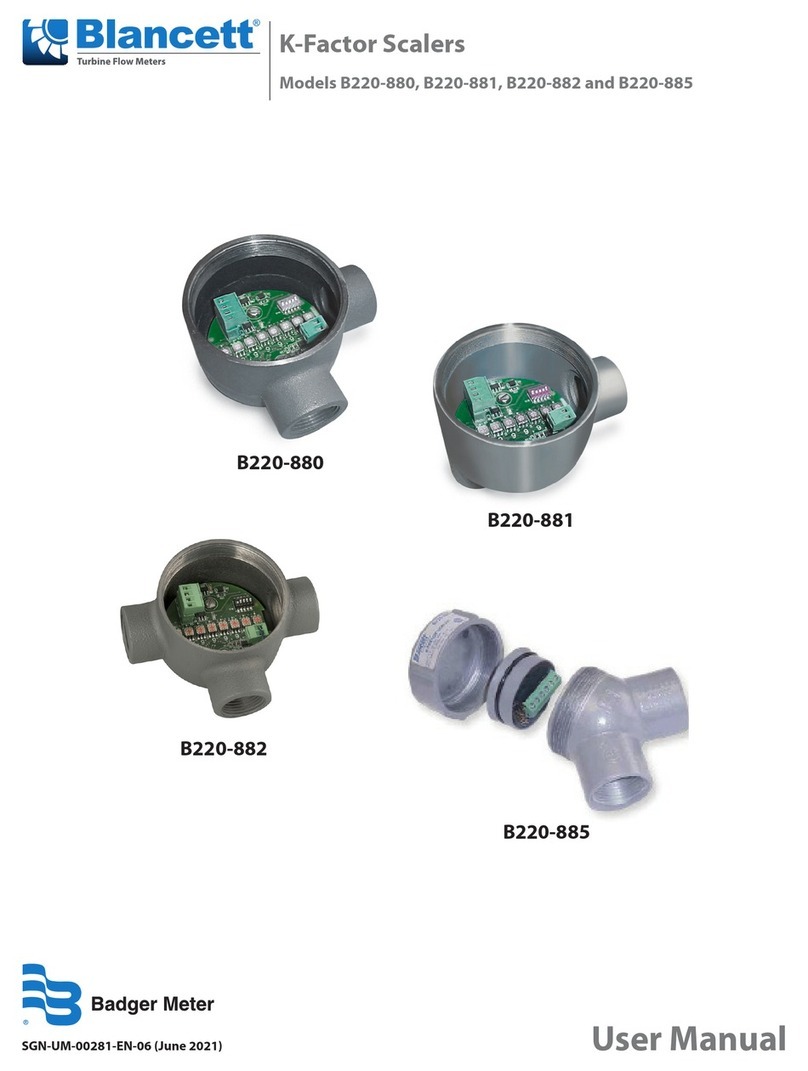
Badger Meter Blancett B220-880 user manual

Badger Meter

Badger Meter Blancett B220-880 user manual

sauter SAUTER TE SERIES instruction manual

sauter

sauter SAUTER TE SERIES instruction manual

CLEAN Instruments PH200 Operation manual

CLEAN Instruments

CLEAN Instruments PH200 Operation manual

Dakota Digital HLY-2000 Installation and operation manual

Dakota Digital

Dakota Digital HLY-2000 Installation and operation manual

Kobold DIG Series operating instructions

Kobold

Kobold DIG Series operating instructions

DYNAPAR NorthStar WIND 56 instruction manual

DYNAPAR

DYNAPAR NorthStar WIND 56 instruction manual

Lufft XP100 user manual

Lufft

Lufft XP100 user manual

Elsner KNX TH65-AP Installation and adjustment

Elsner

Elsner KNX TH65-AP Installation and adjustment

LaMotte DO Tracer Meter manual

LaMotte

LaMotte DO Tracer Meter manual

Water I.D. PoolLAB 1.0 user manual

Water I.D.

Water I.D. PoolLAB 1.0 user manual

manuals.online logo
manuals.online logoBrands
  • About & Mission
  • Contact us
  • Privacy Policy
  • Terms and Conditions

Copyright 2025 Manuals.Online. All Rights Reserved.