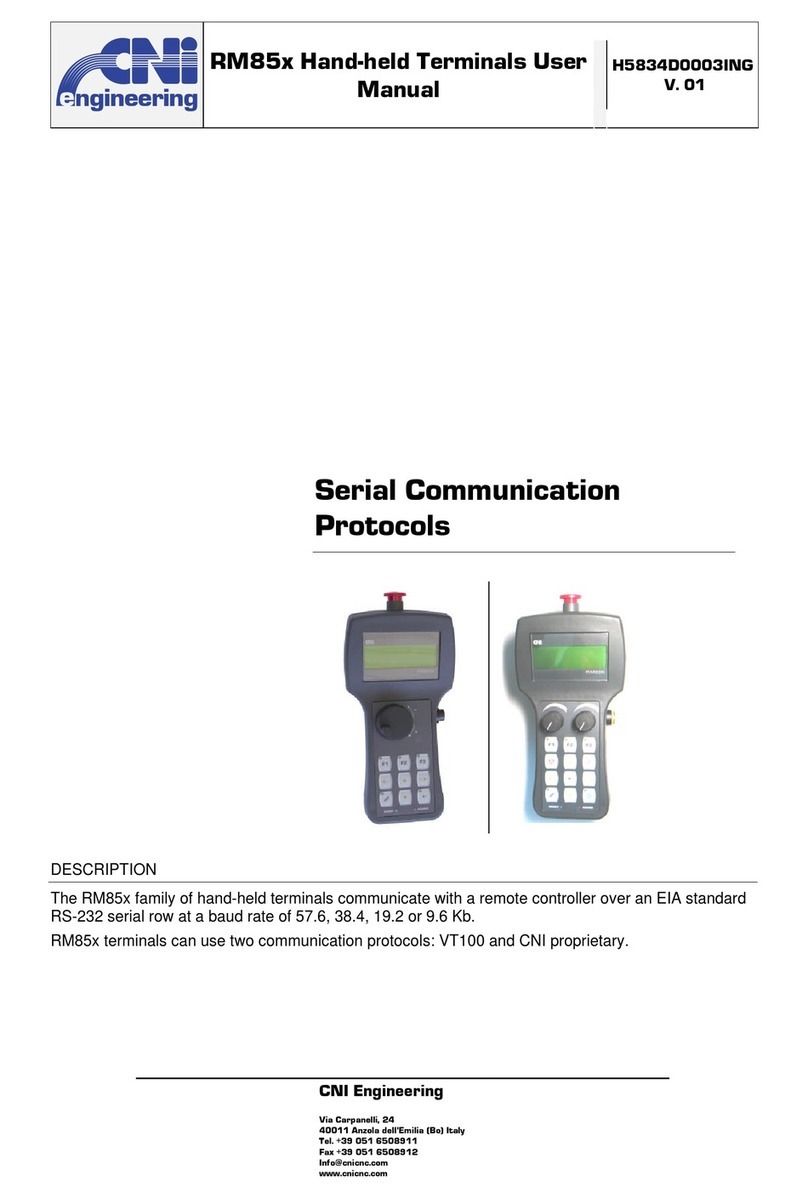
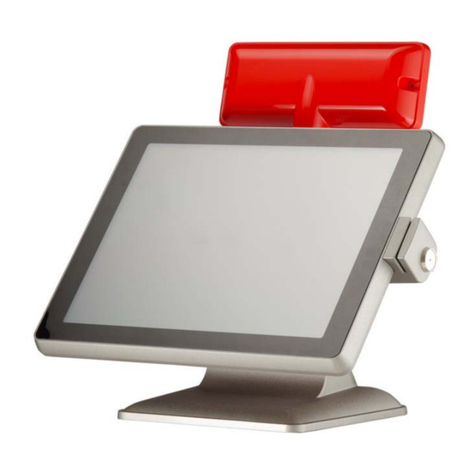
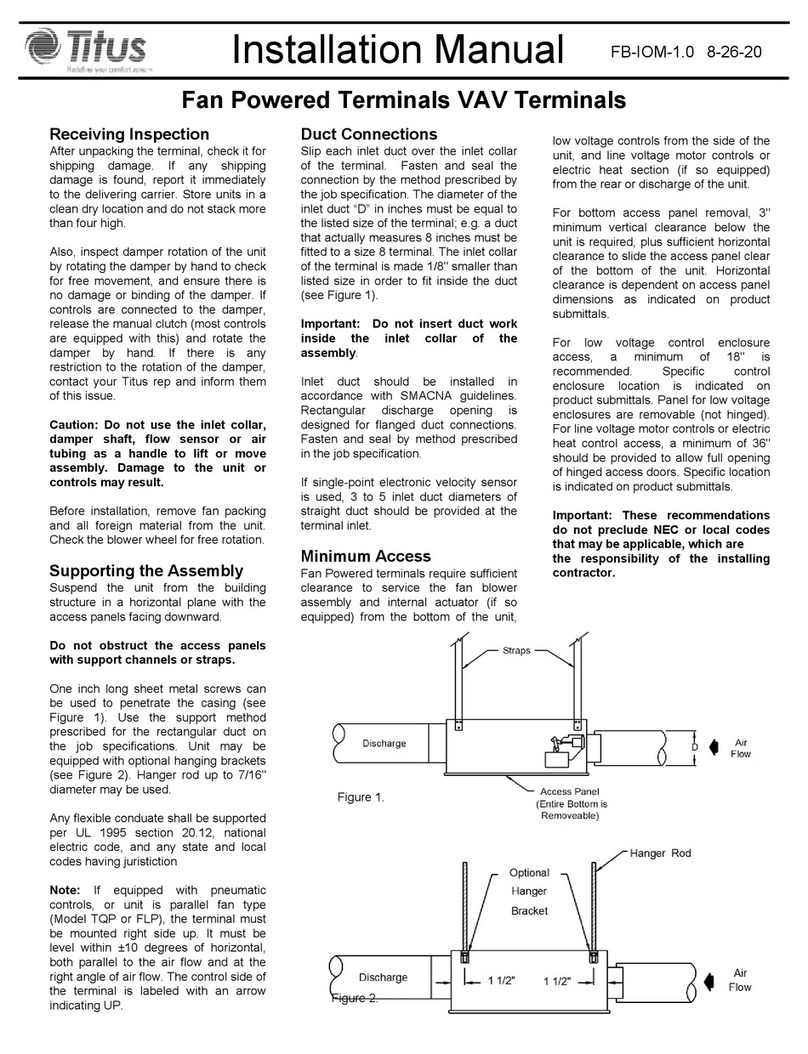
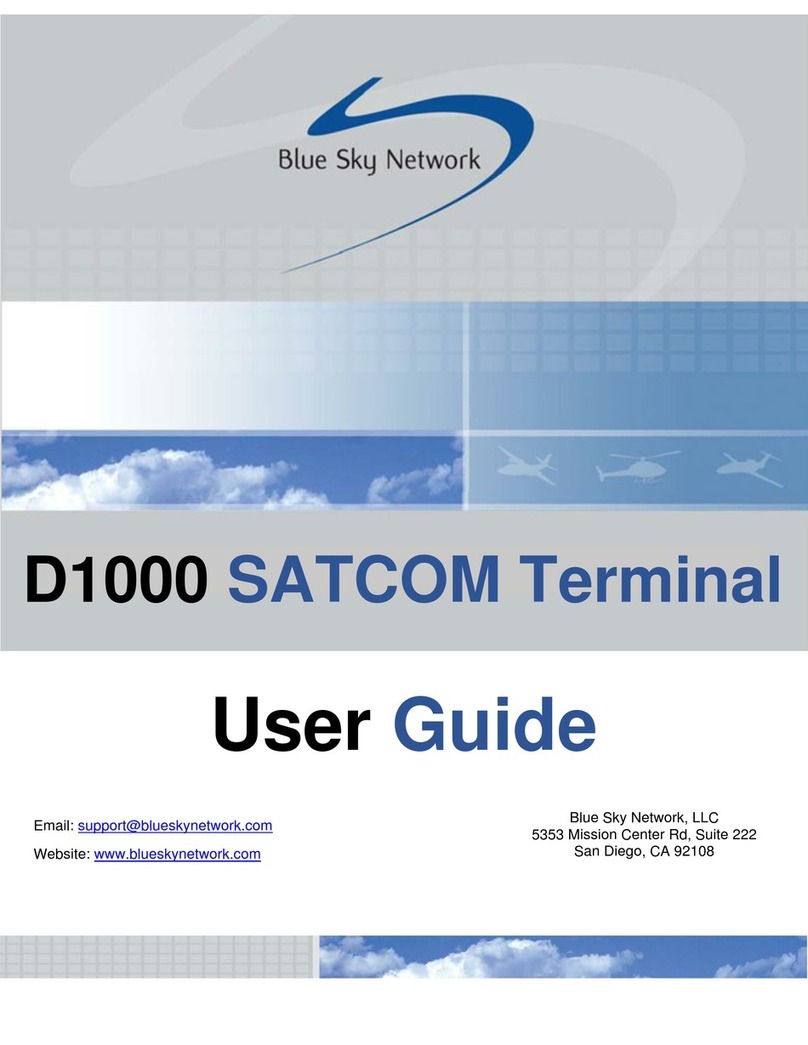
Datafox BDE Manual

Montage- und Inbetriebnahmeanleitung
assembly and setup instructions
Bezeichnung / description
Datafox BDE Konsole 2-teilig / BDE console 2-part
Artikelnummer / item number
20043 / 189043
08.07.2020
Seite 1 / 2
Datafox GmbH | Dermbacher Straße 12-14 | 36419 Geisa | Deutschland
Phone +49 36967-595-0 | Fax +49 36967-595-50 | E-Mail info@datafox.de | Web www.datafox.de
20043 Datafox Konsole 2-teilig Montageanleitung 2020.07.08.docx
Sie haben Anregungen oder Fragen an uns, dann freuen wir uns auf Ihre Kontaktaufnahme. / If you have suggestions or questions for us, we look forward to hearing from you.
Artikel / article
Lieferumfang / delivery scope
Artikelbezeichnung / article name
Artikelnummer / item number
1x IPC-Konsole Wandteil / IPC-console wall part
20043
1x IPC-Konsole Geräteteil / IPC-console device part
1x Montagematerial / mounting material
Die Montagekonsole bietet durch das 2-teilige Konzept eine ganze Reihe von Vorteilen. Durch die freie Zugänglichkeit der Schraubenlöcher
dient das Wandteil gleichzeitig als Bohrschablone. Durch die 2-teilige Lösung müssen nur die zwei seitlichen Schrauben entfernt werden, um
an die Anschlüsse zu gelangen. Die Beschädigung der Wand wird auf ein Minimum reduziert, da das Wandteil zum Abhängen des Gerätes nicht
abgeschraubt werden muss. Die Kabel und das Netzteil werden im Innenraum der Konsole verstaut und sind damit nicht sichtbar.
The mounting bracket offers a whole range of advantages due to the 2-part concept. Due to the free access to the screw holes, the wall part
also serves as a drilling template. Thanks to the 2-part solution, only the two lateral screws need to be removed to access the connections.
Damage to the wall is reduced to a minimum because the wall part does not have to be unscrewed to suspend the unit. The cables and the
power supply unit are stored inside the console and are therefore not visible.
Montage / installation
1. Wandteil montieren / mount wall part
Verwenden Sie das Wandteil als Schablone zum Anzeichnen der
Bohrlöcher. Am besten Sie richten es dazu mit einer Wasserwaage aus.
Montieren Sie das Wandteil mit den 4 mitgelieferten Schrauben.
Use the wall part as a template to mark the drill holes. It is best to align it
with a spirit level. Mount the wall unit with the 4 screws supplied.

Montage- und Inbetriebnahmeanleitung
assembly and setup instructions
Bezeichnung / description
Datafox BDE Konsole 2-teilig / BDE console 2-part
Artikelnummer / item number
20043 / 189043
08.07.2020
Seite 2 / 2
Datafox GmbH | Dermbacher Straße 12-14 | 36419 Geisa | Deutschland
Phone +49 36967-595-0 | Fax +49 36967-595-50 | E-Mail info@datafox.de | Web www.datafox.de
20043 Datafox Konsole 2-teilig Montageanleitung 2020.07.08.docx
Sie haben Anregungen oder Fragen an uns, dann freuen wir uns auf Ihre Kontaktaufnahme. / If you have suggestions or questions for us, we look forward to hearing from you.
2. Geräteteil montieren / mount device part
Montieren Sie das zweite Teil der Konsole mit den beigefügten
Schrauben bzw. Muttern an das Gerät.
Mount the second part of the console to the unit using the screws or nuts
provided.
Wenn das Gerät mit Transponderleser ausgestattet ist, insbesondere bei AE-
MasterIV und SimonsVoss, soll das Netzteil in der Konsole montiert werden,
um die Schirmung durchs Blechteil zu nutzen und die Entfernung zum
Transponder-Lesemodul zu vergrößern.Diese Maßnahme verbessert die
Reichweite beim Lesen der Transponder. Befestigung per Klettband mit
Kleberücken.
If the device is equipped with a transponder reader, especially with AE-
MasterIV and SimonsVoss, the power supply unit should be mounted in the
console to make use of the shielding through the sheet metal part and to
increase the distance to the transponder reader module.this measure
improves the range when reading the transponders. Fastening using Velcro
tape with adhesive backing.
3. Kabel anschließen / Connect the cable
Schließen Sie die Kabel am Gerät an. Die Zuführung kann von hinten über
das ausgesparte Wandteil oder von unten erfolgen. Das überschüssige
Kabel und das Netzteil kann im Hohlraum der Konsole verstaut werden.
Beim AE-MasterIV bietet es sich an, das Netzteil mit dem Klettband in der
Konsole zu befestigen.
Falls erforderlich können Sie das überschüssige Kabel mit einem
Kabelbinder fixieren und erhalten so auch eine gute Zugentlastung.
Connect the cables to the device. The cables can be fed in from the rear via
the recessed wall part or from below. The excess cable and the power
supply unit can be stored in the cavity of the console.
With the AE-MasterIV, it is a good idea to fix the power supply unit in the
console with the Velcro tape.
If necessary, you can fix the excess cable with a cable tie, which also
provides good strain relief.
4. Fertigstellung / Completion
Schließen Sie zunächst die Verbindungskabel an. Danach hängen Sie das
Gerät mit dem Geräteteil der Montagekonsole oben in das Wandteil ein.
Für die Schrägstellung gibt es zwei Stellungen - 15°und 25°.
Schrauben Sie die beiden Gewindeschrauben seitlich entsprechend der
gewünschten Winkelstellung ein.
First connect the connecting cables. Then hang the device with the device
part of the mounting console into the wall part at the top.
There are two positions for the inclined position - 15°and 25°.
Screw in the two threaded screws on the side according to the desired
angle position.
This manual suits for next models
2
Table of contents
Other Datafox Touch Terminal manuals
