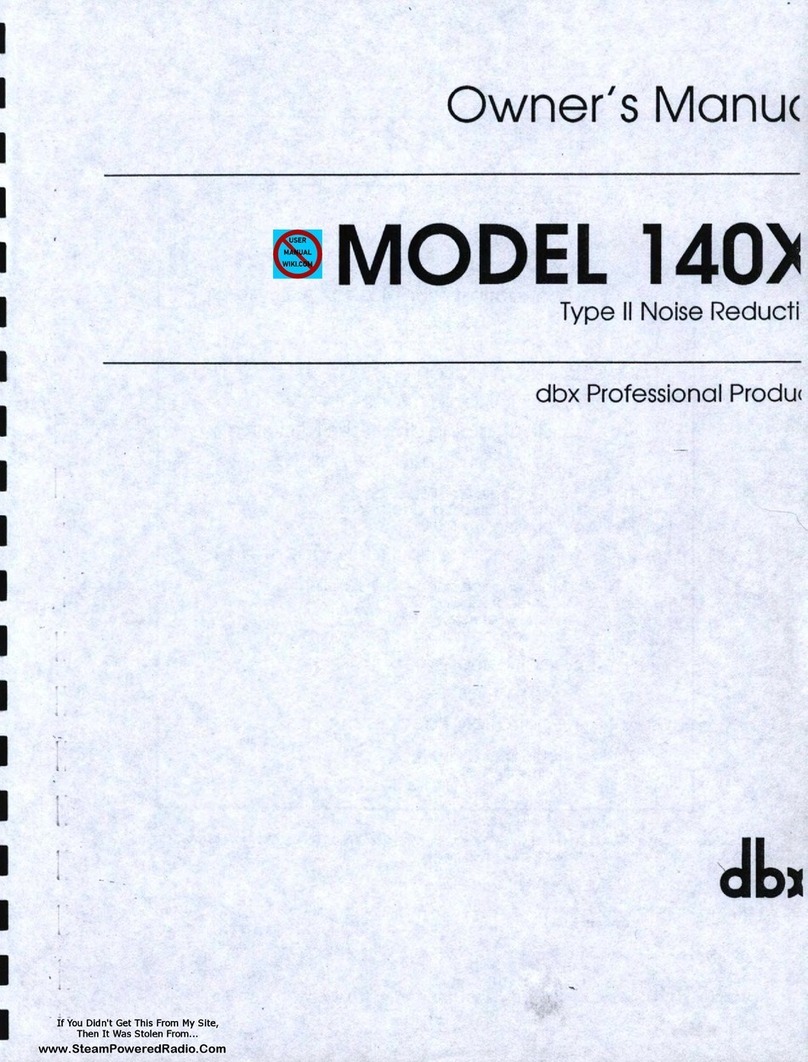
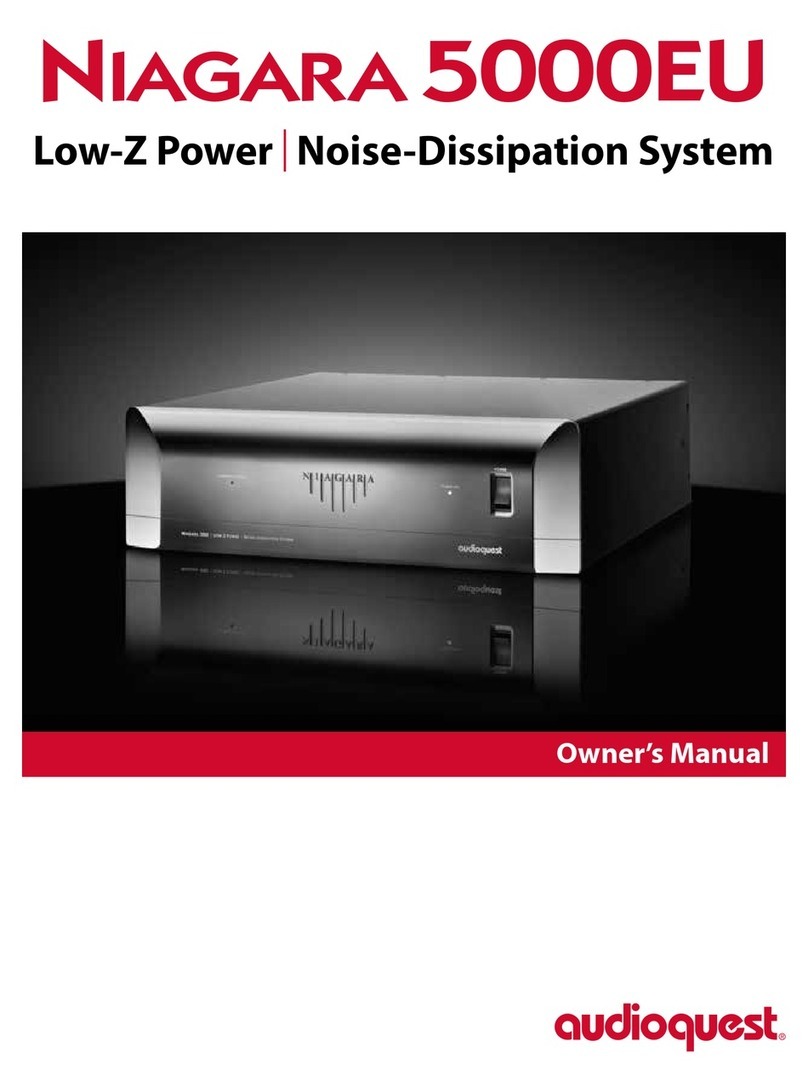
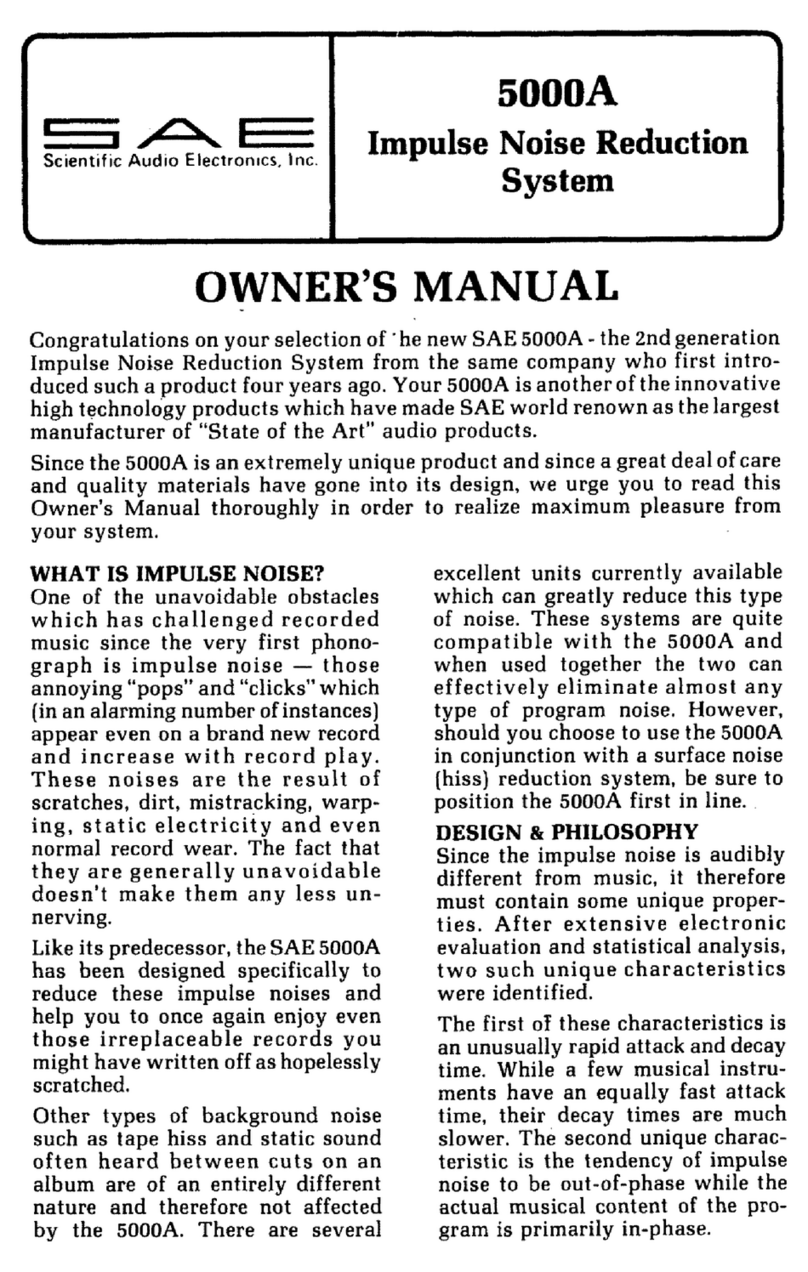
dbx 222 User manual

dbr'Mod et222
type ll noise reduction system
for tape & disc
INSTRUCTION MANUAL


INDEX
BR I EF OPERATI NG INSTRUCTIONS
Rear Panel
Front Panel
How to Use the Function Select Buttons on Your 222
2
2
3
4
OUICK-REFERENCE GUIDE TO dbx 222 OPERATION
INTRODUCTION
CONNECTIONS & OPERATION
Basic Signal Connections and Operation
Dubbing a dbx Encoded Disc onto a Tape in Encoded Form
Dubbing a dbx Encoded Disc onto a Tape in Non-Encoded Form
Using the 222in Conjunction with a Graphic Equalizer
Using the 222 with an Equalized Speaker System
Copying a dbx-Encoded Tape
Making a Non-Encoded Copy of a dbx-Encoded Master Tape
Making a dbx-Encoded Copy from a Non-Encoded Tape
7
7
8
I
9
10
10
10
12
SETTING THE LEVEL ADJUST CONTROLS 13
dbx PRODUCT WARRANTY & FACTORY SERVICE 14
SPECIFICATIONS 15
SCHEMATIC 16
WARNING: TO PREVENT FIRE OR SHOCK
HA,ZARD, DO NOT EXPOSE THIS APPLIANCE
TO RAIN OR MOISTURE.
dbx@ is a Registered Trademark of dbx, lnc.

BRI EF OPERATING INSTRUCTIONS
Fig. 1 - dbx Model 222Rear Panel
Notes: To avoid repetition, the word "preamp" is used to mean receiver,
preamplifier, integrated amplif ierlpreamplifier, or the tape monitor loop of
an equalizer, reverb unit or other device. See Figures 3 through I for
connection diagrams.
Preamp or Receiver Connections Tape Recorder Connections
INPUTS Connect cables from
your preamp's TAPE OUTPUTS
(REC OUT of the Tape Monitor
Loop) to these inputs.
OUTPUTS Connect cables
from these outputs to Vour
preamp's TAPE INPUTS
(PLAY lN of the Tape
Monitor Loop).
INPUTS Connect cables from
your tape recorder's LINE,
PLAY or MONITOR outputs
to these inputs.
OUTPUTS Connect cables
from these outputs to the
RECORD or LINE inputs of
your tape recorder. (lf you
are using the 222 only for
decoding dbx discs. you need
not connect any cables to
these jacks.)
Level Adjust
TAPE REC & PLAY/ DISC PLAY fhese screwdriver adjustable
controls are for maintaining the same average signal level with or
without 222 processing. Adjustment is not critical for proper
encoding and decoding. See page 13 for details of their adjustment.
AC Mains Connection
AC POWE R CABLE Connect this cable to a 1 17 V AC, 50 or
60 Hz AC power source only. Models for use with other power
sources are available outside the continental United States. Contact
the dbx factory for information.

Fig. 2 - dbx Model 222 Front Panel Processor Function Selectors
NOTE: BECORD, BYPASS, and PLAY are interlocking pushbuttons; only one button is to be
pressed in at a given time.
RECORD Press this button
when you want to make a dbx
encoded tape from a normal
(non-encoded) program. When
set for recording, a green LED
above the button is illumin-
ated; be sure the "dbx DISC"
button is not engaged (its
LED should be OFF).
Power
Press in this button to turn ON the
AC power to the 222; press again to
release the button and turn power
OFF. A red LED above the button
is illuminated when the unit is ON.
BYPASS Press this button
when you want to make a
conventional tape recording
(i.e., a non dbx-encoded tape)
from a non-encoded program,
or when you want to play a
conventional non-encoded
tape. When set for bypass, a
red LED above the button is
illu minated.
PLAY Press this button
when you want to play back
a dbx encoded tape or a dbx
encoded disc (or when you
want to simultaneously
listen to an encoded disc while
making an encoded tape
recording of that disc).
When set for playback, a
green LED above the button
is illuminated; for disc play-
back, be sure to also press
the adjacent "dbx DISC"
button.
dbx Disc
Press this button and the PLAY
button when you want to listen to
(decode) a dbx encoded disc (or when
you want to simultaneously listen to
an encoded disc while making an
encoded tape recording of that disc).
The red LED above the button is
illuminated when set for disc decoding.

How to Use The Function Select Buttons on Your 222
NOTE: With RECORD, PLAY & BYPASS, push only one button at a time.
BUTTON(SI PRESSED IN FUNCTION OBTAINED
RECORD BYPASS PLAY dbx DISC
oTO MAKE A dbx ENCODED TAPE
Program coming into the 222's "FROM PREAMP TAPE OUTPUT" jacks will be
encoded and sent to the "TO TAPE RECORDER INPUT" jacks of the 222.
oTO PLAY A dbx ENCODED PROGRAM
Program coming into the 222's "FROM TAPE RECORDER OUTPUT" jaeks will
be decoded and sent to the "TO PREAMP TAPE INPUT" jacks oI the 222.
oFOR NO PROCESSING OF THE TAPE
Program coming into the 222's "FROM PREAMP TAPE OUTPUT" jacks will be
sent directly to the "TO TAPE RECORDER INPUT" jacks, and program coming
into the 222's "FROM TAPE RECORDER OUTPUT" jacks will be sent directly
to the 222's "TO PR EAMP TAPE INPUT" jacks with no encoding or decoding.
o o dbx DISC/SOURCE DECODING
Program coming into the 222's "FROM PREAMP TAPE OUTPUT" jacks will be
decoded and fed to the "TO PREAMP TAPE INPUT" jacks. (The encoded disc
program fed to the "F ROM PR EAMP TAPE OUTPUT" jacks will also be fed to
the "TO TAPE RECORDER INPUT" jacks without decoding.)

OUICK-REFERENCE GUIDE TO dbx 222OPERATION
To Make a dbx-Encoded Tape Recording
1. Press in the dbx 222's RECORD button. (The
dbx DISC button should be out.)
2. Place the tape recorder in Record mode, and
adjust record level controls for an average level of -5
on average-reading meters. (For some tape recorders
and under certain conditions, more precise settings are
required. For more information, please refer to page 13,
Tape Level Adjustment.)
3. Do not switch the 222 while making the recording.
4. lf your tape recorder has 3 heads, and you wish to
monitor the encoded tape as it is being made. you will be
listening to the encoded program lthe 222 can only per-
form one function at a time, encoding or decoding).
This will verify that a recording is being made, but since
encoded program is not particularly pleasant sounding,
you may prefer to switch the preamp's TAPE MONITOR
switch to SOURCE and listen to the unencoded program
ahead of the 222.
To Play a dbx-Encoded Tape Recording
1. Set the preamp's TAPE MONITOR switch to TAPE.
2. Press in the dbx 222'sPLAY button, and play the
encoded tape. (The dbx DISC button should be out.)
To Play a dbx-Encoded Phonograph Disc
1. Press in the dbx 222'sDISC and PLAY buttons.
2. Set the preamp's INPUT SELECTOR to PHONO,
set its TAPE MONITOR switch to TAPE, and play the
dbx-encoded disc.
To Make or Play a Conventional, Non-Encoded
Tape Recording
1. Press in the dbx 222's BYPASS button. (The dbx
DISC button should be out.)
2. Play the tape (or make the recording) as you
normally had done before using the Model 222.
To Make a Non-Encoded Tape Recording from a dbx-
Encoded Disc
1 . Turn off the preamp and reconnect the 222 and
tape recorder to the preamp as shown in Figure 4.
2. Turn the preamp on.
3. Press in the dbx 222'sDISC and PLAY buttons.
4. Set the preamp's INPUT SELECTOR to PHONO,
and set the TAPE MONITOR switch to TAPE.
5. You can monitor the recording of the decoded disc
by listening through your loudspeakers.

6
INTRODUCTION
The tape recording process traditionally hacbeen one
of the major sources of noise in recorded music. The dbx
tape noise reduction system virtually eliminates tape hiss.
ln addition, dbx processing permits recordings to be
made at levels that avoid much of the distortion which
normally occurs in tape recording. As a result. the dbx
tape noise reduction system not only reduces noise. it
can vastly improve tape recorder performance. With dbx
processing, virtually the only noise heard on playback is
that noise which was present in the original program.
Taped records, upon playback, will sound just like the
original disc, taped FM broadcasts, upon playback. will
have no more noise than was present in the qriginal
reception of the program; and recordings of live music,
conversation, and so forth, will be indistinguishable
from the live event. These genuine improvements in the
quality of tape recordings are due to a phenomenal
increase in recordable dynamic range and the dramatic
absence of tape-induced noise.
The dbx Model 222 has two channels of noise
reduction processing, switchable as a pair for either
encoding or decoding a stereo program. This dbx Type ll
system provides in excess of 30 dB broadband tape noise
reduction with a simultaneous 10 dB improvement in
headroom in the tape recording process.
The Model 222 also may be used to decode special
dbx encoded phonograph discs. These discs, available
through leading hi-fi and record dealers, are up to 40 dB
quieter than a conventional disc, and provide tremendous
musical dynamic range.
The 222's dbx disc decoding circuitry is not designed
to reduce noise on conventional phonograph records.
Neither can the 222's dbx tape noise reduction circuits
reduce hiss on a tape which has already been recorded
without the corresponding dbx processing during the
recording process.
The dbx 222is fully compatible with all other dbx
Type ll units, including the 224, Model 21, 1 20 series
and 140 series. The 222is not compatible with dbx
Type I Professional equipment, and vice-versa. The
difference between the two systems results from the
design consideration for higher speeds and larger tape
format used in live recording with professional equip-
ment, and the corresponding slower speeds and smaller
tape format used in home high fidelity equipment. This
means that the Type ll noise reduction system is supe-
rior for use with home high fidelity equipment,
Alone. thA dbx 222 will dramatically improve the
quality of your live tape recordings, and will preserrie the
quality when you are copying previously recorded
programs.
When used properly, dbx tape noise reduction makes
an extremely valuable addition to your sound system
and to your listening enjoyment. This manual describes
how your dbx 222 functions, and how you can obtain
maximum benefit from its use,
CONNECTIONS & OPERATION
Basic Signal Connections and Operation
CAUTION: Make sure that the power is OFF on all
equipment when installing the dbx unit. As a further
precaution, turn down your amplifier VOLUME control
prior to switching on the dbx 222fot the first time.
lnadvertent decoding of non-encoded programs 1222in
PLAY model can create surging to high volume levels.
NOTE: Never connect any other electronic equipment
betnreen the dbx 222 and your tape recorder's inputs or
outpuE. This could cause inaccurate encode/decode
tracking and los of quality in the recorded signal.
The basic functions of the dbx 222 are presented in
the Brief Operating lnstructions on page 2.
SPKR O
8F.*r55tE
our LEFr<O <O >O E
Fig. 3 - Basic signal connections to fr1e dbx 222

IDubbing a dbx Encoded Disc onto a Tape
in Encoded Form
This process allows you to preserve the low noise and
wide dynamic range of the dbx noise reduction system
when transferring an encoded disc to a tape. Such tapes
are then played back through the Model 222 in the same
manner as any dbx Type I I encoded tape. No special
connections are necessary (Figure 31.
1. Press in the 222's DISC and PLAY switches.
2. Set your preamp as follows: TAPE MONITOR
switch to TAPE, and INPUT SELECTOR switch to
PHONO.
3. Set your tape recorder to Record, and record
normally.
4. The tape copy will be dbx encoded, and you will
hear the program in decoded form while monitoring
this operation.
5. After the tape is recorded, it can be played back
in decoded form by releasing the 222's dbx DISC button.
Leave the dbx PLAY button in, and the preamp TAPE
MONITOR in TAPE position (or set its INPUT
SELECTOR to TAPE).
Dubbing a dbx Encoded Disc onto a Tape
in Non-Encoded Form
This process is for transferring a dbx-encoded disc in
non-encoded form onto a tape for future playback with-
out dbx processing (such as in an automobile tape
pl ayer).
lf your tape recorder is equipped for off-the-tape
monitoring and you wish to listen to the tape as it is
being recorded, you can plug a pair of headphones into
the recorder'3 phones jack. Alternately, you can connect
your tape recorder's PLAY OUTPUTS directly to your
preamp's TAPE INPUTS (Monitor ln), and set the pre-
amp's TAPE MONITOR OR INPUT SELECTOR to
TAPE mode. (See Figure 4.)
Fig, 4 - Connections for making a non-encoded recording from a dbx encoded disc.

Using the 222in Conjunction with a Graphic Equalizer
lf you use a graphic equalizer with your sound system,
the equalization must nof be introduced between the
222'sIAPE RECORDER OUTPUTS and the tape
recorder's inputs, or between the recorder's outputs and
the 222',s TAPE RECORDER INPUTS. ldeally the dbx
222 is installed in the preamp's tape monitor loop, and
the graphic equalizer is installed between the preamp
output and the power amplifier input as shown in
Figure 5. Alternately, install the graphic equalizer in the
preamp's tape monitor loop and place the 222in the
graphic equalizer's tape monitor loop, but be sure to set
the equalizer so it's effect comes after the dbx unit.
9
Fig. 5 - How to connect lhe 222 with a graphic equalizer,
electronic crossover, reverb, subharmonic synthesizer, matrix
4-Channel decoder, etc. (special signal processing follows the
dbx encode/decode processl.

10 Using the 222with an Equalized Speaker System
lf you have an equalized speaker, such as most Bose
speakers or Electro-Voice "lnterface" series speakers,
the dbx 222 can be connected in the speaker equalizer's
tape monitor loop. The equalizer should be installed in
the preamp's tape monitor loop as illustrated in
Figure 6.
Copying a dbx-Encoded Tape
To make a dbx-encoded copy from a dbx type I I
encoded tape, follow the procedure depicted in Figure 7.
Fig. 7 - Copying dbx-encoded tapes or non-encoded tapes
directly from one tape rscorder to the other.
Since the encoded tape does not require additional dbx Type ll
processing in order to be copied, Tape Recorder "A" Play (Line)
Outputs can be connected directly to Tape Recorder "B"
Record (Line) lnputs.
Making a Non-Encoded Copy of a dbx-Encoded
Master Tape
The encoded master tape must be dbx-decoded piior
to feeding the slave tape recorder. This may be
accomplished in either of two ways, depending on the
nature of your sound system.
Fig. 6 - How to connecl lhe 222 with an equalized speaker system. (dbx processing is done
inside the tape monitor loop of the speaker equalizer, which itself is in the tape monitor loop of
the preamplifier.)
Z-.OEIAPE
OLEFrO <O EO c6 ;6 56 3
ORTGBTO O O O O
PREAMP

For Sound Systems with Two Tape Monitor Loops:
lf your preamp, amplifier or receiver has two tape
monitor loops with switching for "Dub A to B" or
similar copying provisions, no special connections are
required (Figure 8).
1. Press in the 222's front panel PLAY switch. (The
dbx DISC button should be out.)
2. Set your preamp to "Dub B to A" mode, set Tape
Recorder "B" to Play mode and Tape Recorder "A" to
Record mode.
For Sound Systems with One Tape Monitor Loop:
lf your preamp (or receiver) has only one tape
monitor loop, here is the way to make a non-incoded
copy:
1. Simultaneously connect the 224's PR EAMP TAPE
MONITOR OUTPUTS to the preamp and Tape Recorder
B's lnputs by using "Y" adapters (Figure 9A).
2. Press in the 222's f ront panel PLAY switch.
3. Set the Tape Recorder "A" to Play mode and Tape
Recorder "8" to Record mode.
A Method Using No Preamp & No Special Cables:
lf you prefer, you can make a non-encoded copy of
an encoded tape with only the two tape machines and
the 222.
1. Tape Recorder A's output should be connected to
the dbx 222TAPE RECORDER input, as usual. Connect
the 222's PREAMP TAPE MONITOR OUTPUTS not to
the preamp's Tape Monitor lnputs, but instead to the
Tape Recorder B's Record lnputs (Figure 98).
2. Press in lhe 222's front panel PLAY switch,
3. Set the Tape Recorder "A" to Play mode and
Tape Record to Record mode.
RECORDER B
11
RECORDER A
Fig. 8 - Copying dbx-encoded and non-encoded tapes with a
preamp having two tape monitor loops.
2 ...- O E TAI
e3 ra: e F 3 :'
O LEfir O <O -O .O 'O ?
ORTGHTOOOOO
I2I AMP/PREAMP |ot

12 Making a dbx-Encoded Copy from a
Non-Encoded Tape
For Sound Systems with Two Tape
Monitor Loops:
lf your preamp has two tape monitor
loops with switching for "Dub A to B"
or similar copying provisions, no special
connections are required. The installation
is the same as that shown in Figure 8;
again, Tape Recorder B is copied from;
Tape Recorder A records the encoded
signal. The only difference is in the 222
switching.
1. Press in the 222's RECORD switch.
2. Set your preamp to "Dub B to A"
mode, set Tape Recorder "8" to Play
mode, and Tape Recorder "A" lo Record
mode.
For Sound Systems with One Tape
Monitor Loop:
lf your preamp has only one tape
monitor loop, follow this procedure.
1. Connect Tape Record B's Outputs
to an auxiliary input on your preamp.
2. Place the tape to be copied on Tape
Recorder B. (lf this is not possible,
reverse your two tape recorders and
redesignate them so that Tape Recorder A
is hooked up to the 222.
3. Press in the 222's f ront panel
RECORD switch.
4. Select auxiliary mode on the preamp.
5. Set Tape Recorder "8" to PlaY
mode, and Tape Recorder "A" to Record
mode.
Fig. 9 - Making a non-encoded'
copy from a dbx Type ll encoded
tape without the benefit of two
tape monitor loops.
(A) Using "Y" adapter cables
to split the 222's decoded signal
to feed both the preamp and
the recorder.
(B) Using standard cables,
and no preamp at all.
"Y" Adapter Cables
Fis. 9A
RECORDER B
RECOROER A
otr
zs
e9<i
:O c'O;O 6
ooo
z-
e= H5
E do
o LEFr O
ORIGHT O
l
<o
o
RECORDER BFig. 98
RECORDER A

SETTING THE LEVEL ADJUST CONTROLS
For listening convenience, three screwdriver-adjust-
able controls are provided on the rear panel. They are
intended to keep the record and playback levels about
the same, and to optimize level matching between your
preamp, recorder, and the dbx 222 for the best headroom
and lowest noise. The controls are factory preset to
provide the desired results in most installations. Each
control adjusts two channels simultaneously, so proper
stereo balance is maintained. ln no case does their setting
affect the linearity of the dbx encode/decode process.
Tape Record Level Adiustment
1. Connect a source of a typical musical program at
fairly constant level to your preamp; preferably a record
or an FM radio broadcast. Set the preamp's TAPE
MONITOR switch to source. (lf you have an audio
oscillator or test record, you can use a / kHz tone at
standard reference level.)
2. Press in the 222's BYPASS switch (dbx D ISC button
out).
3. Setup your tape recorder for recording, but do not
record a tape (use the recorder's PAUSE switch). Play
the source (i.e.. program or test tone) through your
system at an average listening level and adjust the tape
recorder's input level controls. With program material,
the peaks should reach +3 dB on the peak-reading meters
of a reel-to-reel recorder or -8 dB to 0 dB on a cassette
recorder. With average VU meters, the readings should be
-10 dB to 0 dB for reel-to-reel and -12 dB to -3 dB for
cassette recorders. (A test tone can be set within the
range of average levels indicated above.) Remember these
levels will vary depending on whether your tape recorder
has peak reading meters or average reading meters. You
will f ind that by experimenting with different recording
levels, for different types of music or different types of
recording tape, you can achieve better results and full
enjoyment of the dbx ll recording system.
4. Now press in the 222's R ECORD switch.
5. Without touching any of the recorder's level
controls, adjust the 222's rear panel LEVEL ADJUST
"TAPE REC" control so that your recorder's VU meters
read about the same as they did with the dbx unit
SWitchCd tO BYPASS.
6. From now on, adjustments of recording level will
be made with the recorder's input level controls.
Tape Play Level Adiustment
This adjustment is provided so you can use about the
same preamp VOLUME control setting whether you are
playing a conventional tape (222 BYPASS switch pressed
in) or a dbx encoded tape 1222 PLAY switch pressed in).
For this adjustment, you will need any good quality
dbx Type ll encoded tape or, alternately, a source of a
1 kHz test tone. Since the adjustment is for listening
convenience only, if you do not have a tone source or a
dbx encoded tape, you can delay the adjustment until
after you record a dbx encoded tape.
1. Press in the 222's BYPASS switch (dbx DISC
button out).
2. Set your preamp TAPE MONITOR Switch to
TAPE.
3. Play a dbx Type ll encoded tape on your recorder.
You can use a tape of program material with fairly con-
stant level. For more accurate settings, you can use a
tape recording of a 1 kHz tone at -3 VU to 0 VU
recorded level.
NOTE: A f kHz tape recording can be made using an
oscillator or a test record as a signal source. lf the lkHz
13

14 tone is used, it makes no difference whether or not the
tape is dbx Type ll encoded.
4. Adjust the 222'.s LEVEL ADJUST "TAPE PLAY"
control so that on louder program passages, when the
222's BYPASS and PLAY switches are alternately pressed
in, the levels are approximately the same (or so that the
1 kHz tone remains at the same volume level when
switching between BYPASS and PLAY).
NOTE: Due to changes in frequency response caused by
pr*emphasis and deemphasis in the dbx encoding
process, concentrate on midrange frequencies (e.9.,
vocals) when making this comparison.
Disc Play Level Adjustment
This adjustment is provided so you can use about the
same preamp VOLUME control setting whether you are
playing a conventional phonograph record (preamp
Tape monitor switch not engaged) or a dbx encoded disc
(preamp Tape monitor switch engaged and 222 DISC
and PLAY switches pressed in).
1. Press in the 222's DISC and PLAY switches.
2. Set your preamp as follows: INPUT SELECTOR
switch at PHONO; TAPE MONITOR switch at TAPE.
3. Play a dbx encoded disc on your phonograph.
' 4. Ad just the 222's rear panel LEVE L ADJUST
"DISC PLAY" control so that, on moderately loud
passages, the levels are approximately the same when
the preamp's TAPE MONITOR switch is alternately
moved between SOURCE and TAPE.
NOTE: Due to changes in frequency response caused by
pre-emphasis and deemphasis in the dbx encoding
process, concentrate on midrange frequencies (e.9.,
vocals) when making this comparison.
dbx PRODUCT WARRANTY &
FACTORY SERVICE
All dbx products are covered by a limited warranty.
Consult your warranty card or your local dealer for full
details.
The dbx Customer Service Department is prepared to
give additional assistance in the use of this product. All
questions regarding interfacing dbx equipment with your
system, service information or information on special
applications will be answered. You may call during
normal business hours - Telephone: 617-964-3210
Telex: 92-2522, or write to:
dbx, lnc.
71 Chapel Street
, Newton, MA 02195
Attn: Customer Seruice Department
Should it become necessary to have your equipment
factory serviced:
1. Please repack the unit, including a note describing
the problem along with the day, month and year of
purchase.
2. Send the unit, freight prepaid, to:
dbx, Inc.
224 Calvary Street
Waltham, MA 02154
Attn: Repair Department
3. We recommend that you insure the package and
send it via United Parcel Service wherever possible.
4. Please direct all inquiries to dbx Customer Service
Department.
Outside the U.S.A.- contact your nearest dbx dealer
for name and address of the nearest authorized repair
center.

SPECIFICATIONS
EFFECTIVE NOISE REDUCTION 30 dB, plus 10 dB headroom;40 dB for dbx-encoded discs (A weighted). 15
DYNAMIC RANGE 1 10 dB (peak signal to weighted background noise).
INPUT IMPEDANCE 100 kohms (designed to be driven from source impedance of less than 10 kohms).
INPUT LEVEL Nominal, 300 mV RMS; Maximum, 6 V RMS.
OUTPUT IMPEDANCE 100 ohms (designed to drive 5 kohms or greater).
OUTPUT LEVEL Maximum, 5.5 V RMS (5 kohm load).
FREOUENCY RESPONSE t0.5 dB, 40 Hz to 2O kHz, -1 dB at 30 Hz (encode/decode, typical program
material tracking).
SLEW RATE Greater than 10 V/microsecond,
EOUIVALENT INPUT NOISE -85 dBV (unweighted, 2O kHz bandwidth, referenced to 1 V).
TOTAL HARMONIC DISTORTION Less than 0.5%,30 Hz - 100 Hz;
Less than O.1%, 1OO Hz - 2O kHz (encode/decode).
INTERMODULATION DISTORTION Less than 0.2% (SMPTE).
POWER LINE REOUIREMENT 117 V AC, 50 to 60 Hz. Consult factory for non-U.S. line voltages.
' POWER LINE CONSUMPTION , 5.5 W.
SIZE 17-114"W x 1-314" Hx7-118" D
(43.8 cm x 4.4 cm x 18.1 cm)
Rack mount hardware supplied to adapt unit for standard 19" (48.3 cm) rack.
Specifications are subject to change without notice.

SCHEMATIC
16
IOIE5
[t55 osEM5t 5P€ClFlro
Lr)RE5l5Tfi5 Nt r/{! IN H5rr.r000r.15*LJ)
r?)ilTED nT& q sBMimfi N ols( CpAClTms ME 0 C50V
TGLEW€ MT 5 IMIilTO STLq
MM CMIC N 5W }q
Dts d@tc 10 25mlLt55 m 5Fr
+0 5Fr0F #1, t5rll@ !?ffi)
i[rrfiarER M loocFr
13ttrL e tr5 ME P/il ra6?(l rLF!5rr
s cro ar ru.PA la216r
09 0r Ma m.P/il la?ri
oil,ur2 Mt m5l5Td MilY,P/il l.6I?r
(5r5r,55 . i€C
r6i(o9 R??, rc6r,RoJr stLtcl PtR oMre ll3.0l3


71 Chapel Street
Newton, MA 02195
Manufaclured und6r one or more of thg
following U.S. patents: 3,681,618;
3,7 14,462; 3,789,143; 4,101,849; 4,097,767.
Oth€r patents pending.
128O 2.2M-600162 Printed in Japan
R- 783A
Table of contents
Other dbx Noise Reduction Machine manuals