DecisionVision DV-15 User manual

DV-15 Operators Manual
DecisionVision LTD

Table Of Contents
Introduction 1
EMC & Safety Standards Applied 1
Unit description 1
Packaging List 1
Key Features & Specications 2
Components & Fixings 3
Saftey Precautions 4
Hardware Installation 5
Maintenance & Cleaning 5
Troubleshooting 6
Warranty Policy 6
Disposal 7
Technical Support 7
Declaration of Conformity 8
1.

1.
Introduction
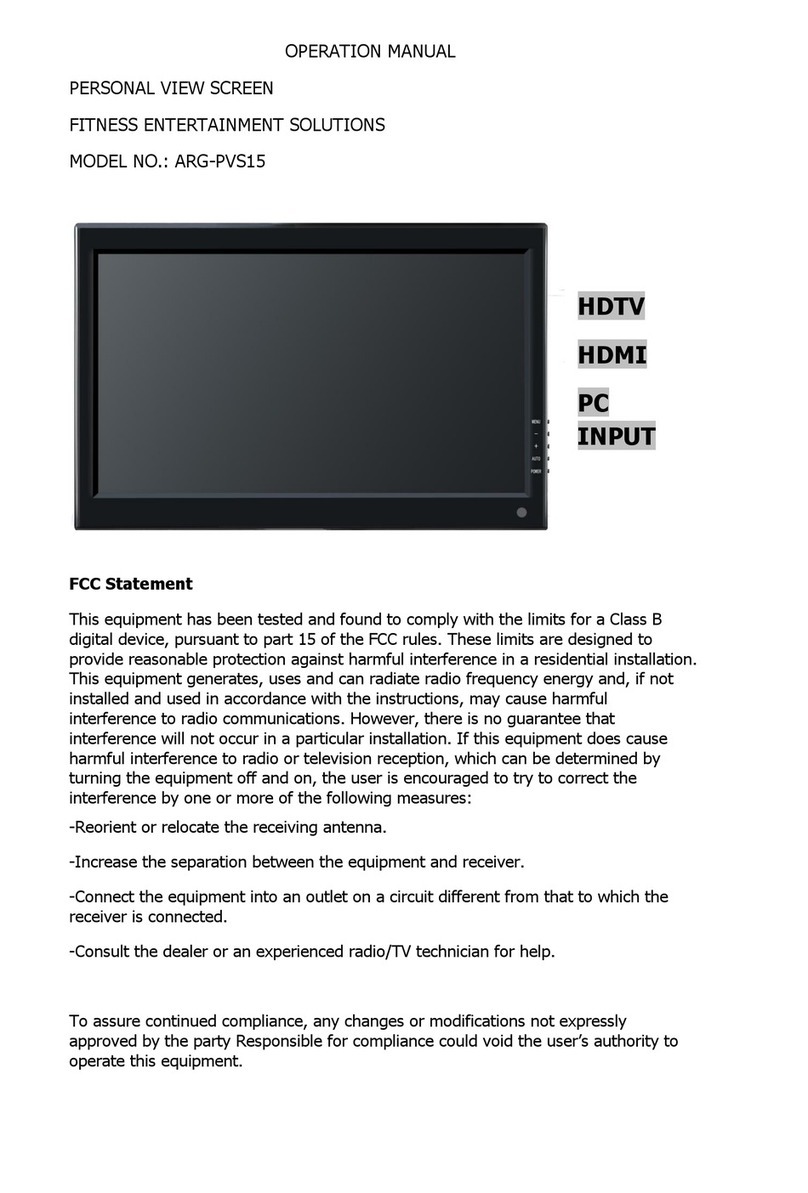
Congratulations on the purchase of your new DV-15. You are now the owner
of a state-of-the-art DV-15, the media unit that offers enhanced features and
performance directly at the point of purchase. It is a fully intergrated single board
computer with hi performance LCD display, wide viewing angles and antiglare
coated acrylic protective window.
EMC & Safety Standards Applied
The following product has been tested and certied as complient with the
regulations BS EN 55022 (Class A) , BS EN55024
Packaging List
Open the shipping carton and check the contents. If any items are missing or
damaged, contact DecisionVision immediately.
The package should include the following items
• DV-15 Media Screen
• Sunny 65W 12V DC External Power Supply Unit
• Figure 8 Power Cord
2.

2.
Key Features & Specication
Item Description
LCD Panel 8.4” TFT 800x600 Resolution, Viewing Angle
170 Degrees Left to Right, Brightness 350 CD
Internal Speakers 2 x 2 Watt Stereo
Power Consumption 12V / 2.5 A
Dimensions (WxHxD) 265mm x 190mm x 70mm
Net Weight 1.62kg
Shipping Weight 2.91kg inc PSU
CPU Intel Pentium M, Celeron M CPU
Chipset GMCH 855GME and ICH4 82801DB
RAM memory DDR SDRAM SO-DIMM Socket support to
1GB/333MHz
Display Controller Intel 855GME Supports non-interlaced CRT
monitors Supports LVDS Encoders.
Series ports Four high-speed 16C550 compatible UARTs
ports.COM4
Parallel Port IEEE-1284 compliant. Supports SPP/EPP/ECP
mode
USB port Support Six USB 2.0 compatible ports
Audio Connector supports Line-in, Line-out, MIC-in
Digital IO Supports eight digital-in, and eight digital-out
TTL-level I/O ports
Watchdog timer Time setting form 1 to 255 second / minute Sys-
tem Reset generate when CPU did not periodi-
cally trigger the timer
Connectors PS/2 Mouse/Keyboard Connector
3.

3.
Components & Fixings
PSU/
Switching Adapter
Figure 8 Power
Lead
1m
Patch Cable
(Optional)
Mounting Bracket
(Optional)
Celing Mounting
Bracket
(Dependent on)
(Screen Location)
DV-15
Media Screen
Grommets
2m
Patch Cable
4.

4.
Safety Precautions
•Always completely disconnect the power cord from the unit whenever you
work with electrical hardware.
•Do not make connections while the power is on. Sensitive electronic com-
ponents can be damaged by sudden power surges. Only authorised persons
should open the unit chassis.
•Shut down your equipment immediately if it produces smoke, a strange odour,
or unusual noise. Continued use may lead to a re. Immediately unplug the
equipment and contact technical support
•Do not attempt to service the external power adapter. There are no servicable
parts inside. Replace the unit if it is damaged or exposed to excess moisture.
•Do not connect cables into the incorrect slots this this could lead to the display
being damaged.
•Do not use in locations subject to high heat levels, dust, direct sunlight. humid-
ity, moisture or caustic chemicals. Excessive exposure may cause equipment
failure. It is not waterproof and is for indoor use only.
•Do not install units inside fridges. Where the mains transformer is installed in
the ceiling the transformer must not be wrapped around insulation material.
•Try to avoid using this equipment on the same power supply as high voltage
equipment or equipment likely to cause mains interference.
•Do not block the vetilation slots on the machines, as this will cause heat to
build up inside the machines and may cause re
•To ensure safety, unplug this product before leaving it unused for an extended
period.
5.

5.
Hardware Installation
Labels on each unit identify: the model number, serial number, volume and
brightnes control labels.
Serial Port
Not Used
VGA Port
Not Used
RJ45 Port
RJ45 Port
Not Used
USB Port
PS2 Port
Toggle Indicator
Lit For Brightness
Toggle
Brightness/Volume
Brightness/
Volume Up
Brightness/
Volume Down
Power Reset
Maintenance & Cleaning
Be sure to disconnect the power cord prior to performing any maintenance.
Changing ash memory
cards.
Compact ash & DOM can be accessed by removing
the rear access cover panel.
Cleaning the protective
window.
This can be cleaned by using a non toxic and alcohol
free screen wipe.
6.
(Unit Right hand Side)
(Unit Back)
Fixings
The unit has 75mm visa mounting option please ensure brackets are attached
to a solid surface and only with the xings supplied.

6.
Warranty Policy
1 YEAR WARRANTY
This product is warranted to be free of defects in materials and workings at
the sole discrestion. This warranty period shall begin from the date of the
accompanying invoice and will be in effect for a period of one year for labour
and one year for parts.
THE FOLLOWING SHALL VOID WARRANTY
Any unauthorised service, modication or tampering, and damage due to
accident, misuse, abuse and operation outside of electrical specications shall
void the warranty.
There will be charges for labour and/or materials and/or shipping for repairs
carried out outside the warranty period.
Troubleshooting
If you cannot solve a problem with the following solutions, do not attempt to
repair the unit yourself.
Symptom Solution
Unit not powering on. Make sure the green light is lit on the front of the
media screen, if not check the power supply and
power cable, connections and power outlet. Make
sure the power button is pressed and there is
power running to the switching adapter. Press the
reset button on the back of the screen to reboot
and wait for the startup screen to appear.
Contact DecisionVision for further support if any problems persist.
7.

7.
Technical Support
Headquarters
DecisionVision LTD
2 Wilford Business Park
Ruddington Lane
Nottingham NG11 7EP
United Kingdom
Tel: +44 (08700) 124000
Helpdesk: +44 (08700) 124100
Fax: +44 (08700) 124040
http://www.decisionvision.co.uk
8.
Disposal
The crossed out wheeled bin label that can be found on your product indicates
this product should not be disposed of via normal household waste stream. To
prevent possible harm to the environment or human health seperate this product
from other waste streams to ensure it can be recycled in an environmentally
sound manner. For more details on available collection facilities please contact
your your local authority or DecisionVision.

8.
Declaration Of Conformity
Manufacturer’s Name: DecisionVision LTD
Manufacturer’s Address: DecisionVision LTD
2 Wilford Business Park
Ruddington Lane
NOTTINGHAM NG11 7EP
Declares, that the product:
Product Name: DecisionVision
Model Name: DV-15
Product Options: All
Conforms to the following Product Specications:
Safety: The Low Voltage Directive applies to all apparatus operating on any
AC supply between 50 and 1000 volts.
As this product takes a supply of 12 volts DC, it is considered not applicable.
However the PSU supplied with the unit conforms to BS EN60950 and is CE
marked.
EMC: BS EN55022 (Class A) , BS EN55024
9.

Notes

DecisionVision LTD
Table of contents

