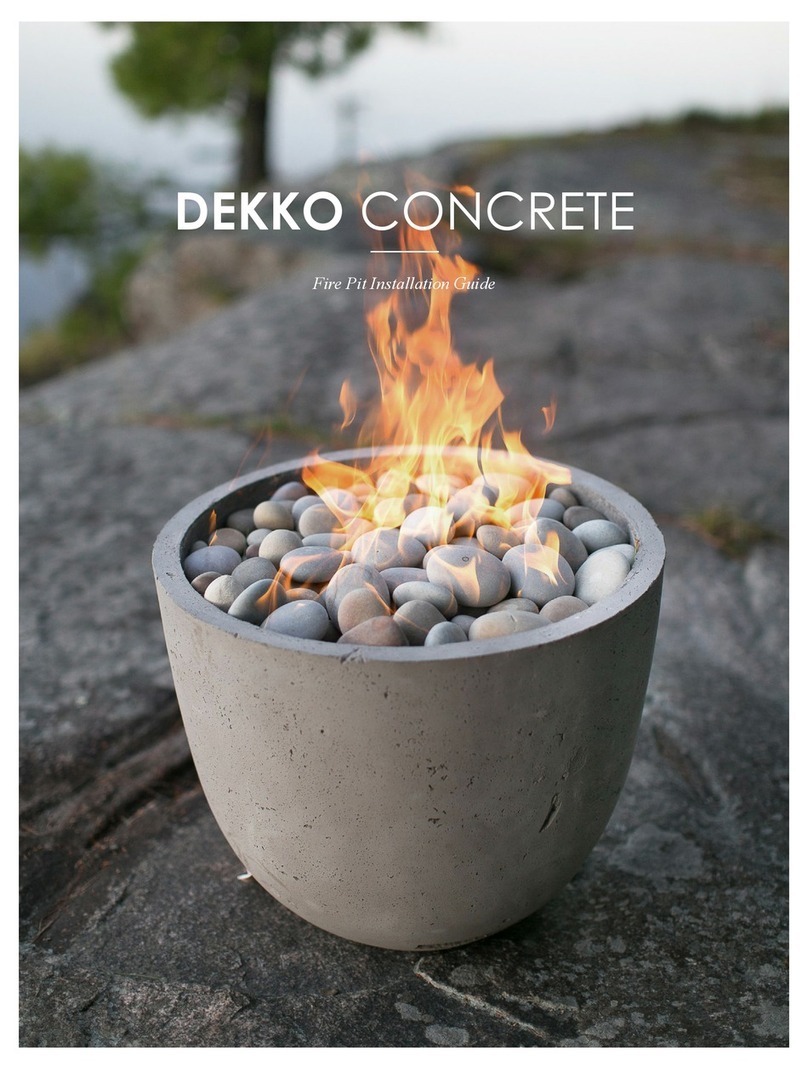
Dekko FPI-DECK20SQ User manual

1
1915 Setterington Drive
Kingsville • Ontario
Canada • N9Y 2E5
TABLE OF CONTENTS
S1 User Information………………………….…………………………………………………..................2
S2 Unpackaging and Handling
2.1) Items Included……………………………………………………………….............………..3
2.2) Unboxing Your Fire Feature…………………………………………….............……………4
S3 Installing Your Fire Feature on a Combustible Surface
3.1) Items Included………………………………………..………….............……………………4
3.2) Installing the Insulation Kit………………………..………………….............………………4
S4 Natural Gas and Propane Connections………………………..………………..............…….…………5
S5 Completing the Installation Process………………………..………………..............………..………5-6
S6 Safe Operations of Your Fire Feature
6.1) Safe Operations of Your Fire Feature…………………………….............…………………..7
6.2) Match-Lit Burner Start Up Procedure.......................................................................................7
6.3) Match-Lit Burner Shut Off Procedures………………………………………….....................7
6.4) Safe Use of Electronic Ignition Burners…………………….............………………………...8
6.5) Emergency Shut-Off Procedures...............................................................................................8
6.6) Gas Leaks……………………………………………..............................................................8
6.7) Water Contact……………………………………....................................................................9
S7 Maintenance and Care
7.1) Promoting the Longevity of your Fire Pit……………………….............................................9
7.2) Removing Stains..…….....................................…………………............................................9
7.3) Sealant................……......................................………………….............................................9
7.4) Hairline Cracks and Fissures ...........................…………………...........................................10
7.5) Annual Servicing................……......................…………………...........................................10
S8 Warranty Information.............................................................................................................................11
S9 Troubleshooting.................................................................................................................................12-13
CONGRATULATIONS!
You are only moments away from enjoying your new Dekko fire feature!
To begin the installation process, please follow the un-packaging and handling
instructions below:

2
1915 Setterington Drive
Kingsville • Ontario
Canada • N9Y 2E5
Section 1.
User Information
ATTENTION
FOR OUTDOOR USE ONLY
Connections for natural gas, propane and electronic ignition fire pits must:
üBe performed by a licensed gas technician
üBe performed by a licensed electrician (for E.I. fire features only)
üComply with your local building code
PLEASE BE ADVISED:
Improper installation, alterations, or maintenance may cause injury or property damage and
could void your manufacture’s warranty.
Refer to the burner installation manual included in your delivery for instructions regarding your
burner i.e., minimum clearances, warranty, safety and care

3
1915 Setterington Drive
Kingsville • Ontario
Canada • N9Y 2E5
Section 2.
Unpackaging and Handling
2.1) Items Included
Additional Accessories
Propane Tank Cover
Weather Cover
Table Top Lid
Glass Wind Guard
Items Included in Your Delivery
Your Dekko Fire Feature
Corresponding Burner
Burner Manual
Chrome Key
(N/A for Electronic Ignition
Units)
Black Lava Rock
Choice of Decorative Stone /
Glass
Additional Item(s)
(Propane Units Only)
12’ Extension Hose with
Quick Disconnect
Don’t have accessories for your DEKKO fire
feature?
Contact our team to place an order today!!
Phone Number | 855.422.0077
Also Available
(For Electronic Ignition Models Only)
- Wall timer
- Emergency Stop Button
- On/Off Remote

4
1915 Setterington Drive
Kingsville • Ontario
Canada • N9Y 2E5
Section 2.
Unpackaging and Handling Continued…
2.2) Unboxing Your Fire Feature
•Carefully remove your fire pit from its protective shipping box as most damages occur
during the unpackaging process
For more information on how to safely un-package your Dekko fire pit, you can view our instructional
video that is listed on our website under the FAQ section
www.dekko.ca
Section 3.
Installing Your Fire Feature on a Combustible Surface
WITH THE USE OF AN INSULATION KIT, Dekko fire features may be installed on
combustible surfaces such as wooden patios or decks.
3.1) Items Included in Your Insulation Kit
3.2) Installing the Insulation Kit
For installation steps, please view the Deck Insulation Kit Instruction Manual at the end of this
guide.
(1) 20” X 20” Concrete Pad
(1) 20” X 20” Sheet of Basalt Material

5
1915 Setterington Drive
Kingsville • Ontario
Canada • N9Y 2E5
Section 4.
Natural Gas and Propane Connections
Our fire features arrive pre-assembled with the burner and key valve intact.
Please refer to the burner manufacturer’s instruction manual included in your delivery for
instructions regarding installation, clearances and operation.
Each of our fire pits are built with air-flow openings that comply with ventilation requirements.
PLEASE NOTE:
VENTILATION AREAS MUST REMAIN OPEN AND UNBLOCKED
Ventilation openings may be used to accommodate running a gas line.
Note regarding ELEMENT and SERENADE fire features:
If the gas line needs to be placed in a different location, a hole can be drilled in the fire pit using
a 1” paddle bit. After removing the burner, drill the hole from the inside of the fire pit.
Section 5.
Completing the Installation Process
After the gas connections are complete in accordance with the burner manufacturer’s instruction
manual, insert burner tray into position on your fire pit.
AVOID covering the burner holes as much as possible when arranging Lava Rock or Decorative
Stone on your fire feature:
•Lava Rock
ØUse the provided lava rock and place directly on top of the burner’s surface; the
lava rock aggregate must be placed on the burner before the decorative stone.
•Decorative Stone
ØOnce the lava rock is in place, distribute beach stone or crushed glass over the
entire surface area and cover all lava rock.

6
1915 Setterington Drive
Kingsville • Ontario
Canada • N9Y 2E5
Section 5.
Completing the Installation Process Continued…
ATTENTION
IMPORTANT INFORMATION REGARDING FIRE PIT STONE SAFETY
•It is highly recommended to inspect and discard all stones with hairline cracks BEFORE
placing them around the gas burner
•Lava rock and beach stone are both 100% natural products and occasional cracking
and/or popping may occur when heated
•When using your fire pit for the first time, it is recommended to burn the fire pit for at
least 1-2 hours while keeping a safe distance in the rare event that breakage or popping
occurs
•Using a protective vinyl weather cover may also help avoid breakage as moisture can
cause stone to pop or crack when it is wet
PLEASE NOTE:
Heat-treated aggregate can be purchased through DEKKO – DO NOT use untreated aggregate.
In addition, please note that lava rock and beach stone are both 100% natural products and
occasional cracking and/or popping may occur when heated.

7
1915 Setterington Drive
Kingsville • Ontario
Canada • N9Y 2E5
Section 6.
Safe Operation of Your Fire Feature
6.1) Safe Operation of Your Fire Feature
•Always ensure that the fire feature is only operated under the supervision of an adult who
is informed of the emergency shut-off process
•Do not leave young children and animals unattended when near the fire feature
•Do not use the fire feature as a seating area, as winds and inclement weather could cause
the flame to behave in an unpredictable manner
•When fire pit is not in use, ensure chrome key is in a secure location
•Keep combustible and flammable materials away from your fire feature
•DEKKO fire pits are NOT to be used as a cooking appliance
6.2) Match-Lit Burner Start Up Procedures
•To activate your fire feature, insert the chrome key into the key valve and slowly turn it
counter-clockwise as indicated
•With one hand on the chrome key, use your other hand to light the fire pit with a long-
handled lighter or lit match
ØPLEASE NOTE: If burner does not ignite after first attempt, turn chrome key
valve off, allowing gas to clear, then repeat start-up procedure again
•Remove the chrome key after use and store in a secure location
6.3) Match-Lit Burner Shut Off Procedures
•Turn off the gas valve of your fire feature by re-inserting the chrome key and turning it
clockwise
•Once the burner has completely cooled use appropriate cover to protect your fire feature
from rain contact and other elements
•Remove the chrome key after use and store in a secure location

8
1915 Setterington Drive
Kingsville • Ontario
Canada • N9Y 2E5
Section 6.
Safe Operation of Your Fire Feature Continued…
6.4) Safe Use of Electronic Ignition Burners
For optimal safety, please fully deactivate your electronic ignition fire pit before enclosing it
with such items as a tabletop or weather cover.
While the electronic ignition burner is a convenient and safe system when used properly, it may
have the potential to spontaneously ignite if the instructions below are not followed:
To fully deactivate your electronic ignition unit, choose one of these options:
(1) Disable hydro through a breaker
(2) Disable hydro through a wall switch
(3) Disable hydro through a wall timer
For more information pertaining to electronic ignition safety and usage, please refer to the burner
manufacturer’s instruction manual included in your delivery.
6.5) Emergency Shut-Off Procedures
•During an emergency, stop the flow of gas to the burner immediately
•Extinguish any open flame and leave the area immediately
•If the gas odour persists, please call your gas supplier or fire department after vacating
the area
6.6) Gas Leaks
•Before using your fire feature, ensure that your gas technician has tested all gas
connections for any possible leaks
•Do not use the fire feature if you suspect a gas leak
•In the event that you smell gas, shut off the gas to the appliance immediately and
extinguish any open flame
•If the odour persists, leave the area immediately and call your gas supplier or fire
department

9
1915 Setterington Drive
Kingsville • Ontario
Canada • N9Y 2E5
Section 6.
Safe Operation of Your Fire Feature Continued…
6.7) Water Contact
Note: DEKKO supplies vinyl weather covers to help protect your fire feature from rain and
snow. Call our team to purchase yours! (855-422-0077)
•Do not use your fire feature if it becomes submerged in water; call a qualified technician
immediately to inspect the appliance and replace any parts as required
•Do not use fire pit if decorative stones are wet. Allow the fire feature to dry for 45
minutes prior to coming within 15 feet of contact
Section 7.
Maintenance and Care
7.1) Promoting the Longevity of your Fire Pit
•Always ensure that your fire pit is draining water properly and drainage/ventilation
openings are not obstructed by debris
•Cover your fire pit when it is not in use for extended periods of time
7.2) Removing Stains
•Concrete can be cleaned with a mild soap and water solution – never use abrasives or
strong chemicals as they may stain the surface. A spill should be cleaned immediately by
carefully blotting with a paper towel or clean white towel. Do not ‘wipe’ a spill as it may
force the potential stain deeper into the surface. If the stain persists, please contact our
team for further instructions (855-422-0077)
7.3) Sealant
•Sealing your fire pit for additional protection is not required, but if desired, you can seal
the surface with a water-based outdoor sealer that will not yellow over time
PLEASE NOTE: Using anything other than the recommend sealer may void your
warranty as some sealants may cause yellowing and flaking to your fire pit

10
1915 Setterington Drive
Kingsville • Ontario
Canada • N9Y 2E5
Section 7.
Maintenance and Care Continued…
7.4) Hairline Cracks and Fissures
•Do not be alarmed if you see a hairline crack in your fire pit as this is a natural
characteristic of concrete and not a defect. All of our products are fibre-reinforced which
prevents cracks from growing
7.5) Annual Servicing
OUR TEAM AT DEKKO recommends inspecting your fire feature annually to promote
the longevity and safe usage of your product.
•Ensure gas to the fire pit is shut off and the fire feature is completely cooled
before servicing or cleaning
•If flames exhibit abnormal shapes or behaviour, or if the fire feature fails to ignite,
your burner may require cleaning and/or servicing. The appliance can be cleaned
by carefully removing debris and remnants from the burner with a soft-bristled
brush.
•If you notice evidence of damage to the burner, you must contact the burner
manufacturer
•For optimal performance, arrange an annual inspection of your fire feature by a
qualified service technician.

11
1915 Setterington Drive
Kingsville • Ontario
Canada • N9Y 2E5
Section 8.
Warranty Information
PLEASE NOTE:
If you require replacement parts or warranty service, please contact Dekko directly at
855-422-0077, PRIOR to purchasing replacements parts or hiring a gas technician to complete the work.
MATCH-LIT
FIRE PIT COMPONENTS
RESIDENTIAL
APPLICATION
COMMERCIAL
APPLICATION
Concrete Vessel
1 Year
1 Year
Stainless Steel Components
5 Years
1 Year
Chrome Flange / Key
3 Years
1 Year
Stainless Steel Pan, Fire Ring
Limited Lifetime
Limited Lifetime
LP Pressure Regulator
3 Years
1 Year
12’ LP Extension Hose
2 Years
2 Years
ELECTRONIC IGNITION
FIRE PIT COMPONENTS
RESIDENTIAL
APPLICATION
COMMERCIAL
APPLICATION
Concrete Vessel
1 Year
1 Year
Stainless Steel Components
5 Years
1 Year
Stainless Steel Pan, Fire Ring
Limited Lifetime
Limited Lifetime
Electronic Components
3 Years
1 Year
Pilot Assembly
2 Years
1 Year
ON/OFF, HI/LO Remote Controller
3 Years
1 Year
Wall Timer, E-Stop
3 Years
1 Year
ACCESSORIES
ITEM
RESIDENTIAL
APPLICATION
COMMERCIAL
APPLICATION
Tempered Glass Wind-Guard
5 Years
5 Years
Vinyl Weather Cover
1 Year
1 Year
Propane Tank Cover
1 Year
1 Year

12
1915 Setterington Drive
Kingsville • Ontario
Canada • N9Y 2E5
Section 9.
Troubleshooting
Unstable Legs
The legs of our fire pits are installed directly into the
mould to yield a reliably level surface each time.
If you are experiencing a teetering or unstable leg,
please ensure that the installation surface is also level.
Gas Odour
If you smell gas exuding from your fire pit, please shut
off the gas to the appliance immediately. If the odour
persists, please call your gas supplier.
Water Contact
Do not sure the appliance if any part has been
submerged under water. Immediately call a qualified
service technician to inspect the appliance and to replace
any part of the control system or gas control that has
been under water.
Low Burning Flame / Natural Gas
A reduction in your fire pit flame level may happen for
various reasons depending on the model of your fire pit.
Lower flame levels may be the result of improper gas
pressure or inadequate gas supply line.
If the procedure above does not improve the flame
quality, remove any excess stones to ensure the burn
holes of your fire pit are not covered.
Low Burning Flame / Liquid Propane
A reduction in your fire pit flame level may happen for
various reasons depending on the model of your fire pit.
Lower flame levels may be the result of improper
lighting procedures.
To address low flame levels, please be sure that the
chrome key is in the “off” position before the tank is
turned on. Turn the tank on slowly to allow the pressure
within to equalize before turning the fire pit on
completely.
If the procedure above does not improve the flame
quality, please check the gas level of your liquid propane
tank, or remove any excess stones to ensure that the burn
holes of your fire pit are not covered.

13
1915 Setterington Drive
Kingsville • Ontario
Canada • N9Y 2E5
Section 9.
Troubleshooting Continued…
Discoloured Stones
Deposits of magnesium and iron may be present on the
beach stones, notably on our light and ivory stones. This
is a natural reaction to heat and is not considered a
defect.
If needed, replacement heat resistant aggregate may be
purchased through DEKKO.
Black Soot
Sooting is an inherent bi-product of natural gas and
propane.
To limit the amount of sooting, avoid placing
rocks/stones directly above the flame as this may cause
excessive impingement.
Alternatively, some soot can be removed by washing
stones with soap and water.
Cracking / Popping Stones
The lava rock and beach stone supplied with all DEKKO
fire pits originate from a volcanic region are considered
“heat resistant” up to 180,000 BTU’s.
Because lava rock and beach stone is a 100% natural
product, occasional cracking and/or popping may occur
when heated or as the stones naturally weather over
time.
When using your fire pit for the first time, it is
recommended to burn the fire pit for at least 1-2 hours
while keeping a safe distance in the rare event that
breakage or popping occurs.
It is recommended to go through your fire pit every 8-12
months and discard stones that have any visible signs of
weathering or cracking.
If needed, heat resistant aggregate may be purchased
through DEKKO.

Tools Needed:
1)
Scissors or Cutting Knife#
2) Measuring Tape#
3) Power drill#
Basalt Material & Instructions
Dekko concrete pad
1)#
2)#
Items Included in Kit:
WARNINGS
Always ensure no gaps to preventany
leakage onto decking surface.
Do not recess fire pit below the decksurface.
Do not block any enclosure ventilationholes.
Concrete pad must be a minimum of 1” thick
(height).
Alternative thicknesses must be approved by
HPC.
Always wear gloves and protective eyewear.
Deck Insulation Kit – Instructions
(FPI-DECK20SQ, FPI-DECK39SQ)
Installing a Fire Pit on Combustible Material
WARNING: FOR OUTDOOR USE ONLY
Combustible Material
Fire Pit Insert
Gas Supply Line
Concrete Pad
Basalt Material

Basalt Material (Square)
Fire Pit Enclosure Construction:
1) Refer to “Deck Insulation Kit – Install”
for enclosure venting requirements.
2) Drill hole in concrete pad slightly larger than the supply
line and install concrete pad over supply line. See Fig.1.
For Fire Pit Bowls:
1) Using the measurement of the inside of the firepit
from Step 1, add 1” to each dimension and draw on
the basalt material. See Fig. 2.
2) Measure the location of the supply line in relation to
the inside perimeter of the fire pit.
3) Transfer this supply line measurement to the Basalt
material by drawing an “X”. See Fig. 2.
4) The “X” should be no larger than the diameter of the
supply line for a tight fit.
5) Using scissors or cutting tool, cut along the lines from
Step 4 and 6. Discard scrap pieces.
6) With the Aluminum side UP, insert the Basalt
material over the supply line. Push the Basalt
material all the way down until it rests on top of the
concrete pad. See Fig. 3.
Note: Check to ensure there are no gaps around the supply line.
Fire Bowl Installation:
Please refer to “Dekko Deck Insulation Kit – Install”
drawing on the last 2 pages.
Square fire pit
Round:
Inside diameter
of fire pit + 1”
Fig. 1
Supply
Line
Concrete pad with
drilled Hole
Inside Fire Pit
Perimeter
Fig. 2
General Information:
For additional information on installing fire bowls and construction for combustible deck systems, see
“Dekko Deck Insulation Kit – Install” drawing 1 of 2.
For concrete fire bowls, refer to “Dekko Deck Insulation Kit – Install” drawing 2 of 2.
Always ensure the decking material will allow for the additional weight of the fire pit.
Fig. 3
Basalt-
Aluminum
Side UP


This manual suits for next models
1
Table of contents
Other Dekko Outdoor Fireplace manuals
Popular Outdoor Fireplace manuals by other brands

Desa
Desa VKC36NE Series OWNER'S OPERATION AND INSTALLATION MANUAL
tiki
tiki BRAND CLEAN BURN ROUNDWICK manual

Outland Firebowl
Outland Firebowl FMPPC2B-4 owner's manual
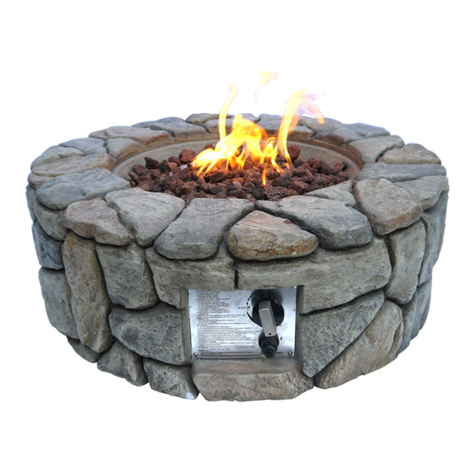
PEAKTOP
PEAKTOP HF09501AA Use and care guide

Outdoor GreatRoom Company
Outdoor GreatRoom Company CR-1242-B-K installation instructions
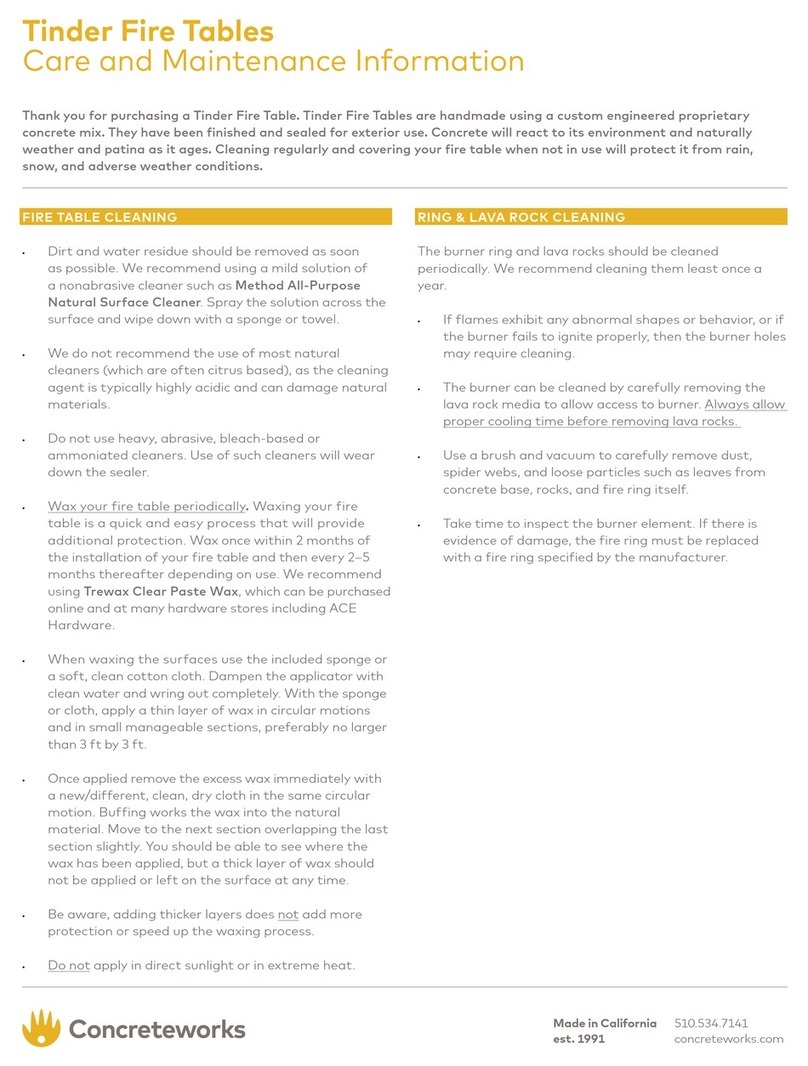
Concreteworks
Concreteworks Tinder Fire Table Care and Maintenance Information
