of the radiator with the heang element installed:
1 ALLOWED LOCATION OF THE HEATING ELEMENT INSTALLATION IN THE RADIATOR.
2 POSSIBLE INSTALLATION LOCATIONS
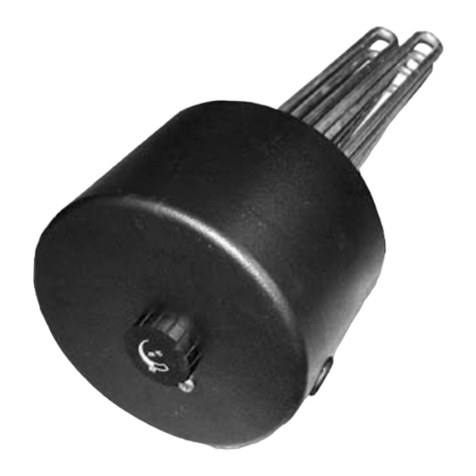
3 HEATING ELEMENT
HEATING ELEMENT INSTALLATION AND USE
Connecon in the central
heang system with 2 valves
and a T-piece
5 FILL THE RADIATOR WITH WATER.
The heang element has an infinitely variable water temperature adjustment funcon in the
heater (in the range 0-65C) or air temperature in a room (in the range 0-30C), and a Turbo
mode (fast heang, drying) acvated through pressing the knob (in any posion).
4 HEATING ELEMENT INSTALLATION IN THE RADIATOR.
6 CONNECT THE HEATING ELEMENT
TO ELECTRICITY.
Remember that an electric socket to
which the heang element will be
connected, must have a protecve pin.
7 HEATING ELEMENT ACTIVATION AND OPERATION.
When the heang element is connected to electricity for the first me, it performs a water
presence test – . The test takes about 2 minutes, then the heang a red light flickers fast
element switches to seng on the knob.
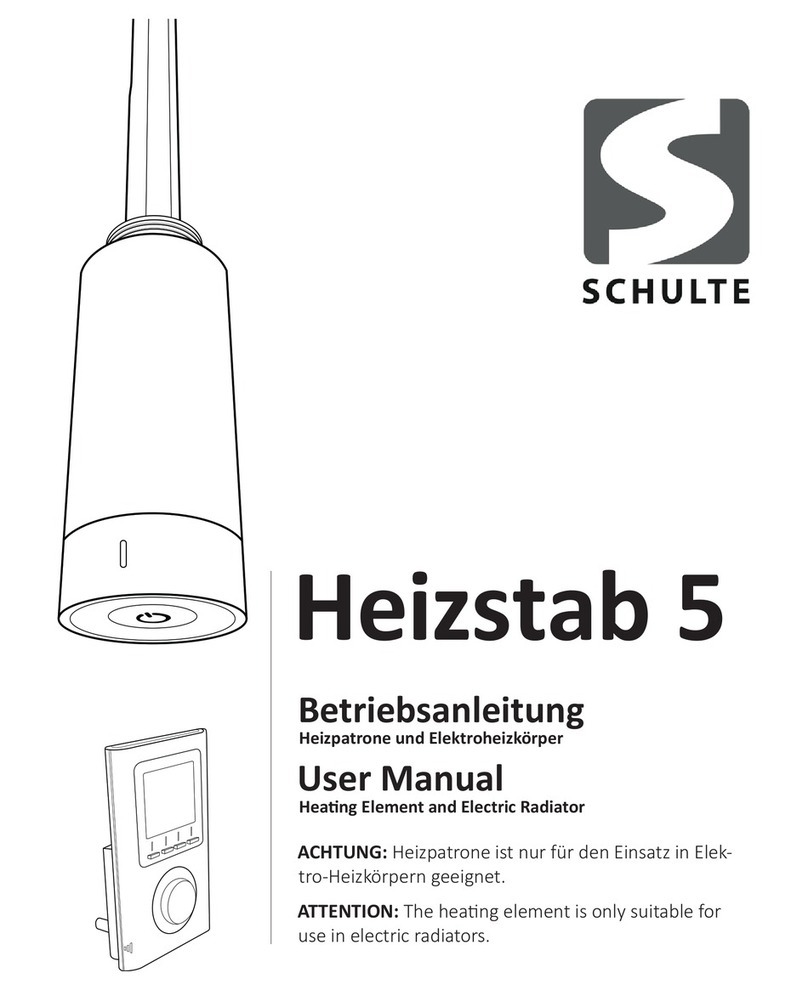
USER’S MANUAL FOR A HEATING ELEMENT
with a temperature controller DELFIN DROPplus and VOLCANOplus
GB
> 60 cm > 60 cm
Vercally from
the boom
in the manifold
Horizontally
in the lower
manifold
Vercally
from
the top
Horizontally
in the upper
manifold
No possibility of installaon
in the distance shorter than 60 cm.
Forbidden installaon over
the bathtub/washbasin/sink/shower cabin.
The acvated Turbo mode is
signalled by a flickering light (red or
orange depending on the operang
mode set):
1 x per 2 seconds
– Turbo acvated for 1 hour,
2 x per 2 seconds
– Turbo acvated for 2 hours,
3 x per 2 seconds
– Turbo acvated for 3 hours
Aer compleng the Turbo mode,
the heang element goes back to the
temperature pre-set on the knob.
Turbo mode (maintaining water
max. temperature 65C for 1, 2 or 3
hours):
in order to acvate this mode, press
the knob (in any posion).
Single pressing acvates Turbo for 1
hour, re-pressing – for 2 hours,
another re-pressing – for 3 hours.
The fourth pressing down
deacvates the Mode.
The acvated Turbo mode is
signalled by a flickering light:
The Turbo mode works the same for
the radiator operang in the
adjustment mode of water
temperature in the radiator and air
temperature in the room (in every
case it maintains water temperature
at about 65C for 1, 2 or 3 hours).
The power supply cable is not replaceable. This is type Y. If it gets damaged, it may be repaired by
the manufacturer only.
Do not open the heang element housing. There are no repairable parts inside.
Return the product to the manufacturer to carry out the repair.
Before cleaning the housing, disconnect the heang element from the electric socket. The
housing may be cleaned with a moistened cloth, or with addion of delicate cleaning agents.
Protect the heang element housing against flooding.
In this mode, symbols *, I,
II and III on the knob
correspond to air
temperature at 5C, 10C,
20C and 30C,
respecvely. In posion 0,
the heang element is in a
stand-by mode. In this
posion, a microprocessor
will not allow water
temperature in the
radiator to fall below 5C.
The operaon of the
heang element in this
mode is signalled by an
orange light.
Air temperature
adjustment in the room:
In order to switch to the
mode controlling air
temperature in the room
(and vice versa), hold a
knob pressed down for at
least 3 seconds. The light
will flash 2 mes.
Symbols *, I, II and III on
the knob correspond to
water temperature at 7C
(an-freezing point),
20C, 40C and 65C,
respecvely. In posion
0, the heang element is
in
a stand-by mode. In this
posion, a
microprocessor will not
allow water temperature
in the radiator to fall
below 5C.
By default, the heang
element is set at the
control of water
temperature in the
radiator.
Water temperature
adjustment in the
radiator: The operaon of
the heang element in
this mode is signalled by a
red light.
The heang element is
acvated through turning
the knob unl the control
lamp is lit.
standby
antifreeze
protection
setting
- approx.
7°C
control of radiator
temperature
(20°C - 65°C)
or ambient
temperature
(10°C - 30°C)
0
Boost
mode
(1, 2 or
3 hours)
- depress
knob
Connecon
in the version
with a plug
Connecon
in the version
without a plug
(hard wire):
switching between
radiator and air temp.
control (depress knob
3 sec. min.)
3. The heang element must not be under voltage
during installaon, de-installaon and maintenance.
Avoid geng the housing wet.
SAFETY RULES
6. The radiator with the installed electric heang
element must not be mounted in the distance shorter
than 60 cm from the edge of a bathtub, sink,
washbasin or shower cabin.
7. T he h eang eleme nt may b e co nnecte d
permanently to the electric installaon (without a
plug), which is known as hard wire connecon. Such an
installaon must include an appliance which
disconnects a controller from the mains. Such an
appliance must disconnect the mains on all the poles,
with contact separaon equalling at least 3 mm.
5. If the heang element is acvated in a radiator
connected to central heang, if there are 2 valves on
t h e r a d i a t o r ( c u t - o ff a n d t h e r m o s t a c –
supply/return), one of the valves must be opened. It is
caused by the temperature increase of water capacity.
9. Works connected with cleaning and maintenance
must not be carried out by children, unless they are
supervised.
8. This device may be used by children over the age of 8
and people with limited physical, sensory or mental
ability, as well as people without any experience with
or knowledge of the device, provided that they are
under the supervision of other people or they are
instructed on the safe use of this device, and they are
aware of hazards related thereto. Children should not
play with this device.
2. Connecon to electricity must be carried out by
a qualified electrician in conformity with applicable
regulaons.
4. The heang element must be submerged totally in
water during operaon. Do not acvate the heang
element when the radiator is empty.
1. The heang element should be installed by
a qualified installer in accordance with all the binding
safety regulaons.
Recommended heating
element power
Radiator thermal power
300W
600W
900W
1200W
1500W
below 600W
600W - 900W
900W - 1200W
1200W - 1500W
above 1500W
Selecting
a heating
element for
a radiator
GUARANTEE CONDITIONS:
A guarantee period is 24 months of a purchasing date. Product defects revealed
within this period will be eliminated by the manufacturer free of charge or the
product will be replaced with a new one with the same parameters.
A proof or purchase is a basis for a guarantee. A complaint will be considered within
14 days of a date on which a defecve product was supplied to the manufacturer.
- using the product contrary to this user’s manual (e.g. damage to a thermal fuse or
burning a heang element, resulng from acvang the heang element without
water).
- any mechanical damage occurred during installaon, de-installaon or usage.
- effects of unauthorised interference with the heang element exceeding the normal
installaon acvies.
The guarantee excludes:
Damaging a seal on the controller housing will result in the loss of the guarantee.
We are grateful that you chose our product. We’re confident that it will satisfy your needs.
The heating element is dedicated to steel and aluminium radiators filled with water
or a water mixture, e.g. glycol.
- – lack of water in the heater or insufficient amount of water – disconnect the Blue constant light
heang element from the socket, fill in the water level and re-connect the heang element.
8 POSSIBLE ERRORS :(SIGNALLED WITH A BLUE LIGHT)
- When changing into air temperature control mode and it means faulty air blue light flashes twice
temperature detector. The heang element will return to water temperature control mode. To
repair air temperature detector contact seller or manufacturer.
- – a damaged heang element or a temperature sensor – contact the A blue light flickers 1 x second
seller or the manufacturer.
grounding
neutral
phase
Central connecon
Connecon
in the electric
radiator (not
connected
to central
heang)
Thermostac valve
Cut-off valve T-piece
Connecon with
a single-pipe valve.
the housing)
Remove the 2-part
flange protecng the
head. Screw the
heang element to
the radiator by means
of spanner No 22.
Do not screw the
heang element in,
when holding the
controller housing
(risk of damaging
0
A special gasket used on the thread
allows for screwing the heang
element in “to the end” (minimum
3 full turns), and then going back
to the half-turn
in order to arrange
the controller
head-on.
Aer correct
installaon,
the gasket height
should be
maximum 3 mm.
0
Aer screwing the
heang element in,
re-posion the plasc
collar protecng
the head.
0
max
3mm
In the radiator connected to the central
heang system, it is necessary to purge the
heater. Remember! While the heang
element is operang, one of the valves (e.g.
the thermostac valve) in the radiator must
be opened (due to water thermal
expansion). When the central heang
system is on and both valves (thermostac
and cut-off) are opened, the heang
element must be le in a stand-by mode
(posion 0) or disconnect it from electricity.
In the electric radiator
(not connected to the
central heang system),
leave about 4-5 cm of
air in the radiator due
to water temperature
expansion.
One valve
must be closed
Thermo-
stac
valve
Cut-off
valve
T-piece
www.grupa-sbs.pl
MANUFACTURER:
PPHU "HOTTECH" Piotr Sadoch
ul. Szpitalna 17A/33
05-300 Mińsk Mazowiecki
DISTRIBUTOR:
SBS sp. z o.o.
ul. Aleksandrowska 67/93, 91-205 Łódź


