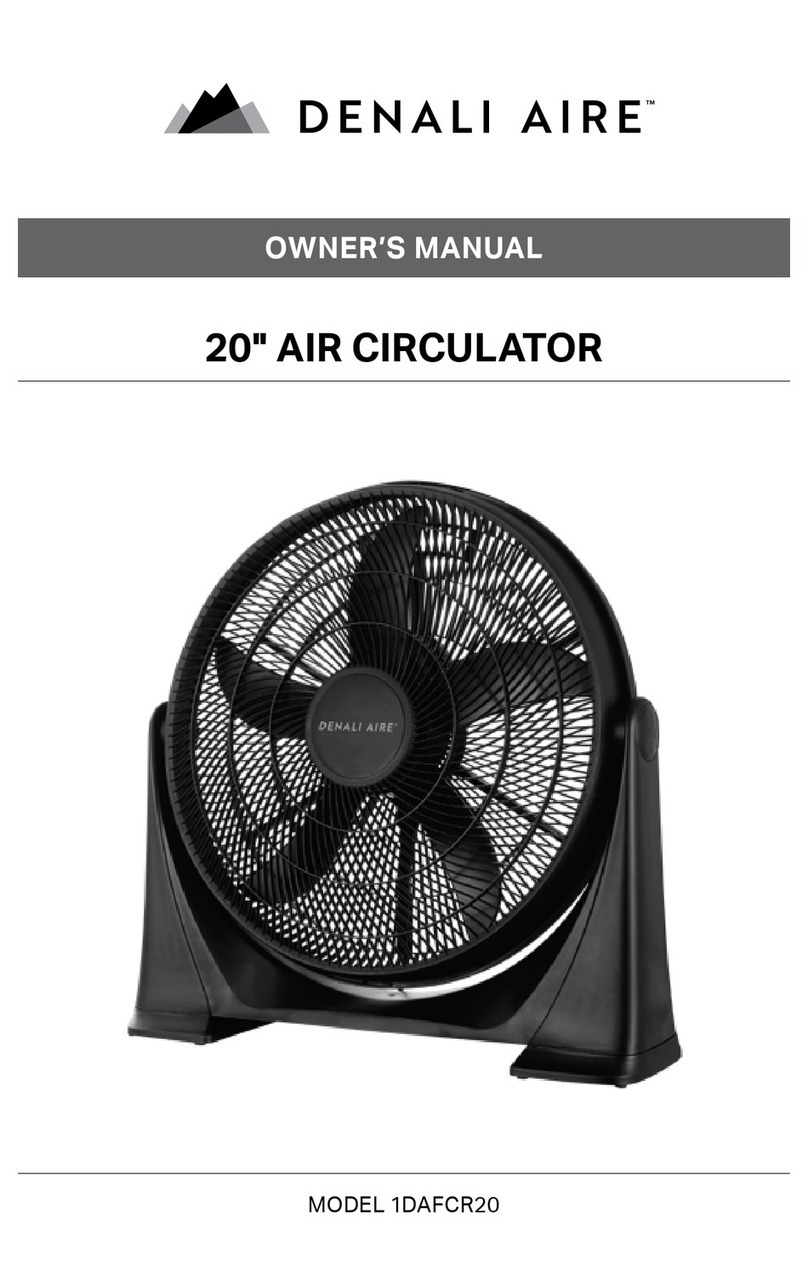
DENALI AIRE 1DAFHV20 User manual

20” HIGH VELOCITY FLOOR FAN
MODELS: 1DAFHV20
OWNER’S MANUAL

2
SAFETY & PRECAUTIONS
SAFETY WARNING
SAFETY WARNING
When using electrical appliances, basic
precautions should always be followed to
reduce the risk of re, electric shock and
injury to persons, including the following:
1. To reduce the risk of electric shock,
do not immerse or expose this
appliance or exible cord to rain,
moisture or any other liquid.
2. Dangerous high voltages are present
inside this enclosure. To avoid electric
shock, do not open the cabinet, refer
servicing to qualied personnel only.
3. This appliance is intended for
household use only and not for
commercial, Industrial or outdoor
use. Other use not recommended may
cause re, electric shock or injury.
4. Make sure the fan is not placed near
drapes,curtains, or any objects that
may be drawn into the fan. Never
place or operate the unit where it
could be subject to:
• Heat sources such as radiators,
heat registers, stoves or other
products that produce heat
• Direct sunlight
• Excessive dust
• Mechanical vibration or shock
• Lack of ventilation
• Uneven surfaces
5. The apparatus shall not be exposed to
dripping or splashing and no objects
lled with liquids, such as vases, shall
be placed on the product.
6. Ventilation should not be impeded
by covering the ventilation openings.
Slots and opening are provided
for ventilation to ensure reliable
operation of the product and to
protect it from overheating. Do not
use with any opening blocked, keep
free of dust, lint, hair and anything
that might reduce airow.
7. Place the fan on a stable level,
dry surface when operating to
avoid overturning.
8. Only connect to a suitable
AC120V~60Hz earthed mains socket.
9. Do not operate fan in the presence of
explosive and/or ammable fumes. Do
not place the fan near an open ame,
cooking or other heating appliance.
10. Do not operate the fan with a
damaged cord or plug, after a
malfunction or if dropped or
damaged in any manner.
11. Do not operate without the fan grills
properly in place. Do not use if grill
becomes damaged or loose.
12. Do not place the fan close to an open
window. Rain splashing on the fan
could cause an electric shock hazard.
13. Do not let the power cord hang over
the edge of a table or counter or let it
touch any hot surfaces.
Read this Instruction manual carefully before assembling or operating the appliance and
keep it for future reference.

3
SAFETY WARNING
14. Do not insert ngers or allow foreign
objects to enter the grill openings as
this may cause injury or damage to
the appliance.
15. This appliance is not intended for use
by persons (including children) with
reduced physical, sensory or mental
capabilities, or lack of experience
and knowledge, unless they have
been given supervision or instruction
concerning use of the appliance by a
person responsible for their safety.
16. WARNING Children should
be supervised to ensure that they do
not play with the appliance.
17. Turn the fan OFF and unplug it from
the outlet when not in use, when
moving fan from one location to
another and before cleaning.
18. To disconnect, grip the plug and pull
it from the wall outlet. Never pull by
the cord.
19. Switch o and unplug from wall outlet
when not in use, before assembling
or disassembling parts; and before
cleaning. To avoid a tripping hazard,
safely coil the cable.
20. Do not place this appliance on any
ooring that may be marked or
damaged by vibration of appliances.
21. If the supply cord is damaged, it must
be replaced by the manufacturer, its
service agent or similarly qualied
persons in order to avoid a hazard. Do
not attempt to repair, disassemble or
modify the appliance by yourself. There
are no user-serviceable parts inside.
(Continued)

4
SAFETY & PRECAUTIONS
PARTS / ASSEMBLY
DESCRIPTION OF PARTS
1 Safety Screw 4 Handle 7 Blade 10 Knob (Qty 2)
2 Front Grill 5 Switch Box 8 Metal Leg (Qty 2)
3 Rear Grill 6 Motor 9 Metal Base
ASSEMBLY
A. Lay the main fan assembly on a
at sturdy surface back grill down.
Per diagram, attach one metal leg
to each side of the fan assembly
using the included rubber stoppers
and nuts. The plastic knobs t over
the nuts.
B. Flip the fan assembly over so the
front grill is facing down. On each
side of the metal leg there will be
a silver push tab. Simultaneously
push in this silver tab and slide
each leg into the metal base until
a clicking noise is heard. Stand
the fan upright and conrm safety
screw is secure before inital use.
Silver push
tab
Silver push
tab

5
OPERATION
OPERATION
NOTE: During the rst few minutes of initial use, you may notice a slight odor. This is
normal and will quickly disappear.
1. Place your fan on a level and dry surface.
2. Plug the fan in to a suitable mains socket. Select the desired speed setting by turning
the Speed Control Knob. There are 4 settings – 0 (o), 1 (low), 2 (medium) and 3 (high).
3. Use the included plastic knobs to tighten/loosen a bolt on either the right side or left
side of the machine to adjust vertical tilt.
CAUTION The fan should always be switched o when making this adjustment.
4. Turn the Speed Control Knob to “0” and unplug the fan after use.
WARNING Never touch the blade with hand or any other objects when the
fan is operating.

6
SAFETY & PRECAUTIONS
CLEANING
CARE AND CLEANING
Machine will need more frequent cleaning if being used in an environment with high
particle pollution.
• Always disconnect the fan from mains socket before cleaning.
• Avoid contact with moving fan parts.
• Use only a soft damp cloth to clean the fan.
• DO NOT immerse the fan in water and never allow water to drip into the motor housing.
• Never spray the appliance with liquids or submerge it in water or other liquid.
• DO NOT use gasoline, paint thinner or other chemicals to clean the fan.
• Ensure that the fan is switched o from the supply mains before removing the grill.
• Clean the fan blade and grills with a soft damp cloth.
CAUTION The fan blade may have sharp edges. Handle with extreme care.
• Store the fan in its original box or cover the fan to protect it from dust in a dry place if it
will not be used for a long period of time.

7
SPECIFICATIONS
SPECIFICATIONS
Power Supply: AC 120V ~ 60Hz
Power Consumption: 20 Inch-135W
Operation Temperature: 32°F - 104°F (5°C - 40°C)
NOTE: As a result of continual improvements, the design and specications of the
product within may dier slightly to the unit illustrated on the packaging.
NOTE: Proof of purchase is required for all warranty claims.

Printed in China |1122_M1037
888-433-6254 |support@denali-aire.com |www.denali-aire.com
5401 Dansher Road
Countryside, IL 60525
THANK YOU FOR YOUR PURCHASE!
As a small business, reviews are everything!
We’d love to hear how you are enjoying your Denali Aire product!
Please take a minute to tell us (and others) about your experience.
Thanks (again!)
SCAN CODE TO
LEAVE A REVIEW
Table of contents
Other DENALI AIRE Fan manuals
