Denali DAI-MONITRON-ENCL User manual

User Manual
SKU#: DAI-MONITRON-ENCL
Initial Release: August 2022
RACKIT –MONITRON ENCLOSURE

•Read this user manual and the safety instructions carefully
•Keep this user manual for future reference
•This Monitron Enclosure may fall causing serious injury or death. Many
injuries can be avoided by applying simple precautions:
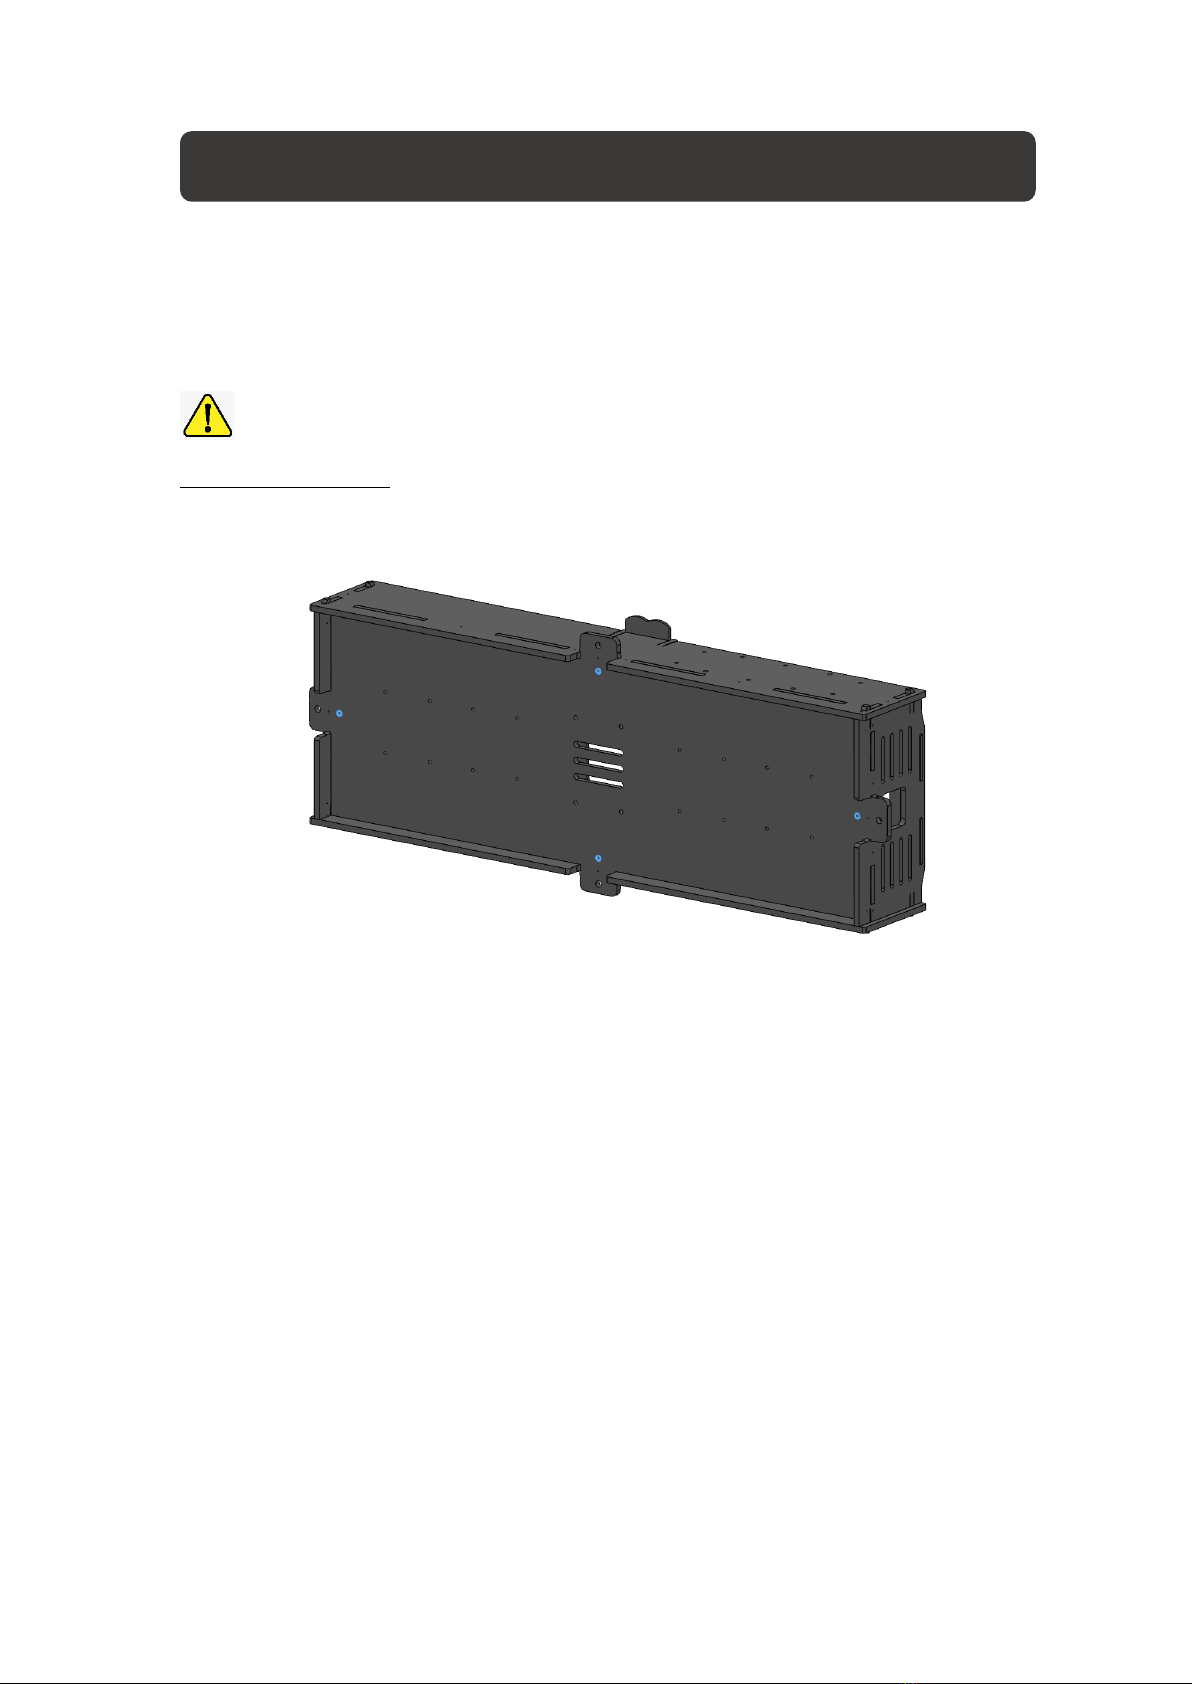
-This enclosure is to be mounted by professionals as recommended
and using suitable mounting devices.
-Never mount this enclosure on an unstable support.
-This equipment is to be used only with prescribed equipment.
•Stop using this equipment and schedule an appointment to have it inspected
by a service technician in the following situations:
-The equipment has been dropped and damaged
-The equipment shows obvious signs of breakage
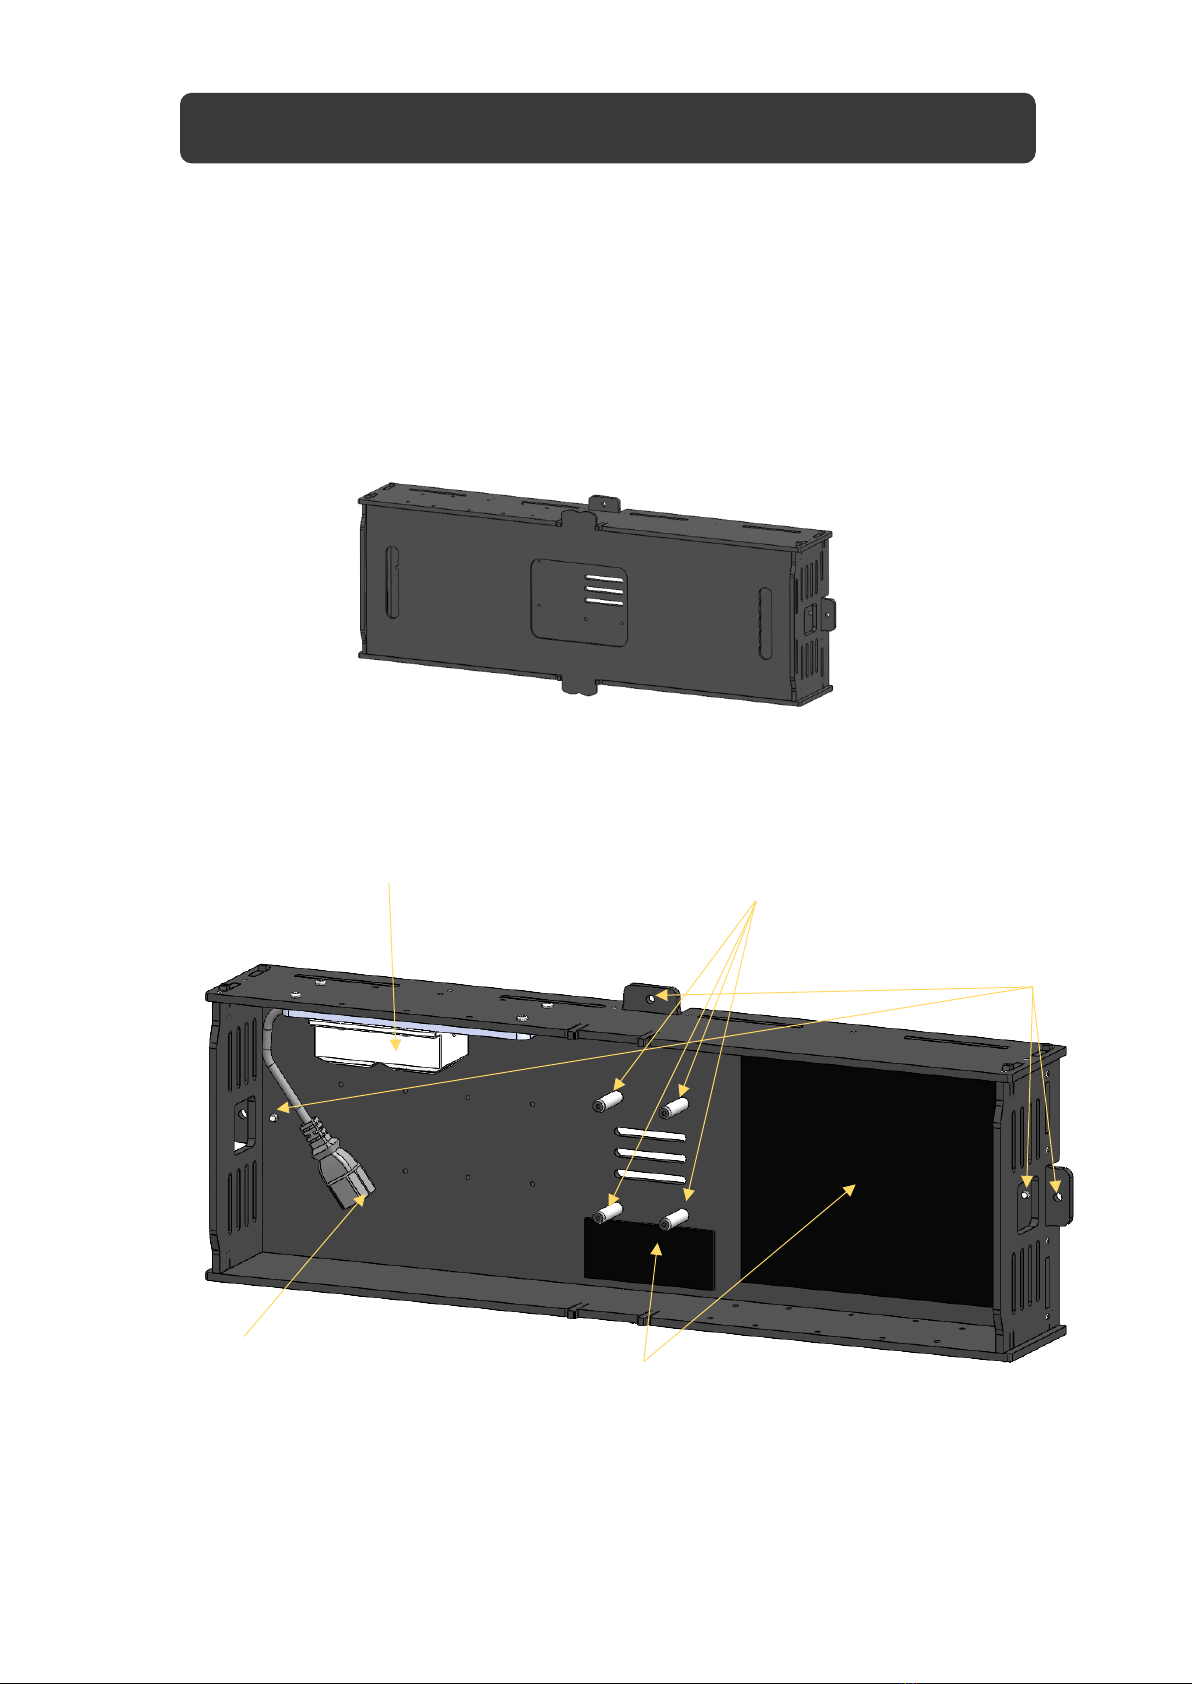
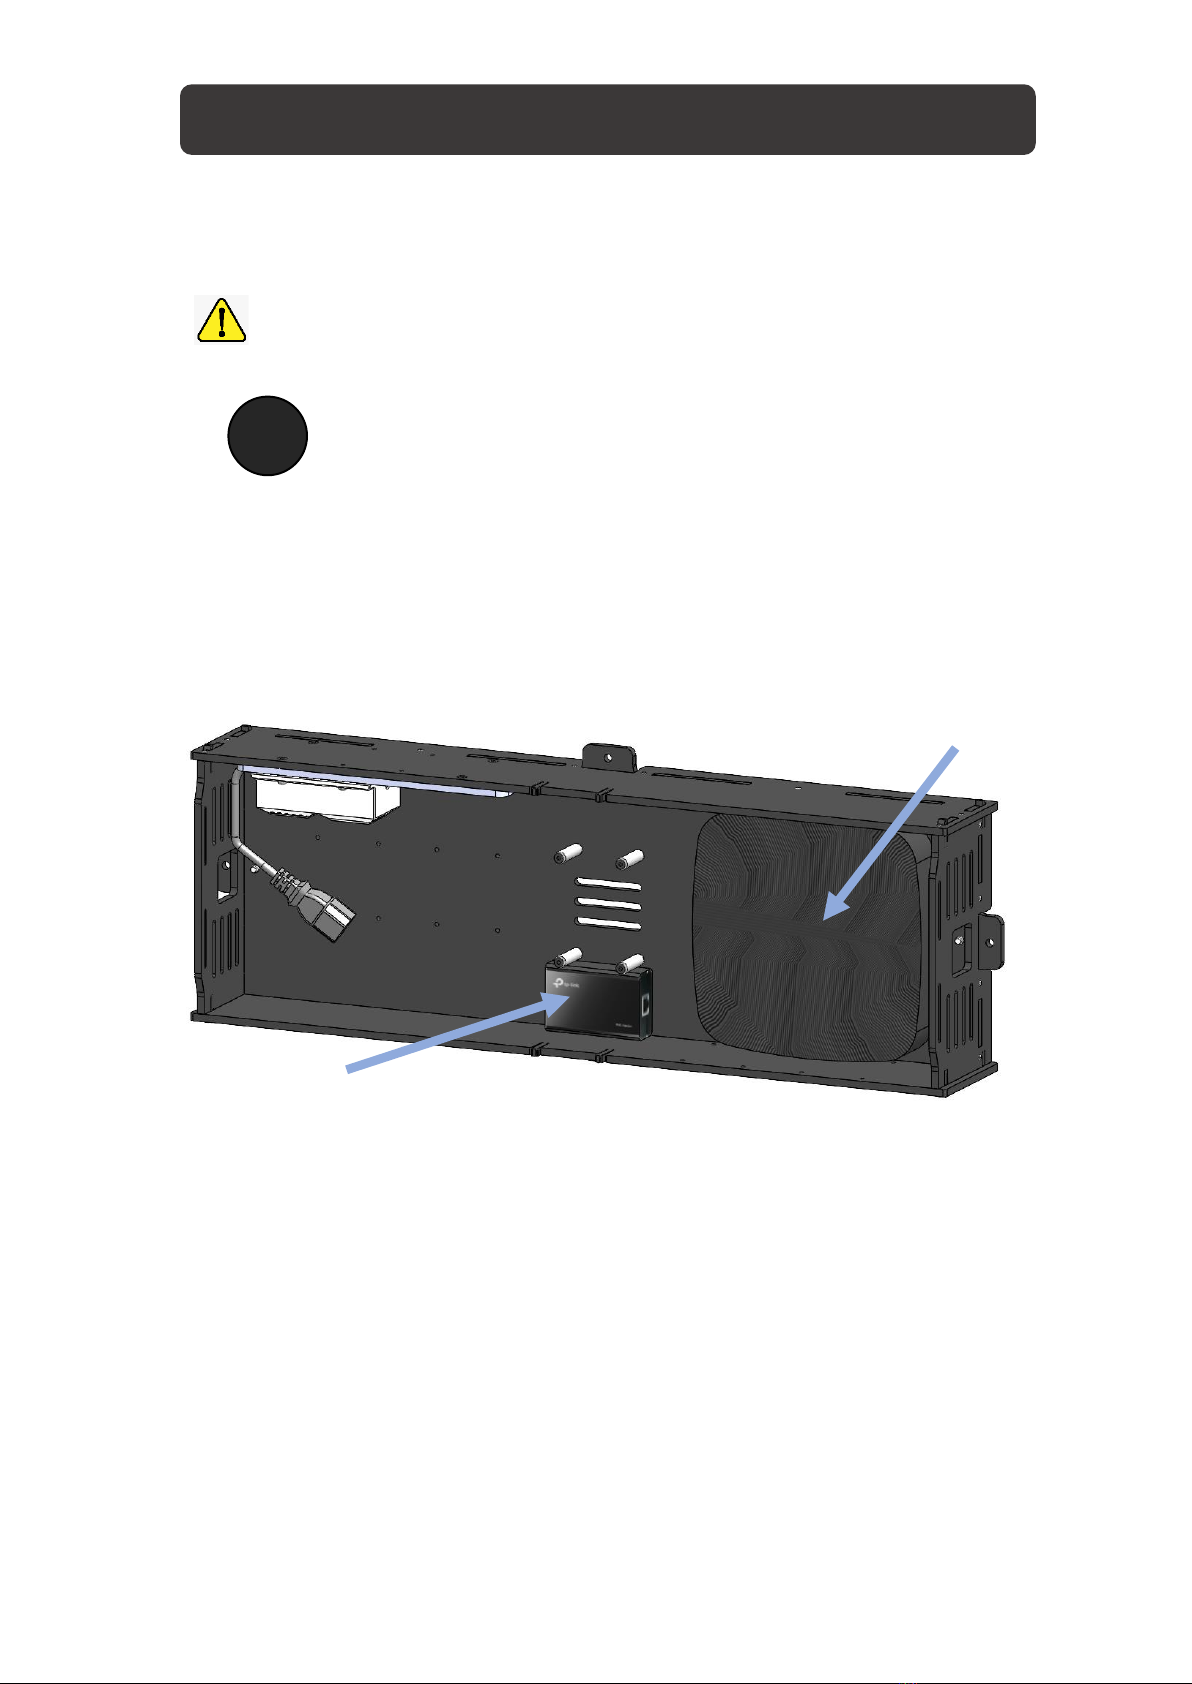
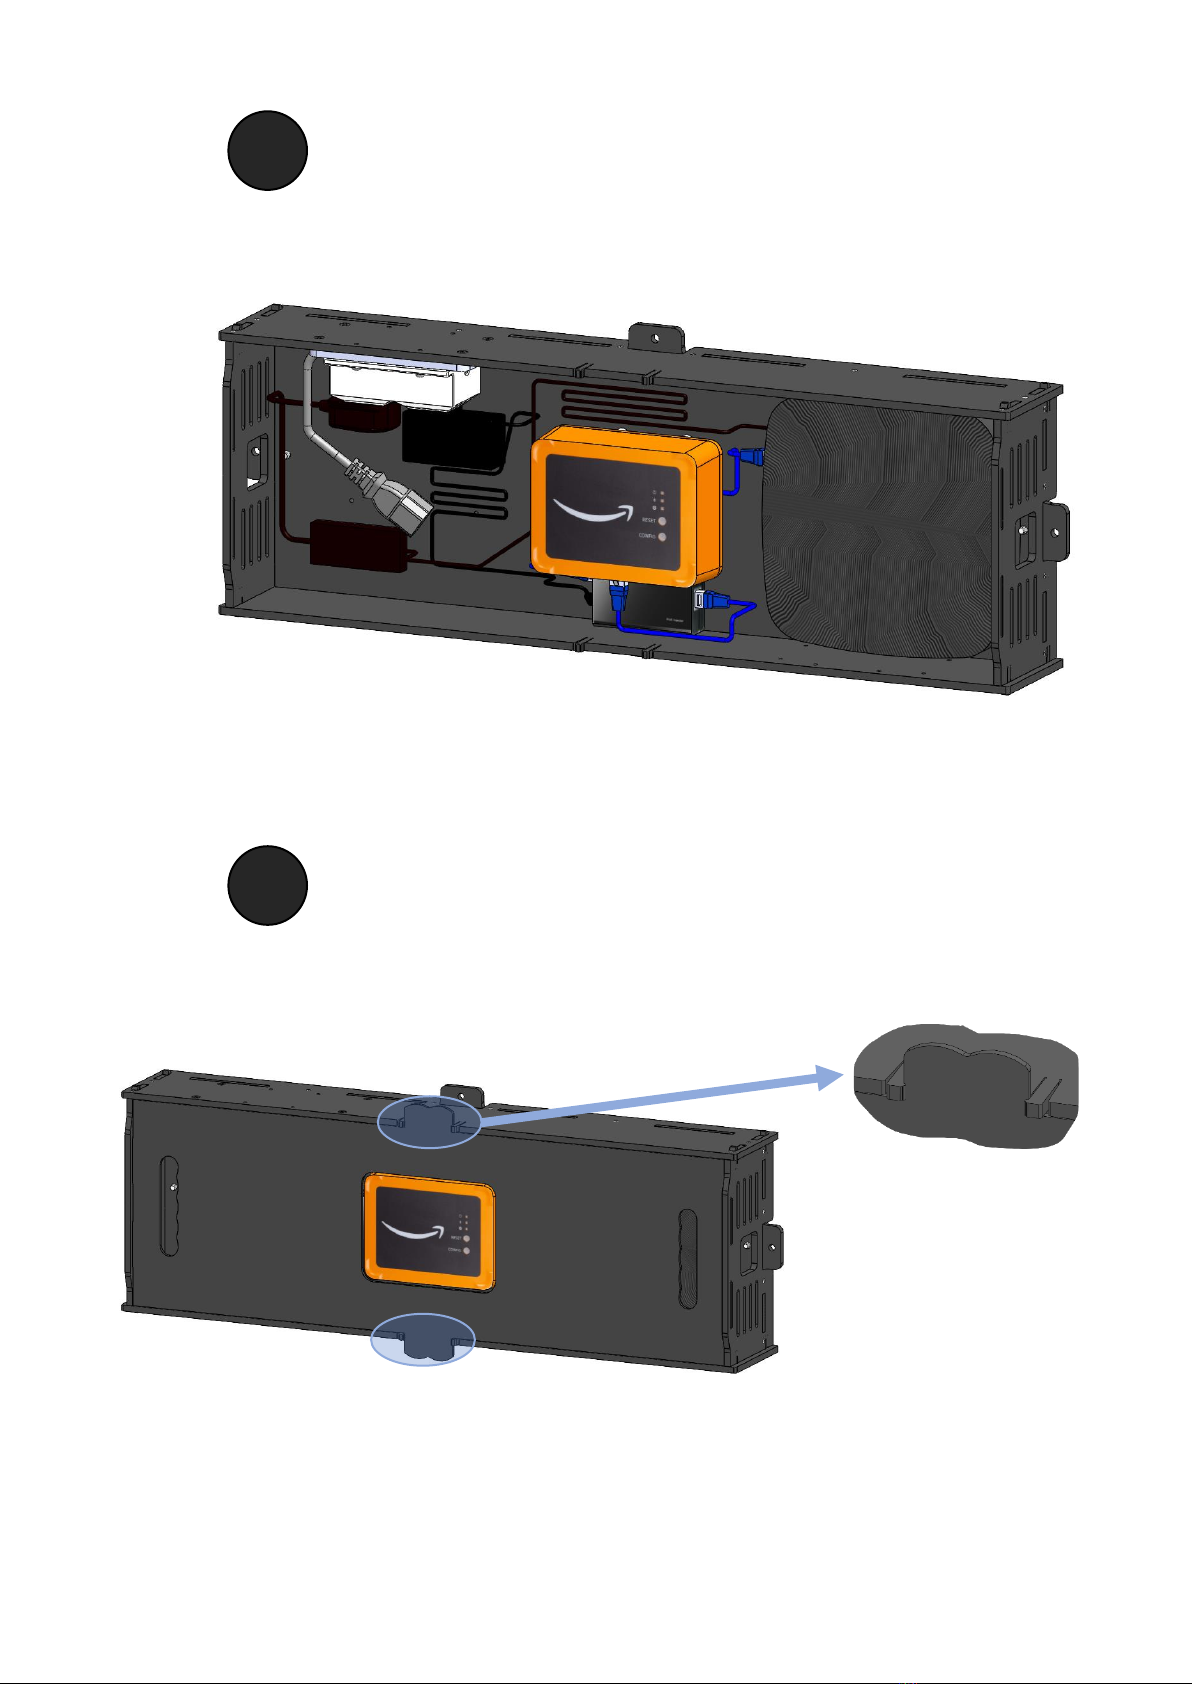
The Monitron Enclosure is a fully-contained plastic enclosure to mount the AMZ
Monitron Gateway along with its needed equipment (Thin Client, PoE injector, etc.).
The Monitron Enclosure is a lightweight and heavy-duty enclosure that can be
mounted on a variety of standard structural systems (strut mount on I-beam,
columns, pipes, etc.). It has a low attenuation to Bluetooth and Wi-Fi signals and is
well-ventilated for optimal cooling of equipment.
Denali Advanced Integration has a policy to continuously improve its product design. All
specifications and designs are subject to change without notice.
Safety Instructions
Product Description
Product Improvements

•Stores suitable equipment for the operation of the AWZ Monitron Gateway.
•Lightweight and heavy-duty enclosure.
•Components can be easily configured prior to mounting or after mounting.
•Highly adaptable mounting capabilities to most structural supports (mounting
equipment not included).
•Low attenuation to Bluetooth and Wi-Fi signals.
•Well ventilated for optimal heat transfer.
Features
Customized PDU (PDU model might differ)
Mounting Support for the
Monitron Gateway
Connection to Main Supply (230V AC)
through a C14 Connector
Figure 2. Monitron Enclosure as shipped (assembled option) [Cover removed for clarity]
Figure 1. Monitron Enclosure as shipped (assembled option)
Mounting Holes for different
adaptive mounting options
Hook-and-Loop Fastener (glued
to enclosure backplate)

Below are the steps for the installation of the equipment. The configuration and
connection of the equipment is not part of this manual and should be undertaken by
a professional person.
Note: Thin Client, PoE injector and Monitron Gateway are not provided with
the Monitron Enclosure
Install the Thin Client & PoE Injector
Apply the previously cut hook-and-loop on the bottom sides of the thin client and
the PoE injector. Make sure not to touch the adhesive side as hand moisture will
lessen the adhesive power. Apply pressure to the thin client to ensure stability and
bonding of the strip. Put the hook-and-loop sides together to fix the thin client and
the PoE injector on the backplate of the Monitron Enclosure.
Equipment Installation
1
Figure 3. Recommended Location of Thin Client & PoE Injector
Thin Client
PoE Injector

Install the Monitron Gateway
Remove the 4 flat head black screws from the white nylon spacers. Put the Monitron
Gateway support plate on the white Nylon spacers and install back the 4 screws.
Note: a TORX screwdriver or wrench is needed for this operation.
Figure 4. Install the Monitron Gateway Support Plate
Install the Monitron Gateway on the support. For ease of installation, while pressing
the gateway on the support push each of the 4 pegs located under the support
(Check below image)
Figure 5. Location of the pegs under the Monitron Gateway support
2
X4

Connect the Equipment as appropriate
Connect the equipment as appropriate and connect the PDU cable to a C13 plug.
Figure 6. Proposed connections and cables path
Install the Front Cover of the Monitron Enclosure
Apply the front cover on the Monitron Enclosure and press smoothly and firmly to fix
it in its position.
3
4
Figure 7. Front Cover installation

The Monitron Enclosure can have a large number of adaptive mounting options
depending on mounting location and needed use.
Below are some proposed mounting options. The Monitron Enclosure should be
mounted by professional persons since it may fall causing serious injury or death.
Note: Mounting fasteners, struts, clamps are not provided with the Monitron
Enclosure.
Mounting Hardware:
The Monitron Enclosure is fitted with mounting holes (check Figure 8).
Figure 8. Mounting holes location
These holes should be used with the following mounting hardware (not provided):
1- Steel screw size M6 (may be thread-forming screws for plastic).
2- Steel Washer size M6 (may be oversized for some applications).
Mounting Options

Below you can find some mounting options.
Figure 9. Monitron Enclosure mounting options

Dimensions (mm) - Assembled
H 254.4 x W 647.7 x D 101.6
Weight –Without Equipment
2.7 kg
Operating Environment
Indoor use only
Operating temperature
0oto 35oC
Operating Humidity
10% to 95% (non-condensing)
Material –Enclosure Only
ABS Plastic
This product is backed by a one-year limited warranty, if used in accordance with all
applicable instructions, to be free from original defects in material for a period of 1
year from the date of initial purchase. If the product is proved defective in material
within that period, Denali AI will repair or replace the product, in its sole discretion.
Service under this warranty can only be obtained by delivering (or shipping) the
product to: DENALI AI, Drift East Site, Parklands, East Crick, Northampton NN6 7EX,
United Kingdom.
This warranty does not apply to normal wear or to damage resulting from accident,
misuse, abuse or neglect. This warranty excludes all incidental and consequential
damages.
Limitation of Liability
In no event shall the liability of DENALI AI (or their officers, employees, or agents) for
any damages (direct, indirect, incidental, consequential, or otherwise), loss of
profits, loss of business, arising out of or related to the use of the product exceed the
actual price for the product.
Technical Specifications
Warranty

For the purpose of regulatory compliance certifications and identification, your
Monitron Enclosure product has been assigned a unique serial number. The serial
number can be found on the product label, along with all required approval markings
and information.
Waste Electrical and Electronic Equipment (WEEE)
Do not dispose this product as unsorted municipal waste.
Under the Waste Electrical and Electronic Equipment (WEEE) Directive
and implementing regulations, when customers buy this equipment from
DENALI AI, they are entitled to:
-Send old similar equipment for recycling on a one-for-one, like-for-like basis
-Send the new equipment back for recycling when it becomes obsolete.
Declaration of Conformity
CE and UKCA Declaration of conformity can be found in the appendices of this
manual.
Regulatory


Table of contents