Denon HOME SUBWOOFER User manual

What you can do with this unit 3
Accessories 4
Part names and functions 5
Front panel 5
Rear panel 6
Connections
Positioning 7
Connecting the power cords 8
Getting the HEOS App 9
Setting up first HEOS built-in device 10
Adding more HEOS built-in devices 11
Connecting devices 12
Pairing this unit to a HEOS built-in device 12
Unpairing this unit 14
Settings
Settings 15
Adjusting the subwoofer output level 15
Adjusting the low pass filter 15
Adjusting the phase 16
Adjusting the status light brightness 16
Tips
Troubleshooting 17
The power turns off and the status LED flashes in red 18
Connecting to a WPS network 18
Resetting factory settings 19
Resetting the firmware to the default state 20
Status LED
Status LED table 21
Appendix
Power management 27
Power modes 27
Supported file types and codecs 28
Trademark information 29
Specifications 30
Licence 32
Contents Connections Settings Tips Status LED Appendix
2

Thank you for purchasing this Denon product.
To ensure proper operation, please read this owner’s manual carefully before using the product.
After reading this manual, be sure to keep it for future reference.
What you can do with this unit
This subwoofer can be wirelessly connected to a DENON HOME series sound bar, speakers, or any other device equipped with the HEOS wireless audio
system. By connecting to these devices, you can enjoy powerful bass sound.
Contents Connections Settings Tips Status LED Appendix
3

Rear panel
t y u i o
rewq
ACONNECT button
Used for Wi-Fi setup.
BConnect in status LED
Indicates the status of this unit. (v p. 21)
CMute button (h)
Mutes or unmutes the HEOS built-in device’s volume.
DVolume up/down buttons (+, –)
Adjusts the HEOS built-in device’s volume level up or down.
EAC inlet
Used to connect the power cord. (v p. 8)
FAUX jack (AUX IN)
Use a commercially available 3.5 mm stereo audio cable to connect a
TV with an AUX audio output connector.
GUSB port
Used to connect USB storage devices.
HNETWORK connector
Used to connect this unit to a wired Ethernet network. (v p. 11)
IRESET button
Various settings are reset to the factory default values. (v p. 19)
Contents Connections Settings Tips Status LED Appendix
6

Getting the HEOS App
You can use many online music streaming services from the HEOS App. Depending upon your geographical location, there are several options to choose
from.
Download the HEOS App for iOS or Android by searching App Store, Google Play store or Amazon Appstore for “HEOS”.
Contents Connections Settings Tips Status LED Appendix
9

Setting up first HEOS built-in device
Once you have placed this unit in your listening room and have
downloaded the HEOS App, you are ready to configure this unit for music
playback. This involves following a few simple steps to get this unit
connected to your existing home network:
0DO NOT connect the Ethernet cable if you are connecting this unit to a wireless
network. If you are connecting this unit to a wired network, use an Ethernet cable
sold separately to connect this unit to your network or router.
1Make sure your mobile device is connected to your
wireless network (the same network this unit
connected to).
You can check this in the “Settings” - “Wi-Fi” menu of your iOS or
Android device.
0Activate the Bluetooth setting on your mobile device.
0If your wireless network is secure, make sure you know the password to join
your network.
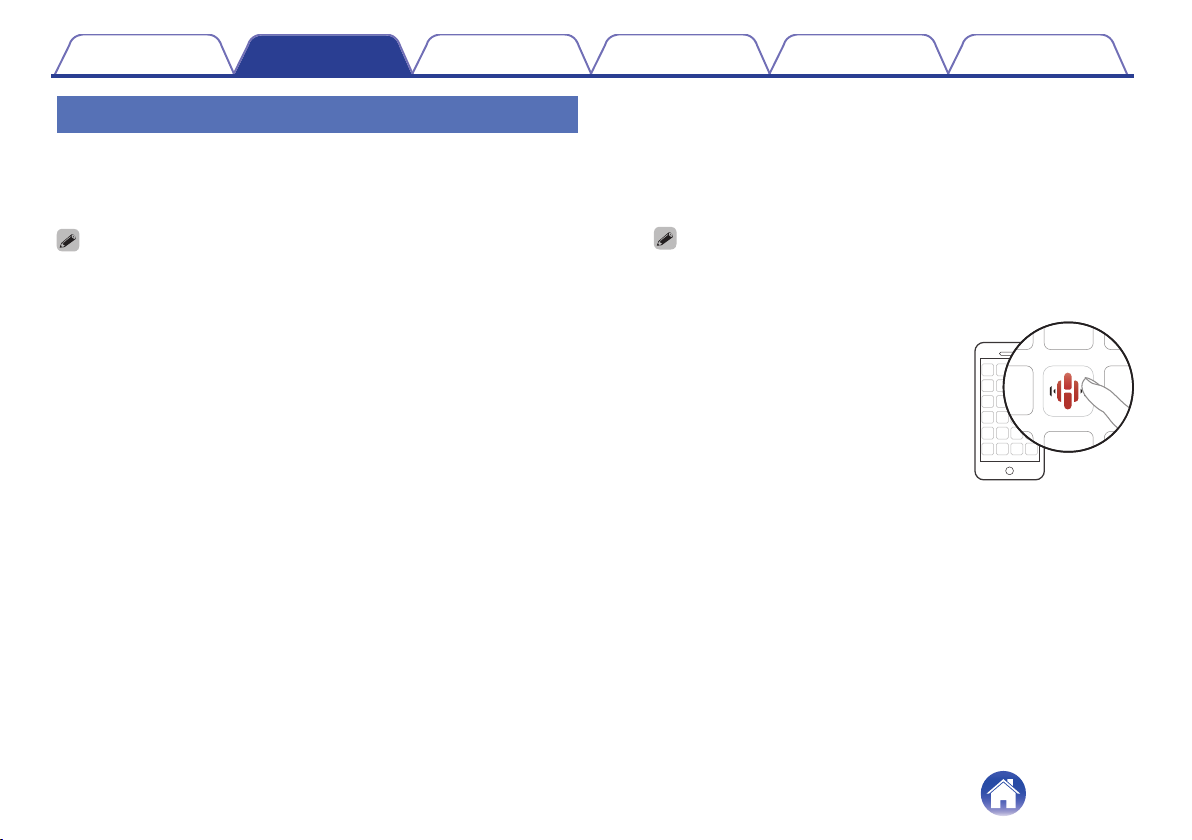
2Launch the HEOS App on your
mobile device.
3Tap the “Setup Now” button at the top of the screen.
4Follow the instructions to add this unit to your wireless
network and to select an input on this unit.
Contents Connections Settings Tips Status LED Appendix
10

Adding more HEOS built-in devices
The HEOS system is a true multiroom audio system that automatically
synchronizes audio playback between multiple HEOS built-in devices so
that the audio coming from different rooms is perfectly in sync and always
sounds amazing! You can easily add up to 32 HEOS built-in devices to
your HEOS system.
oAdding wired HEOS built-in devices
Just connect the HEOS built-in devices to your home network using an
Ethernet cable and the HEOS built-in device will appear on your HEOS
App as a new room in the Rooms screen.
At your convenience, you can assign a name to the HEOS built-in
device to indicate which room you have it placed in.
0Use only a shielded STP or ScTP LAN cable which is easily available at
electronics stores (CAT-5 or greater recommended).
0Do not connect a NETWORK connector directly to the LAN port/Ethernet
connector on your computer.
oAdding wireless HEOS built-in devices
You can add additional wireless HEOS built-in devices to your HEOS
system by selecting “Add Device” from the HEOS App’s settings menu
and follow the instructions:
Settings
Add Device
1
2
Music
Contents Connections Settings Tips Status LED Appendix
11

Connecting devices
Pairing this unit to a HEOS built-in
device
This unit needs to be paired with another HEOS built-in device.
Pairing can be done from the “My Devices” menu or from the “Rooms” menu.
o
Pairing this unit to HEOS built-in device from “My
Devices” menu.
This section describes how to pair with the Denon Home Sound Bar 550 as an
example.
1
Select the Settings
0
icon located in the upper left corner of
the main “Music” menu to display the Settings menu.
2
Select the Denon Home Sound Bar 550 from “My Devices”.
3
Select “Setup Assistant”.
4
Select “Subwoofer”.
Follow the instructions in the menu to complete the setup.
NOTE
0
This unit can not playback any audio unless it is paired with some other HEOS built-in
device.
0
This unit needs to connect your wireless network before pairing.
Name
Network
EQ
Quality
Status Light
Touch Controls
Setup Assistant
Placement
TV lnput
Remote Control
Denon Home Sound Bar 550
xxxxxxxx
Normal
On Table
Denon Home Sound Bar...
Denon Home 150
Denon Home 250
Speakers
Soundbars
Subwoofers
Denon Home Sound Bar 550
Denon Home Subwoofer
My Devices
Denon Home 350
TV Connection
Subwoofer
Surrounds
Setup Assistant
Contents Connections Settings Tips Status LED Appendix
12

oPairing this unit to HEOS built-in device from
“Rooms” menu.
1Select the currently unpaired this unit.
2Select the HEOS built-in device to be paired.
This unit will be grouped together with it and will play the deep bass
of the added HEOS built-in device.
NOTE
0This unit can not playback any audio unless it is paired with some other HEOS
built-in device.
0This unit needs to connect your wireless network before pairing.
Drag one room into another to group them
Song Name 1
Denon Home 150
Rooms
Song Name 2
Denon Home 250
Rooms Now PlayingMusic
Song Name 2
Denon Home 350
not paired-tap to conigure
Denon Home Subwoofer
Pair Subwoofer
Select a device to pair your Denon Home
Subwoofer with:
Denon Home 150
Denon Home 250
Denon Home 350
Next
Denon Home Subwoofer
Contents Connections Settings Tips Status LED Appendix
13

Unpairing this unit
1Tap the pencil 1 icon in the upper right corner of the
“Rooms” menu.
2Tap the HEOS built-in device from which to unpair this
unit.
3Select "Disconnect Wireless Subwoofers".
Drag one room into another to group them
Denon Home 150
Rooms
Denon Home Sound Bar 550
Rooms Now PlayingMusic
Edit Group
Rooms Now PlayingMusic
Name
Disconnect Wireless Surrounds
Disconnect Wireless Subwoofers
On Table
Denon Home Sound Bar 550
Contents Connections Settings Tips Status LED Appendix
14

Settings
You can adjust specific settings for Denon Home Subwoofer in your
system:
1Select the Settings 0 icon located in the upper left
corner of the main “Music” menu to display the
Settings menu.
2Select “My Devices” to display a list of your HEOS
built-in devices.
3Select the HEOS built-in device you want to adjust.
Adjusting the subwoofer output level
1Select “Level”.
2Adjust the level up or down to compensate for the
subwoofer output level.
0You can also configure settings by tapping S in the Now Playing screen.
Adjusting the low pass filter
1Select “Low Pass Filter”.
2Set the frequency cutoff point.
Optimized
(recommended)
Select when using with HEOS built-in
speakers. Optimized values are set to each
of the speakers.
80Hz - 250Hz
(for experts)
When using with other speakers, configure
settings that match the characteristics of
the combined speakers.
Contents Connections Settings Tips Status LED Appendix
15

Adjusting the phase
1Select “Phase”.
2Select “Normal” (default) or “180°”.
0For normal configuration, use “Normal”.
0The bass volume may increase when switched to “180°” due to the installation
location of the Subwoofer.
Adjusting the status light brightness
1Select “Status Light”.
2Adjust the brightness.
Contents Connections Settings Tips Status LED Appendix
16

Troubleshooting
If a problem should arise, first check the following:
1. Are the connections correct?
2. Is the set being operated as described in the owner’s manual?
3. Are the other devices operating properly?
If this unit does not operate properly, check the corresponding symptoms in this section.
If the symptoms do not match any of those described here, consult your dealer as it could be due to a fault in this unit. In this case, disconnect the power
immediately and contact the store where you purchased this unit.
Contents Connections Settings Tips Status LED Appendix
17

The power turns off and the status LED flashes in red
The power turns off and the status LED flashes in red.
0The protection circuit has been activated due to a rise in temperature within this unit. Unplug the power cord, wait about an hour until this unit cools
down sufficiently, and then turn the power on again.
Connecting to a WPS network
Connecting to a WPS network.
0If your wireless router support WPS (Wi-Fi Protected Setup™) this unit can optionally connect to your network using the push button method by
following these steps:
(Wi-Fi Protected Setup™ is trademarks of Wi-Fi Alliance.)
1. Press the WPS button on your router.
2. Within 2 minutes, press and hold the CONNECT button on the rear panel of this unit for 5 seconds.
3. The LED on the front of this unit will flash green for several seconds as it connects to your WPS router.
4. When the connection is complete, the LED on the front of this unit will turn solid blue.
Contents Connections Settings Tips Status LED Appendix
18

Resetting factory settings
When the network function or this unit do not operate correctly, the problem may be solved by resetting factory settings.
Resetting this unit will clear out the wireless network info, EQ, and name but retain it’s current software. You will have to use “Settings” - “Add Device” from
the HEOS App to reconnect this unit to your home network before it can be used.
Status LED
1Press and hold the RESET button on this unit for 5
seconds.
The status LED blinks in amber and initiates a reset.
Contents Connections Settings Tips Status LED Appendix
19

Resetting the firmware to the default state
When the network function or this unit do not operate correctly, the problem may be solved by resetting the firmware to the default state.
0It is confirmed that the network connection has no problem, but the unit cannot connect to the Internet.
0The solution described in “Resetting factory settings” does not work. (v p. 19)
For such cases, perform the following operation:
Status LED
1Unplug the power cord from the power outlet.
2Plug in the power cord while holding down the RESET
button.
3Release the button after the status LED starts to blink
in amber.
When the status LED switches from blinking amber to solid, the
recovery process is complete.
0Since this process includes a firmware recovery, it takes some time to complete.
0This process will clear out all the information that you set.
0Do not unplug the power cord until the entire process completes.
0If the problem is not solved after performing this operation, contact our customer
service center.
Contents Connections Settings Tips Status LED Appendix
20
Other manuals for HOME SUBWOOFER
1
Table of contents
Other Denon Subwoofer manuals

Denon
Denon DSW-1H User manual

Denon
Denon DSW-1H User manual

Denon
Denon DELTA18S User manual

Denon
Denon DSW-1H User manual

Denon
Denon Axis 12S User manual

Denon
Denon DHT-S516H User manual

Denon
Denon DSW-1H User manual

Denon
Denon HOME SUBWOOFER User manual

Denon
Denon HEOS User manual

Denon
Denon DSW-3.1 User manual