DEOX DEQX-Cal User guide
!
!
!
!
!
Installer’s*Manual***
!
DEQX&Cal™!Version!2.90

2
*
Table!of!Contents!
Copyright ......................................................................................................................................... 4!
License ............................................................................................................................................ 4!
Welcome to DEQX Calibration ........................................................................................................ 6!
Features: ......................................................................................................................................... 7!
How to use this manual ................................................................................................................... 8!
Introduction...................................................................................................................................... 9!
Quick Start..................................................................................................................................... 10!
Installing DEQX Calibration Software .................................................................. 11!
Installing a Microphone Calibration file .................................................................. 14!
Correcting a Loudspeaker........................................................................................ 26!
Calibration Wizard ......................................................................................................................... 30!
Verifying a Speaker Correction................................................................................ 36!
Configuring the DEQX unit....................................................................................... 44!
Using the Parametric EQ .......................................................................................... 49!
Saving Equalizer Settings......................................................................................... 51!
Measuring and Equalizing a Room.......................................................................... 51!
Manual Room Equalization....................................................................................... 60!
Incorporating a Subwoofer....................................................................................... 67!
Reusing Existing Measurements, Corrections and Configurations..................... 69!
How to Use / Modify an Existing Configuration...................................................... 77!
How to Copy Parametric EQ Settings from the PDC to an Existing Configuration:
..................................................................................................................................... 77!
How to View an Existing Room Measurement........................................................ 78!
Upgrading the Firmware ........................................................................................... 81!
Project Concepts & Project Hierarchy..................................................................... 83!
The Speakers Folder ................................................................................................. 83!
The Calibration Templates Folder............................................................................ 85!
The Room Measurements Folder............................................................................. 86!
The PDC Configurations Folder............................................................................... 87!
Naming Conventions................................................................................................. 88!
File Types................................................................................................................... 89!
Working with Projects............................................................................................... 89!

3
Viewer Wizard ............................................................................................................ 91!
Speaker Measurement Setup ................................................................................... 94!
Physical Setup ....................................................................................................... 94!
Other Setup ............................................................................................................ 95!
Speaker Measurement Parameters ........................................................................ 96!
Verifying a Speaker Correction................................................................................ 97!
Data Viewer , Parametric EQ and Calibration Chart Controls............................. 107!
IO Manager ............................................................................................................... 108!
Input Selection......................................................................................................... 110!
Output Selection...................................................................................................... 110!
The PDC Control Panel vs the PDC Configuration Window................................ 112!
PDC Configuration Types....................................................................................... 112!
PDC Configuration Parameters.............................................................................. 114!
Main Filter................................................................................................................. 114!
Limit Filters .............................................................................................................. 115!
Time Alignment........................................................................................................ 116!
Advanced Options................................................................................................... 116!
Speaker Calibration Parameters ............................................................................ 117!
File Import Wizard ................................................................................................... 122!
Setup Options.......................................................................................................... 125!
Customization.......................................................................................................... 129!
Reporting an Error....................................................................................................................... 136!
Upgrading DEQX-Cal software ................................................................................................... 136!
Error Messages ........................................................................................................................... 137!
Glossary ...................................................................................................................................... 140!
Trouble Shooting ......................................................................................................................... 142!

4
!"#$%&'()*
Copyright © 2012 DEQX Pty Ltd, Sydney, NSW, Australia (‘DEQX’). DEQX-Cal™ is a trademark
of DEQX Pty Ltd. All other product or brand names may be trademarks or registered trademarks
of their respective owners
Disclaimer and Limitation of Liability
DEQX Pty Ltd assumes no responsibility for loss or damage resulting from the use of the PDC-
2.6/PDC-2.6P, HDP-Express, HDP-3, HDP-Express II, HDP-4 or DEQX Mate (DEQX unit).
Please refer the license supplied with the DEQX Calibration software.
Contact suppor[email protected] for installation and operational support. We highly recommend using
the DEQXpert™ on-line installation and/or training service.
Safety Instructions Warning
To prevent fire or shock hazard, do not expose the unit to rain or moisture. To avoid electrical
shock, do not open the unit. No user-serviceable parts are inside. Please refer any servicing to
qualified personnel.
Caution:
Damage may result to your speaker drivers and other equipment if your audio system is
connected incorrectly or if the DEQX unit is used incorrectly. Unless you are using the
DEQXpert™ installation service, it is recommended that you read the quick installation guide and
ideally this manual and the DEQX User’s manual before configuring your hardware and refer to
your speaker manufacturer's specifications to ensure correct connection. If you are in doubt as to
the connection of your audio equipment please seek assistance from a professional audio
DEQX Processor Installer’s Manual 2013. This document relates to version 2.92 of the DEQX
Calibration Software and version 65.0 & 201.10 of the firmware. For the latest software, firmware
and documentation check www.deqx.com
+&,-./-*
This is a legal agreement (‘Agreement’) between you (either an individual or an entity), the end
user, and DEQX Pty Limited, Sydney, Australia. By installing, copying, or otherwise using the
Product (as defined below), you agree to be bound by the terms of this Agreement. If you do not
agree to the terms of this Agreement, do not install, copy, or use the product, and promptly return
the disks and any accompanying items (including written materials and binders or other
containers, if any) to DEQX Pty Limited.
DEQX LICENSE AGREEMENT for one Copy of DEQX-Cal™ Acoustic Calibration Software and
Firmware © 2013 DEQX Pty Limited. All rights reserved
ALWAYS TURN THE DEQX UNIT AND ANY ASSOCIATED AUDIO EQUIPMENT OFF
BEFORE CONNECTING OR DISCONNECTING AUDIO CABLES.
ANY AUDIO EQUIPMENT REQUIRING GROUNDING MUST BE GROUNDED TO THE
SAME POINT (CIRCUIT) AS THE DEQX UNIT.
FAILURE TO OBSERVE THESE WARNINGS CAN RESULT IN DAMAGE TO THE DEQX
UNIT AND OTHER AUDIO EQUIPMENT AND MAY NOT BE COVERED BY
WARRANTY.

5
GRANT OF LICENSE.
DEQX grants the ‘Recipient’ a limited, nonexclusive, non-transferrable, royalty-free license to
make and use the software accompanying this agreement (‘Product’) to be installed on approved
Windows platforms for Recipient's use with DEQX Acoustic Digital Correction Hardware only.
All other rights are reserved to DEQX. Recipient shall not rent, lease, sell, sublicense, assign, or
otherwise transfer the Product, any accompanying printed materials (‘Documentation’), or a digital
content created with the Product (‘Filter coefficients’). Recipient may not reverse engineer or
decompile the Product. DEQX and its suppliers shall retain title and all ownership rights to the
product, and this Agreement shall not be construed in any manner as transferring any rights of
ownership or license to the Product or to the features or information therein, except as specifically
stated herein.
TERM OF AGREEMENT.
The term of this Agreement shall commence on the date you accept this Agreement and shall
continue unless terminated by DEQX in writing at any time, with or without cause. In the event
that DEQX terminates this agreement Recipient shall promptly return to DEQX, or certify
destruction of, all full or partial copies of such product and related materials provided by DEQX.
PRODUCT MAINTENANCE.
DEQX is not obligated to provide maintenance or updates to Recipient for Product licensed under
this Agreement.
DISCLAIMER OF WARRANTY.
DEQX-Cal™ software (‘Product’) is deemed accepted by Recipient upon first use. The
PRODUCT IS PROVIDED ‘AS IS’ WITHOUT WARRANTY OF ANY KIND EXCEPT. TO THE
MAXIMUM EXTENT PERMITTED BY APPLICABLE LAW, DEQX FURTHER DISCLAIMS ALL
WARRANTIES, INCLUDING WITHOUT LIMITATION ANY IMPLIED WARRANTIES OF
MERCHANTABILITY, FITNESS FOR A PARTICULAR PURPOSE AND NONINFRINGEMENT.
THE ENTIRE RISK ARISING OUT OF THE USE OR PERFORMANCE OF THE PRODUCT AND
DOCUMENTATION REMAINS WITH RECIPIENT.
TO THE MAXIMUM EXTENT PERMITTED BY APPLICABLE LAW, IN NO EVENT SHALL DEQX
OR ITS SUPPLIERS BE LIABLE FOR ANY CONSEQUENTIAL, INCIDENTAL, DIRECT,
INDIRECT, SPECIAL, PUNITIVE, OR OTHER DAMAGES WHATSOEVER (INCLUDING,
WITHOUT LIMITATION, DAMAGES FOR LOSS OF BUSINESS PROFITS, BUSINESS
INTERRUPTION, LOSS OF BUSINESS INFORMATION, OR OTHER PECUNIARY LOSS)
ARISING OUT OF THE USE OF OR INABILITY TO USE THE PRODUCT OR
DOCUMENTATION, EVEN IF DEQX HAS BEEN ADVISED OF THE POSSIBILITY OF SUCH
DAMAGES.
GOVERNING LAW; ATTORNEYS FEES.
The laws of the State of New South Wales, Australia shall govern this Agreement and Recipient
further consents to jurisdiction by the state and Australian federal courts sitting in the State of
New South Wales. If either DEQX or Recipient employs attorneys to enforce any rights arising out
of or relating to this Agreement, the prevailing party shall be entitled to recover reasonable
attorneys' fees.

6
0-1,"2-*)"*3456*!71&8%7)&".!
Compared to all other components in the audio recording, production, media and playback chain,
the mechanical nature of loudspeakers makes them extraordinarily prone to errors and distortion
that detract from realism. These include timing (phase errors) where numerous ‘groups’ of
frequencies lag behind others to varying degrees. Related to these are amplitude (volume) errors
that cause an inaccurate tonal balance that sound less ‘real’. These ‘linear-errors’: Group-delay
(phase-response) errors and Frequency-response errors, are described by the measured Impulse
Response of the speaker.
DEQX™ compensates the signal driving the loudspeakers prior to amplification, so the speaker
more closely resembles the original source signal. EQ, or equalization, has previously been
applied to loudspeakers to correct their tonal balance (frequency response), but the phase delays
added by traditional EQ are often significant enough to reduce timing coherence and hence
realism. The crossover filters used to ‘quarantine’ frequencies to their respective speaker drivers
(transducers) exasperate these timing errors unless they have ‘linear-phase’ performance, which
is not possible using the steep analogue filters required to provide good isolation between drivers.
DEQX compensates for frequency-response errors in fine detail based on measured errors.
Traditional analogue or DSP based attempts to correct frequency-response tends to be ‘broad
brush’, and introduce more timing and phase errors, which is why audiophiles often avoid using
“EQ”. DEQX uses ‘linear-phase’ EQ that not only does not introduce more timing/phase errors
when correcting frequency response, but it compensates for existing measured timing/phase
errors for hundreds of frequency groups by introducing a small window of time - in the order of
just about 10 to 15 milliseconds so that the audio will not loose synchronization with video if used
– to allow the ‘late’ frequencies can catch up.
Going ‘active’: In addition to correcting Impulse-response errors, some DEQX units (PDC, HDP,
and Express series) offer new generation ‘active’ crossovers that provide steep linear-phase
filters. DEQX units also measure and correct room related acoustic problems, and those supplied
with remote controls provide 3-band user definable tone controls including one fully parametric
band. Detailed ‘tone controls’ can be user-defined and saved to 99 presets.
In summary, using DEQX Calibrated™ EQualization, the measured erroneous characteristics of a
particular loudspeaker, or generic ‘model’ of a loudspeaker, are measured and corrected without
room reflections corrupting the measurement. When combined with DEQX Calibrated™ active
crossovers, each speaker driver can be better quarantined to operate within its more optimal
linear (low-distortion) operating region, resulting in improved resolution and accuracy and often
more natural sound dispersion in to the room .Once the ‘native’ (anechoic) performance of the
speaker is maximized, room acoustic problems are usually less problematic, but can be
measured and compensated in combination with pre-set personal preferences.
We highly recommend the use of the DEQXpert™ installation and training service.
Email: deqxpert@deqx.com for more information.
*
*
*

7
*
*
*
9-7):%-/;*
Correcting full range ‘passive’ (traditional Hi-Fi) speakers plus room correction:
Anechoic Frequency-response calibration
Anechoic Phase-response/Timing-coherence calibration
Integrate subwoofer/s with time-domain and/or Parametric EQ room correction
Multiband Parametric EQ for real-time preference and room EQ adjustment
Improved imaging and sound-staging
Improved frequency-response accuracy
Improved timing coherence
Three band ‘tone’ control including a fully parametric-EQ band with 99-memory (remote control)
Additional features if using DEQX-Active crossover option (available on some models):
Stereo 3-way active crossovers: 6dB/octave to 300dB/octave
Steep linear-phase filter option
Automatic timing/phase alignment between up to 3-way speakers (or 2-way plus subs)
Increased loudness
High dynamic resolution (reduced distortion) due to drivers operating in linear operating zone
Reduced crossover distortion - reduced ‘comb filtering’
Improved natural dispersion - reduced unwanted on-axis driver ‘beaming’ of high frequencies
*

8
*
*
<"=*)"*:/-*)(&/*27.:71!
This manual is separated into three main sections:
Using DEQX Calibrated™ - Step by step: A good starting point walks you through common
procedures.
Using DEQX Calibrated™ - Reference: Provides a more detailed description of parameters and
processes.
Finally, the Appendices provide additional information, such as a Glossary of Terms, and a
comprehensive list of all Warnings and Error Messages.
Throughout this manual, certain terms will be used with specific meanings:
Choose:
Choose a menu option. Menu options are separated by dashes e.g.: Choose File-
Open:
Open means click the File menu, then click the Open menu option. Choose is also used for
clicking a tab in a tabbed dialog. Menu options can also be chosen with the selected with the
navigation keys and activated with the Enter key.
Select:
Select an option in a list box or combo box.
Click:
Left click with the mouse on a button or icon. Buttons and icons may also be selected using the
navigation keys and activated with the Enter key.
Enter:
Type text in a text box then move the focus from the text box to confirm the entry. It may not be
appropriate to press the Enter key, as this may activate a selected command button. Instead you
can move the focus by pressing the Tab key or clicking another control on the dialog.
Menu options and available selections are displayed in bold.*
*

9
*
*
>.)%"?:,)&".*
!
DEQX units process the audio signal prior to power amplification so that the frequency and
phase-response is corrected, while optionally incorporating linear-phase ‘active’ crossovers into
the correction filters. This process involves three steps:
• Measurement • Correction • Configuration
The DEQX unit is linked via USB to a PC or Windows based Mac running the DEQX-Cal™
application. Using a calibrated microphone each speaker is measured and the DEQX-Cal™
software analyzes its Impulse-response, which provides its frequency-response (amplitude at all
frequencies) and Phase-response (timing coherence across all frequencies, or ‘Group Delay’).
DEQX-Cal™ then provides the required ‘time and frequency’ domain correction filters for the
speakers, which may optionally include active crossover filters.
Various combinations of Speaker-correction filters, Room-correction EQ and Preference EQ
settings can be saved to four PROFILE memories in the DEQX unit, where they can be selected
using the front panel buttons, the remote control or the PC running DEQX-Cal™ software.
Installing and setting up a DEQX unit involves:
*Connecting the DEQX unit to your system (see DEQX unit User Manual)
*Installing and Launching DEQX-Cal™ software on a Windows PC or Mac PC running Windows
*Connecting the DEQX unit via 5-metre USB cable provided to your PC or Mac running Windows
*Choosing the configuration suitable for your sound system, such as passive speaker with
optional subs, or 2-way active with subs, or 3-way active
*Installing the DEQX-Calibrated™ microphone calibration file (optional)
*Measure speakers (one speaker can provide a ‘generic’ model correction) using the
Measurement Wizard
*Creating Correction Filters for speakers from their measurements using the Calibration Wizard
*Configure the DEQX unit for your requirement: e.g. Passive speakers plus sub/s, OR 3-way
active etc using the Configuration Wizard
Skills necessary to operate DEQX-Cal™ software include basic Windows skills, such as
launching applications, using menus and dialogs, and file management. These are not covered in
this guide. This manual provides a reference for the software operation with hints relating to
achieving the best results.

10
5:&,@*A)7%)!
After connecting the DEQX unit to your systems in accordance with the User Manual on the CD
provided with your unit you are ready to get started!
Connect your calibrated microphone to the DEQX unit and set it up to measure a speaker (see:
speaker measurement set up on page 94. Launch DEQX Calibration, click the ‘Measure
Speakers’ icon.
The measurement wizard guides you through the process of measurement. When measurement
is complete: click the ‘Calibrate Speakers’ icon, where the speaker measurement/s create the
‘calibration’ filters.
The Calibration wizard guides you through the process of analysis and correction. When analysis
and correction is complete: click the ‘Configure’ icon
The Configure wizard sets up the DEQX unit to the configuration you are using. The options are:
1) A single amplifier driving each loudspeaker with optional mono or stereo subwoofers, or
2) An ‘active’ 2-way speaker configuration (2 amplifiers per speaker) plus optional mono or stereo
subwoofers, or
3) Stereo 3-way active (3 amplifiers) speakers. Once one of the above configurations is
confirmed, the configure wizard guides you through the process of assigning filters to speakers
and downloading the configuration to the DEQX unit.
>./)711&.'*7.?*+7:.,(&.'*3456*!71&8%7)&".*B0&.?"=/C*A"D)=7%-
Minimum System Requirements
The minimum system requirements for DEQX Calibration software are:
PC or Mac* with Pentium-class processor, 1GHz or faster
Microsoft Windows XP Home, Windows XP Pro, Windows 7 or Windows 8 installed
400 MB of free hard disk space
1GB RAM
Minimum 800 x 600 pixel color display
USB connector
* Apple Mac computers or notebooks must run DEQX-Cal™ on Windows software (Windows XP,
Windows 7 or Windows 8) via Boot Camp, Parallels version 7 or 8, or VMware. A minimum of
2GB of RAM is recommended if running Parallels or VMware.

11
>./)711&.'*3456*!71&8%7)&".*A"D)=7%-**
*
DEQX Calibration is installed with a standard Windows installation package. Insert the DEQX
Calibration CD-ROM in your CD-ROM drive. If you have auto run enabled the software installs
automatically. Alternatively you can run the file: setup.exe to start the installation. You will be
prompted to supply the user details and installation directory.
Launching DEQX Calibration Software:
To launch, double click the DEQX Calibration icon on
your desktop (if installed) or open the Windows Start Menu and choose DEQX Calibration
from the DEQX Calibration menu.
Connecting the DEQX unit to your PC or Mac with Windows:
The DEQX unit is supplied with a 5-metre long USB cable to allow a notebook computer running
DEQX-Cal™ to be adjusted from the listening position/s for comparing and saving to up to four
listening preference ‘profiles’ that can be selected using the remote control.
To connect the DEQX unit to a PC or Mac for the first time:
1. Connect the DEQX unit to the PC using the USB cable.
2. Turn on the power switch on the rear panel.
3. Windows should automatically detect the DEQX unit and advise new USB hardware found. If
the unit is not detected try turning the DEQX unit’s mains power off and on again. The PC should
recognize the new device.
4. Windows should start up a ‘Found New Hardware’ or similar Wizard. This wizard may ask if
Windows can connect to Windows Update to search for software. If so, choose 'No, not this time'
then click Next. At the next dialog choose the option to install the software automatically. The
Wizard should be able to find the driver by itself (you don't need to use the option of manually
finding the driver). Windows may pop up a window to say that the software hasn't passed
Windows logo testing. If this happens click on the Continue anyway button.
5. The Wizard will install the driver then ask you to click on Finish to close the Wizard.
6. Windows may pop up a brief message that new hardware has been installed.
7. Launch DEQX Cal™.
When the DEQX unit link to DEQX-Cal™ is successfully established, the link appears as
follows: If the link is not established, the link icon appears with a negated symbol:
Note using RS232: If USB is not available from your PC you can use the DEQX unit’s RS232
connector instead. To change the connection type in the software from USB to RS232, choose
Tools-Options. In the Configuration Options dialog choose the Configuration tab and select
RS232.
Choose Tools-Options. In the Configuration Options dialog choose the Configuration tab. Select
the appropriate port name in the Port Name field. If you are not sure which COM port is
appropriate, try each of them in turn

12
Selecting a serial port
Verifying Your System Setup
Immediately after connecting up your sound system, you should perform a preliminary
configuration to verify your sound system wiring.
DEQX units capable of 3-way active (PDC-2.6/P, HDP3, HDP4, Express and Express-II):
The DEQX-Cal™ software automatically detects if your DEQX unit is capable of ‘active’ 3-way set
up, or is limited to ‘single amplifier - for full range, usually passive, speakers - with optional
subwoofer/s’ (e.g. DEQX ‘MATE’) .
In the case of ‘3-way active’ capable DEQX units Profiles 2 and 3 are configured with crossovers,
so if your system is a bi-amp setup (with or without sub-woofers), by selecting Profile 2 or 3 you
can listen to your speakers to ensure that they are correctly connected. Otherwise load one of the
DEQX configurations pre-installed in the default project (Project1), by following the steps below.
13
Configuration
Crossover Between Main
Speakers and
Subwoofer(s)
Crossovers in Main
Speakers
Single Amp with Mono
Subwoofer
24 dB/octave at 100 Hz
None
Single Amp with Stereo
Subwoofers
24 dB/octave at 100 Hz
None
Bi-amp
None
96 dB/octave at 2000 Hz
Bi-amp with Mono
Subwoofer
24 dB/octave at 100 Hz
96 dB/octave at 2000 Hz
Bi-amp with Stereo
Subwoofers
24 dB/octave at 100 Hz
96 dB/octave at 2000 Hz
Tri-Amp
None
48 dB/octave at 500 Hz,
96 dB/octave at 2000 Hz
Open Default Project1.
First select from the file menu open project. My Documents or Libraries and navigate to your
documents folder and open the created DEQX folder and select Project1 file and select Open.
Click on the Configure icon . This starts the DEQX Configuration Wizard.
On the first window of the DEQX Configuration Wizard, click the Next button.
In the second window of the DEQX Configuration Wizard, select the 'Load an existing DEQX
configuration' radio button. This displays seven different pre-installed DEQX configurations.
Apart from the Single Amp configuration, all the configurations have crossovers already created,
between the main speakers and the subwoofer(s) and/or within the main speakers.
Click on the configuration that best matches your speaker system, then click Finish. This will
close the PDC Configuration Wizard and open the Configuration Window, showing your selected
configuration a configuration selected, prior to clicking the Finish button

14
The default crossovers should be suitable for verifying your system setup. Of course the
crossover frequencies and slopes can be adjusted to best suit the characteristics of your speaker
drivers. Refer to DEQX Configuration Parameters in the reference section for details on how to
adjust the crossovers.
Click on the Save All to DEQX button to load the configuration into the
DEQX, in Profile 1.
Now you can listen to your speakers to ensure that they are correctly connected. The next step is
to install a microphone calibration, then perform measurement and calibration on the groups of
speakers in your system.
>./)711&.'*7*E&,%"#(".-*!71&8%7)&".*D&1-*
To install a microphone calibration, choose File-Install Microphone. Behringer microphones are
available with a generic calibration file while ‘Earthworks DEQX-Calibrated’ microphones are
supplied with customised calibration files.
In the Open dialog, browse for the microphone file name that corresponds to the serial number
engraved on your microphone (Alternatively, in the File name text box, enter the microphone file
name). Emailing DEQX with the serial number provides a microphone file, with a .mic extension.
If the microphone calibration file cannot be found, it may be downloaded from
http://www.deqx.com/upgrades.php or contact support@deqx.com
!
15
Measuring a Loudspeaker*
To perform this step you need a Measurement microphone, correctly configured and set up in the
appropriate position relative to the speaker.
A DEQX ‘speaker’measurement provides the speaker’s native (anechoic) output before room
acoustics add too (corrupt) the native instrument’s output. This enables detailed timing correction
to be applied, especially thru critical midrange frequencies, which isn’t possible to achieve from
‘room’measurements. This is why DEQX ‘room’ correction measurement and correction is only
performed after ‘speaker’ correction.
DEQX-Cal™ provides multiple swept sine wave tones from which the speaker’s ‘Impulse-
response’ is derived to achieve a high resolution Impulse response measurement. The Impulse-
response describes a speaker’s ‘time and frequency’ domain behavior, showing which
frequencies are louder or softer than they should be, and which frequencies have been delayed
by driver mechanics, crossover filters and driver misalignment. From this information the Impulse-
response’s correction is created based on settings that describe the frequency range to be
corrected and the degree of correction required to provide most ‘linear’ operating conditions for
the speakers
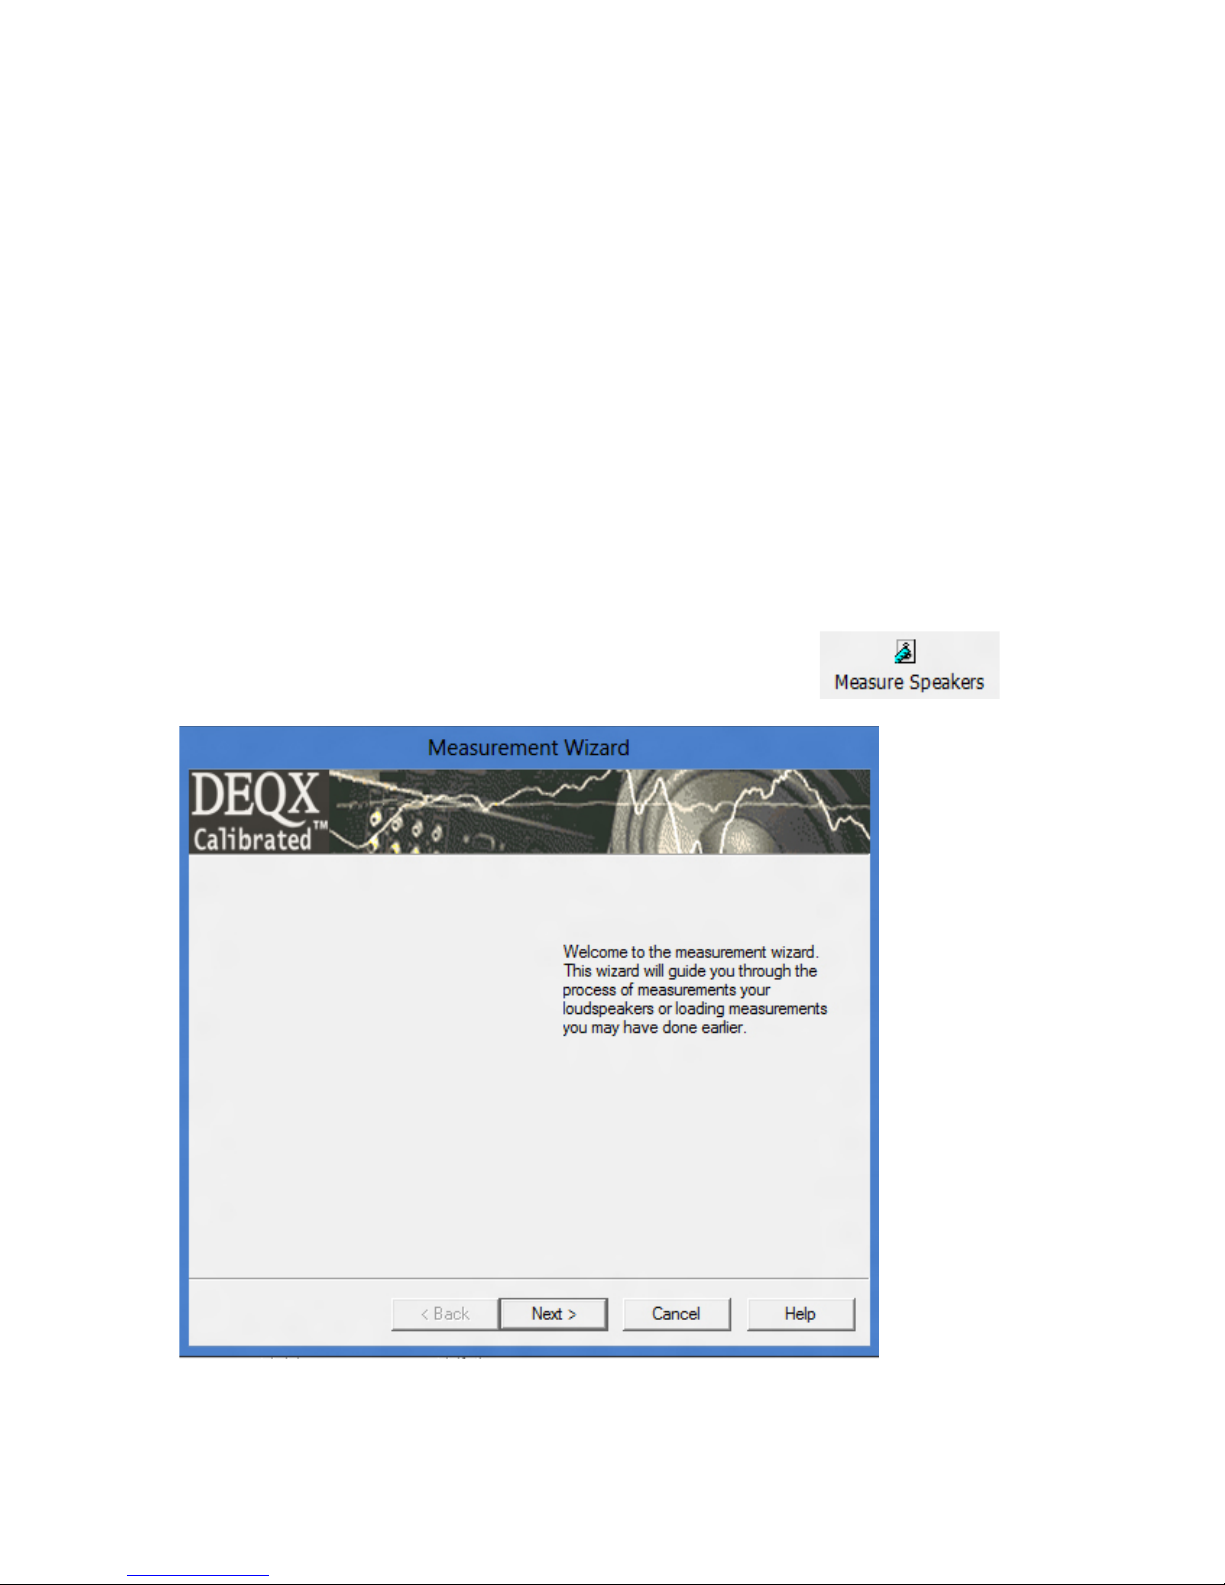
!The Measurement Wizard guides you through the speaker measurement process.
Choose Tools - Measure Speakers or click the Measure Speaker button
The first window of the Measurement Wizard provides a brief introduction to the use of the wizard.
Click Next to continue.
16
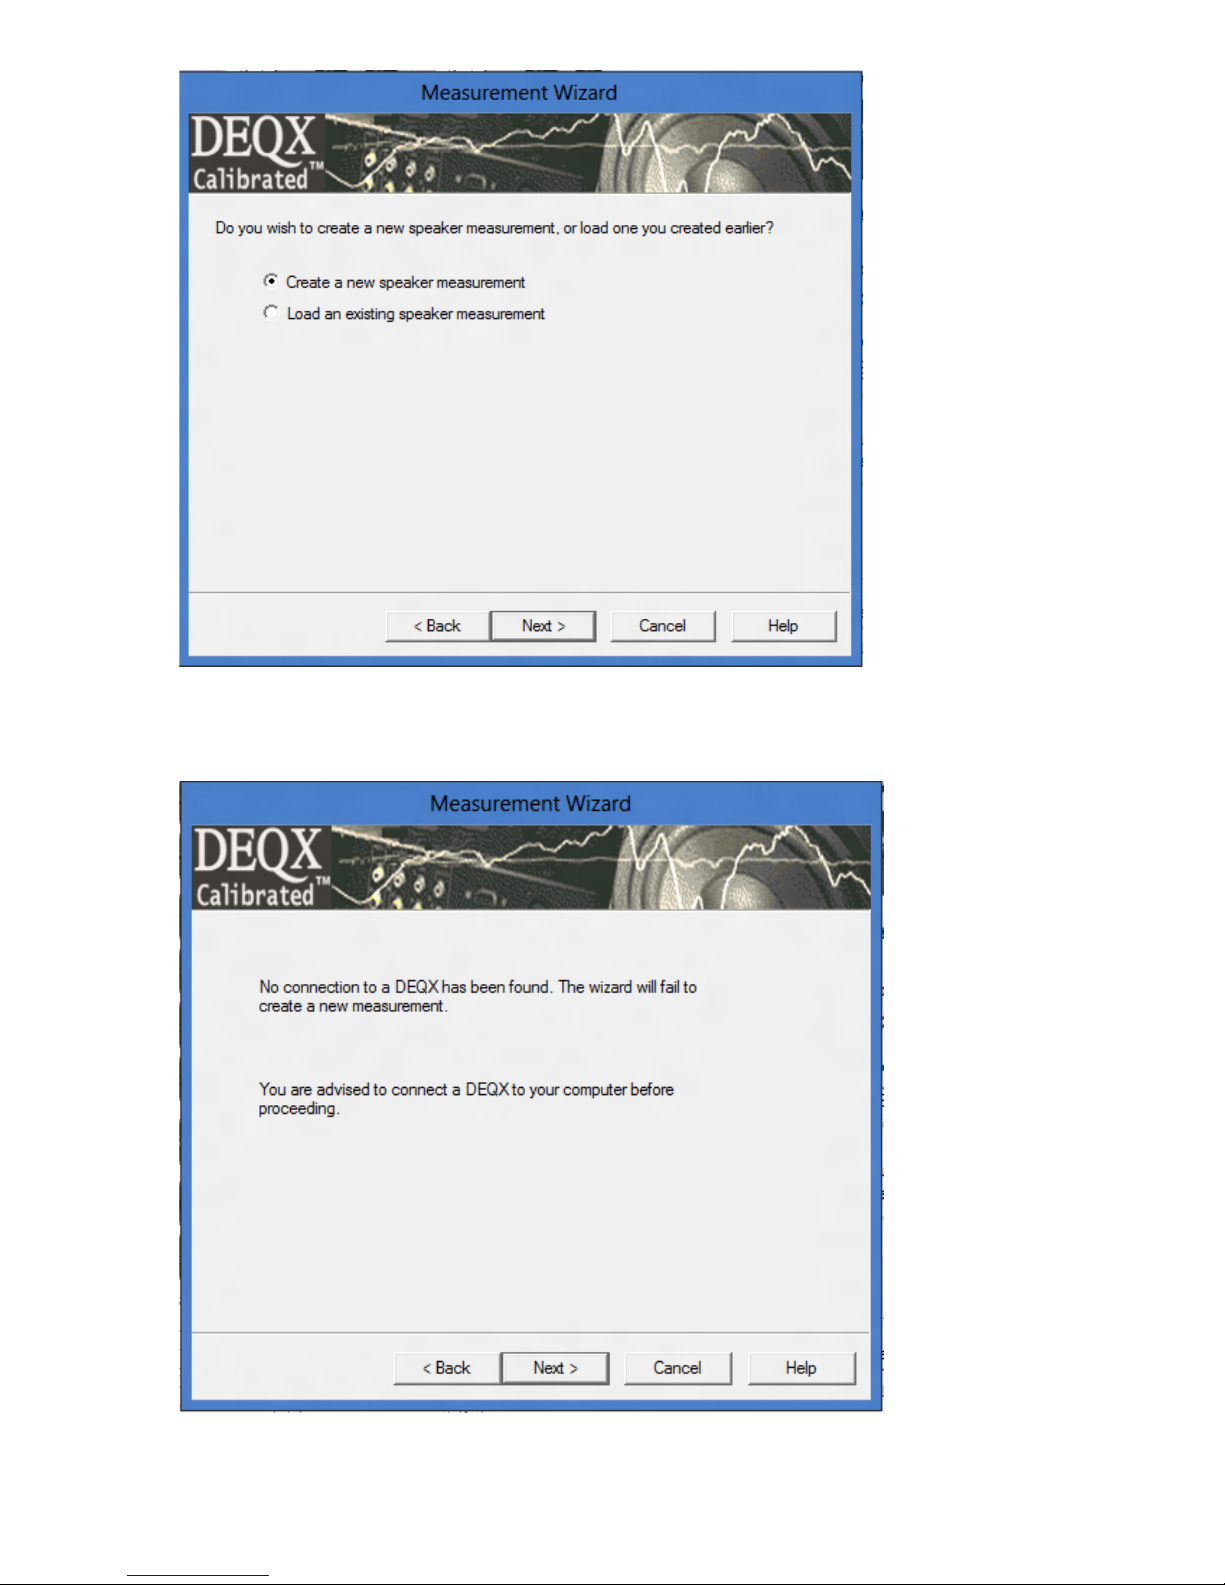
The second window gives you the option creating a new speaker measurement or loading an
existing one. Select the 'Create a new speaker measurement' radio button (if it is not already
selected) and click Next.
t
If for some reason the connection to the DEQX is not established at this point (because, for
example, the DEQX is not connected and/or not switched on), you will get the above screen:

17
Establish / re-establish the connection to the DEQX. Check that the symbol appears above the
volume slider, and then click Next.
Choose the Speaker Manufacturer, Model and Configuration for which you are performing the
measurement.
You can also specify a name for the measurement, or accept the default.
In the Distance, Angle and Height fields enter details of the way in which you have set up the
microphone relative to the speaker.
Once you have entered the appropriate data, click Next to continue.

18
When using an ‘active’ configuration, the tweeter is driven directly by a power amplifier, so care
must be taken not to damage it with inadvertent amplified ‘clicks’ – because it does not have a
traditional passive crossover filter to protect it. The safest solution is to use a high quality film
capacitor to block low frequencies and DC from damaging the tweeter. However, unless there is
any DC voltage (e.g. loud ‘clicks’) from the power amplifier this is usually not necessary because
the DEQX-Cal software provides a High Pass filter for the swept frequencies used to measure the
tweeter. The single pole (6dB/octave) high-pass filter defaults to 750Hz, sufficient to protect most
tweeters intended to operate above say 2K-3K. Contact [email protected] if in doubt about the
setting required for your tweeter.
Select the minimum frequency to measure for each driver, then click Next to continue.

19
Specify a unique identifier for the speaker, then click Next to continue.
The speaker's serial number is an appropriate choice as a unique identifier.
In the DEQX configuration diagram, click on the speaker you are measuring, Left or Right then

20
click Next to continue.
(This applies whether you are measuring a speaker for the first time or Verifying a Speaker
Correction.)
The measurement wizard then downloads to the DEQX the test signals determined by your
selection (see the figure above) and plays them (see the figure below).
The IO Manager will be automatically displayed when the test signal starts playing.
(This applies whether you are measuring a speaker for the first time or Verifying a Speaker
Correction.)
Table of contents


