manuals.online logo
Brands
  1. Home
  2. •
  3. Brands
  4. •
  5. Desa
  6. •
  7. Indoor Fireplace
  8. •
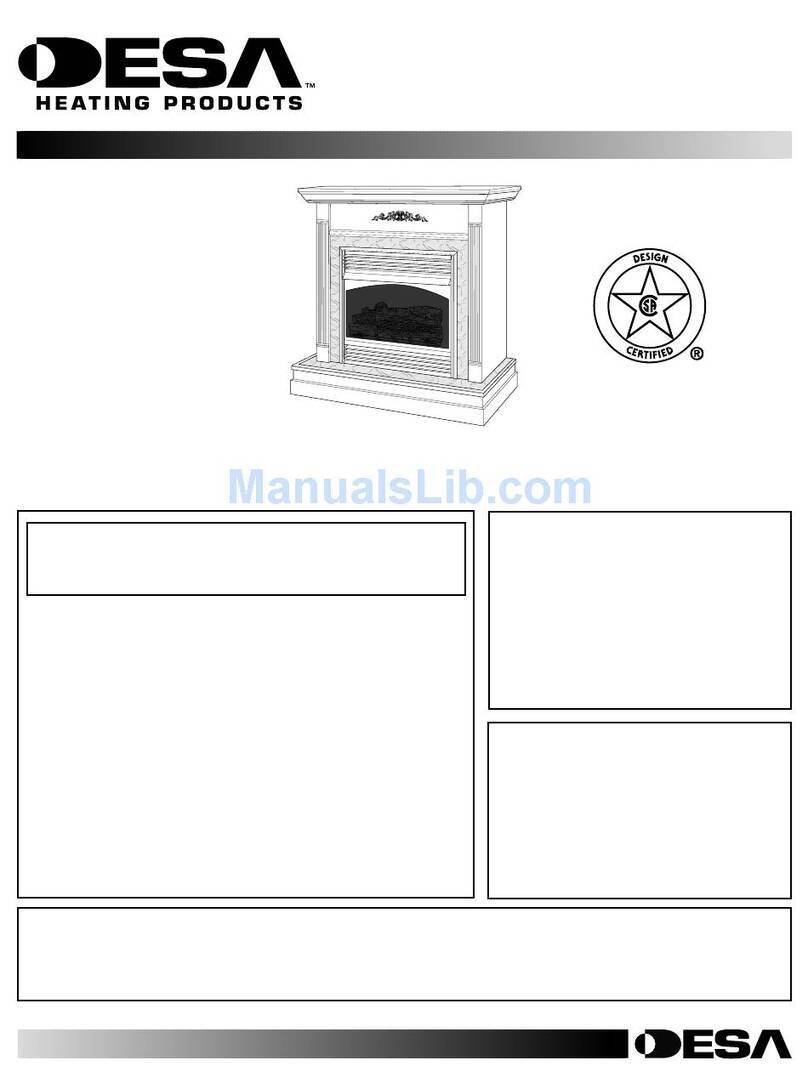
  9. Desa GM701U Instruction manual

Desa GM701U Instruction manual

IMPORTANT:
Read entire instruction sheet before assembling or installing mantel kit.
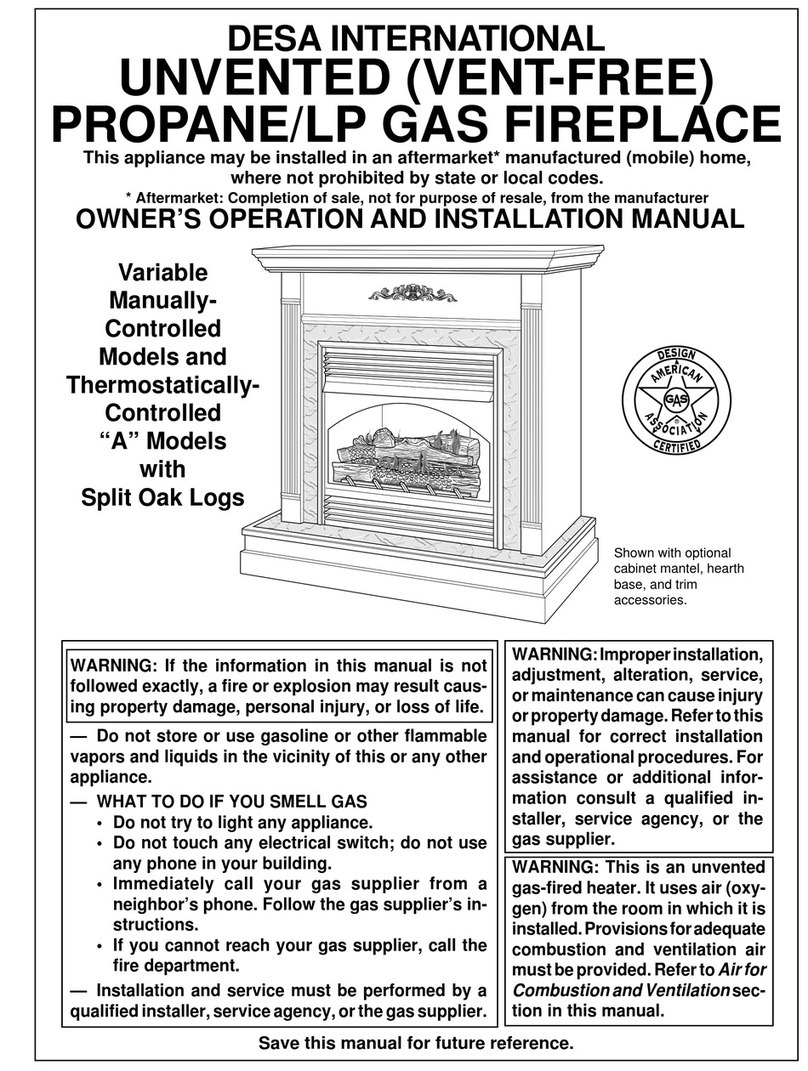
This mantel is only approved for use with VMH2800T, VMH2800TA, CMH2800T, CMH2800TA, RF28T, or RF28TA Natural and Pro-
pane models. Do not use mantel with any other product. Heater must be attached to a GHB802 series hearth base accessory
before mantel installation. If heater does not have base accessory, contact dealer to purchase proper base.
This mantel kit contains the following pieces:
Finished Unfinished
• Mantel right side 101433-04 101433-09
• Mantel left side 101433-01 101433-06
• Mantel front panel 101433-03 101433-08
• Two mounting strips 101016-01 101016-01
• Mantel top 101433-02 101433-07
• Corner left side 101789-01 101787-02
• Corner right side 101788-01 101787-01
• Two molding strips 101433-05 101433-10
• Gauge strip 101015-01 101015-01
• Hardware package 101052-01 101052-01
• L-Block 101216-01 101216-01
The hardware package contains the following:
• 2 - 2" screws • 6 - 3" screws
• 10 - 1 1/4" screws • 4 wall anchors
• 6 finishing nails
Tools required:
• #2 Phillips screw driver (regular length)
• #2 Phillips screw driver (short length)
• Electric drill (if using wall anchors)
• 5/16" drill bit (if using wall anchors)
• Hammer • 1/8" drill bit
• Pencil • 1/16" drill bit
• Level
• Measuring Tape
• Hand or electric saw
If any of these pieces are missing or damaged, contact the dealer
where you purchased this kit or DESA International at 1-800-
972-7879.
Before installing mantel to heater, the heater must be mounted
on the GHB802, GHB802A, or GHB802B hearth base acces-
sory. Follow the steps below to assemble the mantel.
GM701U and GM700F
Corner Mantel Kit
Assembly and
Installation Instructions
WARNINGICON G001
CAUTION
If this mantel is used with a heater equipped with a GA series heater blower accessory, use only a GHB802B
hearth base with this mantel. This will improve flame appearance and combustion.
If this mantel is used with a heater attached to a GHB802 or GHB802A hearth base, a heater blower accessory
should not be used.
2
Assembly and Installation Instructions (Continued)
WARNINGICON G001
WARNING
Use care when finishing an unfinished mantel. Finish pieces before assembly. Do not finish mantel pieces near
running heater or open flame. Vapors from finishing products are highly flammable. Follow manufacturer’s
guidelines when using finishing products.
Figure 1 - Installing Mounting Strips
Mounting
Strip
Level
32 1/4"
30 3/4"
Baseboard
Gauge
Strip
Mitered
Corner Joints
1. Mantel must be installed flush with wall. Baseboard will
prevent proper installation of mantel. Baseboard can either
be altered to fit mantel or removed. If baseboard is to be
altered, follow steps below until told to mark and cut
baseboard for proper fit.
2. Mantel must be attached to either a wall stud or wall anchor.
Locate wall studs and mark within 36" or corner. Use 32
1/4"gauge strip (no baseboard) or a tape measure (base-
board) to determine correct height from floor to location of
mounting strips (see Figure 1). Make sure point of the
mitered edge of mounting strip touches the corner. Use a
level to ensure mounting strips are evenly balanced. Adjust
accordingly.
IMPORTANT:
Failure to balance mounting strips with a
level could result in uneven surfaces on fully assembled
mantel.
3. If predrilled holes of mounting strip line up with wall studs,
fasten mounting strip to wall with 2" screws. If predrilled
holes of mounting strip do not line up with wall studs, drill
new holes or attach to wall with wall anchors (see step 4).
4. To use wall anchors, drill hole at marked location using
5/16" drill bit. Fold wall anchor (see Figure 2), and insert
(wings first) into hole. Tap anchor flush into wall. For thin
walls (1/2" or less), insert red key into wall anchor and
push to “pop” open anchor wings (see Figure 3).
IMPORTANT:
Do not hammer key! For thick walls (over
1/2" thick) or solid walls, do not pop open wings.
5. Align predrilled holes in mounting strip with wall anchors.
Attach to wall anchors using 3" screws.
6. Repeat steps above to attach right mounting strip to wall.
Make sure mitered edges fit together to form a clean joint in
corner of wall.
Note:
If baseboard is to be customized for mantel, complete step
7 but do not attach side panels to wall. Use a pencil to mark
where baseboard will be altered. Remove sections of baseboard.
Attach mantel side panels to wall.
7. Set left side of mantel in place against end of left mounting
strip. Slip mounting slot at top of mantel side over end of
mounting strip (see Figure 4). Locate mounting block
halfway down back of mantel side (see Figure 5). Attach
mantel side to wall using 3" screw. Repeat to secure right
side of mantel to wall. Sides may need to be shimmed if
wall is not square or plum.
Figure 3
Figure 2
Mantel Left Side
Figure 4 - Fitting Side Panel to Mounting Strip
Mounting Strip
3Continued
Figure 5 - Attaching Mantel Side Panel to Wall
Figure 8 - Attaching Mantel Front Panel
1 1/4" Screw
Upper
Mounting Block
Mounting Strip
Top Left Corner
Mantel Left Side
Mantel Front Panel
Figure 6 - Sliding Mantel Front Panel into Slots
Mantel Front Panel
Figure 7 - Attaching Mantel Top
Mounting Block
Mantel
Right
Side
(inside
View)
Front
View
Mantel
Side
Panels
Mounting Strip
Note:
Steps 8 through 11 will be a test to ensure that parts fit
properly. Do not attach any parts with screws at this time.
8. Place heater in front opening of mantel (see Figure 6).
9. Slide mantel front panel into grooves in top of mantel right
and left sides (see Figure 6).
10. Set mantel top and corner blocks into place (see Figure 7).
Do not attach.
11. Inspect mantel assembly. Make sure each piece fits properly.
Remove mantel top, front panel, and corner blocks. Set
aside.
12. Mark floor or wall behind heater for gas line entrance. Make
sure there is enough clearance between heater base and
mantel for gas lines.
IMPORTANT:
Make sure there are no electrical lines where
gas piping will go through floor or wall.
13. Remove heater and install gas line.You must install the
manual shutoff valve within reach. Run hard piping up
between heater cabinet and mantel side. Install manual
shutoff valve at top within easy reach from top of open
mantel. Install an approved flex hose for natural or propane
gas to run from the manual shutoff valve to heater.
14. Connect heater to gas line according to instructions in heater
owner’s manual. Check all connections for leaks from
heater to gas meter or propane tank.
WARNINGICON G001
WARNING
Never use an open flame to check for a leak.Apply a
mixture of liquid soap and water to all joints. Bubbles
forming show a leak. Correct all leaks at once.
15. Place heater in front opening of mantel. Slide mantel front
panel into place to make sure heater is in correct position
(see Figure 6). Follow instructions included with the base
accessory to attach heater base to floor.
16. Find predrilled holes in upper mounting blocks behind left
and right mantel side panels. Use 1 1/4" screws to attach
front panel (see Figure 8).
CA
U
17. Center short side of heater mounting L-block on heater top
andawayfrom ignitor button and controls (see Figure 8).Make
sure long side of L-block fits tight against mantel front panel.
Donotcover any part of instruction decal. Find predrilled holes
on short side of L-block. Use holes to mark screw locations
on heater top. Drill holes with 1/8" bit at marked locations.
Fasten L-block to heater with two 2" sheet metal screws.
18. Find predrilled holes on long side of heater mounting
L-block. Attach to mantel front panel with two 1 1/4"
screws (see Figure 9).
Figure 10 - Attaching Mantel Top
Figure 11 - Attaching Corner
1 1/4"
Screw
Corner
Block
Predrilled Hole
Figure 12 - Nailing Molding Strips to Mantel Top
2701 Industrial Drive, P.O. Box 90004
Bowling Green, KY 42102-9004
Technical Service Department 1-800-323-5190
Parts Department 1-800-972-7879
101109-01
Rev. D
11/94
CAUTION:
IGNITOR
2" Sheet Metal Screw
Heater Mounting
L-Block
Instruction Decal
Heater Controls
Figure 9 - Securing Heater to Mantel
1 1/4"
Screw
19. Put mantel top in place. Put corners in place. Hold mantel
top firmly to prevent movement. Locate predrilled holes on
mantel top. Attach mantel top to mounting strips using two 1
1/4" screws (see Figure 10).
20. Hold corner blocks firmly to prevent movement. Locate
predrilled hole on top of left corner block. Attach corner
block to mounting strip with 1 1/4" screw. Repeat for other
side.You may need to adjust corners to fit wall.
IMPORTANT:
Avoid hitting wall when opening mantel lid.
21. Lift mantel top. Attach left corner to block from bottom with
one 1 1/4" screw (see Figure 11). Repeat for other side.
22. Close mantel top. Drill holes in the center of molding to
prevent wood from splitting. Place molding strips along wall
and top of mantel (see Figure 12). Use finishing nails to
secure molding to wall. Keep nails centered on molding to
prevent wood from splitting.

This manual suits for next models

1

Other Desa Indoor Fireplace manuals

Desa DVF36 User manual

Desa

Desa DVF36 User manual

Desa VT36ENA Series Quick start guide

Desa

Desa VT36ENA Series Quick start guide

Desa FPVF33NR Quick start guide

Desa

Desa FPVF33NR Quick start guide

Desa HEARTH CDCFTN Quick start guide

Desa

Desa HEARTH CDCFTN Quick start guide

Desa FB32C Quick start guide

Desa

Desa FB32C Quick start guide

Desa CHDV42NR-B Quick start guide

Desa

Desa CHDV42NR-B Quick start guide

Desa CDV41N/P Quick start guide

Desa

Desa CDV41N/P Quick start guide

Desa CGCFTP Quick start guide

Desa

Desa CGCFTP Quick start guide

Desa VSGF33NRC Quick start guide

Desa

Desa VSGF33NRC Quick start guide

Desa W26LTF Instruction manual

Desa

Desa W26LTF Instruction manual

Desa Variable Manually-Controlled Models Quick start guide

Desa

Desa Variable Manually-Controlled Models Quick start guide

Desa (V)KC42NE SERIE Quick start guide

Desa

Desa (V)KC42NE SERIE Quick start guide

Desa Vanguard VVSR18 Quick start guide

Desa

Desa Vanguard VVSR18 Quick start guide

Desa VC42 Quick start guide

Desa

Desa VC42 Quick start guide

Desa H) AND VM42EP(B Quick start guide

Desa

Desa H) AND VM42EP(B Quick start guide

Desa Comfort Glow CF26PT Quick start guide

Desa

Desa Comfort Glow CF26PT Quick start guide

Desa MSVFBNR Series Quick start guide

Desa

Desa MSVFBNR Series Quick start guide

Desa Comfort Glow BRENTWOOD LCF18 Quick start guide

Desa

Desa Comfort Glow BRENTWOOD LCF18 Quick start guide

Desa VSGF33PRC Quick start guide

Desa

Desa VSGF33PRC Quick start guide

Desa LGFB32C Original instructions

Desa

Desa LGFB32C Original instructions
Desa Comfort Glow CGEFP33PR Quick start guide

Desa

Desa Comfort Glow CGEFP33PR Quick start guide

Desa GS38 Quick start guide

Desa

Desa GS38 Quick start guide

Desa V036NR Series Quick start guide

Desa

Desa V036NR Series Quick start guide

Desa V)VC36P SERIES Quick start guide

Desa

Desa V)VC36P SERIES Quick start guide

Popular Indoor Fireplace manuals by other brands

Contura C 590T Installation instruction

Contura

Contura C 590T Installation instruction

Southern Enterprises Elkmont FA928100TX Assembly instructions

Southern Enterprises

Southern Enterprises Elkmont FA928100TX Assembly instructions

HOMCOM EF821KUB Installation and user instruction guide

HOMCOM

HOMCOM EF821KUB Installation and user instruction guide

Vermont Castings Majestic BREF30 Installation & operating manual

Vermont Castings

Vermont Castings Majestic BREF30 Installation & operating manual

Superior BC-36-2 installation instructions

Superior

Superior BC-36-2 installation instructions

Wamsler 198 54 User instruction

Wamsler

Wamsler 198 54 User instruction

Paramount Fitness BLT-999A-7 Instructions for use

Paramount Fitness

Paramount Fitness BLT-999A-7 Instructions for use

pleasant hearth 28-62-73 Assembly instructions

pleasant hearth

pleasant hearth 28-62-73 Assembly instructions

SEI FA1138056 Assembly

SEI

SEI FA1138056 Assembly

Continental Fires CF-E 40 Instructions for installation and use

Continental Fires

Continental Fires CF-E 40 Instructions for installation and use

TJ C17 Instructions for installation, use and maintenance

TJ

TJ C17 Instructions for installation, use and maintenance

Golden Blount LFP9618 Installation and operating instructions

Golden Blount

Golden Blount LFP9618 Installation and operating instructions

Legendfires ECO 1000 Installation and user instructions

Legendfires

Legendfires ECO 1000 Installation and user instructions

Nordpeis Malaga Installation guides

Nordpeis

Nordpeis Malaga Installation guides

Twin-Star International TRESANTI OD9544-40 manual

Twin-Star International

Twin-Star International TRESANTI OD9544-40 manual

Marquis Solara MQZDV3318 installation instructions

Marquis

Marquis Solara MQZDV3318 installation instructions

Heatilator CRAVE4836 installation manual

Heatilator

Heatilator CRAVE4836 installation manual

Garden Oasis WOOD BURNING FIREPLACE owner's manual

Garden Oasis

Garden Oasis WOOD BURNING FIREPLACE owner's manual

manuals.online logo
manuals.online logoBrands
  • About & Mission
  • Contact us
  • Privacy Policy
  • Terms and Conditions

Copyright 2025 Manuals.Online. All Rights Reserved.