Design Engineering, Inc.
604 Moore Road
Avon Lake, OH 44012
1 1
1 2
1 2
2 1
2 1
2 1
2 1
1 -
2 -
3 -
4 -
5 -
6 -
7 -
8 -
9 -
10 -
11 -
12 -
13 -
14 -
Long Sheet Meta Screws
Wire Taps
Attach the red power ead wire to either side of the switch, then attach the red power
harness wire on the other switch connector.
P ug Harness connector into the reservoirs pump socket.
Mount the switch from the back side securing with the provided hex nuts.
Insta the switch by ocating a convenient position on your dash by dri ing a 5/8" ho e free
from interference.
Installation Instructions
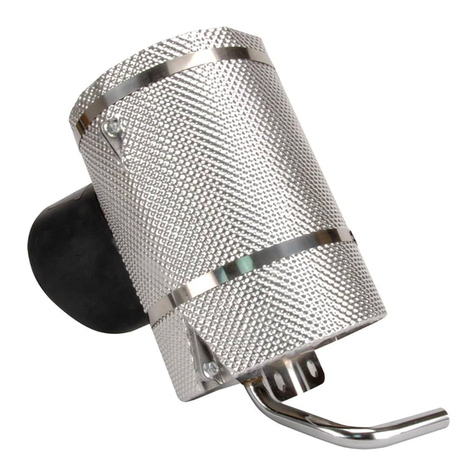
CryO²™ Intercooler Water Sprayer
PART NO. 080140
DIRECTIONS
Insta the reservoir by ocating a suitab e position where the tank wi remain eve .
Water Reservoir with Lid Hose "T"
Nozz e Tubes
6" of 3/16" Hose
Nozz e Ho ding C ips
Large Push Button
5.5' of 1/8" Hose
KIT CHECK IST
Wiring Harness
2' Power Lead Wire
Washers
Short Sheet Meta Screws
P ace red power ead wire from switch in other side of wire tap (Do Not Strip Wire).
Crimp down on meta prong with p iers, so both wires are pierced. C ose p astic cover.
Connect to power se ecting a 12 vo t power source and p ace wire in one side of the wire
tap.
EGR Check Va ve
Dri two ho es with a 5/32" dri bit into the meta , using the reservoirs mounting ho es as a
temp ate.
Mount the reservoir with the ong sheet meta screws with the b ack ground wire termina
harness secured by one of the screws.
NOTE
It is recommended that a qua ified mechanic insta this unit. A razor wi be required a ong with a set of p iers and a hand dri
with 5/32" and 5/8" dri bits.
Bend the tubes so that they face the intercoo er when activated.
Inta nozz e tubes and jets by determining the best ocation. Dri a ho e if needed to mount
each nozz e tube.
Adjust nozz e tips with p iers so the water stream makes contact with the intercoo er.
Using the nozz e tube c amps as a temp ate, dri a 5/32" ho e(s) to secure the c amps, then
attach them with short sheet meta screws.
1 of 2
www.DesignEngineering.com
800-264-9472
v02.08
INS028
