Designated Parking PK250 User manual
Designated Parking Corp V3 page 4 www.dp-corp.com
10 Ridge Road
West Orange, NJ 07052-4018
USA
www.dp-corp.com
Tel +1.973 669-8214
Fax +1.973 669-5161
Manual P/N : 92-1022 Revised 8MAR2015
Copyright and Patents
MySpot 500 is covered by design and utility patent ap-
plications and issued patents. MySpot is a trademark
of Designated Parking Corp.
transmitter. In t4he MySpot 200
the motor will whirl. In the
MySpot 500, the green LED will
flash 4 times. This indicates a
successful pairing.
11. To verify that the PK250 has
been paired properly, press
43<enter>. The motor should
respond and the barrier should
fall or rise.
Antenna and Range The PK250 is supplied with a short 1/4 wave-
length antenna. The range in free air is 30 meter. For longer range,
use an antenna with more gain, or a roof-mounted antenna. Use a 50
ohm cable to connect to the SMA connector on the PK250.
Batteries
The PK250 is powered by 3 AAA alkaline batteries. The batteries will
last 2-3 years, depending on usage. Remove batteries if not used for
long periods else the batteries will corrode and damage the unit.
key A again. In the MySpot 200,
the motor will sound again. In
the MySpot 500, the green LED
will flash twice.
9. Two seconds after the motor or
the LED stopped, press
43<enter> (if that was the ad-
dress you want to add) on the
PK250. In the MySpot 500, the
red LED will flash 3 times.
10. After the green indicator on the
Pk250 turns off, wait 2 seconds
then press the programmed
button on the authorized “A”
Designated Parking Corp V3 page 1 www.dp-corp.com
User Manual
PK250 Keypad Transmitter
The PK250 is a keypad transmit-
ter designed for the MySpot 200
and the MySpot 500 barrier sys-
tems. It allows the control of 250
individual parking barriers, even if
they are located side by side.
Applications include valet park-
ing, office buildings and guard
houses.
USE Instructions
• Assign a 2 or 3 digit number for
the barrier you wish to control.
For example, the number can be
09 or 009. The largest number
is 250, the smallest is 01.
• 001 sends the same code as 01.
• You can send either Toggle
commands or Discrete com-
mands. A toggle means that the
barrier will go up if it was down,
and down if it was up. A dis-
crete command means that the
barrier will only move in the de-
sired direction (up or down).
• To TOGGLE the barrier, enter
the barrier number, followed
immediately by the <Enter> key.
• For example, if the barrier num-
ber is 43, press 43<enter> or
043<enter>.
• The green LED on the upper
corner of the keypad will flash
briefly as the keys are pressed.
When the command is sent after
the <enter> key, the LED will
stay on for 2 seconds.
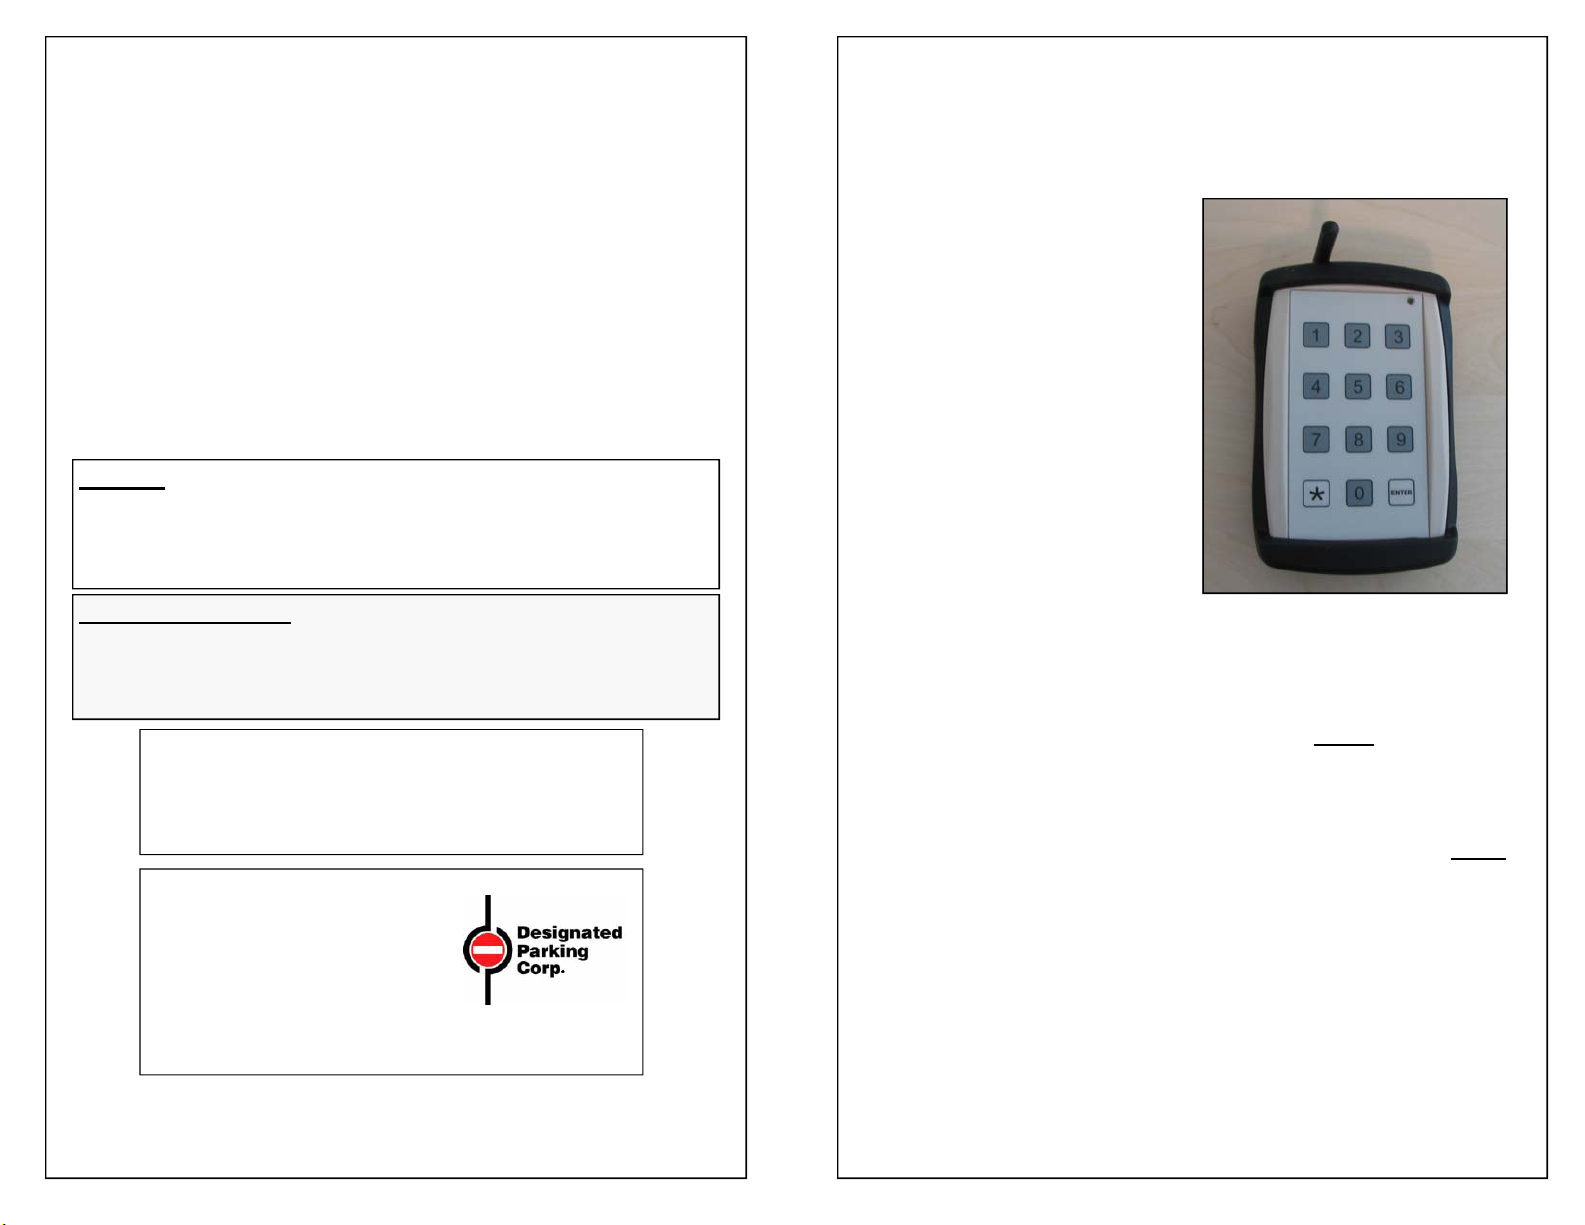
The PK250 is a hand-held transmitter for
the MySpot barrier system
• To send a discrete UP com-
mand, press 6 followed by the
barrier’s 3-digit number followed
by <Enter>. If you use a 2 digit
number like 43, add a leading
zero and send 6043<enter>.
• To send a DOWN command,
press 7 followed by the 3-digit
number and <Enter>. For ex-
ample, 7043<enter>.
• The barrier should rise or fall in
response to the command.
• The PK250 automatically goes
to sleep 5 seconds after the last
key was pressed.
• Pressing the * key clears any
previous entries.

Designated Parking Corp V3 page 2 www.dp-corp.com
Configuring the PK250
Other Commands
• Hibernation: *9240<enter>
• Transmit for 60 seconds (RF
test) *5478<enter>
The PK250 is supplied from the fac-
tory with a random facility code. The
PK250 supports 4,095 different facil-
ity codes. If you wish to change the
code (for example, to create zones in
the parking lot, or to restrict control to
particular barriers), you need to
change the facility code. If you make
the changes after the PK250 was
paired with the barriers, it will no
longer control them and you need to
re-pair the PK250 with the barriers.
To Change the facility code
• Enter the following sequence on
the keypad:
* 9 2 5 0 <Enter>
1. The indicator (LED) on the
PK250 will flash 3 times to ac-
knowledge the command
2. Enter the desired facility code:
* A B C D <Enter>
The number ABCD can be be-
tween 0001 and 4095
3. The indicator on the PK250 will
flash 6 times to acknowledge the
command
4. The PK250 will immediately
return to the normal operating
mode.
The PK250 can be used to send a
reboot command to the MySpot 200
parking barriers. This can be done
only if it is already paired with the
barrier. The boot command deletes
all authorization codes in the MySpot
200. This is useful if authorized
transmitters were lost, or changes
are required in which transmitters
can control the barrier.
1. Place the bar-
rier in the
Locked Up
position and
step next to
the barrier to
keep the bar-
rier locked-up.
2. Send an address command
e.g.43<Enter>
3. Wait until the motor inside the
MS200 stopped running and the
PK250 LED is off.
4. Send command * 9241<Enter>
5. Motor will whirl for 1-2 seconds.
The barrier is now in “virgin” state
and will pair the first transmitter com-
mand as authorized
Re-boot the MySpot 200
Designated Parking Corp V3 page 3 www.dp-corp.com
The PK250 can be used to send a
reboot command to the MySpot 500
parking barriers. This can be done
only if it is already paired with the
barrier. The boot command deletes
all authorization codes in the MySpot
500. This is useful if authorized
transmitters were lost, or changes
are required in which transmitters
can control the barrier.
1. Send an address command
(example for unit #43): 43 En-
ter>
2. Wait until the MySpot 500
stopped moving.
3. * 9 2 4 1 <Enter>
4. The red and green LEDs on the
MySpot 500 housing will flash
alternately 3 times.
5. The PK250 returns to the normal
operating mode
The barrier is now in “virgin” state
and will pair with the first transmitter
command.
Pairing the PK250 with MySpot
200/500
The procedure of adding the PK250
to the authorized list of the barrier is
similar to the addition of the HT
transmitters. See MySpot 200 or
MySpot 500 installation manual for
more details.
Use a previously paired transmitter
as the “master”, to authorize adding
the PK250 to the list.
1. In the case of the MySpot 200,
place the barrier in the Locked
Up position. Prop the barrier
with your leg so that the barrier
will not fall when activated.
2. In the case of the MySpot 500,
bring the barrier down via a
command, then step on it to
prevent it from rising during the
procedure.
3. Hold the authorized transmitter
(“A”) in one hand, and the
PK250 (“B”) in the other.
4. The sequence as explained be-
low is A-A-B-A.
5. Press the previously pro-
grammed button on the author-
ized A transmitter.
6. In the MySpot 200, the motor
will whirl. In the MySpot 500,
the green LED will flash once.
7. The green indicator on the HT
transmitter will stay lit for 2 sec-
onds. (If the HT transmitter is
set to a 2-button mode, press
the two keys in sequence to get
the motor to whirl.)
8. Two seconds after the motor
stopped, press the authorized
Re-boot the MySpot 500
Popular Keypad manuals by other brands


RSI VIDEO TECHNOLOGIES
RSI VIDEO TECHNOLOGIES Videofied XMB711 Installation datasheet

Turning Technologies
Turning Technologies ResponseCard RF RCRF-02 user manual

Eaton
Eaton OPTRMT-KIT-9000X installation manual

Hills
Hills Series LCD Code Pad user manual

Harman Kardon
Harman Kardon KP 1 Specifications

AMX
AMX MIO-PRESTIGE-S Dimensional drawing


