DEVA 031 User manual

1 | P a g e Deva 031 touch screen joystick installation WI-2021-029 Iss. 1
www.aberlink.com
Aberlink Work Instruction
Deva 031 Touch Screen Joystick installation
Issue: 1
Doc No: WI2021-029
Published: 25/02/2021
Included Components
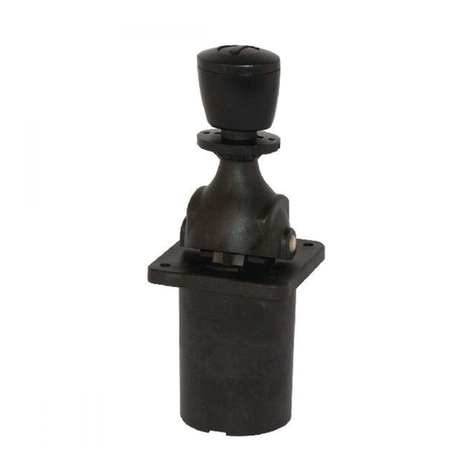
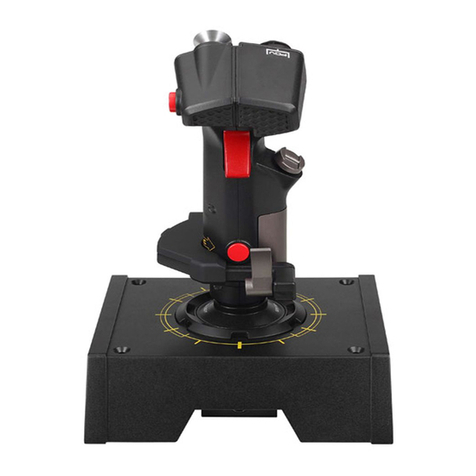
•031 Joystick
•031 USB Interface Card
•031 Card PC Backplate
•USB A to USB B Cable
Contact Support: helpdesk@aberlink.co.uk | +44 (0)1453 884461

2 | P a g e Deva 031 touch screen joystick installation WI-2021-029 Iss. 1
www.aberlink.com
Using the Joystick
This document shows a step-by-step installation of deva 031 joystick and the required deva
configuration settings. Please follow the document step by step before calling for
assistance. Remember the joystick is a USB device and will require deva drivers.
Take Point Button
Hold down and assert a
direction with the joystick to
apply a probe move
AUX Button
This can be setup as a ‘Move
via’ button
Throttle Dial
Use this dial to adjust the
movement speed of your
CMM

3 | P a g e Deva 031 touch screen joystick installation WI-2021-029 Iss. 1
www.aberlink.com
Installing the interface Card
Screw the interface card onto the PC Backplate using the two jack post screws that are
already pre-inserted into the card.
With the top lid removed from your controller locate the motor loom on the backplate (This
cable is covered in a black cable sleeve). Use the image below as a reference.

4 | P a g e Deva 031 touch screen joystick installation WI-2021-029 Iss. 1
www.aberlink.com
You will notice that this cable has another 2-core cable wrapped around it and secured with
a cable tie. Carefully snip the cable tie and unravel the cable. At the end of the cable there
will be a crimped 10-way black header, inserted into this header block will be a black link.
Remove the link and store it somewhere safe, as it will have to be refitted if a Logitech
joystick is refitted in the future.
With the 2-way pin removed insert the 10-way header into the rear of the Deva 031
interface card as shown below.

5 | P a g e Deva 031 touch screen joystick installation WI-2021-029 Iss. 1
www.aberlink.com
Remove one of the blanking plates on the PC backplate and place the joystick card into the
now empty slot. Use the same screw you remove from the blanking plate to hold it in place,
then plug the short USB cable into the card and the other end into the one of the USB ports
on the back of your controller. Check that none of the cables inside the controller pc are
likely to foul on the CPU cooling fan and refit the pc cover.

6 | P a g e Deva 031 touch screen joystick installation WI-2021-029 Iss. 1
www.aberlink.com
Setting up the Deva 031 Joystick on your controller
The setup process has now been automated and is very simple. Use the following URL to
download the joystick drivers and settings zip file
https://www.aberlink.com/assets/public/software/mk4/031_Joystick.zip
or navigate from the homepage by clicking on support, then drivers and lastly click on the
blue download link for the Deva 031 Joystick drivers and settings file.
When you have downloaded the zip file extract the contents, you will see a folder for the
Joystick driver and a registry file for the settings. Double click the 031.reg file

7 | P a g e Deva 031 touch screen joystick installation WI-2021-029 Iss. 1
www.aberlink.com
You might see the following box when you have double clicked the settings registry file, if so
click the ‘Run’ button
When you see this message box pop up, please click the yes button to automatically apply the
settings. Please note this file will only change your joystick settings so the rest of your machine
settings will remain unchanged.

8 | P a g e Deva 031 touch screen joystick installation WI-2021-029 Iss. 1
www.aberlink.com
To update the drivers right click the Windows 10 start icon then click on device manager
Right click on the Touchscreen Joystick (this might be displayed as unknown device)

9 | P a g e Deva 031 touch screen joystick installation WI-2021-029 Iss. 1
www.aberlink.com
Then click update drivers.
Click on browse my computer for driver software

10 | P a g e Deva 031 touch screen joystick installation WI-2021-029 Iss. 1
www.aberlink.com
Point the installer at your driver folder you just downloaded it should be in the path
‘C:\USER\CMM Controller\Downloads\deva031usb39’if you downloaded it from our
website. Click next when you have selected the folder.
The joystick should display the following message and your Deva 031 Joystick is now ready
to use with your CMM.

11 | P a g e Deva 031 touch screen joystick installation WI-2021-029 Iss. 1
www.aberlink.com
Change History
Date of Change
Description of Change
Issue
Changed
by
Approved
by
26/02/2021
First edition
1
JG
JP
Need more help?
Further support documents, work instructions
and tutorial videos are available on request
Contact Aberlink:
helpdesk@aberlink.co.uk
+44 (0)1453 884461
Copyright ©2021 Aberlink Ltd. All rights reserved.
This document, as well as the software described in it, is issued under license and may be used or copied only in accordance with the terms of such license. The content of
this document is issued for informational use only and is subject to change without notice by Aberlink. Every effort has been made to ensure that the information in this
document is accurate. Aberlink assumes no responsibility or liability for any errors or inaccuracies that may appear in this document. Except as permitted by such license,
no part of this publication may be reproduced, edited, stored in a retrieval system or transmitted, in any form or by any means, electronic, mechanical, recording or
otherwise, without the prior written permission of Aberlink.
Table of contents
