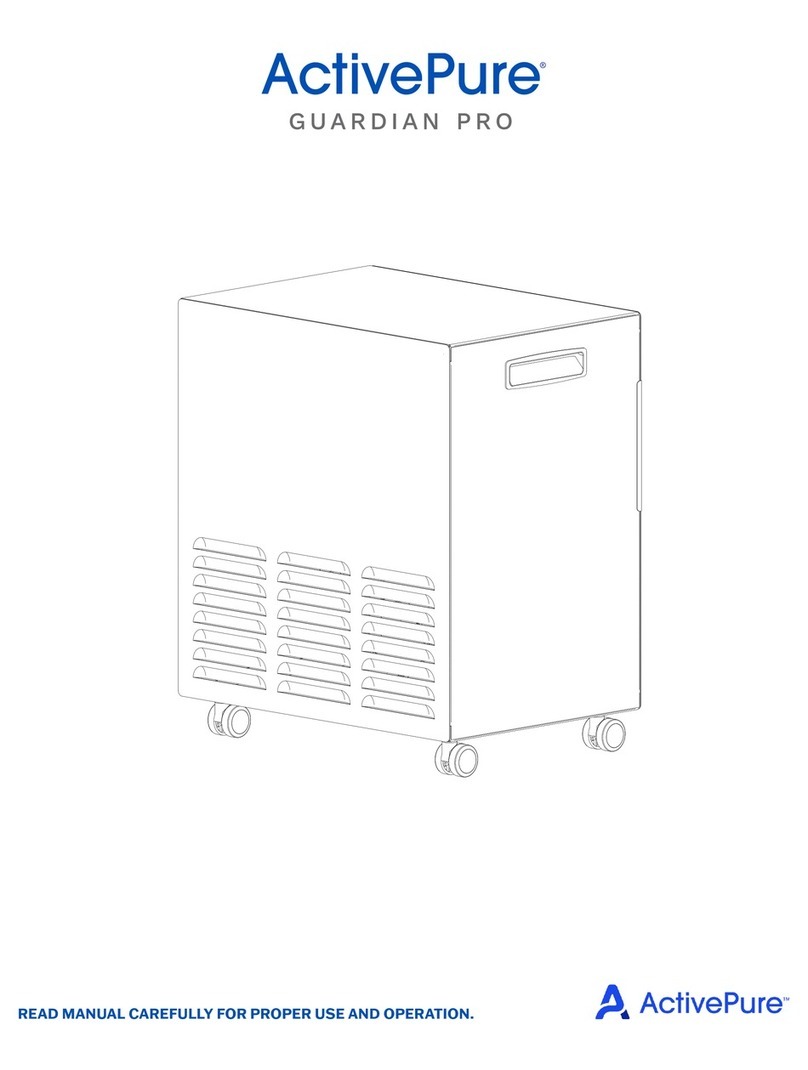
DiamaPro Systems AS-2000 User manual

OWNER’S MANUAL
AS-2000
AIR SCRUBBER
USER & MAINTENANCE BOOK
SAVE THESE INSTRUCTIONS FOR FUTURE REFERENCE

FOR PROFESSIONAL USE ONLY
PLACING MACHINE IN SERVICE
Always install, operate, inspect and maintain this
product in accordance with all applicable standards and
regulations (local, state, country, federal, etc.).
nAlways use proper gauge cord with correct connections.
nBe sure all cords are securely connected to the recessed male plug.
nEnsure an accessible emergency shuto when your machine is
connected to power. Make others aware of its location.
nDo not use damaged, frayed, or deteriorated electrical cords or
connections.
nAlways wear protection when operating or
performing maintenance.
nAlways use Personal Protective Equipment appropriate to the work be-
ing performed. This may include dust mask or other breathing apparatus,
safety glasses, ear plugs, gloves, apron, safety shoes, hard hat and other
equipment.
nIf applicable, prevent exposure and breathing of harmful dust and
particles:
Some dust created by power sanding, sawing, and grinding, drilling,
and other construction activities contains chemicals known to cause
cancer, birth defects or other reproductive harm. Some examples of
these chemicals are:
- Lead from lead based paints,
- Crystalline silica from bricks and cement and other masonry
products, and
- Arsenic and chromium from chemically treated lumber
Your risk from these exposures varies, depending on how often you do
this type of work.
nKeep others a safe distance from your work area, or ensure they use
appropriate Personal Protective Equipment.
nThis machine is not designed for working in explosive environments,
including those caused by fumes and dust, or near ammable materials.
nThis machine is not insulated against electric shock.
NOTICE
WARNING
IMPORTANT SAFETY INFORMATION ENCLOSED.
READ AND UNDERSTAND THIS MANUAL BEFORE
OPERATING THIS PRODUCT.
IT IS YOUR RESPONSIBILITY TO MAKE THIS SAFETY
INFORMATION AVAILABLE TO
OTHERS THAT WILL OPERATE THIS PRODUCT.
FAILURE TO OBSERVE THE FOLLOWING WARNING
COULD RESULT IN INJURY.
USING THE MACHINE
nKeep hands, loose clothing, long hair and jewelry away from the
machines blower assembly and “Air Intake.”
nTo avoid accidental starting – ensure machine is on the “o” position
before connecting to power.
nDo not carry or drag the machine by the cord.
nDo not operate or maintain the machine under the inuence of
medication, drugs, or alcohol.
nNever use damaged or malfunctioning machines.
nDo not modify the machine, safety devices, or accessories.
nDo not use this machine for purpose other than those recommended.
nOnly use accessories recommended by DiamaPro Systems.
nWhenever applicable, wear safety shoes, hard hat, safety goggles,
gloves, dust mask and any other
appropriate protective clothing in the work area.
nDo no indulge in horseplay. Distraction can cause accidents.
nUse only proper cleaning solvents to clean parts. Use only cleaning
solvents which meet current safety and health standards. Use cleaning
solvents in a well ventilated area.
nDo NOT clean machine or any parts with diesel fuel or any other
petroleum distillates.
nDo not operate the machine with broken or damaged parts.
nThis tool is not designed for working in explosive atmospheres.
nDo not leave machines in operation unattended for any reason.
nKeep all electrical connections clear of water or other liquid hazards.
nAlways turn o and unplug your machine before performing
any maintenance.
nDo not operate the machine while ammable or volatile liquids such
as gasoline, diesel or jet fuel are present. Failure to do so can result in
explosion.
nKeep work area clean, uncluttered and illuminated.
nDo not remove any labels. Replace any damaged labels.

1. INTRODUCTION
This operation and maintenance manual is furnished with each AS-2000.
It outlines the general use and maintenance requirements for ecient and
safe operation.
READ ALL INSTRUCTIONS AND DATA IN THIS OPERATION
AND MAINTENANCE MANUAL PRIOR TO
OPERATION OF THIS EQUIPMENT.
These instructions are for your protection and convenience. Please read
them carefully. Failure to follow these precautions could result in injury,
death or damages. Whenever using electric powered equipment, basic
safety precautions should be followed.
If after reading this manual you still have questions, contact a DIAMAPRO
SYSTEMS’ authorized distributor or DIAMAPRO SYSTEMS directly by
dialing 800-622-2048.
2. GENERAL DESCRIPTION
The AS-2000 is a portable, electrically powered Air Filtration machine,
designed and manufactured by DIAMAPRO SYSTEMS. The machines
function is to lter air and remove suspended airborne particulates.
This unit has a three stage ltering system. The Pre-Filter stage captures
the bulk of the dust and debris. The second stage utilizes a two-ply Ring
Filter that captures any dust and dirt able to penetrate the Pre-Filter. The
nal stage is the 99.97% - 0.3 micron HEPA Filter or the 5 micron general
purpose lter. The HEPA lter is utilized in abatement work or areas where
an extremely high level of ltration is desired. The general purpose lter is
utilized when trying to reduce visible air born particulates that are deemed
non hazardous.
The AS-2000 requires a 110/115V - 20 Amp, single phase power source.
DO NOT USE CIRCUITS EXCEEDING SPECIFIED
VOLTAGE. HIGHER VOLTAGE WILL DAMAGE
CONTROLS AND COULD CAUSE SHOCK OR FIRE
HAZARD.
3. ROUTINE MAINTENANCE
Inspect the unit for any loose or damaged parts prior to use.
CAUTION: Be sure power supply is in the OFF position
prior to inspection!
A. Clean the surfaces of the unit to remove accumulated dust or dirt. Do
not use petroleum distillates, solvents, or thinners as cleaning agents.
Remove any accumulated dust and dirt from control panel.
B. Periodic checks should be made of the lter brackets to ensure
thumbscrews and knobs are secure.
C. Filters should be checked daily and replaced if needed. This will help
ensure proper air ow and extend motor life.
D. Inspect ALL power connection. Be sure that the recessed plug is secure
to the panel. If recessed plug is not secured, electrical shock or shortage
may occur.
E. Inspect your power cords connections for breaks, scorched areas,
melting, oxidation, or signs of wear. If cord shows ANY of these signs,
replace.
CAUTION: Do not tamper with or modify the blower housing, control
panel, drive motor, or wiring scheme. Tampering or modications
could result in premature wear or failure and will void factory
warranty
CONTROL DESCRIPTIONS
1. Power Switch
Switch used to turn on your AS-2000. Select either high or low set-
tings depending on the desired volume of air to be ltered.
2. Circuit Breaker
This is attached to the units main power supply to assist in protecting
the blower motor from power surges. The circuit breaker also helps
protect the operator against electrical shock or hazards.
3. Dierential Pressure Gauge
This is used to determine lter eciency. The DPG measures nega-
tive pressure on the clean side of the lters. As the Filters load with
dust and debris, the negative pressure will increase and move the
needle of the DPG. A new lter will register 1.0-1.5” of water column.
A fully loaded lter will register approximately 3.0-3.5” of water
column.
4. Barbed Fitting
Inlet used to measure pressure of surrounding ambient air.
5. Male Recessed Plug
Firmly insert the female end of a proper gauge extension cord to
power the machine.
CAUTION: A loose, corroded, ill tted or damaged extension cord
can cause pre-mature failure and void your warranty.
6. Audible Alarm - (Optional Feature)
Audibly alerts the operator when lters are loaded or when air ow is
greatly decreased. The alarm will sound once the pressure gauge
reaches 2.8-3.2” of water column.
7. Visual Light - (Optional Feature)
Visually alerts the operator when lters are loaded or when air ow
is greatly decreased. The alarm will light once the pressure gauge
reaches 2.8-3.2” of water column
AS-2000 CONTROL PANEL

4. PRIOR TO USE
A. Remove any excess dust/dirt from exterior housing and control panel.
B. Be sure the HEPA Filter and Pre-Filters are installed properly with a
positive seal.
C. Insure the unit is connected to a dedicated 20Amp,
110/115 volt circuit.
D. Make sure unit is safely positioned as not to impede any entrances or
exits of the work area.
E. If applicable, check exhaust port connections for tight seal.
CAUTION: Insure your power cord is securely attached to the male
recessed plug. If any movement or play is detected, change power
cord immediately! If connection remains loose, immediately
replace the male recessed plug.
OPERATION
A. When utilized in containment, the AS-2000 should be positioned a
minimum distance away from the entrance and located towards the
center of the containment.
B. When using a HEPA lter, insure the lter is correctly installed and
sealed. Anchor and secure the lter utilizing the supplied retaining
brackets.
C. Install the Ring Filter and Pre-Filter pad into unit.
D. Position the unit on a at level surface and secure the casters using
the lock feature.
E. Insert the female end of your 20 amp rated, UL listed cord, into the
male recessed plug on control panel.
F. To begin operation, depress the power switch to either the low or high
position. Locate the dierential pressure gauge located on the control
panel. The gauge will register between 1.0” - 2.5” of water column. This
is the initial reading when lters are new and unused. This reading will
incrementally increase as lters become loaded with dust and debris.
When the gauge reaches 3.0” - 3.4” of water column; either one or all of
the lters are loaded and in need of replacement.
G. Pressing the power switch to the left will operate the unit in “Low” mode
equivalent to 1200 CFM.
H. Pressing the power switch to the right will operate the unit in “High”
mode equivalent to 2100 CFM.
5. REPLACEMENT OF FILTERS
The work atmosphere will impact the frequency of lter replacements. As
lters begin to load, the reading of the pressure gauge will increase
incrementally. When the Pressure gauge reads 3.0” - 3.4” or when airow
is greatly reduced, check the condition of lters.
CAUTION: If applicable, wear personal protective equipment during
lter replacement. Please observe all Federal, State, and Local
regulations regarding the handling and disposal of
hazardous materials.
PRE-FILTER REPLACEMENT
A. Set the power switch (diagram #20.1, item #3) to the o position.
Disconnect power supply.
B. Remove Black Filter Door (diagram #20.1, item #10) to expose the
lters.
C. Reach in and remove the Pre-Filter (diagram #20.1, item #18).
Dispose of Pre-Filter accordingly.
D. Replace the discarded Pre-Filter with a new Pre-Filter.
E. Reinsert the Black Filter Door.
F. Insert the female end of your power cord into the Male recessed plug
(diagram #20.1, item #1), and set the power switch to the “High”
position. If the reading on the pressure gauge exceeds 3.0” - 3.4”
of water column, the Ring Filter (diagram# 20.1, item #17)
should be inspected.
RING FILTER REPLACEMENT
A. Follow steps A-D listed above referencing Pre-Filter replacement.
B. Reach in and remove the Ring Filter (diagram# 20.1, item #17).
Dispose of Ring Filter accordingly.
C. Replace the discarded lter with a new unused Ring Filter.
D. Reinstall the Pre-Filter.
E. Reinsert the Black Filter Door.
F. Insert the female end of your power cord into the male recessed plug
(diagram #20.1, item #1), and set the power switch to the “High”
position. If the reading on the pressure gauge exceeds 3.0-3.4” of water
column, the HEPA or General Purpose Filter should be inspected.
HEPA/GENERAL PURPOSE
FILTER
A. Follow steps A-D listed above for Ring Filter replacement.
B. Locate the bracket thumbscrews (diagram #20.1, item #12). Loosen the
four bracket thumbscrews by turning them counter clockwise.
C. With all four thumbscrews loose, push the top of the lter brackets
(diagram #20.1, item #11) inward towards each other, and remove from
the front of the unit.
D. Firmly grasp the right and left sides of the HEPA or General Purpose
Filter (diagram #20.1, item #16), and pull the lter directly towards you.
Remove the used lter and dispose of accordingly
E. Carefully inspect the replacement HEPA/General Purpose Filter
gaskets for cracks, gaps or defects Any defective gaskets must be
replaced.
F. The HEPA and General Purpose Filters have two sides; one side has a
gasket, the other does not. Insert replacement HEPA or General Purpose
Filter, gasket side rst, into machine and press rmly against the housing’s
internal rib.
G. Reinstall the lter brackets. Once the brackets are installed, turn the
thumbscrews clockwise until tight. This will secure the main lter.
H. Reinstall Ring Filter and Pre-Filter. (Reference Pre-Filter and Ring Filter
Replacement).
I. Reinsert the Black Filter Door.

6. WIRING DIAGRAM

6. PARTS BREAKDOWN
DIAGRAM OF UNIT AND CONTROL PANEL

DiamaPro Systems®
3343 Peachtree Road NE
Suite 145 #24
Atlanta, GA 30326
470-977-2323
Table of contents

